


The holiday season is the perfect time to get creative and bond with family and friends over simple, festive craft projects. From charming ornaments to delightful decorations, making your own Christmas crafts is both budget-friendly and fun. With over 70 easy ideas for both kids and adults, you’re sure to find inspiration that suits your style and skill level.
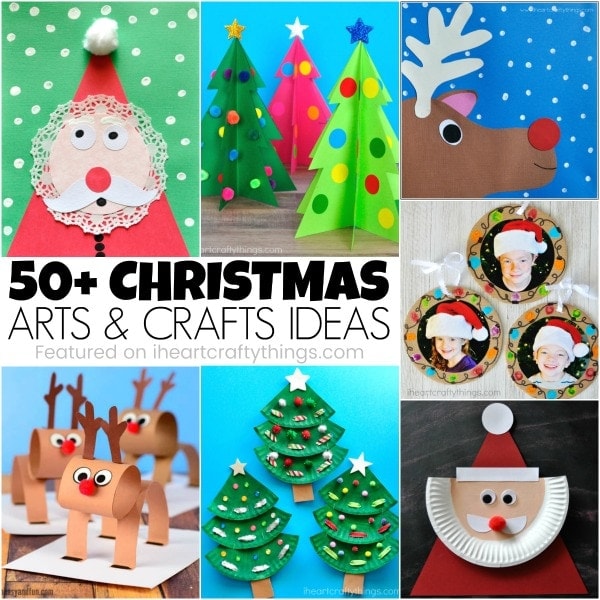
Get Inspired with Over 70 Simple & Festive Christmas Craft Ideas
Whether you’re looking to entertain little ones on a cozy afternoon or add a personal, handmade touch to your holiday décor, these DIY Christmas craft ideas offer something for everyone. Explore the categories below, discover featured tutorials, and then check out more options to spark your holiday creativity.
Heavenly Angel Christmas Crafts
Beautiful Christmas Angel Craft for Kids
Bring a touch of heavenly charm into your home with an angel craft that’s easy and fun. Create a delicate paper and ribbon angel perfect for kids to make, adding a whimsical note to your Christmas tree or window display. Follow our Adorable Christmas Angel Craft Tutorial for Kids to get started.
More Angel-Themed Ideas:
- Simple Paper Angel Guides for Little Hands
- Easy Steps to Making Graceful Paper Angels
- DIY Instructions for Elegant Angel Ornaments
- Foam Cup Angel Decoration How-To
- Wooden Spoon Angel Ornament Crafting Tips
Jolly Santa-Themed Christmas Crafts
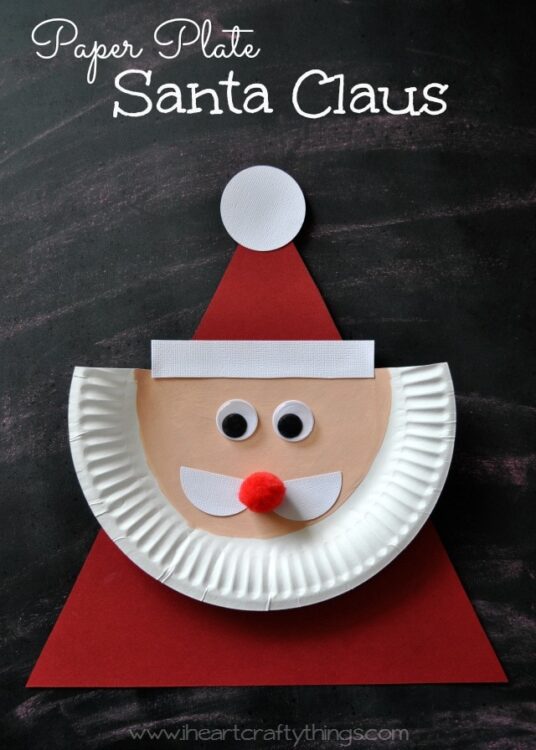
Paper Plate Santa Claus
Kick off your holiday crafting with a cheerful Santa project. Transform an ordinary paper plate into a jolly St. Nick that kids will love to help create. Follow our Paper Plate Santa How-To Guide for step-by-step instructions.
More Santa-Inspired Ideas:
- Craft a Festive Santa Greeting Card
- Create an Adorable Santa Craft Perfect for Kids
- Upcycle Magazine Scraps into a Cute Santa Project
- Make a Simple Santa Puppet from an Envelope
- Use Newspapers to Craft a Classic Santa Décor Piece
- Count Down with a Fun Santa Beard Advent Craft
Rudolph & Reindeer Holiday Crafts
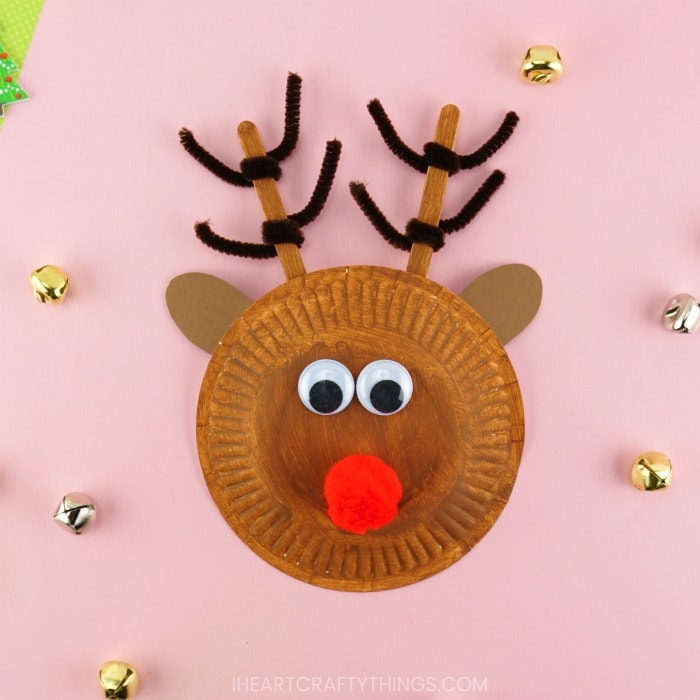
Paper Plate Reindeer Craft
Spread holiday cheer by crafting Rudolph and his friends from a simple paper plate. Easy for kids and adults, this project brings woodland whimsy to your décor. Check out our Step-by-Step Paper Plate Reindeer Tutorial.
More Reindeer-Inspired Ideas:
- Handprint Reindeer Greeting Card Project
- Easy Rudolph Paper Craft Tutorial
- Make a Charming Reindeer Decoration
- Fun Yarn-Wrapped Reindeer Craft Steps
- Whimsical Newspaper Reindeer Craft Guide
- Simple Santa & Reindeer Stick Puppet Instructions
Whimsical Elf-Inspired Holiday Projects
Paper Plate Christmas Elf Craft
Add a dash of mischief and magic to your festivities with an elf-themed craft. Turn a paper plate into a happy little helper. Begin with our Paper Plate Elf Craft Directions.

More Elf-Themed Ideas:
Frosty Snowman & Snowflake Creations
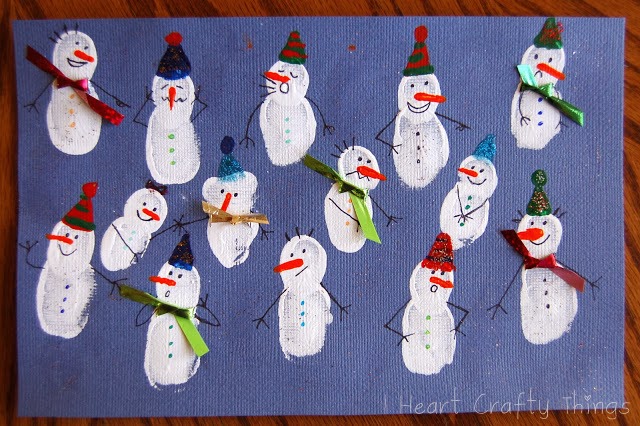
Fingerprint Snowmen
Capture the innocence and joy of winter with charming fingerprint snowmen. This craft is perfect for younger kids, turning simple prints into frosty friends. Get started with our Fingerprint Snowman Craft Steps.
More Snowy Creations:
- Create a Paper Snowman in Minutes
- Add Sparkle with a Glittery Swirl Snowman Craft
- Practice Fine Motor Skills with a Laced Paper Plate Snowman
- Make Intricate Paper Straw Snowflakes
Festive Christmas Tree Decorations & Arts
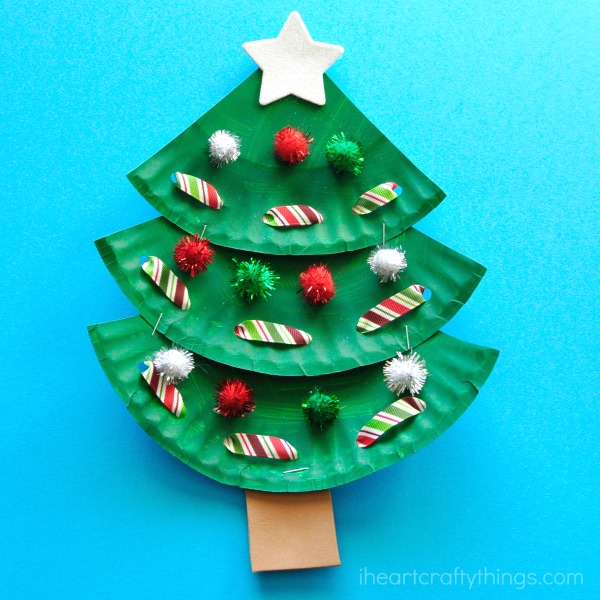
Paper Plate Christmas Tree Craft
Nothing says Christmas like a beautifully decorated tree. Transform a humble paper plate into a festive, kid-friendly tree to hang or display. Follow our Paper Plate Christmas Tree Tutorial.
More Tree-Inspired Projects:
- Craft a Colorful 3D Christmas Tree
- Paint Terracotta Pots for a Rustic Tree Décor
- Use Plastic Lids for Simple Tree Sewing Crafts
- Assemble a Pinwheel Pasta Christmas Tree Creation
- Design a Kid-Friendly Christmas Tree Art Piece
- Add Sparkle with a Glittery Tree Ornament Project
- Paint a Christmas Tree with a Fork for Fun Texture
- Build a 3D Paper Tree in Easy Steps
- Layer Paper Plates into a Unique Tree Design
- Stamp Ornaments onto a Tree for a Festive Effect
- Draw Outlines with Black Glue for Tree Art
- Capture the Season with a Winter Tree Art Scene
- Create Stylish Christmas Tree Artwork
- Set Up a Magnetic Tree Busy Bag with Decorative Tapes
- Top Cupcakes with Mini DIY Christmas Trees
DIY Christmas Ornaments & Baubles
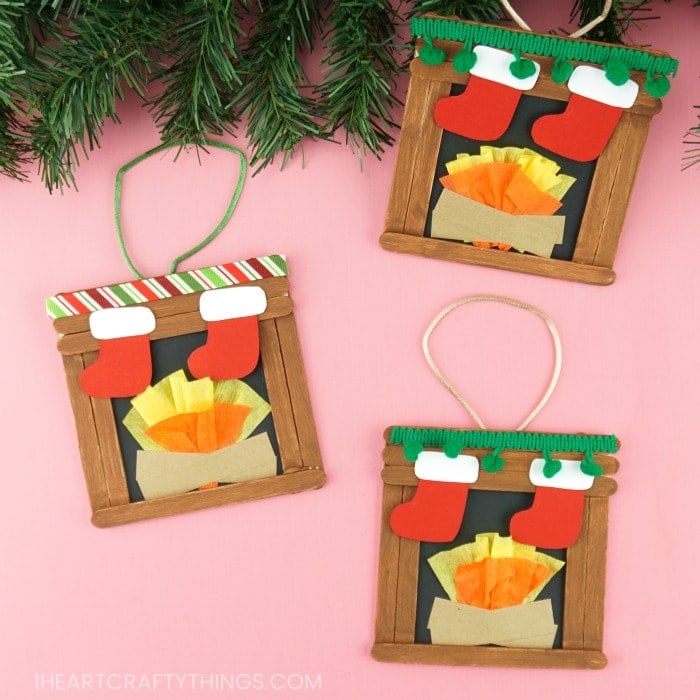
Fireplace Craft Ornament
Bring warm holiday vibes to your tree with a cozy fireplace ornament. This charming DIY adds a comforting, homey touch to your décor. Check out our DIY Fireplace Ornament Instructions.
More Ornament & Bauble Ideas:
- Make a Whimsical Unicorn Ornament
- Create Swirling Marble Christmas Baubles
- Melt Plastic Cups into Colorful Ornaments
- Fold Paper into 3D Holiday Ornaments
- Craft Buffalo Plaid Ornaments with Ease
- Assemble a Candy Cane Collage Ornament
- Shape Tin Foil into Shiny Baubles
- Display Family Memories with DIY Photo Ornaments
- Kids Can Make a Simple Tree Ornament Too
- Wrap Yarn Around Twigs for a Rustic Ornament
Handcrafted Christmas Cards & Gift Tags
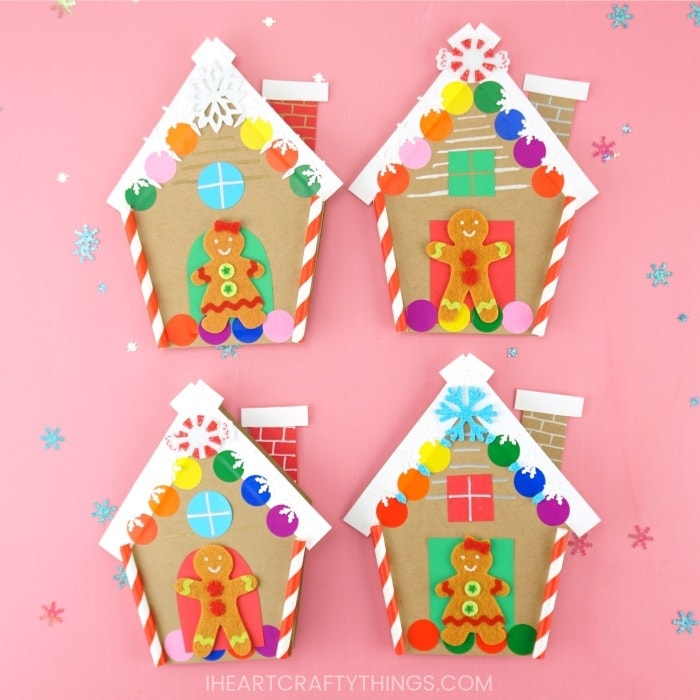
Gingerbread House Card
Send warm wishes with a sweet, gingerbread-themed greeting. Perfect for kids to help with, this card exudes holiday cheer. Start with our Gingerbread House Card Making Guide.
More Holiday Greetings & Tags:
- Kid-Friendly Gift Tag Tutorials
- How to Make a Stunning 3D Christmas Card
- Craft a Festive Christmas Tree Greeting Card
Unique & Whimsical Christmas Characters and Crafts
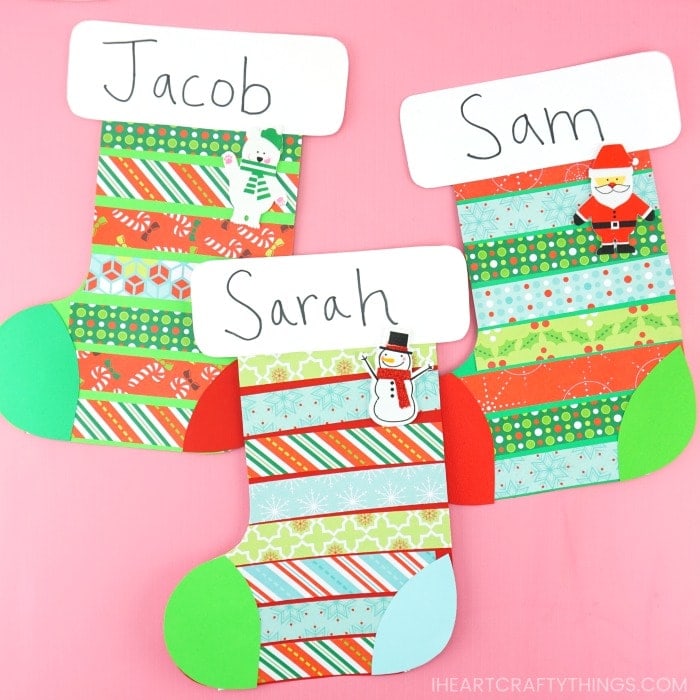
Christmas Stocking Craft
Hang a crafty stocking filled with personality and charm. This easy project can be enjoyed by all ages. Check out our Cozy Christmas Stocking Craft Directions.
More Whimsical Characters & Décor:
- Decorate an Ugly Christmas Sweater in Minutes
- Design a Paper Plate Wreath for the Holidays
- Catch the Breeze with a Festive Christmas Windsock
- Make a Set of Christmas-Themed Stick Puppets
- Stitch Gnome Finger Puppets for a Fun Surprise
- Transform a Paper Plate into a Grinch Face
- Create the Cutest Christmas Moose Craft
- Explore Yarn Crafts with Y for Yarn Projects
- Celebrate the Season with K for King Crafts
- U is for Under the Tree Alphabet Art Projects
Embrace the Heartfelt Glow of a Handmade Christmas
As the twinkle of lights grows brighter and the scent of cinnamon drifts through your home, these easy DIY Christmas crafts bring warmth and meaning to your holiday traditions.
Each handmade detail, from softly glowing ornaments to personalized keepsakes, becomes part of a story shared with family and friends. In this gentle hum of the season, where laughter mingles with the rustle of crafting paper, simple materials transform into treasured decorations that hold your fondest memories.
Let these cozy projects inspire a Christmas filled with heartfelt artistry, peaceful moments, and the quiet joy of creating something truly special.