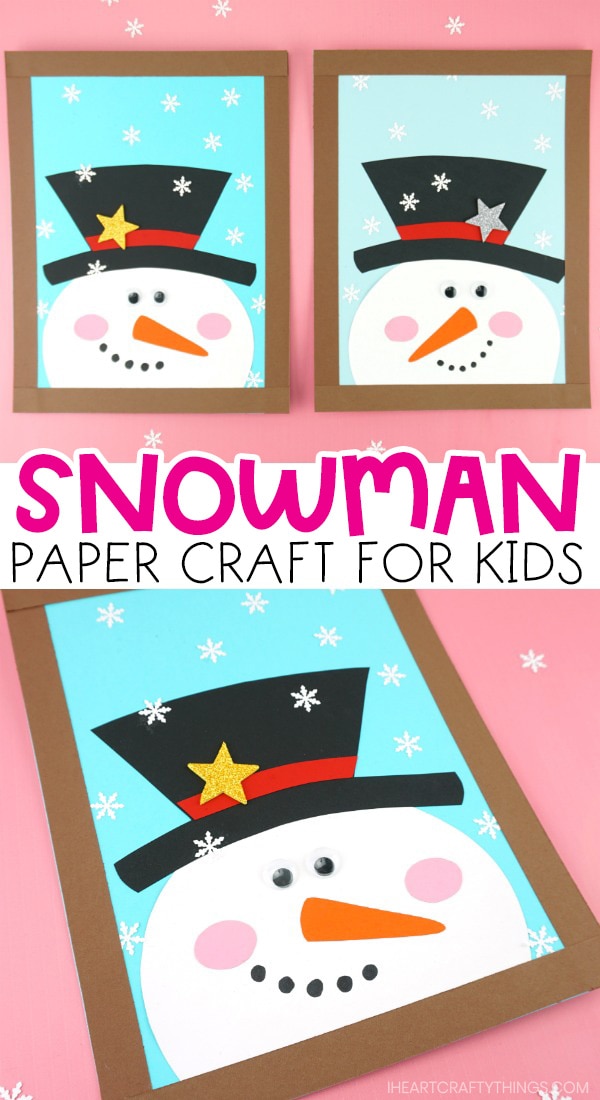
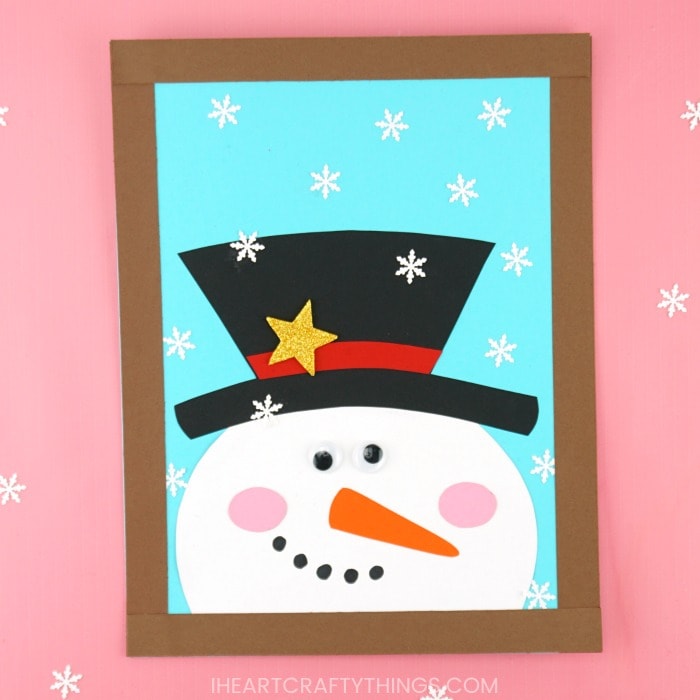
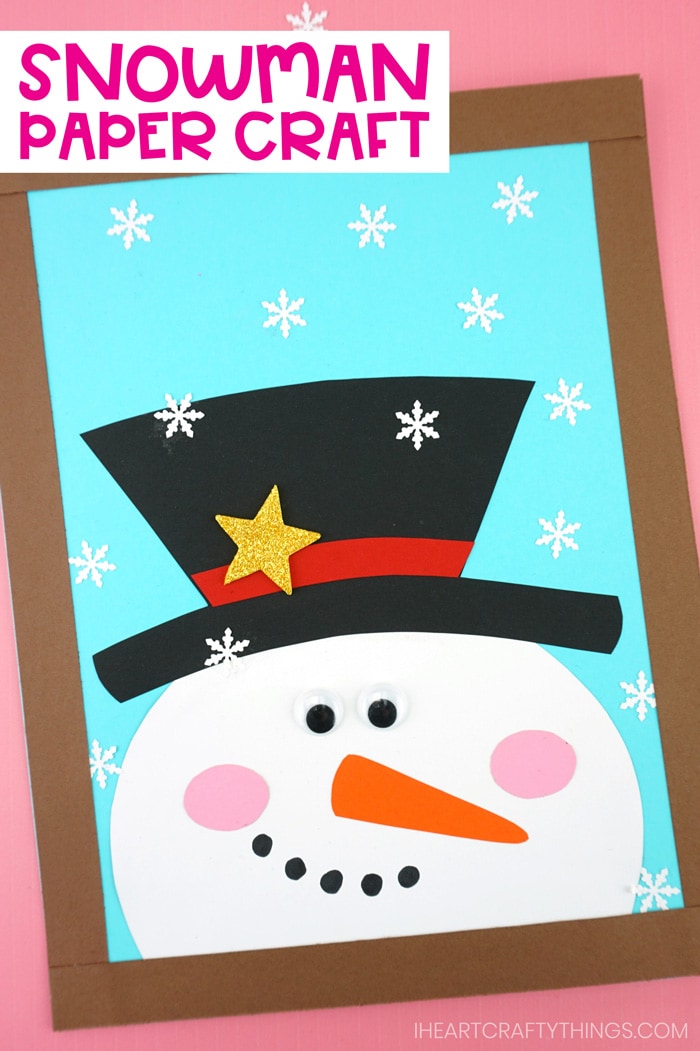
Get kids excited for the winter season by making this adorable paper snowman craft. Our snowman craft is super simple for kids to create and it makes a lovely craft to have on display for Christmas.
When it’s cold outside and you’re looking for a quick and easy craft to make with your kids, paper crafts are perfect! All you need is some colored paper, scissors and glue and you can make anything imaginable with paper.
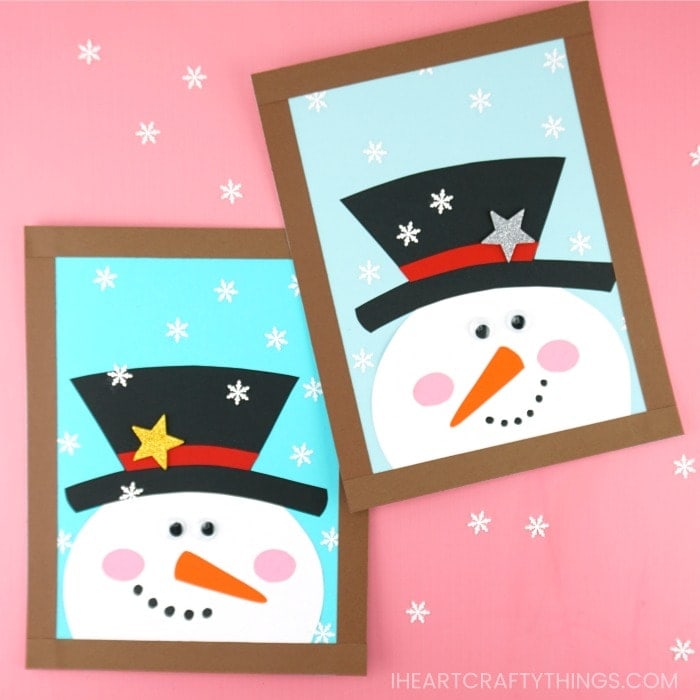
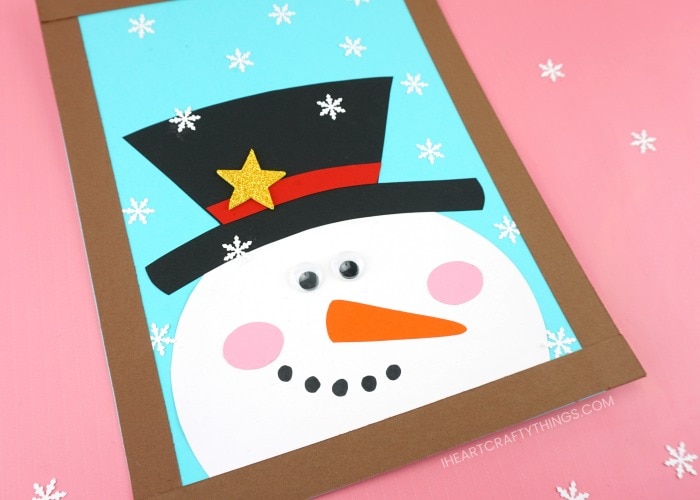
We added a simple frame around our snowman craft so it would look like the snowman was looking inside a window to get a view of what was happening inside. It reminds me of Frosty the Snowman and I was thinking this would make a fun craft to accompany watching that movie on a cold winter’s day.
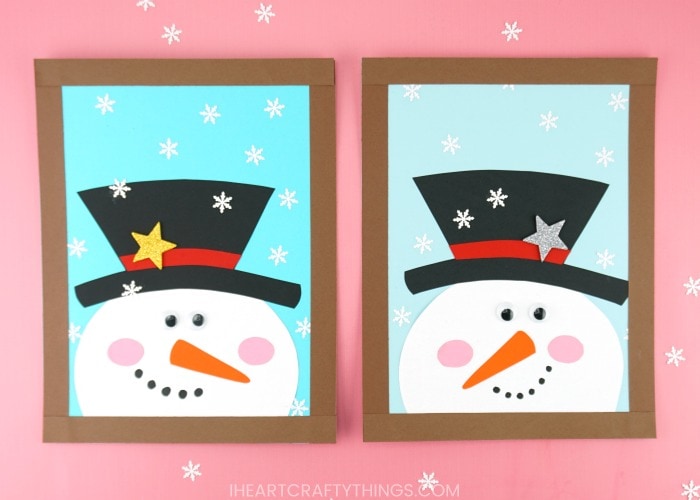
My favorite part of this easy paper craft is how each child’s completed snowman will have it’s own unique look and personality. It’s a fun Christmas craft for making at home, in the classroom or with a play group.
I Heart Crafty Things is a participant in the Amazon Services LLC Associates Program, an affiliate advertising program designed to provide a means for sites to earn advertising fees by advertising and linking to amazon.com.
Supplies needed:
- snowman craft template <—– Get the template HERE
- light blue, white, black, brown, red, orange and pink cardstock
- paper cutter
- pencil, for tracing
- googly eyes
- black marker
- snowflake punch
- glitter star sticker (optional)
- scissors
- glue stick
Instructions:
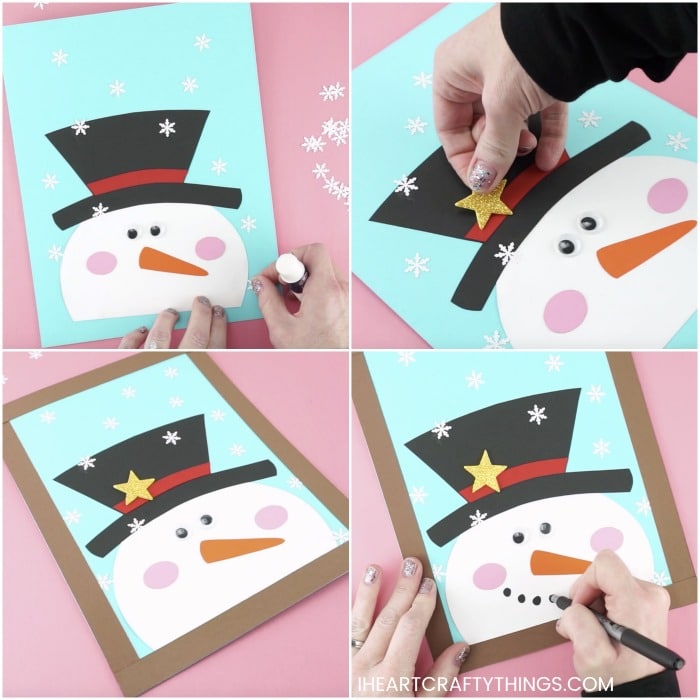
1. Print & cut out template
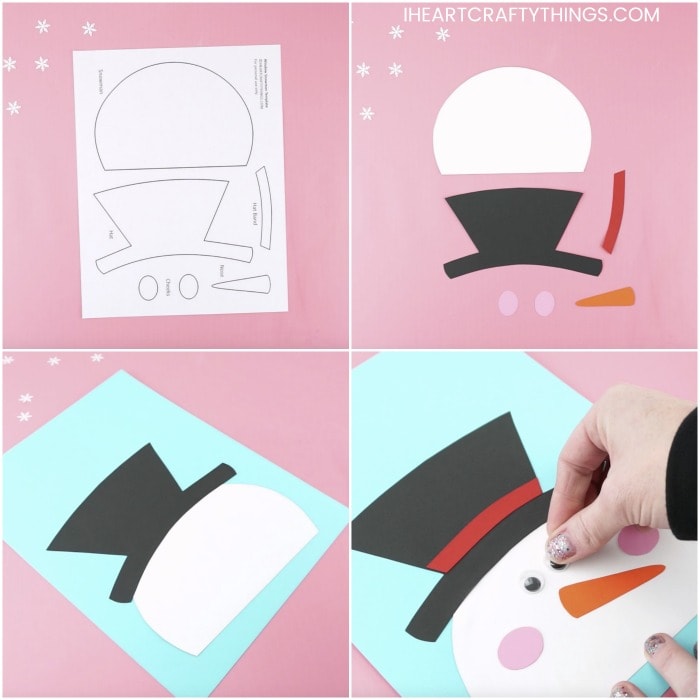
Begin by downloading and printing out the snowman craft template and cut it out.
2. Trace your template
Use a pencil to trace the different pieces of the template on colored cardstock paper. Trace the snowman on white cardstock, the hat on black cardstock, the hat band on red cardstock, the nose on orange cardstock and the cheeks on pink cardstock.
You can also use construction paper if cardstock paper is not available to you. Cut out each of the template pieces you traced.
3. Glue template to the cardstock
Glue the snowman template at the bottom of your light blue cardstock leaving about one-half inch of blue cardstock at the bottom of your paper. Then glue your black hat at the top of the snowman.
4. Glue face details
Glue the red hat band, orange carrot nose and rosy, pink cheeks onto your snowman craft. Then add googly eyes onto your snowman.
5. Cut out & glue snowflakes
Use your small snowflake punch and cut out a handful of snowflakes to add to your paper snowman craft. Glue the snowflakes on your paper craft. Make sure to add some snowflakes on your snowman hat to add some extra dimension to your craft.
If you don’t have a snowflake punch you can also have children use a blue or white crayon to draw snowflakes on their paper. Another fun alternative is to get some glitter foam snowflakes stickers for children to add around their snowman.
6. Add star sticker
Peel the backing off a glitter star sticker and place it on your snowman’s red hat band. This step is completely optional, but I love how it adds some extra flair and sparkle to the overall craft.
7. Make a frame
Use a paper cutter to cut out strips to make a window frame around your snowman. Cut two brown strips that are 11-inches by 3/4-inches, and two brown strips that are 8 1/2-inches by 3/4-inches.
Add glue to the back of the paper strips and glue them around the perimeter of your light blue cardstock.
8. Draw a smile
Use a black marker to draw black dots at the bottom of your snowman to give him a smile.
Your adorable paper snowman craft is complete! Hang it up to add some fun, festive Christmas decor at home or school.
Video Tutorial: Step-by-step guide for making this winter snowman craft
Before you get started making your cute winter craft, watch the video below for a step-by-step guide on how to make it.
