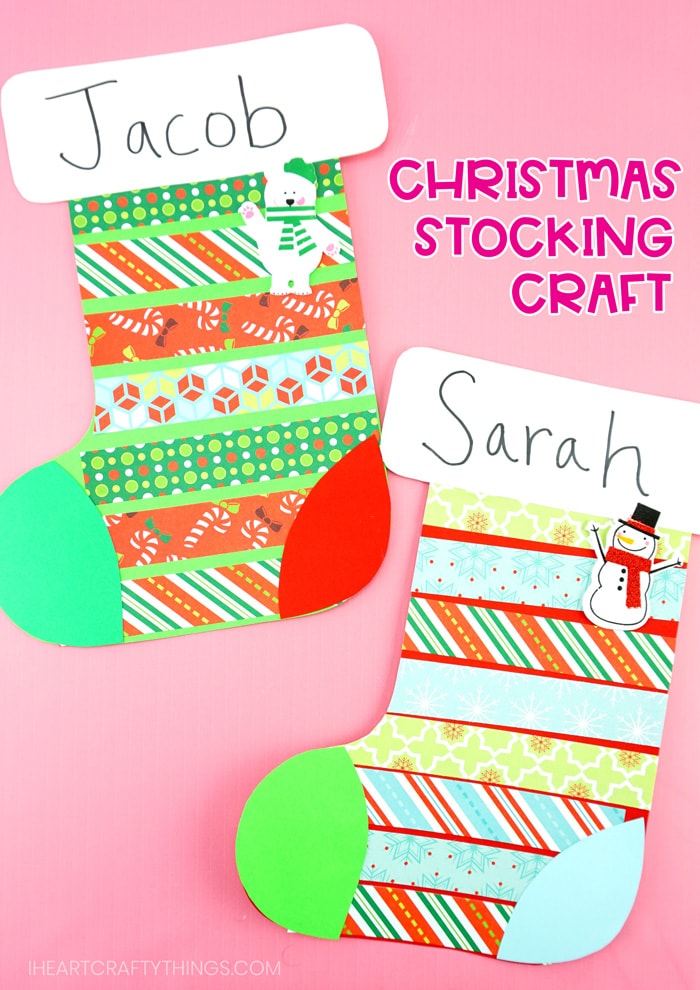
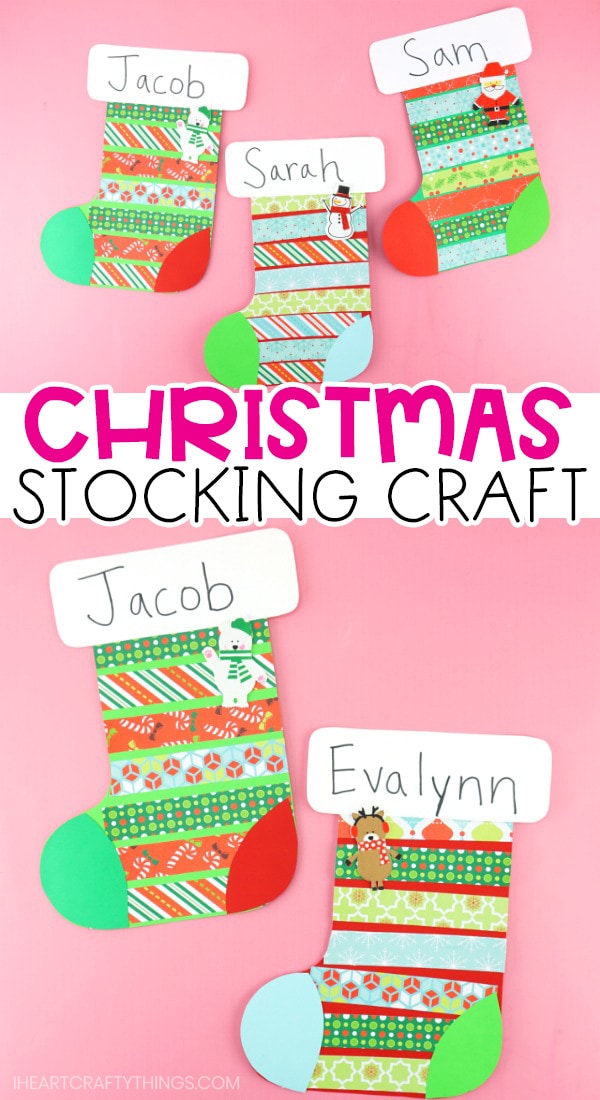
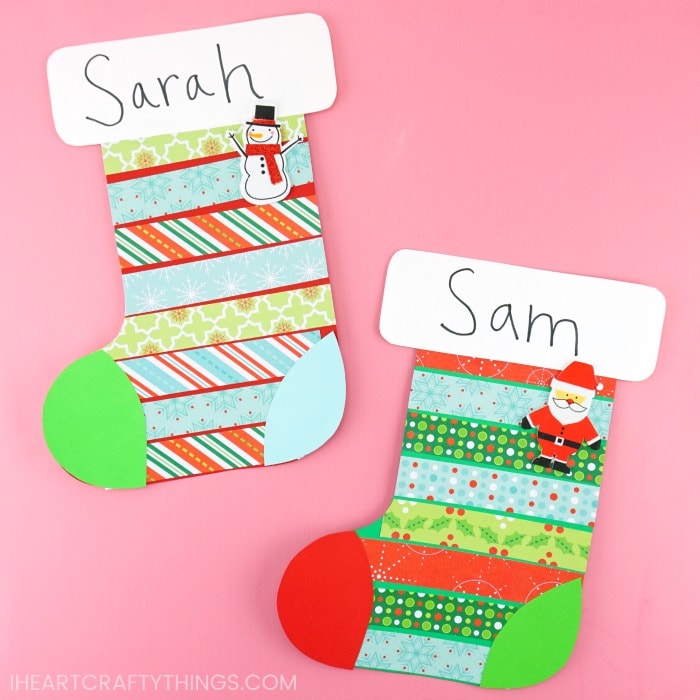
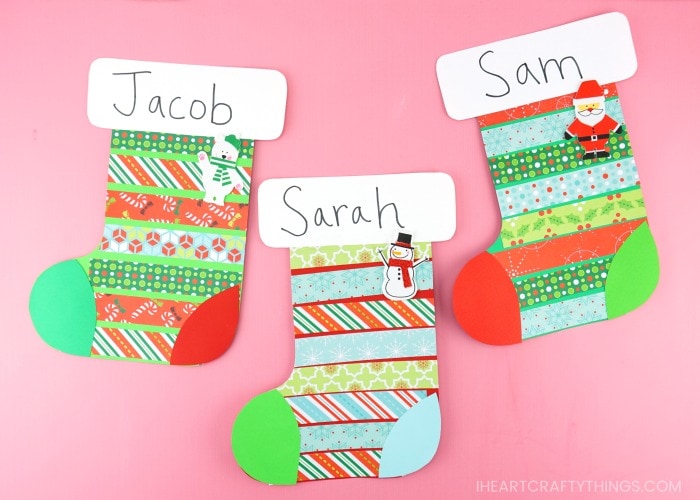
This colorful Christmas stocking craft is a fun and simple craft for toddlers and preschoolers to make for the holiday. Kids will have a blast using leftover paper from your scrap bin to help decorate their cute stockings.
No need to whip out the wool felt or other complicated materials to make these cute stockings. All you need to make this Christmas craft is paper. Easy, peasy right?!
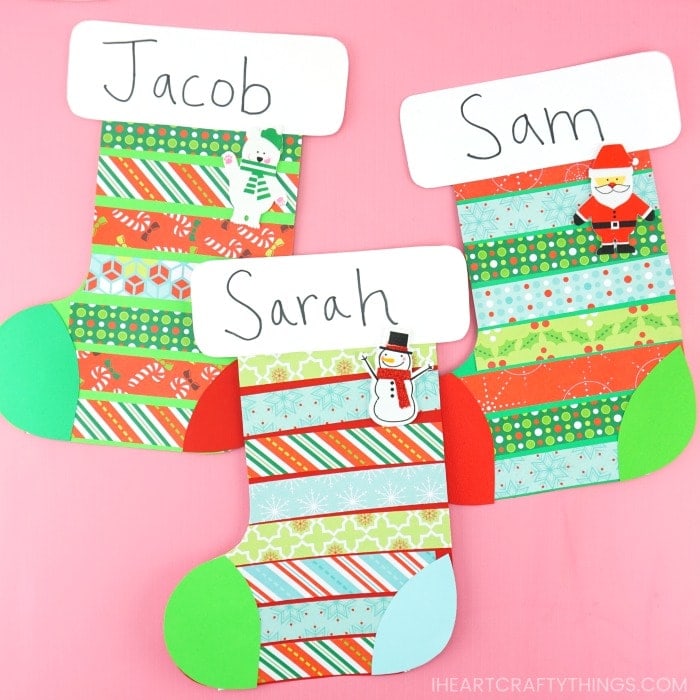
Kids love hanging up their felt stockings on the mantle every year for Christmas. This colorful paper stocking craft is a great way to celebrate and learn about that beloved yearly tradition.
You can make this Christmas craft at home easily with a few children or with a large group at school. Display each child’s Christmas stocking on a bulletin board for colorful holiday decorations.
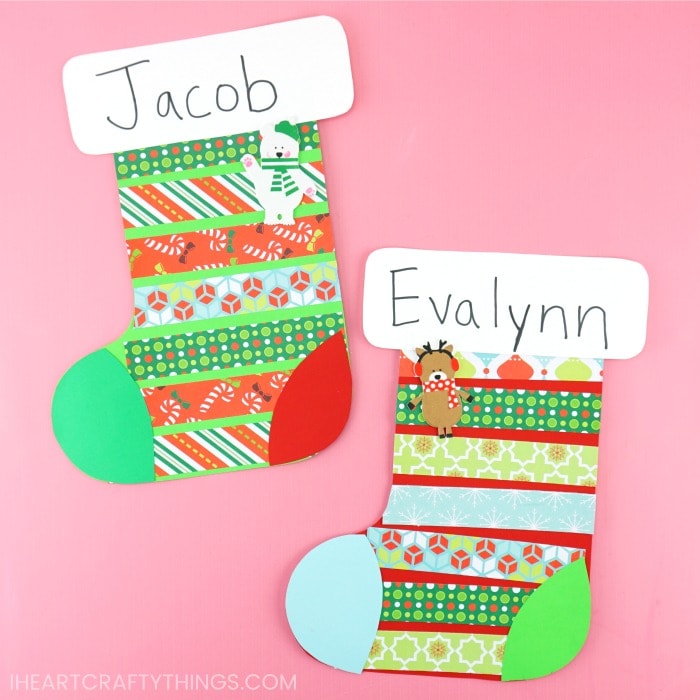
We’ve made crafting this fun Christmas craft easy for kids of all ages with our Christmas stocking template, which you can find linked below at the top of the supplies list.
Read our simple how-to instructions for making these easy paper stockings below, and make sure to catch our full video tutorial inside this post.
Supplies needed to make this paper stocking craft:
- Christmas stocking craft template <—– Get the TEMPLATE HERE
- white and colorful cardstock paper (colors of your choice)
- Christmas patterned paper
- black marker
- Christmas stickers
- paper cutter (optional, but helpful!)
- pencil for tracing
- scissors
- glue stick
Instructions for making this easy Christmas craft
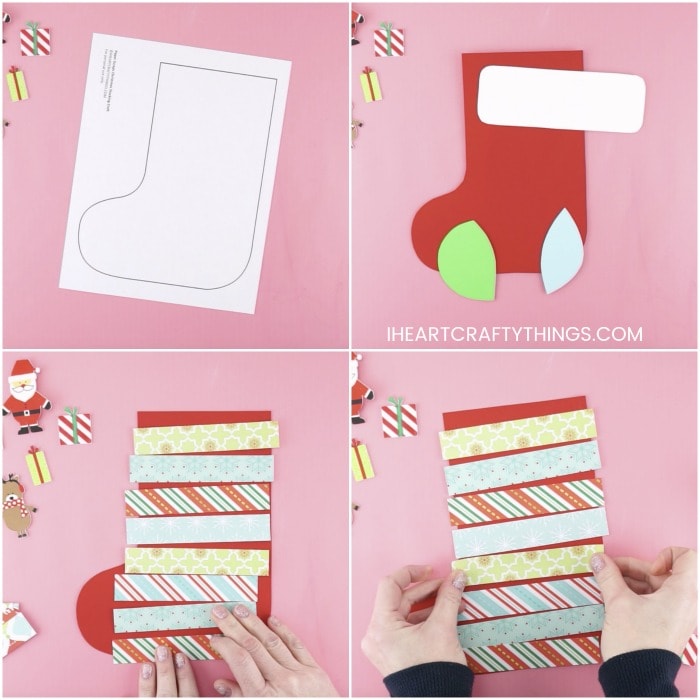
1. Print out template, cut out shapes
Begin by downloading and printing out the stocking craft template. Cut out the stocking shapes on the template. Then use the pieces as a template and trace them on cardstock paper.
2. Trace all pieces on cardstock paper
Use your pencil to trace the top of the stocking template on white carsdstock and the remaining pieces on the cardstock colors of your choice. We used red, green and blue for a Christmas and winter theme.
3. Cut out Christmas patterned paper into strips
Use a paper cutter to to cut out Christmas patterned paper into strips about 1-inch by 5 1/2-inches.
The beauty of a paper scraps craft project is that you don’t have to make the strips uniform. If you don’t have a paper cutter, simply hand cut strips of varying lengths with scissors. Or you can also tear strips of the paper to give more texture to the Christmas craft.
4. Decide how you want to arrange paper strips on the stocking
Play around with different paper strips on your paper stocking to decide which different patterns you want to use and how you want them arranged on the stocking.
5. Glue all strips onto stocking
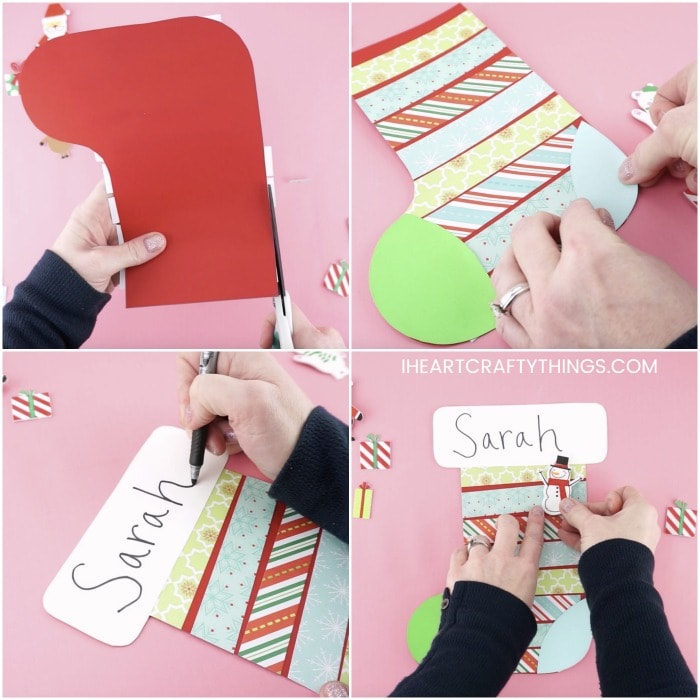
After you have decided where you want each of your paper strips, use a glue stick to glue them down in place on the paper stocking.
6. Trim off any excess of paper strips
Turn your holiday stockings face down and trim off any excess of the paper strips that overhang the paper stocking.
7. Glue front, back and top stocking pieces on your craft
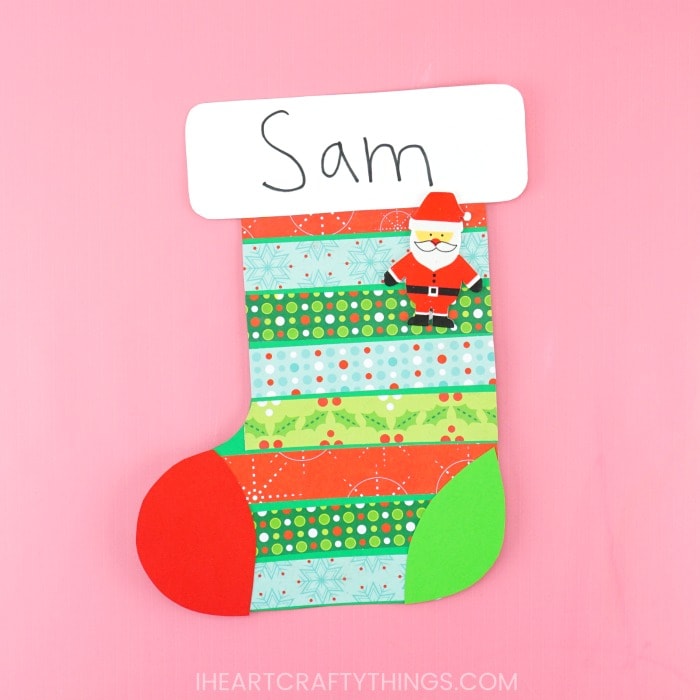
Glue the front and back of the stocking pieces on your Christmas craft. Then glue the top white cardstock piece at the top of the stocking.
8. Write child’s name at the top of the craft
Use a black marker (or color of your choice) to write the child’s name at the top of the craft to make each a personalized stocking. This is great practice for preschoolers and kindergartners who are learning how to write their name. Or, if making this craft with toddlers, an adult can write the name for the child.
9. Add Christmas stickers
Add some festive flair to your simple stocking craft by adding a cute foam Christmas sticker near the top of the stocking.
Another alternative to a sticker would be to tie a bow with ribbon and hot glue it near the top of the stocking.
