{This post contains affiliate links for your convenience. Read our full disclosure policy for more information.}
Supplies needed:
- cardboard
- brown yarn
- tape
- 2 clothespins
- brown paint
- paint brush
- brown pipe cleaner
- googly eyes
- red pom pom
- scissors
- Glue Dots
Tutorial:
1. Paint your clothespins
Start by painted the front of your two clothespins with your brown paint. Set them aside to dry completely.
2. Wrap triangle shape with yarn
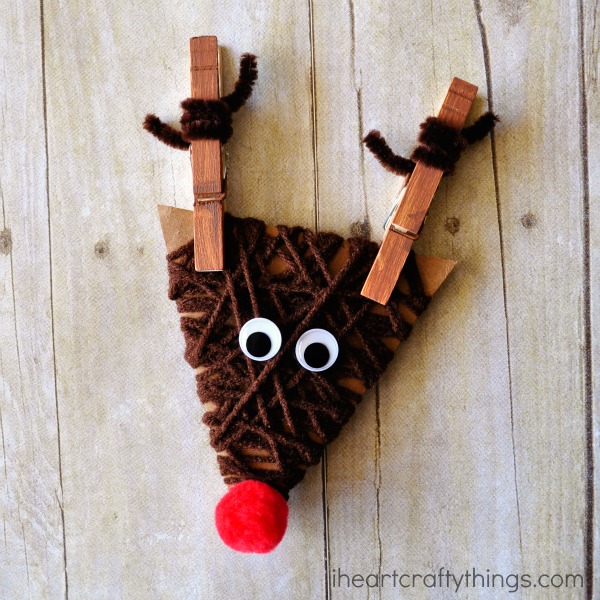
Cut a triangle shape out of your cardboard. Cut a long length of brown yarn. Tape one end to the cardboard triangle. Wrap the yarn around the triangle every which way direction until the triangle is mostly full. When you reach the end of your yarn, tape it down onto the back of the reindeer. Wrapping around a triangle can be a bit tricky and that’s what make it such a great fine motor activity for kids. You could also make small slits along the edge of the triangle to help youngsters with their wrapping.
3. Wrap pipe cleaner on clothespins
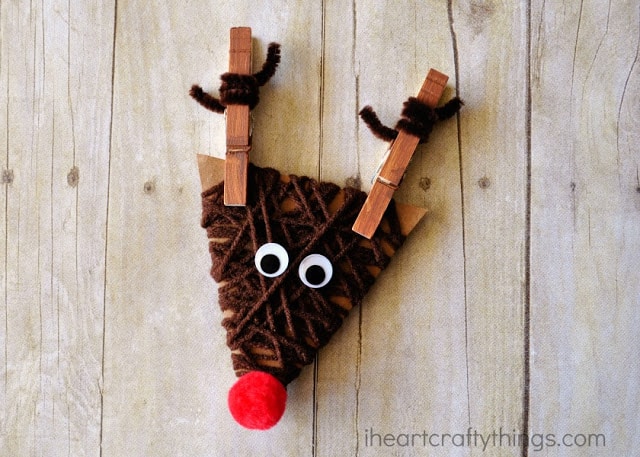
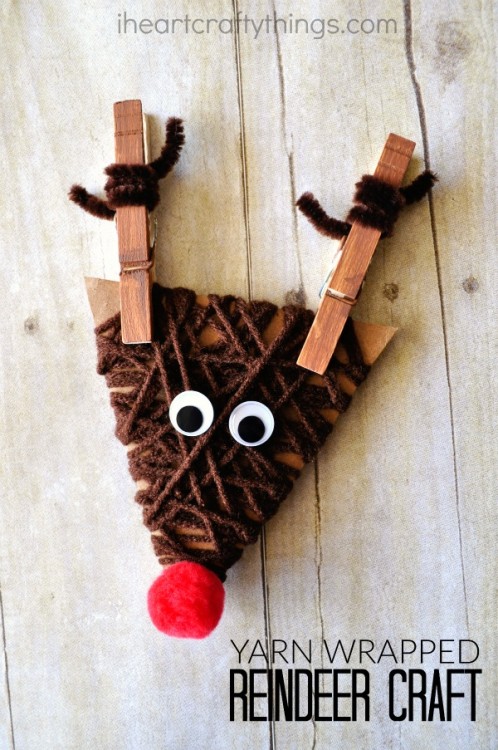
Cut your brown pipe cleaner in half and wrap each half around your clothespins leaving the ends out to make reindeer antlers. Attach the clothespins to the wrapped triangle.
4. Add eyes & nose
Finish your reindeer by using glue or Glue Dots to add on a red pom pom nose and googly eyes. We love using Glue Dots so we don’t have to wait for glue to dry.
You can also turn this cute reindeer craft into a Christmas tree ornament by punching a hole at the top and tying a ribbon to it.


