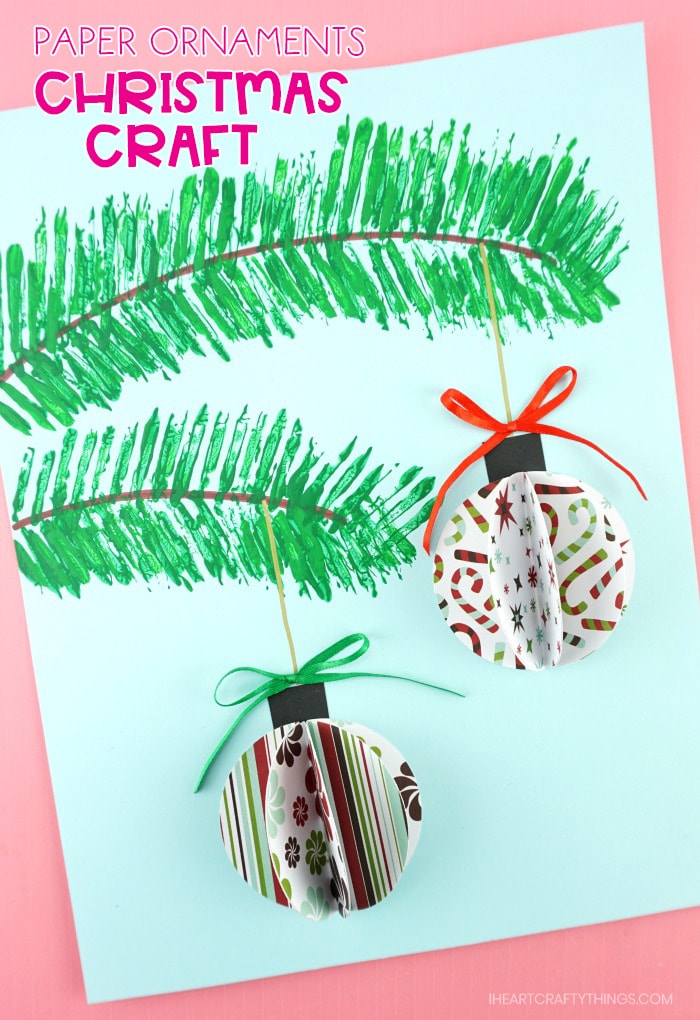
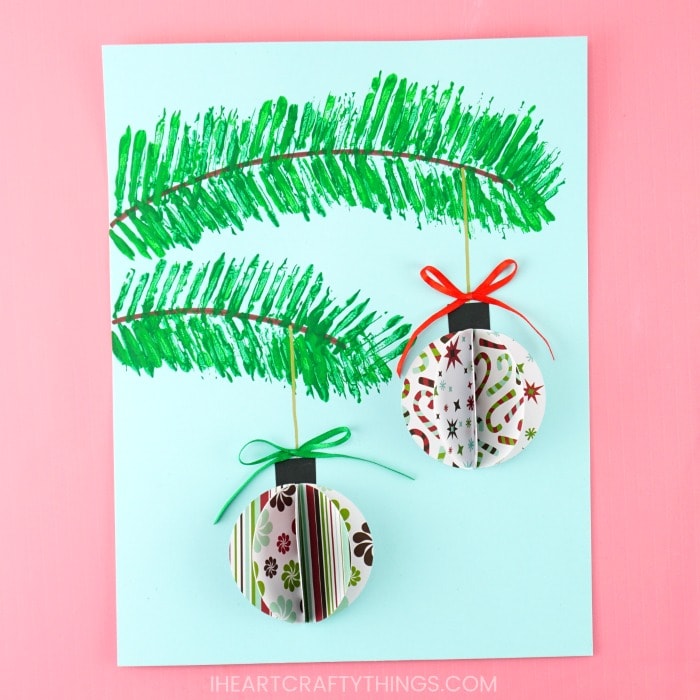
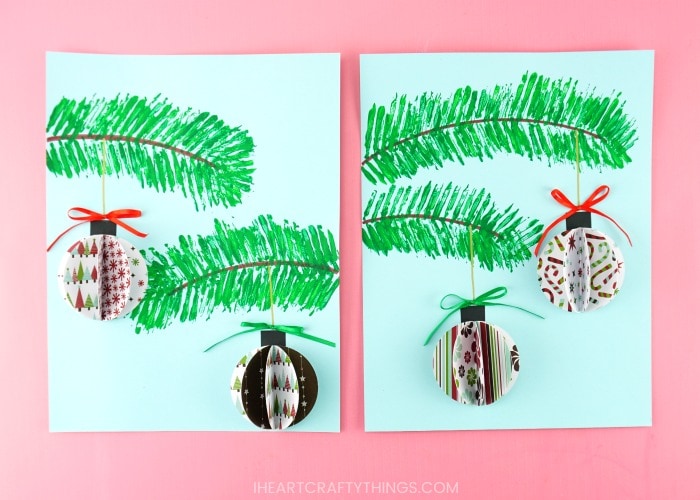
Welcome the holidays by creating this beautiful 3D paper ornaments craft project with your children. This easy Christmas craft is simple for kids to make and the finished project looks gorgeous hung up on display for Christmas.
This cute Christmas craft is a fun art project and paper craft all in one! The fork painted Christmas branches are such a wonderful background for the colorful 3D paper ornaments that hang from them.
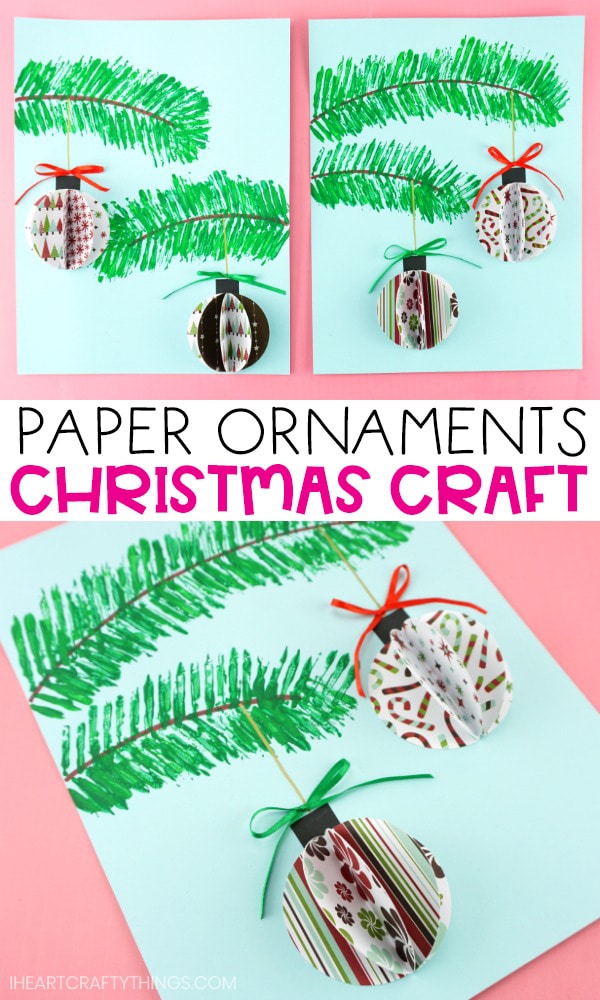
Kids will have a blast creating this festive craft project and the end results are guaranteed to be stunning!
I Heart Crafty Things is a participant in the Amazon Services LLC Associates Program, an affiliate advertising program designed to provide a means for sites to earn advertising fees by advertising and linking to amazon.com.
Supplies needed:
- light blue and black cardstock paper
- Christmas scrapbook paper
- brown marker
- dark green and green paint
- paper plates
- plastic forks
- metalic markers
- small red and green ribbon
- 2 inch circle punch
- glue stick
Instructions:
1. Draw branches
Use a brown marker to draw a couple Christmas tree limb branches on your light blue cardstock paper. Make sure to space them out enough so the needles won’t overlap too much. You can have all your branches on one side, or mix it up and have one or two on each side of your paper.
2. Draw spikes using paint
Pour a small amount of both dark green and regular green paint on your paper plate. Dip the end of the plastic fork tines in the dark green paint several times to coat them entirely. Then press the fork along the brown tree branch to create needles on your Christmas tree branch.
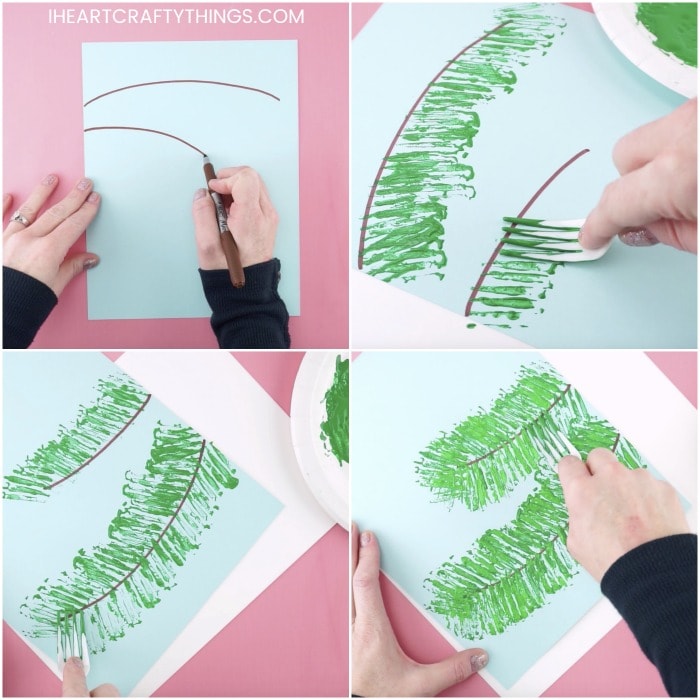
3. Continue till branches are covered
Continue dipping and stamping the fork tines on your blue cardstock paper until you have covered the top and bottom of each of the Christmas tree branches. Now dip your fork into the regular green paint and complete Step 3 again, covering the top and bottom of each of the Christmas tree branches with the second color. Set your artwork aside to let the paint dry completely.
You don’t have to use two different colors of green paint but I think the combination of the colors add a fun dimension to the craft project.
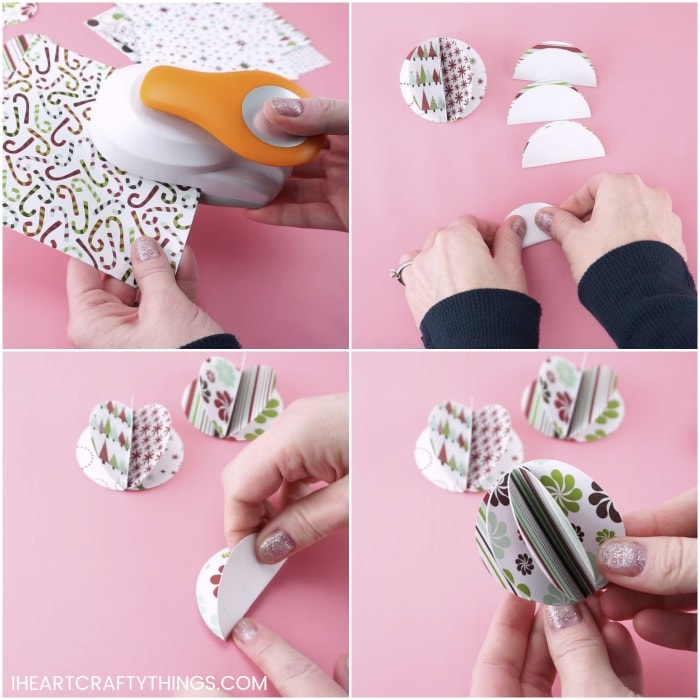
4. Cut out 4 circles
Use a 2-1/2 inch circle paper punch to cut out circles from Christmas scrapbook to create your paper ornament. You will need 4 circles for each of your ornaments.
5. Glue all circles together
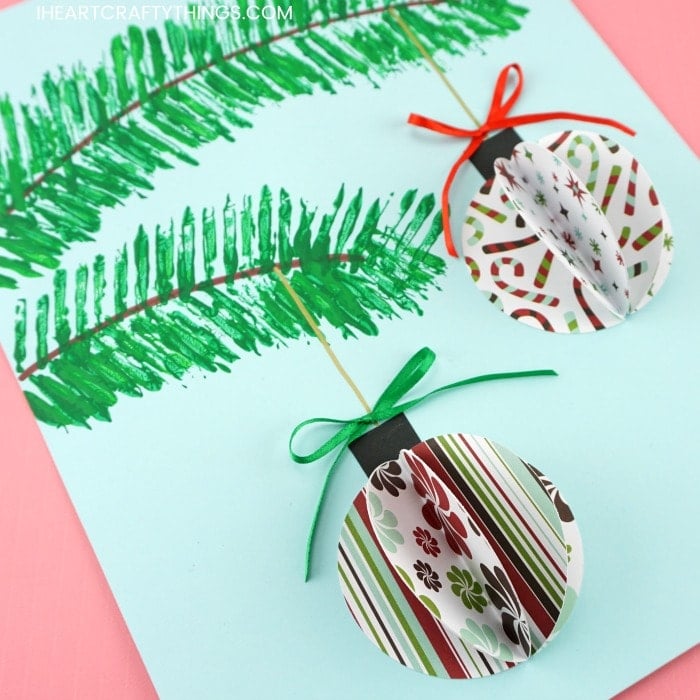
Fold each of your paper circles in half. With a glue stick, add glue to one of the folded halves of a paper circle. Place a second half circle on the glue. Continue gluing and layering all four of the paper circles together.
When you open up each of the sections of the paper circles you’ll see your 3D paper ornament take shape.
Feeling adventurous? For extra fun, you could create a few different sizes of 3D paper ornaments with different sized paper punches to include on your craft.
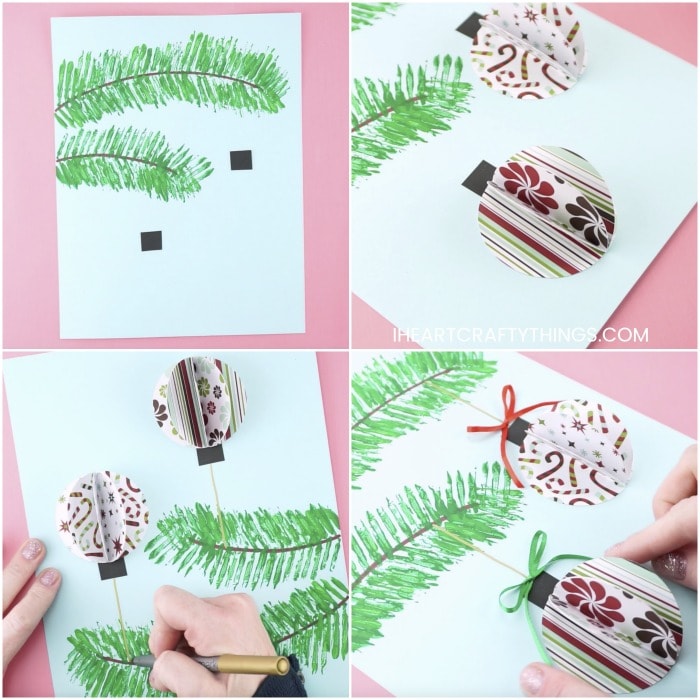
6. Add black cardstock
Cut out two small rectangles from black cardstock or construction paper for the tops of your ornaments. After your painted Christmas tree branches have finished drying, glue the black rectangles a few inches under each of your tree branches.
7. Glue your ornaments
Add glue on the back of your 3D paper ornaments and glue them directly under the black rectangle ornament tops.
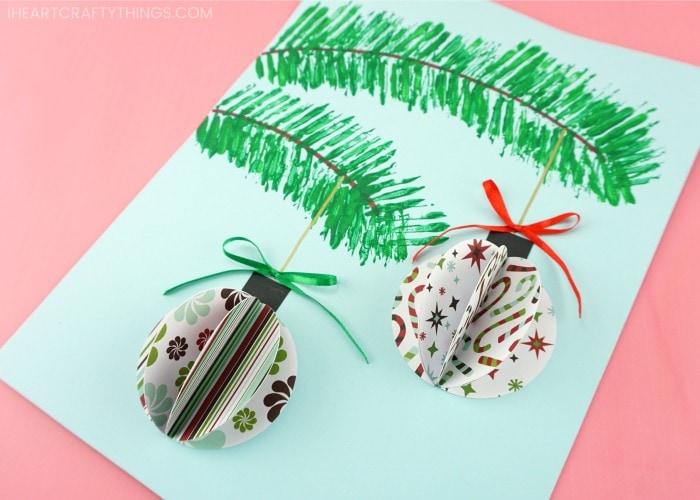
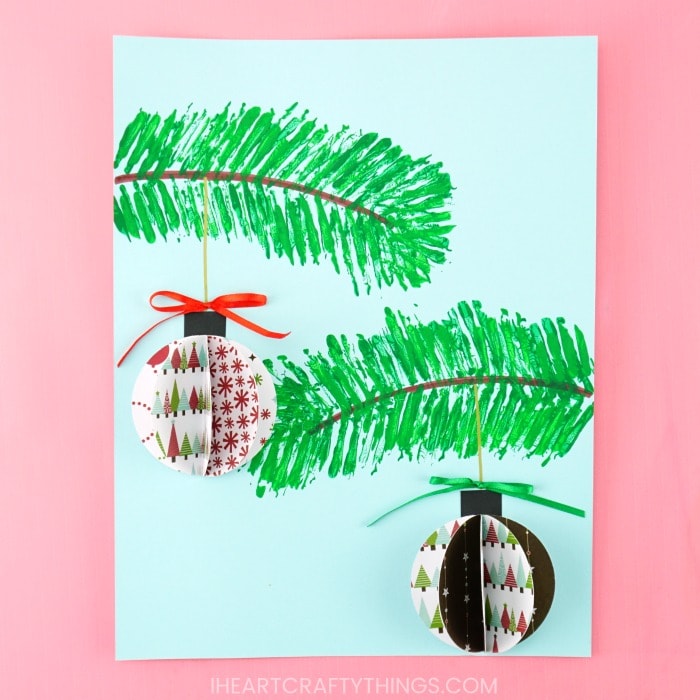
8. Draw straight line
Use a metallic marker to draw a straight line coming down from each Christmas tree branch to each of the paper balls. I found it easies to turn my artwork upside down and draw the lines from the top of the ornament down to the tree branch.
9. Make a bow
Tie a little bow with small red and green ribbon. Add a dot of glue at the top of each of the paper ornaments and attach a red or green bow.
Find more Christmas craft ideas by browsing the categories at the top menu bar of our website.