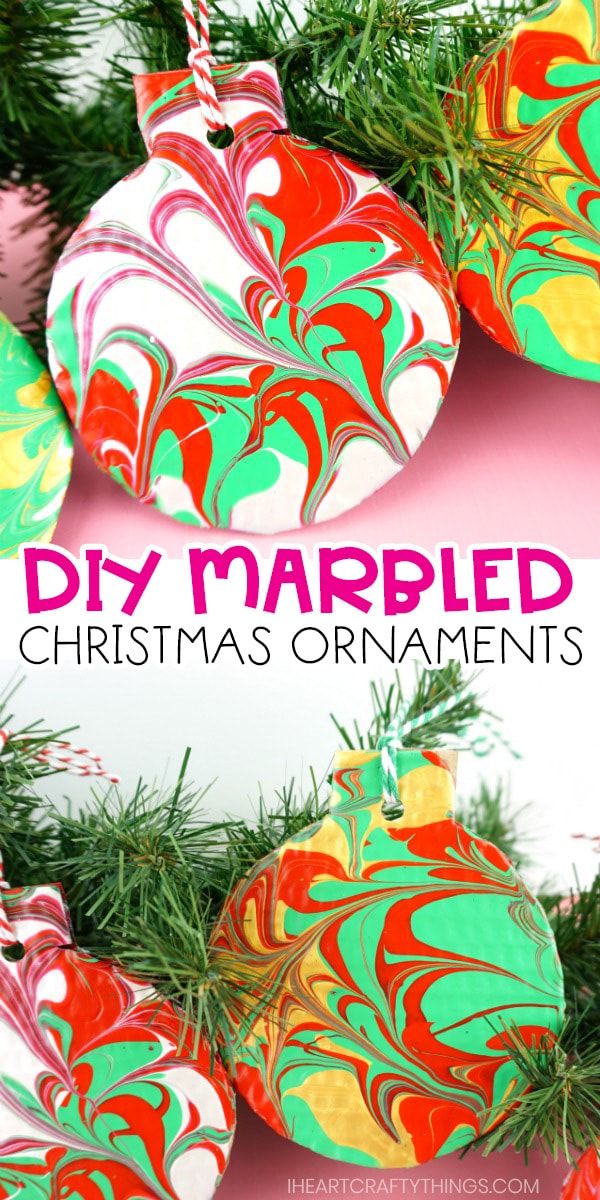
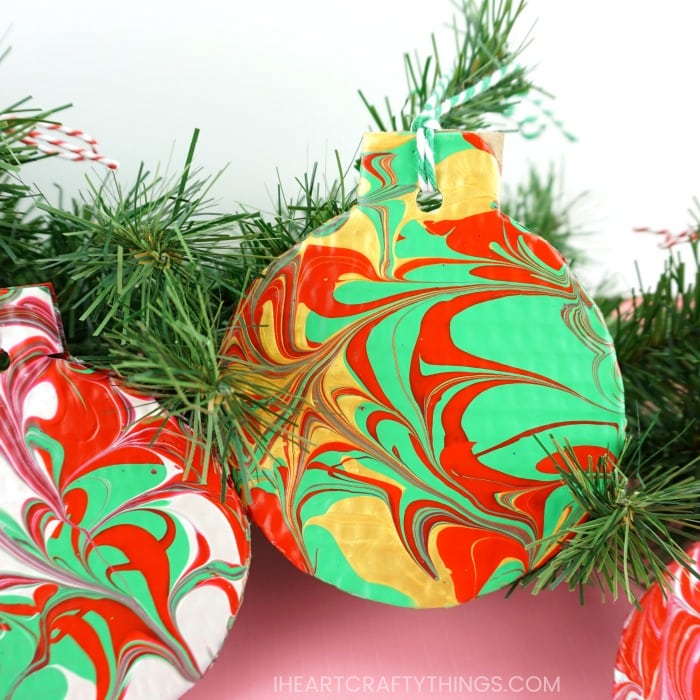
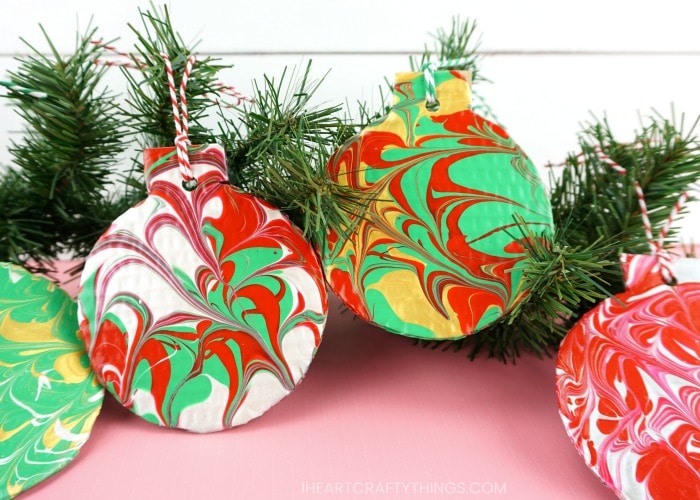
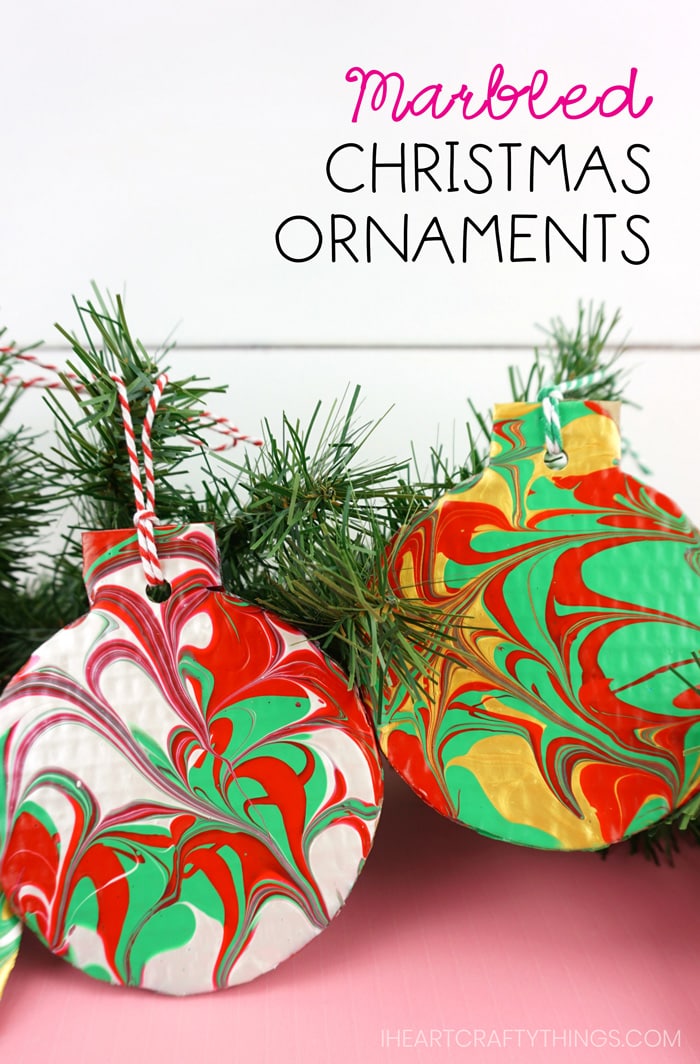
Get ready to fall instantly in love with these gorgeous Marble Christmas Ornaments we are sharing with you today! Don’t be intimidated by their beauty because they are super easy for kids and adults to create. They will make such a fun and festive addition to your Christmas tree.
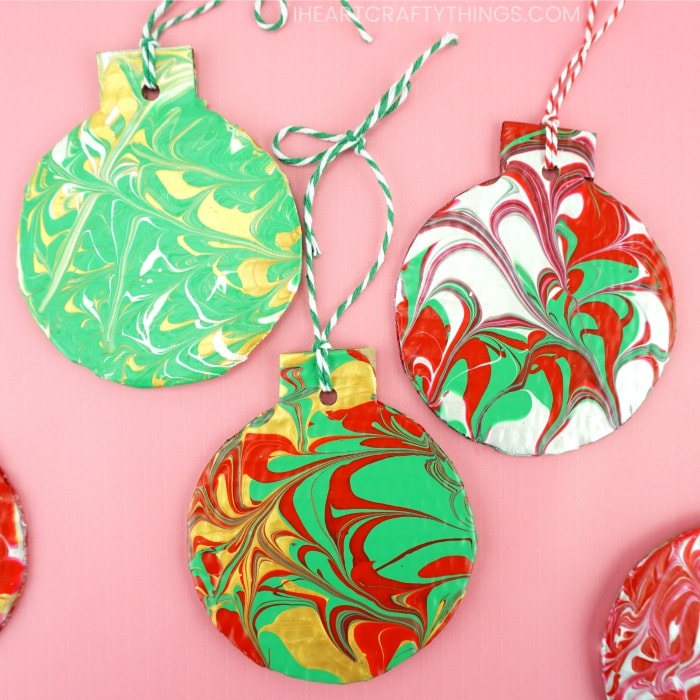
We made our ornaments with classic Christmas colors like red, green, silver and gold, but they can be customized with any colors to match your Christmas tree and holiday decor.
Our use of cardboard as the base for our marbled ornaments is a fabulous choice for the environment and is a great way to use up those boxes from all of your online Christmas shopping. The flat surface is also perfect for achieving an amazing marbled effect on each ornament.
We’ve seen tons of DIY marbled ornament ideas out there that require harsh chemicals like nail polish and use glass ornaments which aren’t child friendly.
Sure you can use plastic ornaments instead with those ideas, but our marbling technique is so much easier and is safe for children to help you create. Kids and adults are going to love making these beautiful Christmas ornaments!
Supplies needed:
- Christmas bauble ornament template <—– Get the template HERE
- cardboard
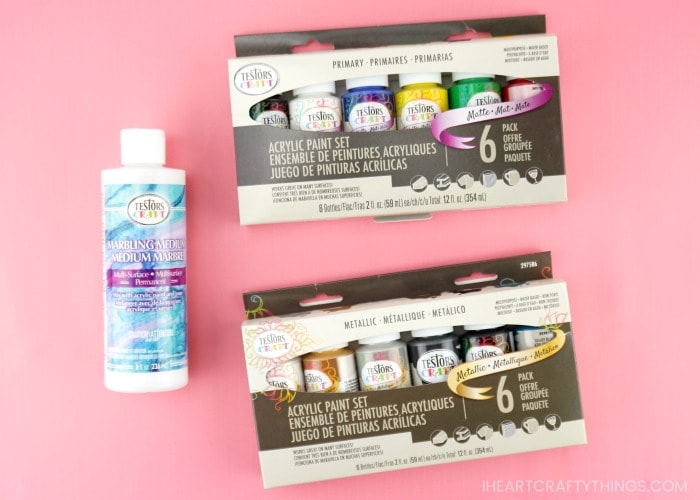
- Marbling Medium
- paper cups
- measuring spoon
- Acrylic Paint Primary Colors
- Acrylic Paint Metallic Colors
- plastic spoons
- metal tray
- hole punch
- baker’s twine
- scissors
- pencil for tracing
Tutorial:
1. Print out template
Begin by downloading and printing out the Christmas bauble template.
2. Trace template to the cardboard
After cutting out the template, use a pencil to trace it on a piece of cardboard. Cut out each of your traced cardboard ornaments.
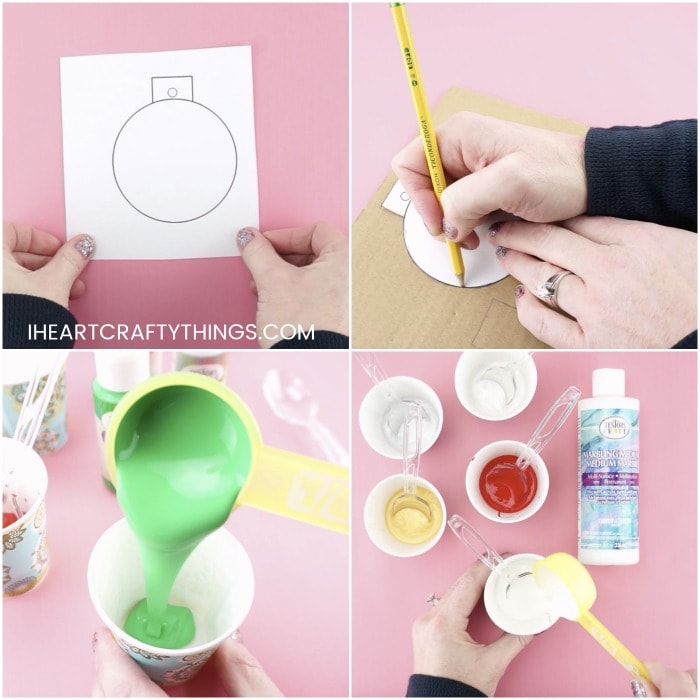
3. Choose different colors
Choose which colors of acrylic paint you want to use to create your Christmas ornaments. You can make each ornament with different colors, or make several with the same colors. For optimal marbled effect, I recommend using 3 different colors for each ornament.
4. Mix paint with medium
Lay out paper cups for mixing together your acrylic paint and marbling medium. Add equal parts acrylic paint and marbling medium in your cups. Stir the mixture together thoroughly and then let it sit for several minutes to let any air bubbles settle.
Note: We used a 1/8 cup measuring cup and mixed the paint and marbling medium in 5 oz paper cups. (You could also use a plastic cup.) We used five different colors total and had enough to make about 6-8 ornaments.
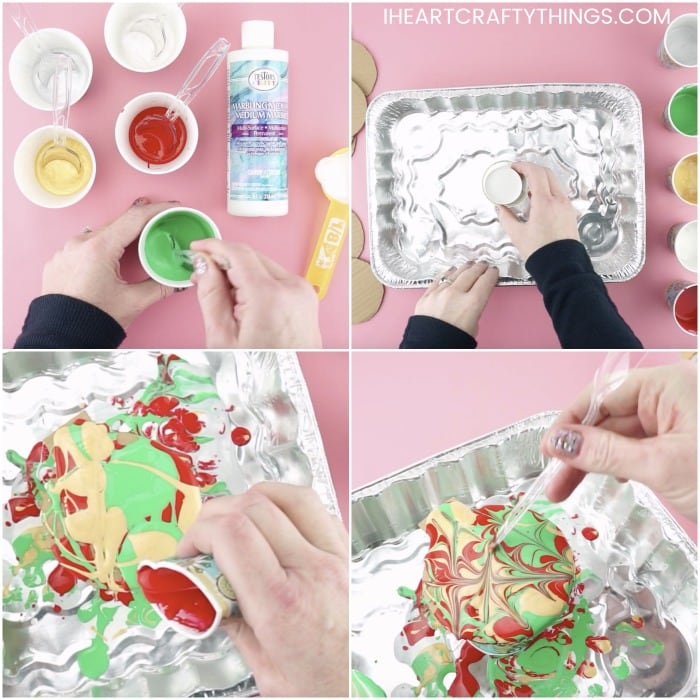
5. Place cup inside tray and lay ornament
Place a paper cup upside down inside your metal tray. The tray helps collect the extra paint that falls from the ornaments and makes for easy clean up. Lay one of your cardboard ornaments onto the paper cup.
6. Pour paint over ornament
Pour lines and blobs of the different paint mixtures onto the cardboard, covering the ornament. Then use the end of a plastic spoon to draw lines up, down and diagonally across the paint mixtures to create a marbled effect on the ornament.

7. Roll paint around to make marble effect
Carefully pick the cardboard ornament up and roll the paint around to increase the marble effect and to cover the ornament completely with paint. Some paint will drip off the ornament into the metal tray.
8. Let it dry completely
Set the cardboard bauble back onto the paper cup and allow the ornament to dry completely, about 24 hours.
9. Repeat with other ornaments
Continue adding another paper cup upside down in your tray and follow the process again, making as many marbled Christmas ornaments as you want.
8. Make hole in the ornaments
When your ornaments have finished drying completely, use a hole punch to punch a hole at the top of the bauble.
9. Prepare twin
Cut a section of baker’s twin about 15-18 inches in length. Create a circle for hanging your ornament and tie a knot in the baker’s twine to seal it shut. Do not cut off the excess baker’s twine at the top.
10. Add twin to the ornament
Push the bottom of the hanging loop you just created in step 9 through the hole in the front of the Christmas ornament. Push the opposite knotted end through the loop created at the back of the ornament and pull it tight so it secures the tie onto the ornament.
11. Tie bow from excess twine
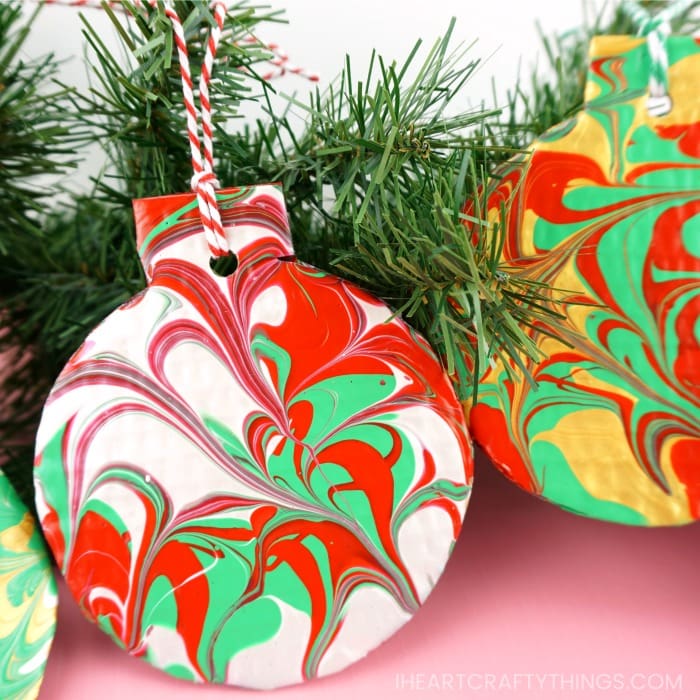
Tie a bow with the excess baker’s twine at the top of the ornament.
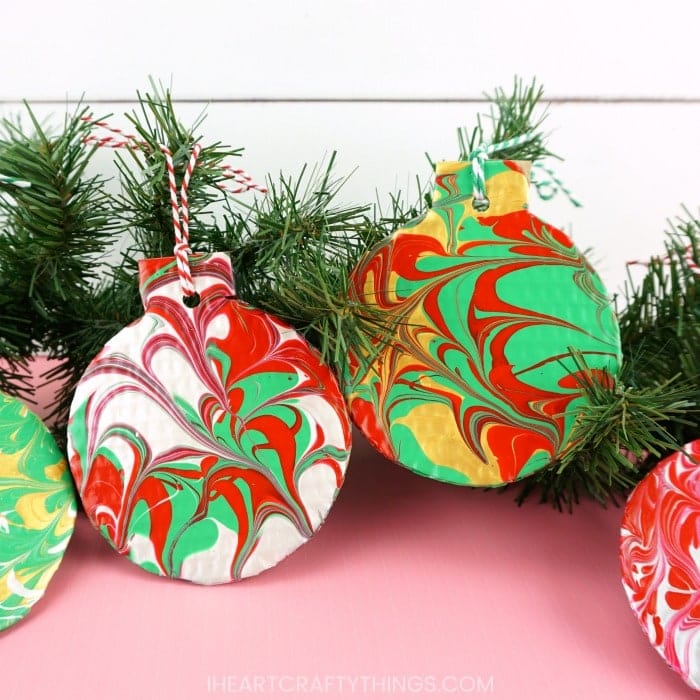
Your gorgeous finished ornament is now ready for hanging on the Christmas tree.
Video Tutorial: Step-by-Step guide for making marbled Christmas ornaments
Before you get started with this craft, watch the video below for a step-by-step guide on how to make these easy marbled ornaments.
Find more easy kids crafts and Christmas craft ideas for kids by browsing the categories at the top menu bar of our website.