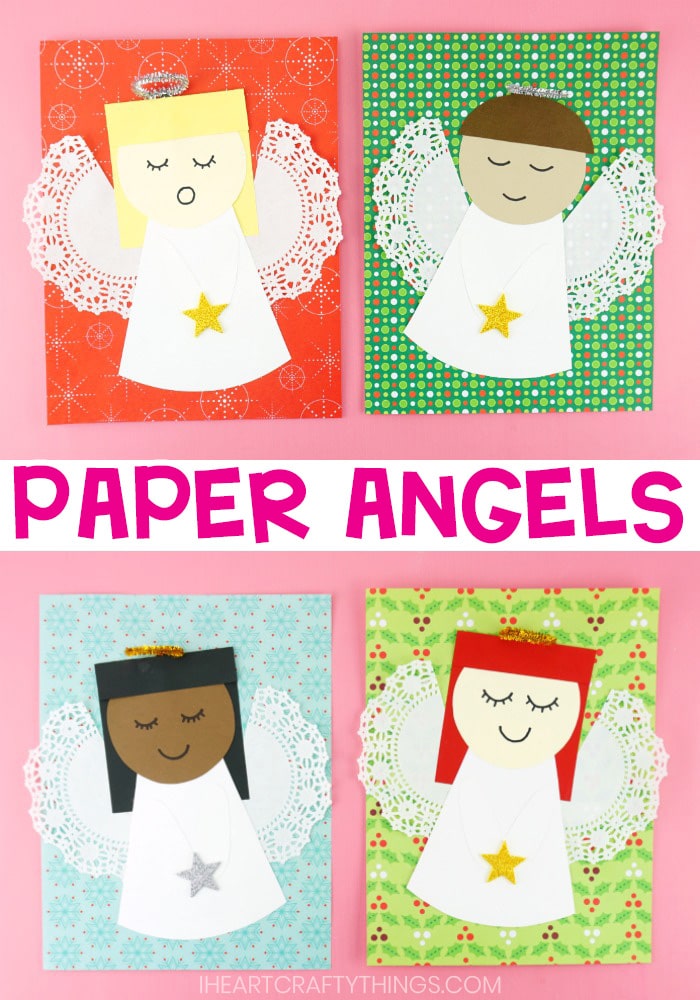
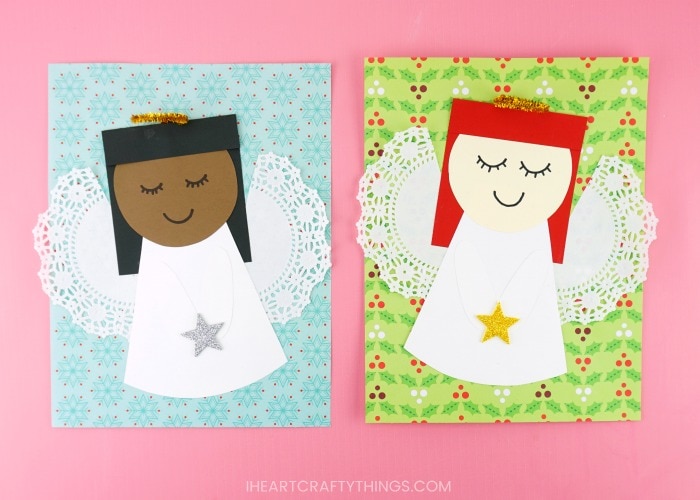
You are going to love this fun and easy tutorial for how to make paper angels. This beautiful and easy angel craft is a perfect activity for kids to make after learning about Christmas at home or in Sunday school.
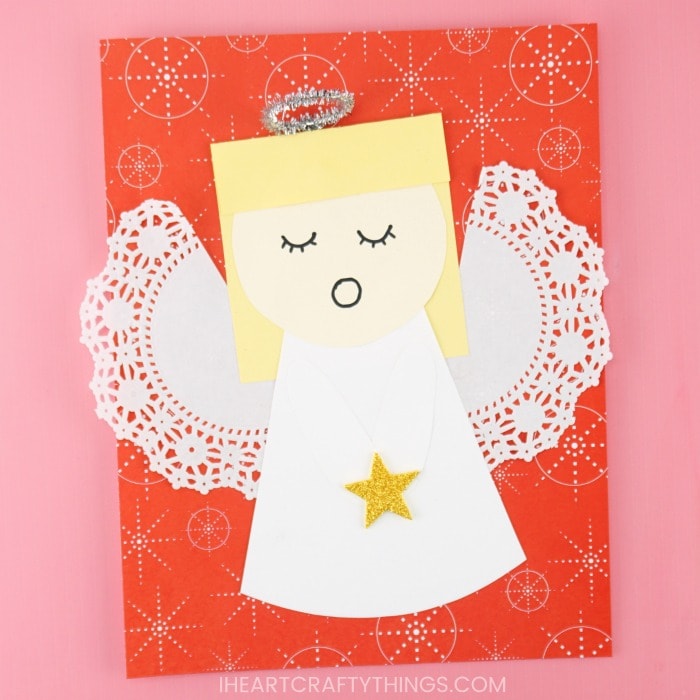
There is something so serene and lovely about making angels for Christmas crafting. Our template is super easy for kids to use to create a Christmas angel that looks just like them. In fact, in this tutorial, I’m creating an angel with red hair and fair skin to look just like me.
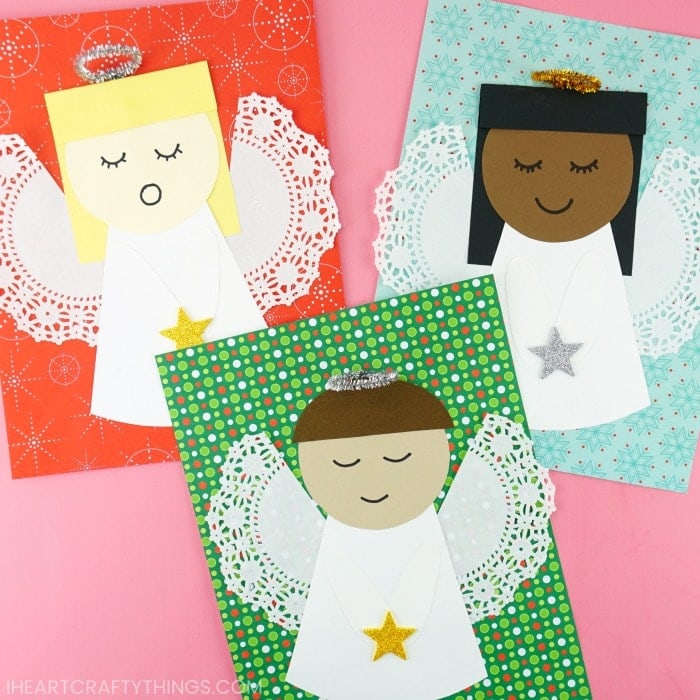
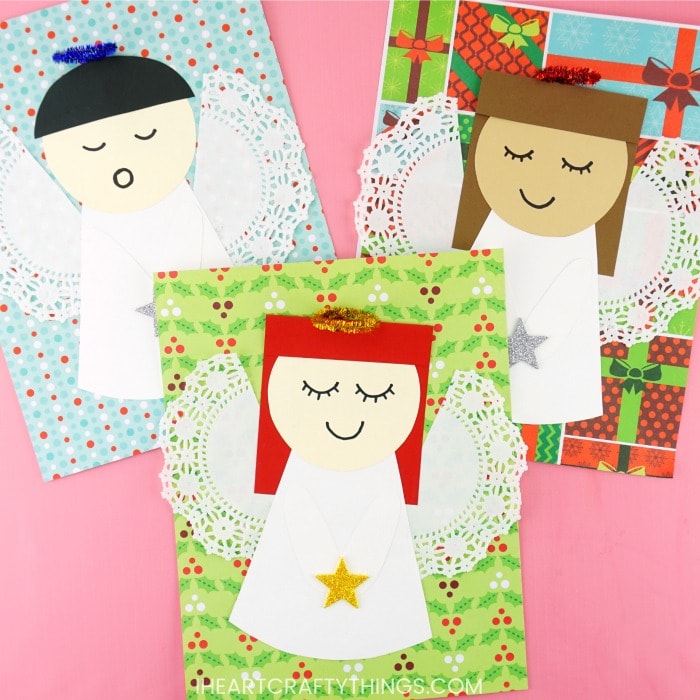
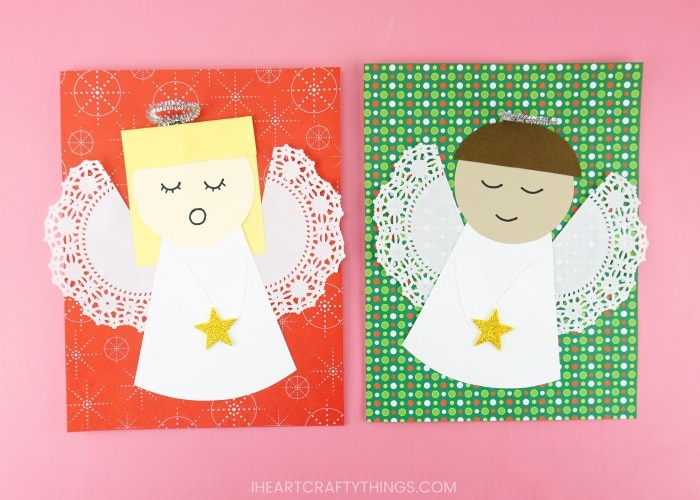
Our Christmas patterned paper as a background is a perfect compliment to this easy craft. The pretty angels popping out against the colorful, festive background makes them look truly angelic.
The idea of a classroom bulletin board or a wall at church filled with unique angel crafts makes my heart swell. It’s such a fun and simple Christmas craft for kids of all ages.
Read our simple instructions for how to make paper angels below, and make sure to catch our full video tutorial near the bottom of this post.
I Heart Crafty Things is a participant in the Amazon Services LLC Associates Program, an affiliate advertising program designed to provide a means for sites to earn advertising fees by advertising and linking to amazon.com.
Supplies needed:
- paper angels template <—– Get the Template HERE
- white and cream cardstock paper
- Christmas scrapbook paper
- white doilies
- blue pipe cleaners
- glittery foam star stickers (optional)
- black marker
- glue stick
- scissors
Instructions:
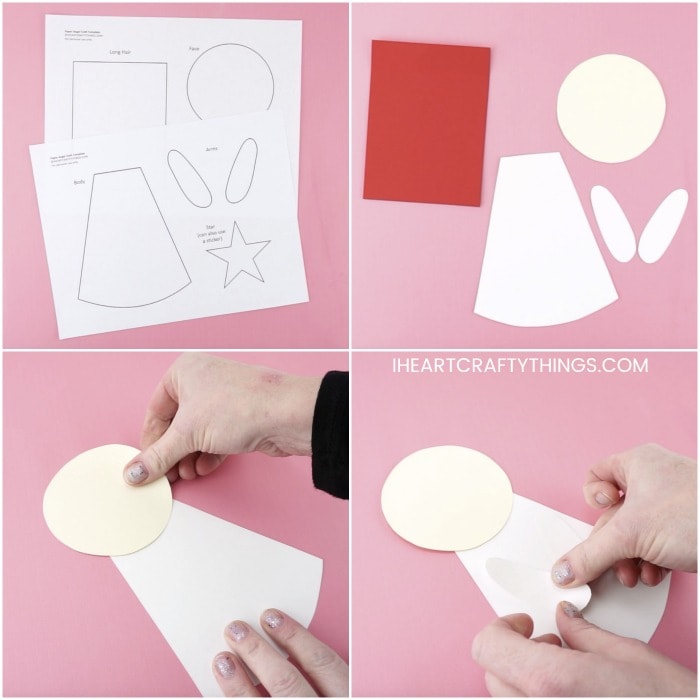
1. Print out template
Start by downloading and printing out the angel craft template. Use the angel templates as a pattern and cut out the different pieces from cardstock. Cut out the arms and body with white cardstock. Use a skin tone color of your choice for the face and another color of your choice for the hair.
If you are using our star template instead of a sticker, cut it out with yellow, gold or silver cardstock paper.
2. Glue face and arms to the body
Add glue at the top of the angel body and glue the face onto the body. Then glue each of the arms on the body.
3. Glue hair to the face
If you are using the long hair for your paper angel, fold down the top of the hair about one-half inch to make bangs. Add glue at the top of the angel face and glue the bangs down onto the face.
Flip your angel face down. Place glue on the back of the face. Then glue the back of the hair onto the angel.
If you are using the short hair for your angel, simply glue it at the top of the angel face.
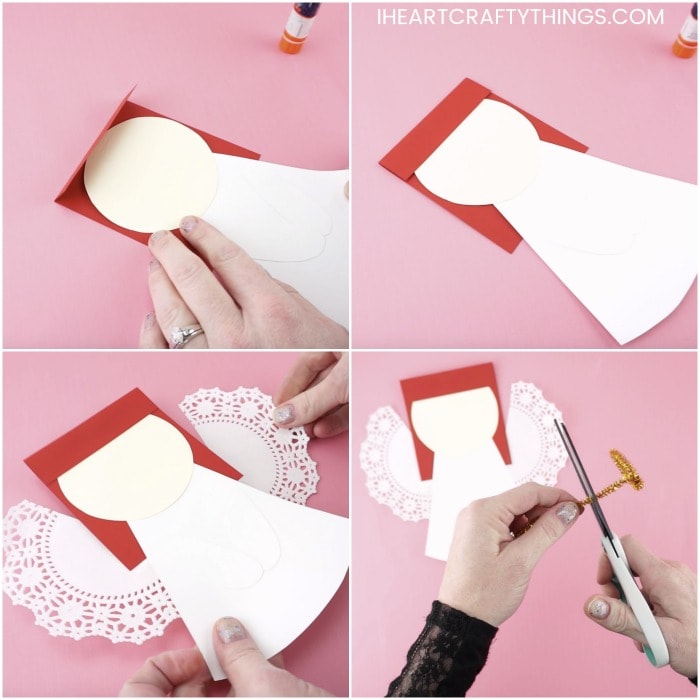
4. Make wings
Cut a 6-inch doily in half to create angel wings. Place glue on the ends of each doily wing and glue it on the back of the angel.
5. Make a halo
Create a halo from a glittery pipe cleaner for your angel. To do this, bend the end of a pipe cleaner to create a circle. Twist the end of the circle around itself to seal it shut. Cut the extra pipe cleaner off about 1 to 1-1/2 inches down from the halo.
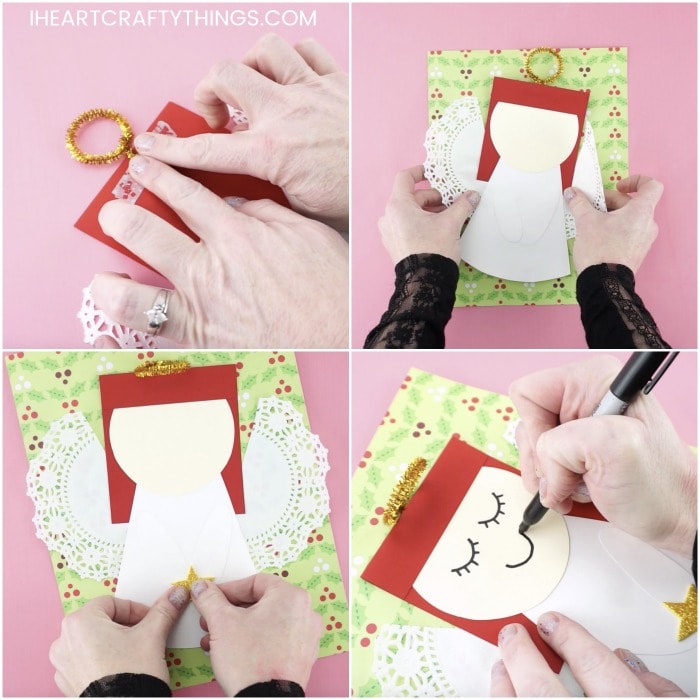
6. Glue halo to your angel
Turn your paper anger face down. Tape the end of the halo at the top of your angel.
7. Now glue angel to the scrapbook paper
Add glue to the back of your angel and glue it onto a piece of Christmas patterned scrapbook paper. Bend down the halo so it is hanging down over your angel’s face.
8. Glue star sticker
Place a glitter star sticker in your angel’s hands. Or you can also use the big star included in our angel template.
9. Draw face details
Use a black marker to draw eyes and a mouth on your angel. We drew our eyes closed and a few with their mouths open like they are singing.
Before you get started making your beautiful Christmas angels, watch the video below for a quick step-by-step guide on how to make them.
Find more Christmas crafts, homemade card ideas and easy paper crafts for kids by browsing the categories at the top menu bar of our website.
