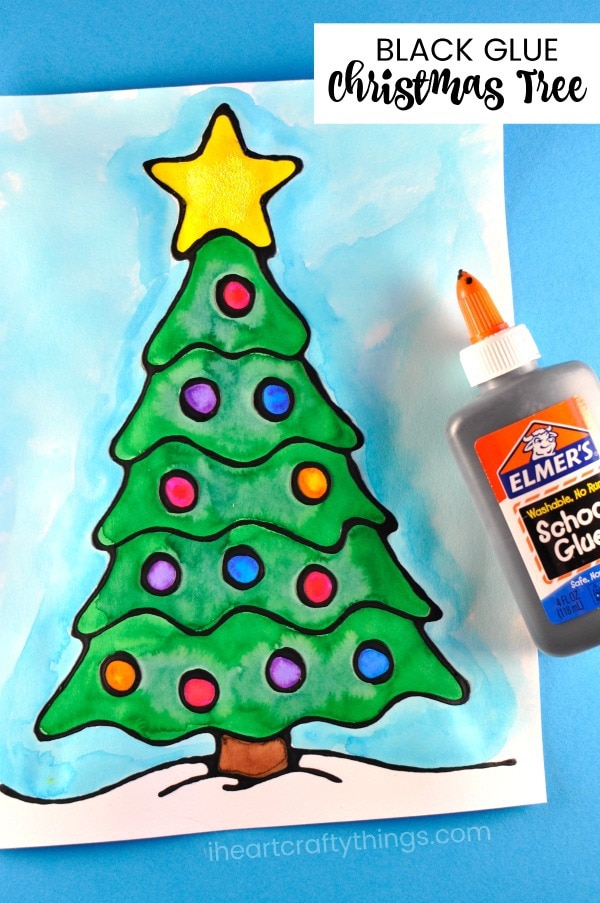
Are you looking for a beautiful art project to make with your students or children for the Christmas holiday? If so, you will adore this black glue Christmas tree art project.
Children will not only enjoy the process of creating it but the end result is guaranteed to be gorgeous!
This post contains affiliate links to the products mentioned. Read our disclosure policy for more information.
Supplies needed:
- Christmas Tree Art Project template <—–Purchase in our Shop!
- mixed media paper
- School glue
- black acrylic paint
- stirring stick
- watercolors
- paintbrush
- yellow glitter

Instructions:
1. Prepare your black glue
Start by mixing together your black glue. To do this, use a bottle of Elmer’s School Glue that is about 75% full. Open the lid and squeeze in a generous amount of black acrylic paint. Put the lid back onto the school glue and then shake, shake, shake the bottle of glue for several minutes to incorporate as much of the black paint as possible.
Then remove the glue lid and give the mixture a stir using your skewer or stick. The end of a paintbrush works well for mixing too.
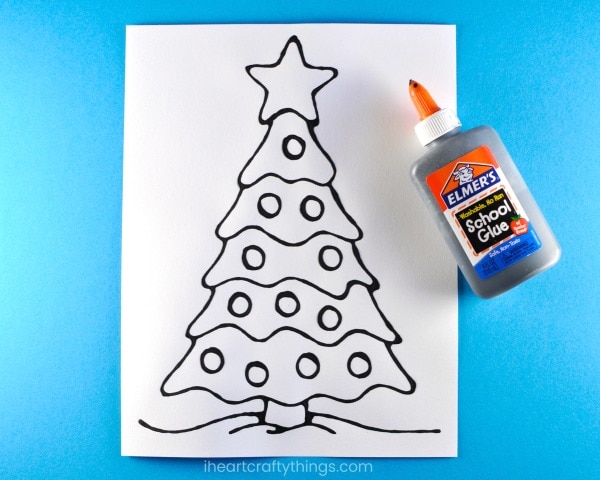
2. Print out template
Print out the Christmas tree pattern on mixed media or watercolor paper. (If you don’t want to purchase the template, draw your own Christmas tree design on mixed media paper.)
3. Trace your tree
Before you begin tracing the Christmas tree with your black glue, test out the glue first on a napkin or separate piece of paper. Create some lines to experiment with the flow and spread of glue.
Once you’re happy with the way the glue flows, use a steady hand to trace the lines of your Christmas tree with your black glue.
4. Let it dry
Leave the black glue to dry overnight. This step is important because if you paint your picture prior to the black glue drying your watercolors will mix with the black paint.
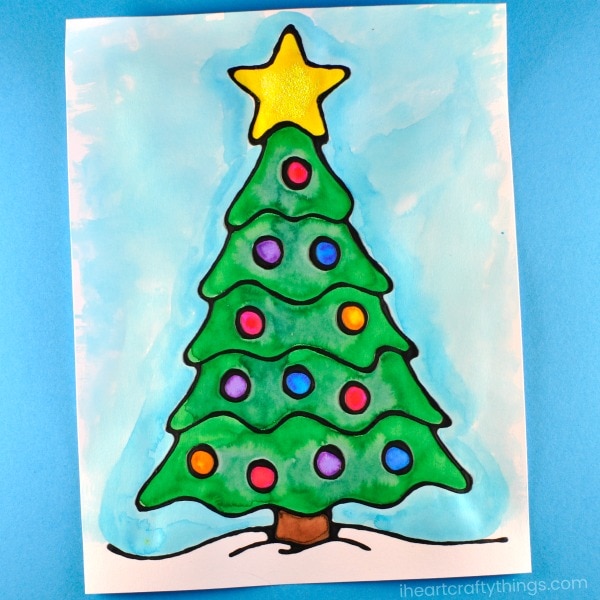
5. Paint with watercolors
Once the black glue is completely dry, paint your Christmas tree art project with your watercolors.
6. Add glitters
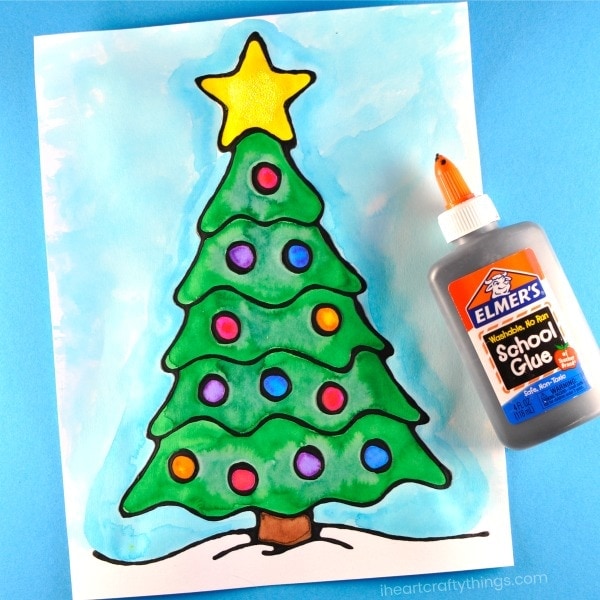
To add some extra sparkle to your Christmas tree art project, add some glue in the middle of your tree star and sprinkle it with fine yellow glitter. This adds the perfect finished touch to your black glue art project.
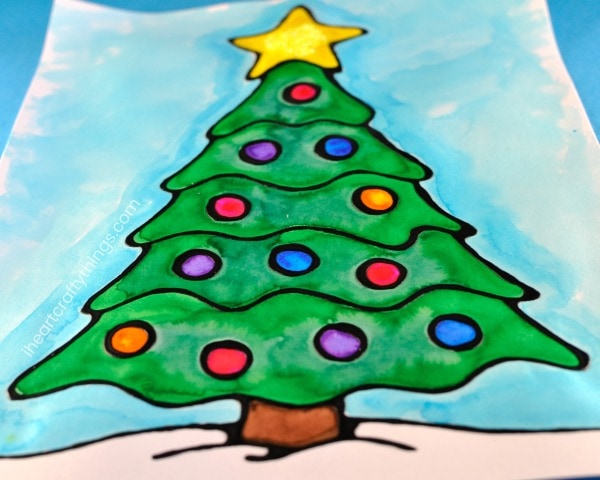
Your Black Glue Christmas Tree Art Project is finished!
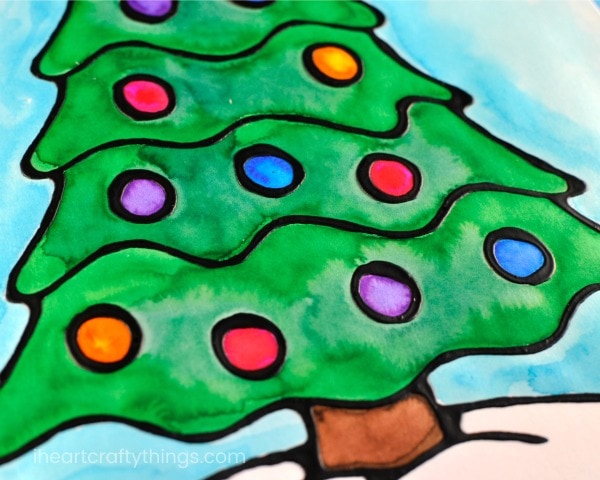
We love using liquid watercolors to paint our black glue art projects as the colors are so bright and vibrant. One of my favorite ways to paint with watercolors is to use a darker color to outline a section and then come back in with a lighter color to fill in the middle. I think it gives this Christmas art project some extra depth and fun texture.