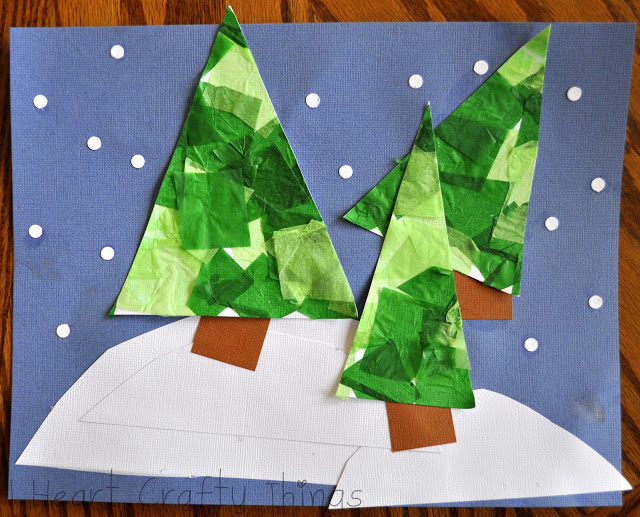
We are back to Christmas Tree Art again…This time I was inspired by the lovely Pam’s Drawing Board with her beautiful Stained Glass Trees. They are incredible!! I modified our artwork a bit to work for my children and I love how they turned out.

Supplies you will need:
- dark blue, white and brown sheet of cardstock paper
- dark and light green tissue paper
- school glue
- ruler
- scissors
- hole punch
- pencil
Directions:
1. Cover a sheet of cardstock paper with squares of tissue paper
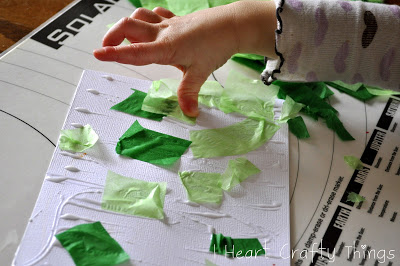
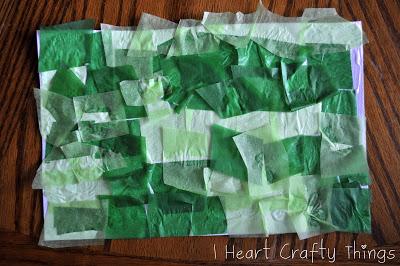
Start by covering half of a sheet of white cardstock paper with glue and squares of dark and light green tissue paper. Even toddlers can do this part. I helped her add the glue to her paper and she had fun putting the tissue paper squares on herself. After the sheet is completely covered in tissue paper squares, let it dry completely.
3. Draw three triangles on the back of paper and cut them out
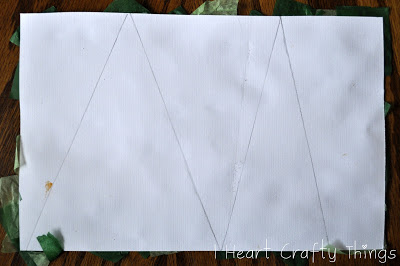
Once dry, turn the paper over and use a ruler to help draw three triangles on the back. They don’t have to be all the same size. I think it looks great with them all different sizes. My Kindergartner and 2nd Grader were able to complete this step on their own. Then cut out your triangles.
4. Cut out hills, glue them onto blue cardstock paper, add triangle trees on top
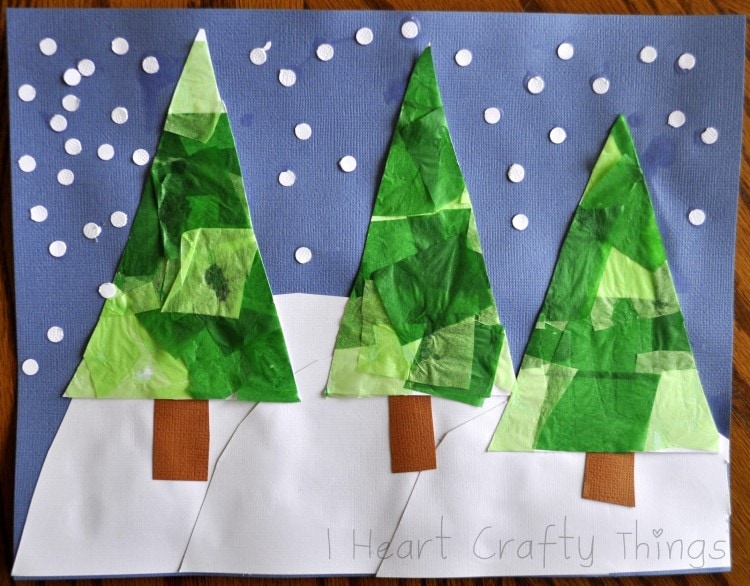
Cut snow hills out of your full sheet of white cardstock paper and glue them onto a dark blue sheet of cardstock paper. Then glue your triangle trees on top of the hills.
5. Add tree trunks and snow
To finish your artwork, cut brown tree trunks out of brown paper and glue them to your trees. Also, glue white hole punched circles as snow all over your paper. They all turned out so festive and beautiful!
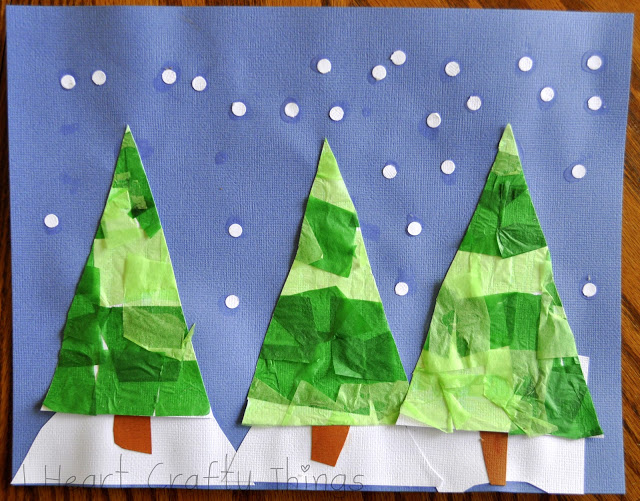
Here is my 2-year old’s completed project below. I cut out all the pieces for her but she glued them down on the paper where she wanted. For the snow, I added dots of glue all over the page and she was in charge of putting a snowflake on each glue dot. I love how the project is versatile for so many different ages and how beautiful and unique they all turned out.
