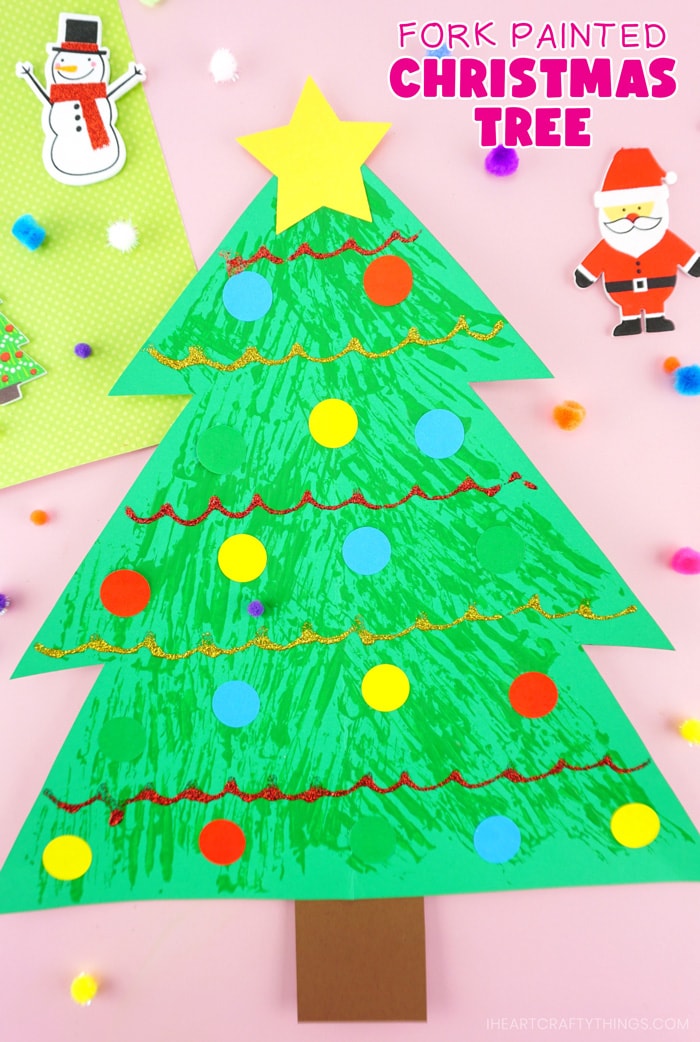
Christmas crafting is never complete without adding a magical Christmas tree in the mix. This fork painted Christmas tree craft is such a fun holiday-themed art project for preschoolers and kids of all ages.
I’m always on the hunt for creative and unique painting techniques to bring more excitement to craft time with my children. Using a fork to paint the pine needle texture on this easy Christmas tree craft is such a simple technique that yields beautiful results.
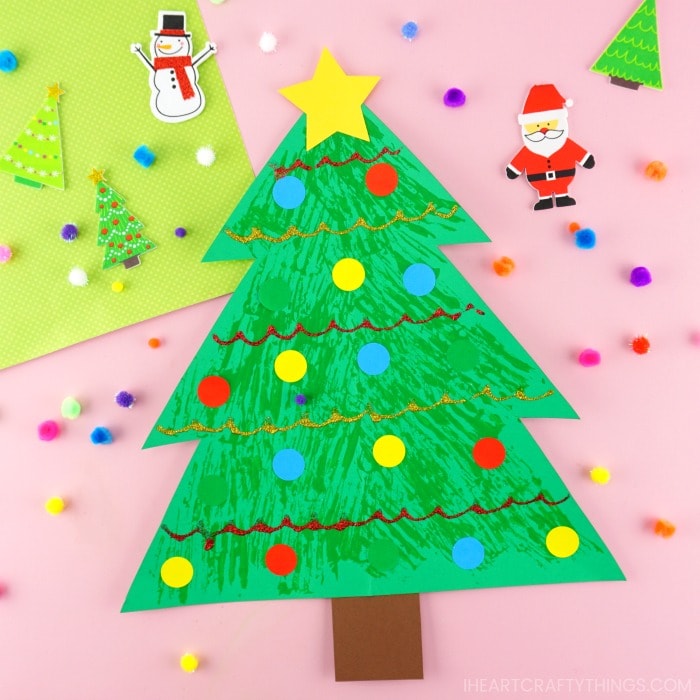
My daughter loved painting and decorating her Christmas tree craft. Whether you make this easy Christmas art project home or school, it’s sure to be a highlight this holiday season.
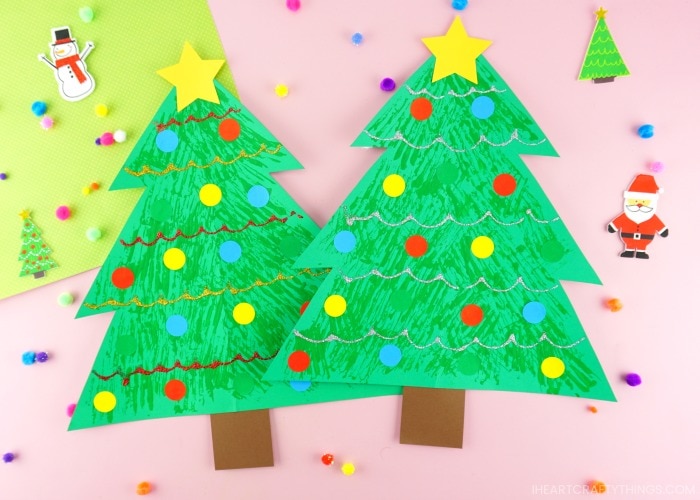
Read our easy step-by-step tutorial below for how to make this easy Christmas tree art project with your kids. Make sure to watch our video tutorial inside this post before get started too.
Supplies needed:
This post contains affiliate links to the products mentioned. Read our disclosure policy for more information.
- green, brown and yellow cardstock paper
- pencil
- scissors
- green acrylic paint
- plastic fork
- small paper plate
- glitter glue
- circle stickers or sequins
- glue stick
Instruction:
1. Cut out tree shape
Start by cutting a Christmas tree shape out of your green cardstock paper. I found it easiest to fold my paper in half, draw half of a Christmas Tree onto my paper then cut out that shape. When you unfold it, you end up with a Christmas tree with identical sides.
Pro Tip: If you are doing this for a classroom, use your first one as a pattern to trace all your other trees.
2. Paint your tree
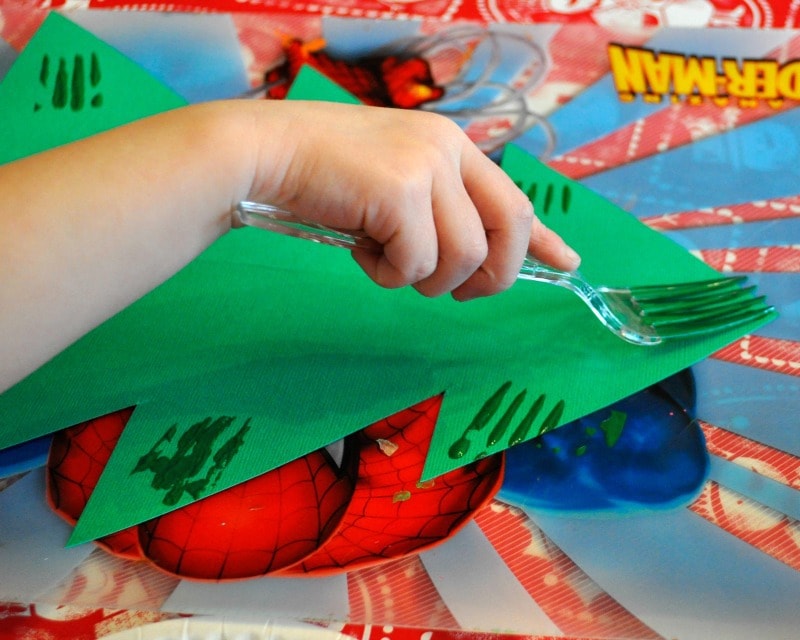
Pour a small amount of green paint onto a small paper plate. Have your child dip their plastic fork into the paint and then stamp it onto their tree to give it a pine tree texture. Continue dipping the fork back into the paint and then stamping your tree all over until you are satisfied with the texture and design on your Christmas tree.
3. Let it dry
Set aside your fork painted Christmas tree and let it dry completely.
4. Make trunk & star
Once your Christmas tree is dry, cut out a trunk from your brown paper and a star from your yellow paper, and glue them onto your tree.
5. Decorate your tree
Now comes the fun part. It’s time to decorate it with glitter glue and any embellishments of your choice like circle stickers, sequins or pom poms.
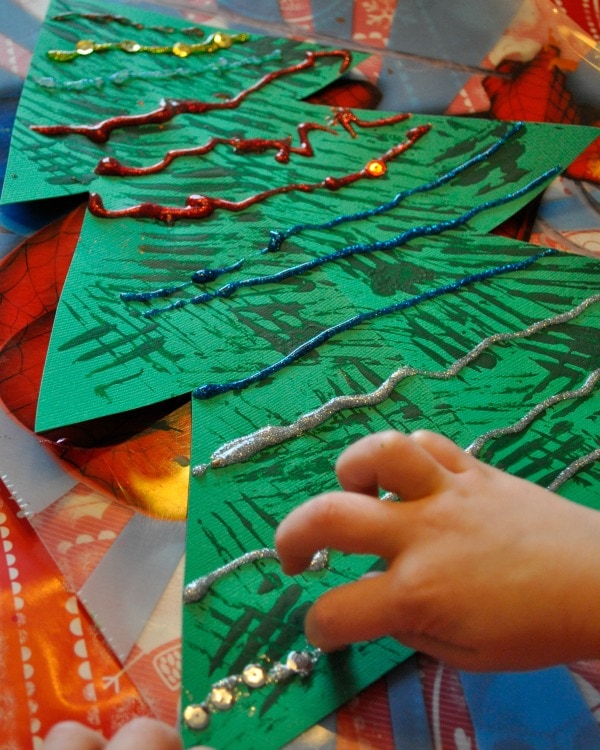
Leaving this as an open-ended activity for my preschooler was fantastic. I laid out the materials for her and then she had complete control over decorating it how she wanted. It made me smile seeing how she decided to match her colors with the glitter glue and sequins.
You will love how each child’s art project turns out beautiful and completely unique from one another’s.
