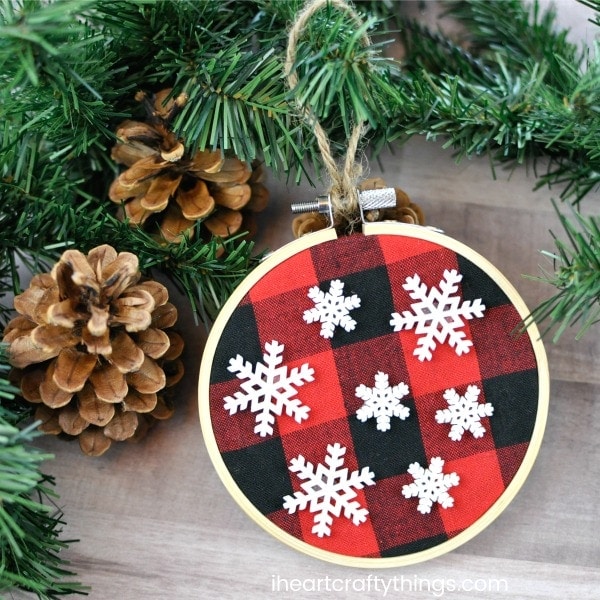
There’s something special about looking up at your decorated Christmas tree every year and seeing handmade ornaments on it that your children made, don’t you think? Since kid-made ornaments help make Christmas extra magical we try to make a new ornament to add to our Christmas tree every year. The level of complexity of our ornaments has of course changed over the years as my children have grown from simple handprint reindeer ornaments to yarn wrapped Christmas tree twig ornaments and this year (since I am currently obsessed with all things buffalo plaid) we are adding these simple, rustic buffalo plaid Christmas ornaments.
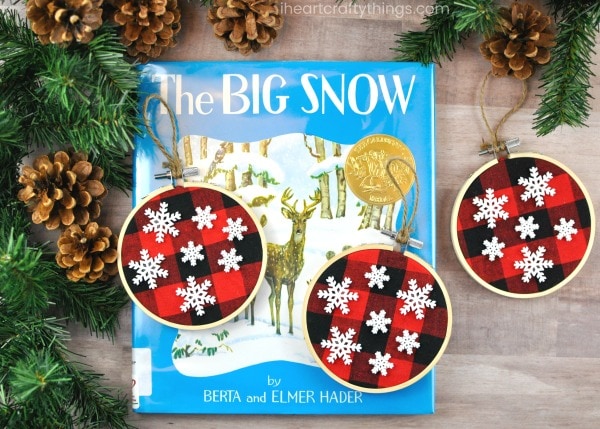
Follow along as woodland animals get ready for the winter season. Geese flew south, rabbits and deer grew thick warm coats, and the raccoons and chipmunks lay down for a long winter nap. Come Christmastime, the wise owls were the first to see the rainbow around the moon. It was a sure sign that the big snow was on its way. -Amazon
This post contains affiliate links to the products mentioned. I Heart Crafty Things is a participant in the Amazon Services LLC Associates Program, an affiliate advertising program designed to provide a means for sites to earn advertising fees by advertising and linking to amazon.com.
Supplies needed:
- 4-inch wooden embroidery hoops
- 6″ x 6″ square, red buffalo plaid fabric (We found ours at Michael’s but this fabric looks similar.)
- snowflake buttons
- twine
- scissors
- hot glue gun
Instructions:
Note: This buffalo print Christmas ornament requires the use of a hot glue gun so it is not appropriate for toddlers or young children. Adult supervision is always required. My daughter, age 7, uses a low temp hot glue gun regularly with supervision so she was proficient and able to make these ornaments with me. Please read the instructions thoroughly before deciding whether it is appropriate for your child(ren).
1. Add fabric to the hoop
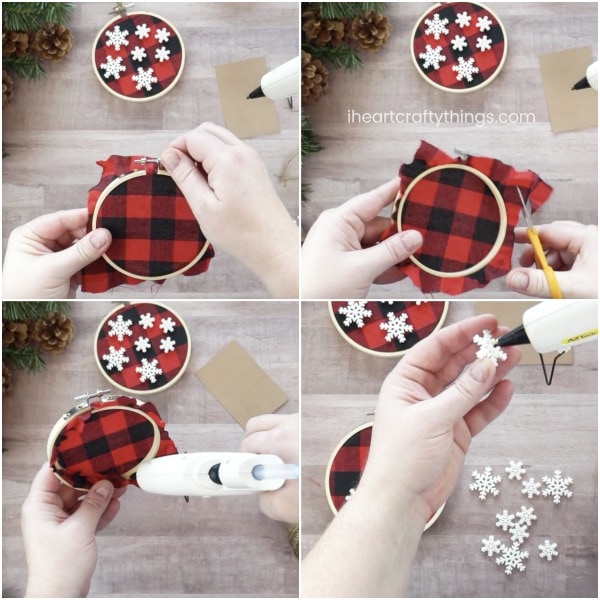
Begin by opening up and separating the two pieces of your embroidery hoop and then placing the buffalo fabric inside it, tightening it closed at the top.
2. Glue fabric to the hoop
Trim the excess fabric on the corners of the buffalo fabric, making sure to leave enough to secure it to the back of the embroidery hoop. Heat up your hot glue gun. Carefully add a short line of glue along the inside rim of the embroidery hoop and fold the excess buffalo print fabric down onto the glue. Continue working around the rim of the embroidery hoop, adding glue and then folding down the excess fabric.
3. Glue snowflake buttons
Arrange your white snowflake buttons onto your buffalo plaid Christmas ornament. When you are satisfied with the arrangement of the snowflakes, use your hot glue gun to glue them down onto the plaid Christmas ornament.
4. Add twine to the ornament
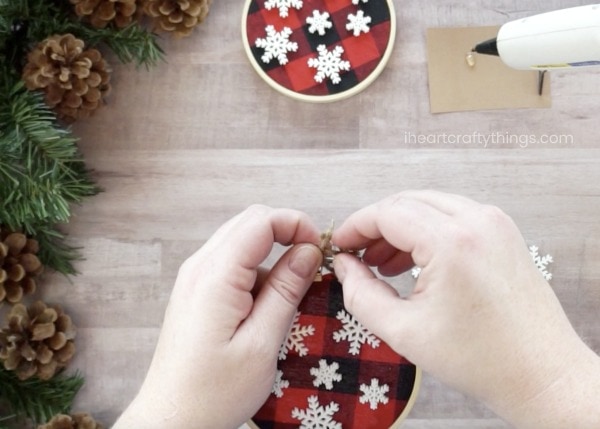
Cut off a section of twine and then tie a knot with the two ends (cut off any excess). Push the knotted end through the back of the metal prong on the embroidery hoop. Now bring the other end of the twine down through the open loop of the twine in the front of the ornament and pull the twine out snugly. You’ll create a tightened loop around the top of the buffalo plaid Christmas ornament so you can hang it on your Christmas tree.
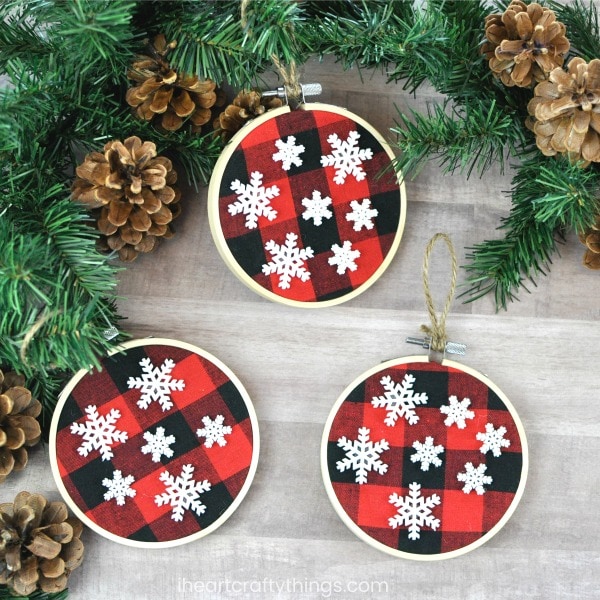
Your simple buffalo plaid Christmas ornaments are complete! Hang them on your Christmas tree this year for some beautiful, rustic flair.


