


Looking for 48 easy Valentine’s Day crafts ideas for kids and adults? You’re in the right place. This holiday is the perfect time to spread love with handmade gifts and decorations. Whether you’re crafting sweet treats or fun heart-themed projects, these ideas will spark creativity and make the day unforgettable.
Explore each category below for step-by-step guides on featured crafts, plus plenty of other inspiring tips to help you share the love with family, friends, and that special someone.
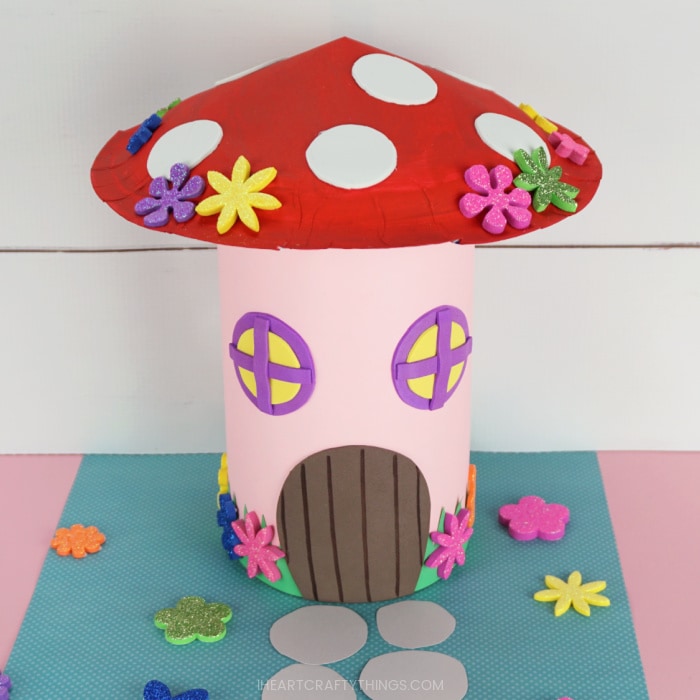
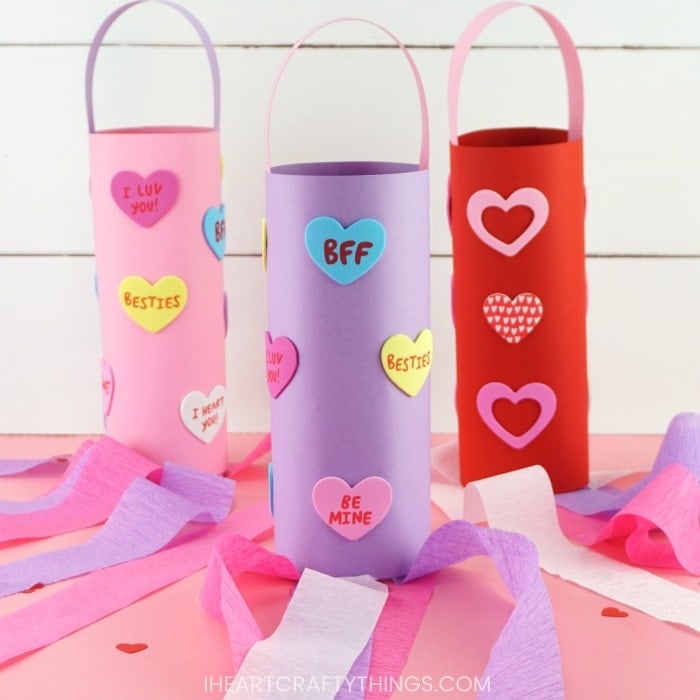
Creative Valentine Boxes & Holders
Transform ordinary containers into magical Valentine’s Day mailboxes and holders. From fantastical dinosaurs to whimsical fairy houses, these imaginative projects make collecting cards and treats extra special for kids and adults alike.
If you’re looking for a fun way to collect all those Valentine’s cards and sweet notes, these clever boxes and holders will do the trick!
1. Dinosaur Valentine’s Box
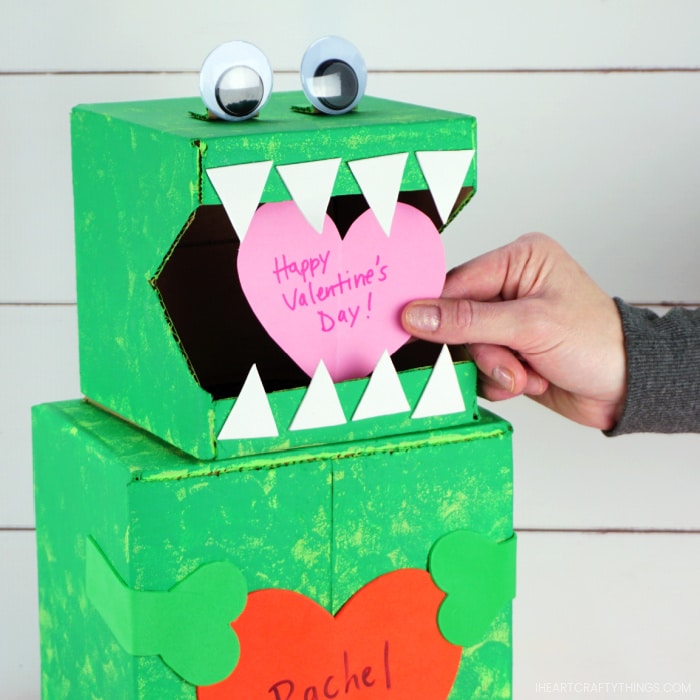
Channel a roar of excitement into your Valentine’s exchange with a dinosaur-themed box. Kids will love decorating this prehistoric holder, perfect for collecting cards and treats. Learn more in our DIY Dinosaur Valentine Box How-To.
More Valentine Holder Ideas:
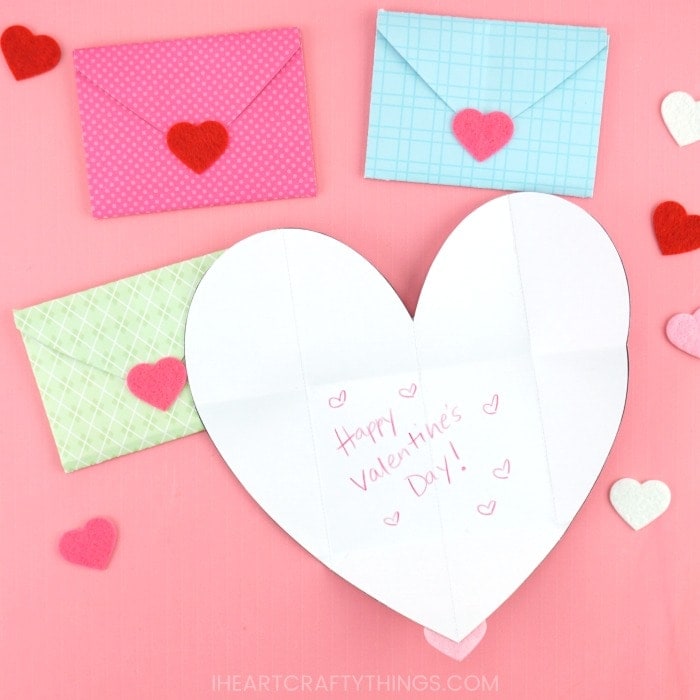
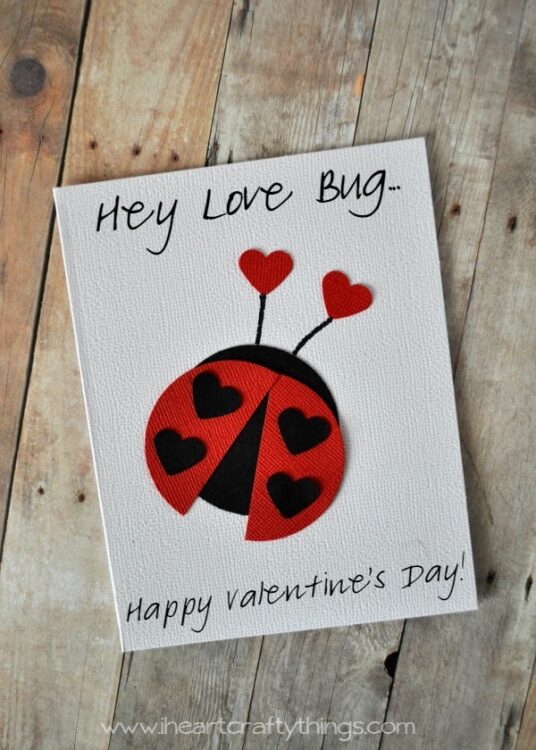
Adorable Valentine’s Day Cards & Printables
Add a personal touch to your heartfelt greetings with fun, kid-friendly cards and easy printables. Charming designs, vibrant colors, and sweet messages ensure each card spreads love and joy on Valentine’s Day.
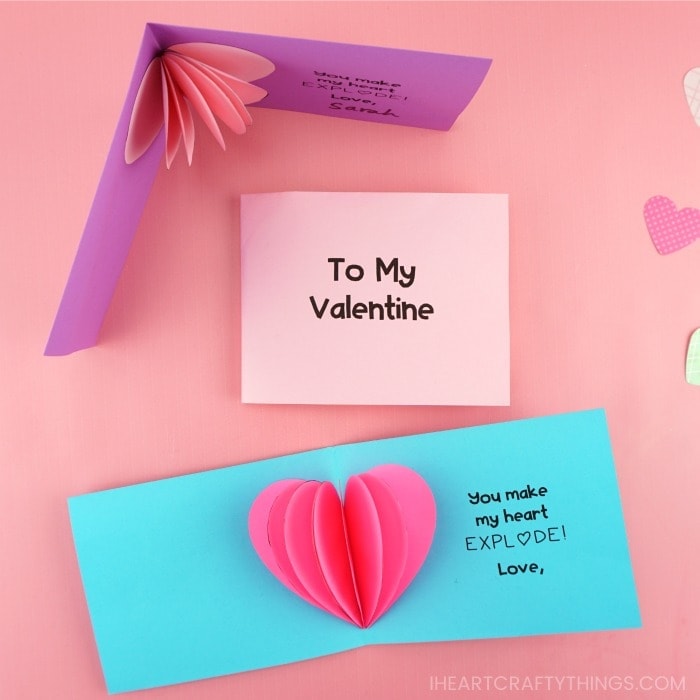
8. 3D Hot Air Balloon Card
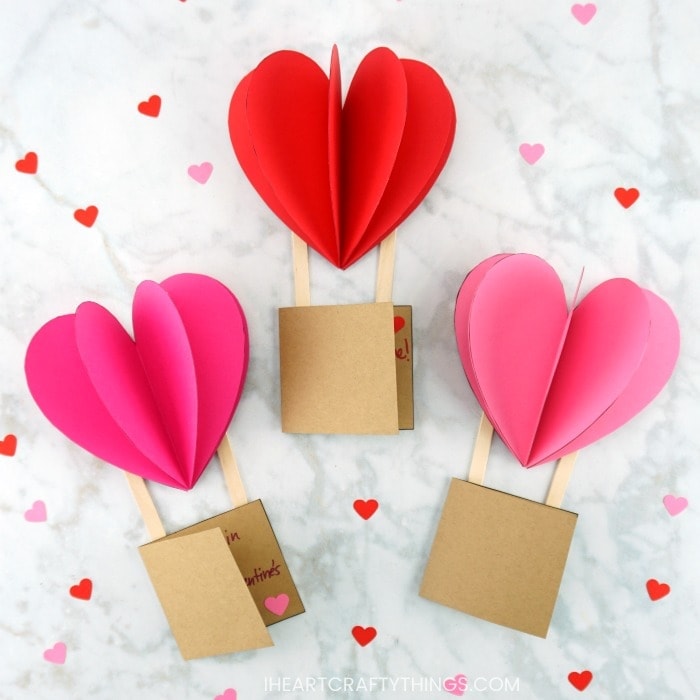
Lift spirits with a whimsical Valentine’s Day card that features a floating hot air balloon. Simple yet striking, it’s a thoughtful way to share the love. Check out the 3D Hot Air Balloon Valentine Card Tutorial.
More Card & Printable Ideas for Valentine's Day:

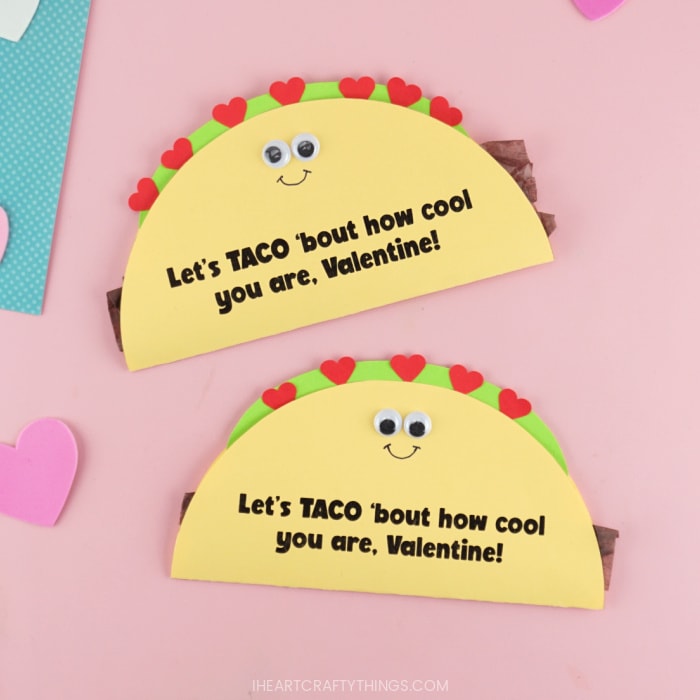
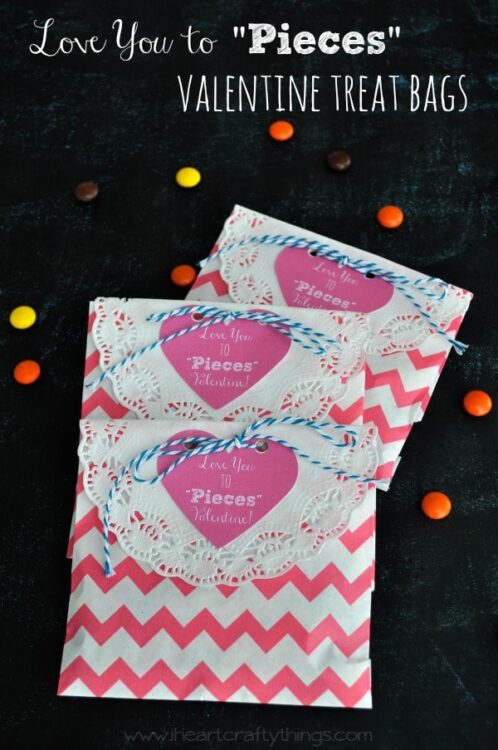
Valentine’s Day Treats & Gift Ideas
Whip up delightful surprises for friends, family, or classmates with simple, creative twists on classic sweets and presents. These tasty treats and thoughtful gifts blend homemade charm and holiday cheer in every bite or bundle.
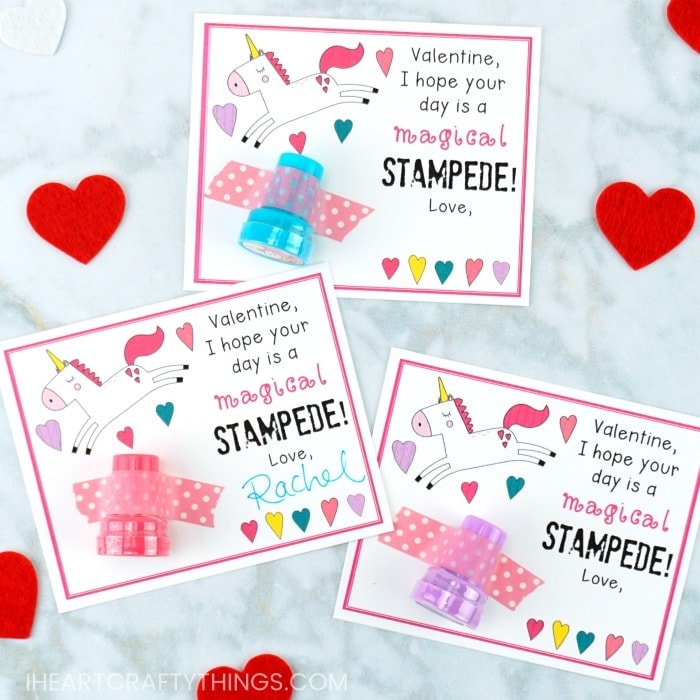
18. Heart Stamper Non-Candy Valentine with Printable
Skip the sweets and share a fun stamping activity instead. This interactive gift puts creativity first, offering a practical alternative to sugary treats. Try the Heart Stamper Valentine Idea with Free Printable.
More Valentine's Gift Inspirations:
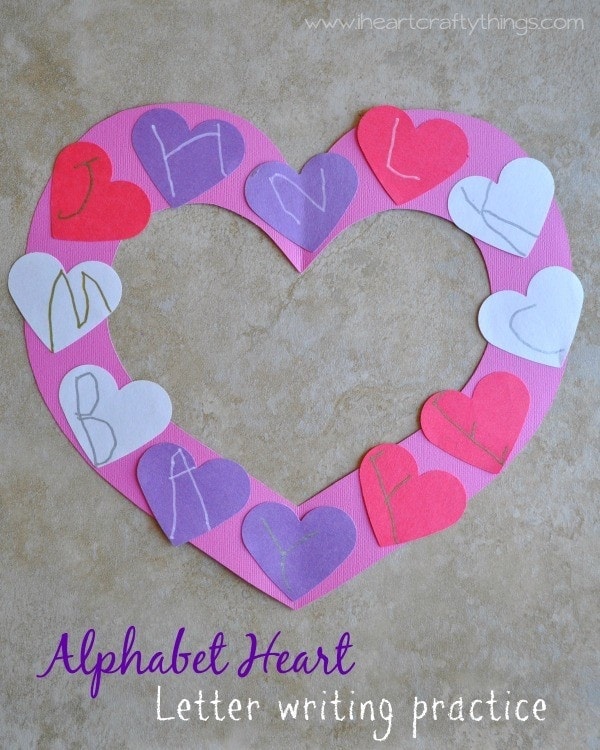
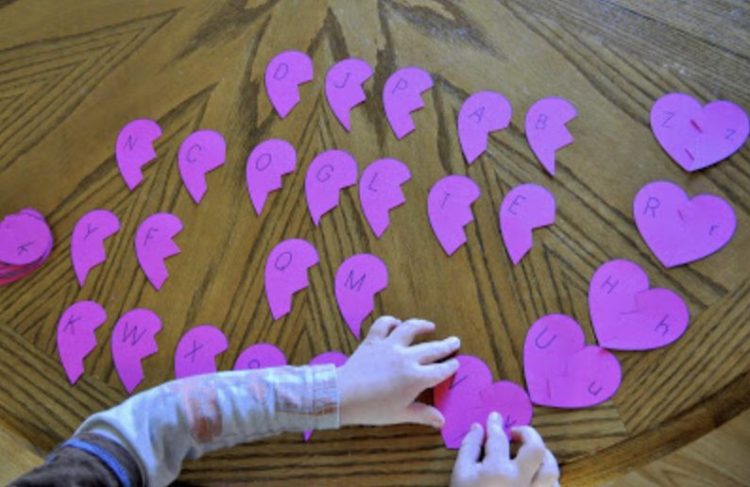
Engaging Valentine’s Day Learning Activities
Combine the spirit of Valentine’s Day with enriching lessons and playful exercises that spark curiosity. These interactive ideas let children practice counting, reading, and motor skills while celebrating all things love-related.
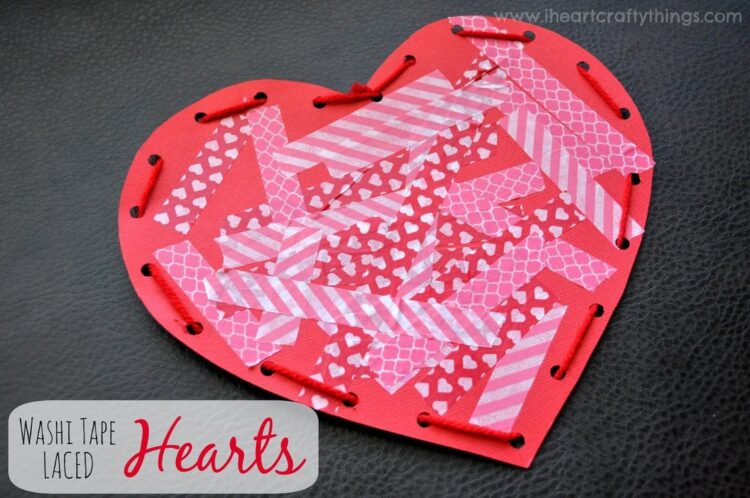
20. Number Heart Lacing Preschool Activity
Combine fun and learning with a charming lacing craft that helps preschoolers practice counting. Discover the easy steps in our Heart Lacing Valentine Activity Tutorial.
More Fun Educational Valentine's Day Craft Ideas for Kids

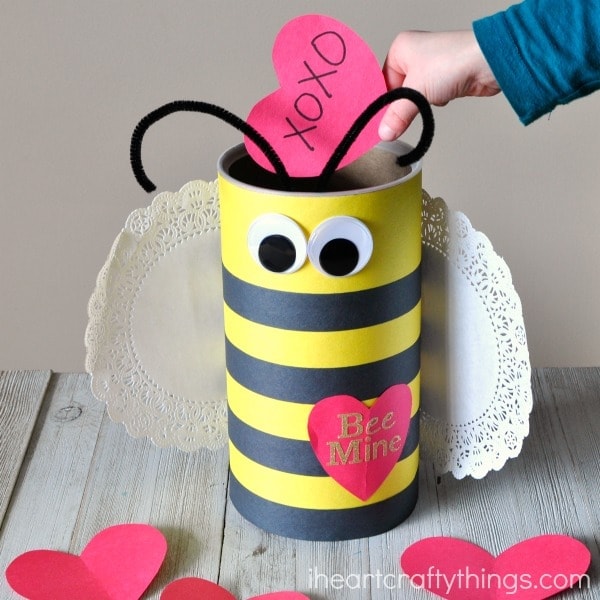
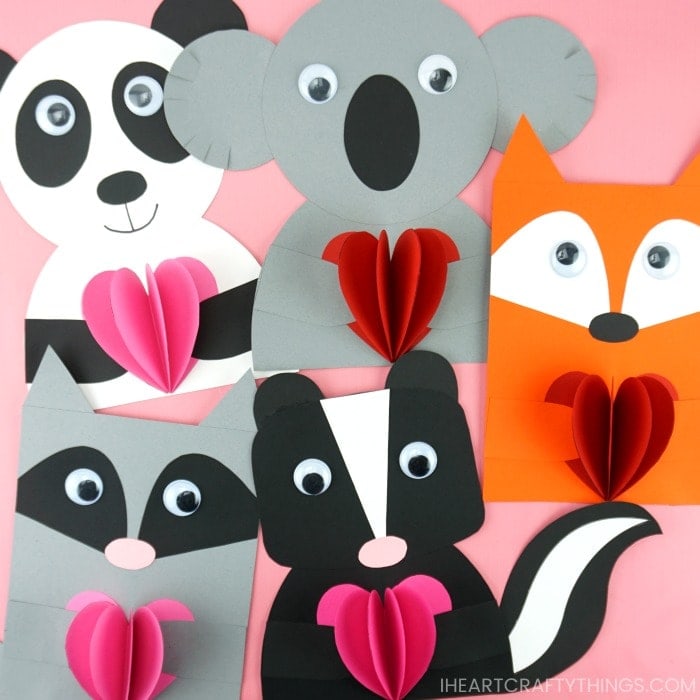
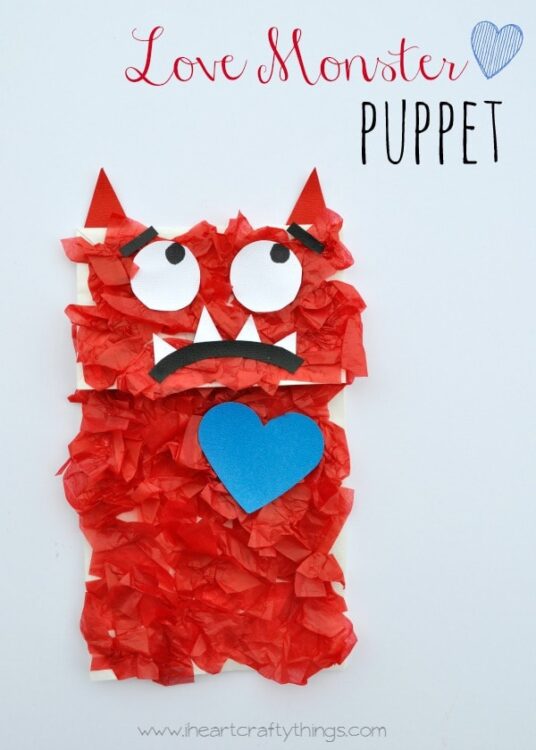
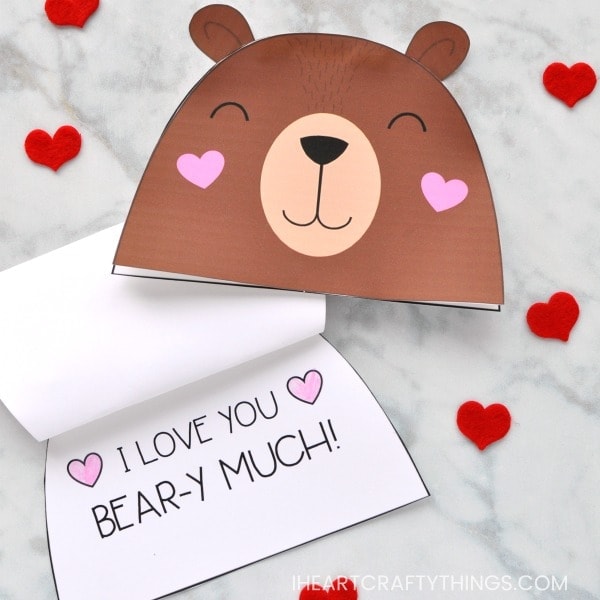
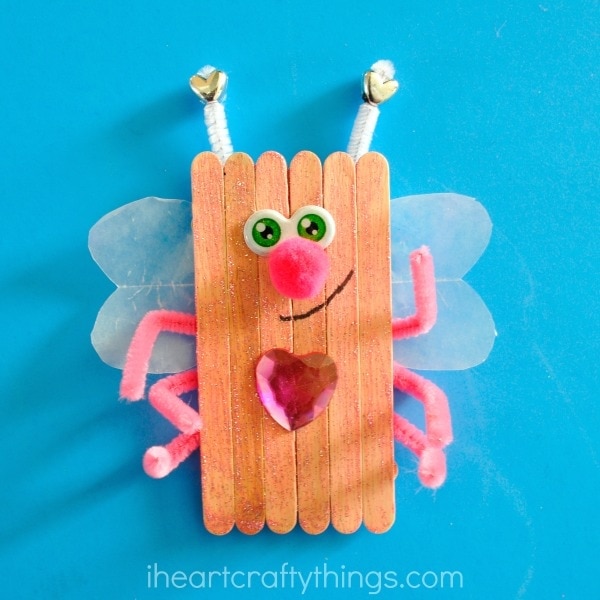
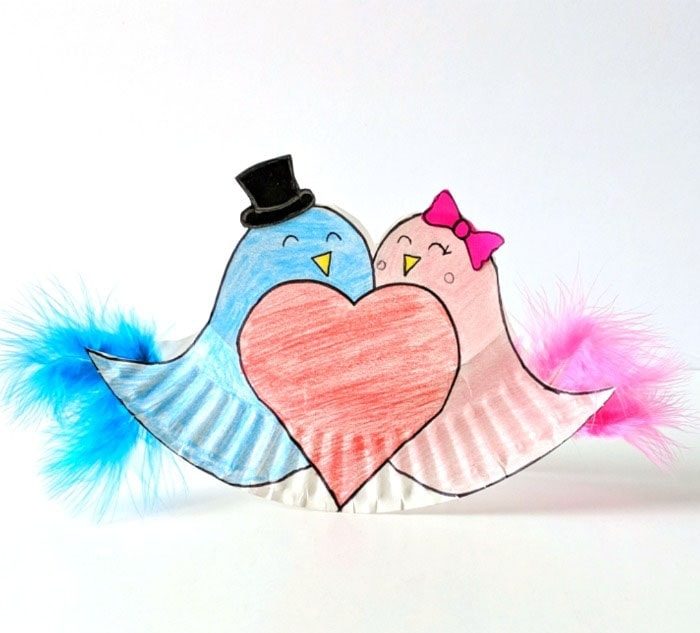
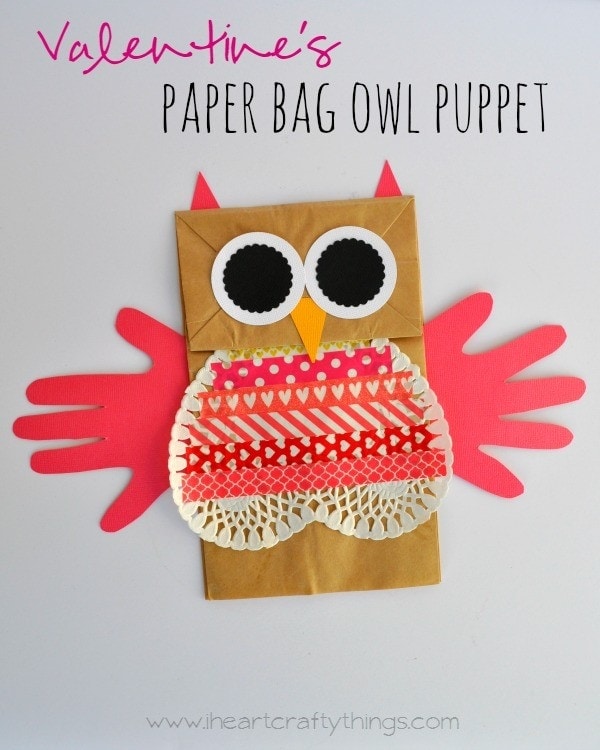
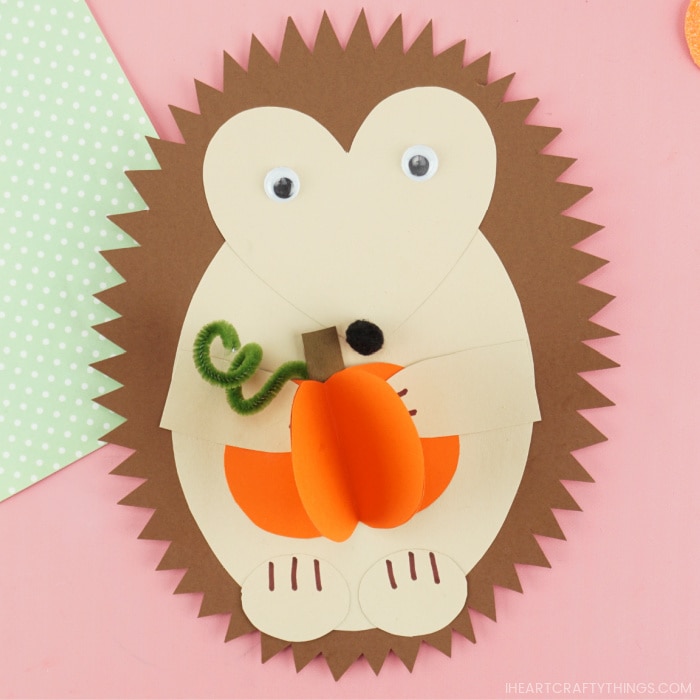
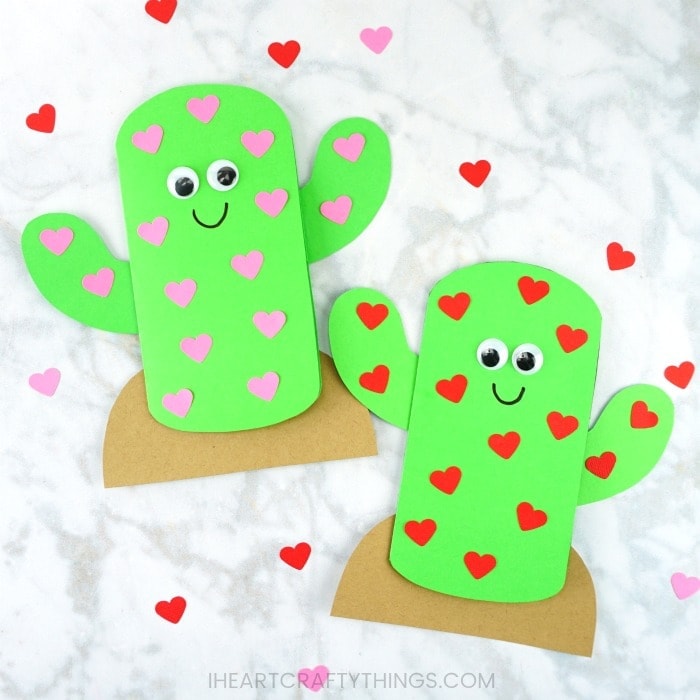
Animal & Creature Valentine Crafts
Infuse Valentine’s projects with adorable woodland critters, friendly monsters, and whimsical characters. Kids will love bringing these sweet creatures to life and sharing them with everyone who needs a little extra love.
25. The Most Adorable Sloth Craft
Celebrate love in slow-motion style! This cuddly sloth craft is sure to warm hearts with its laid-back charm. Learn how in our Easy Valentine Sloth Craft Directions.
More Animal-Themed Valentine Craft Ideas:
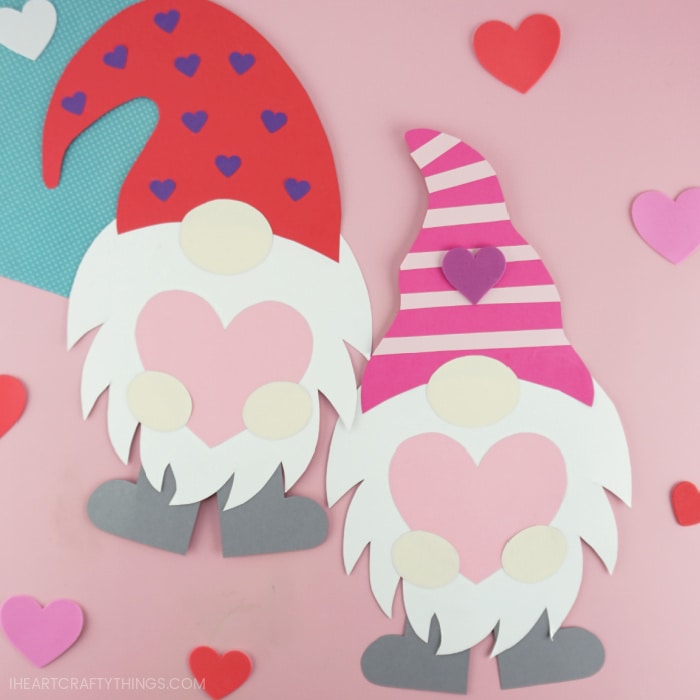


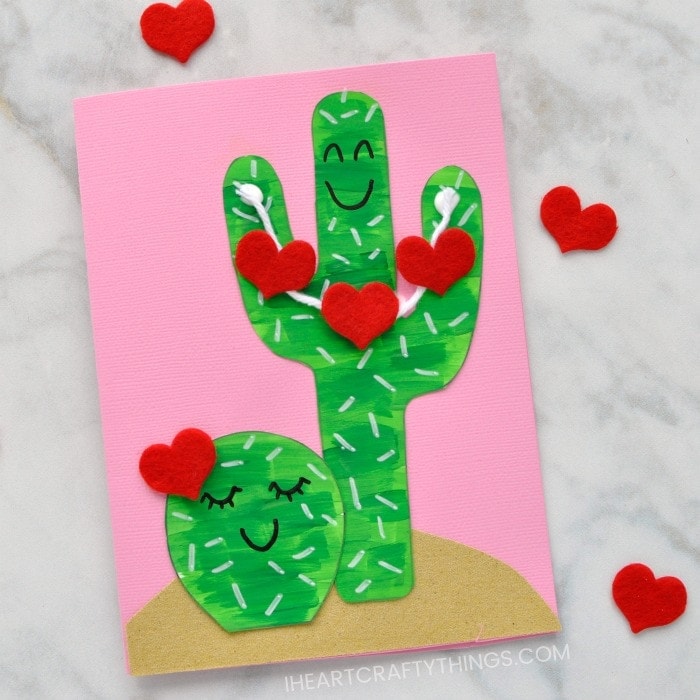
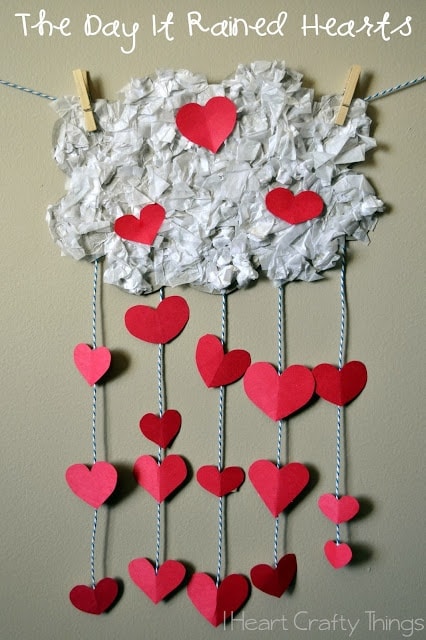
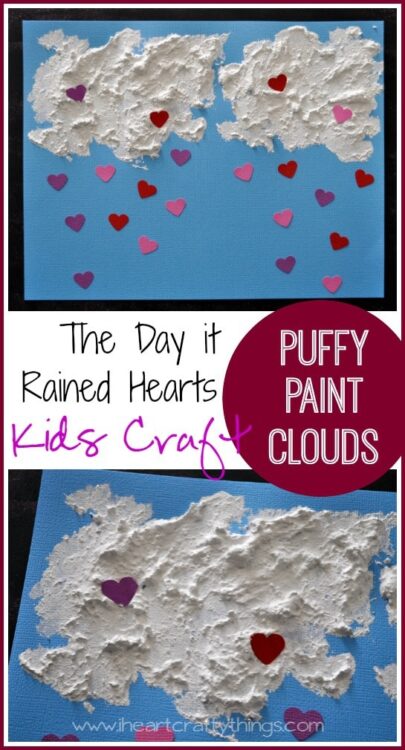
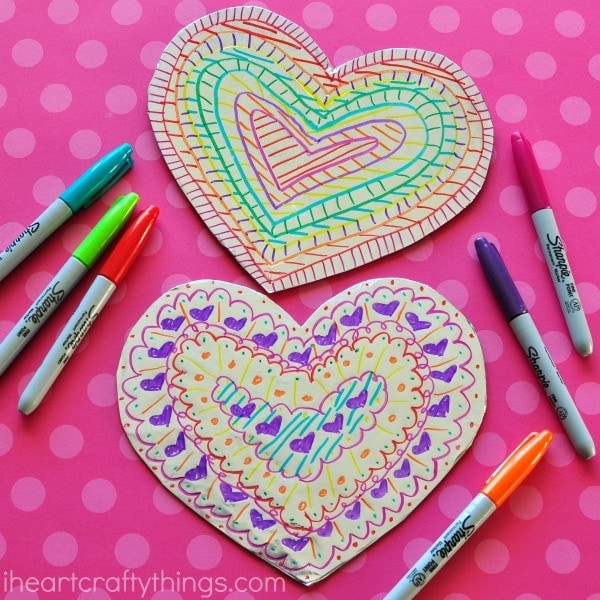
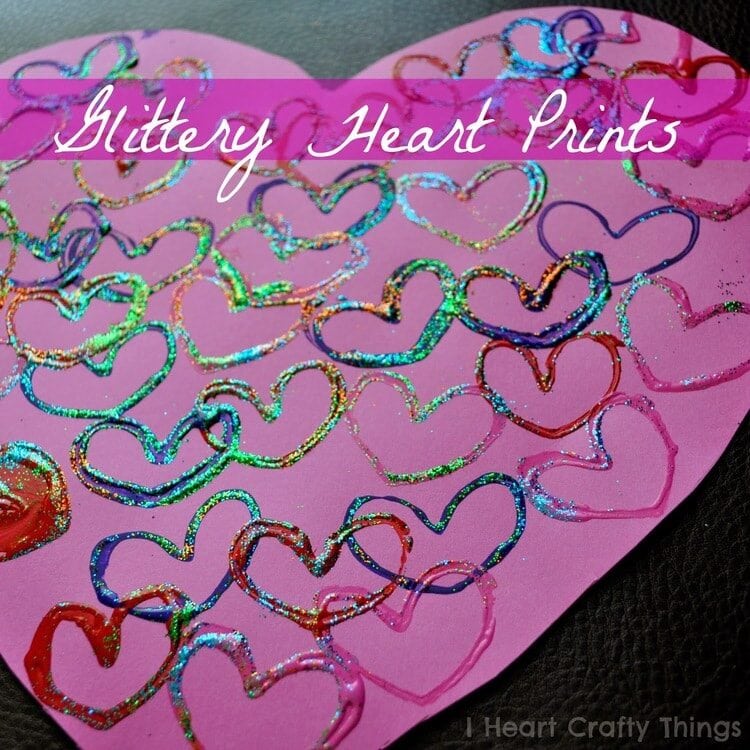
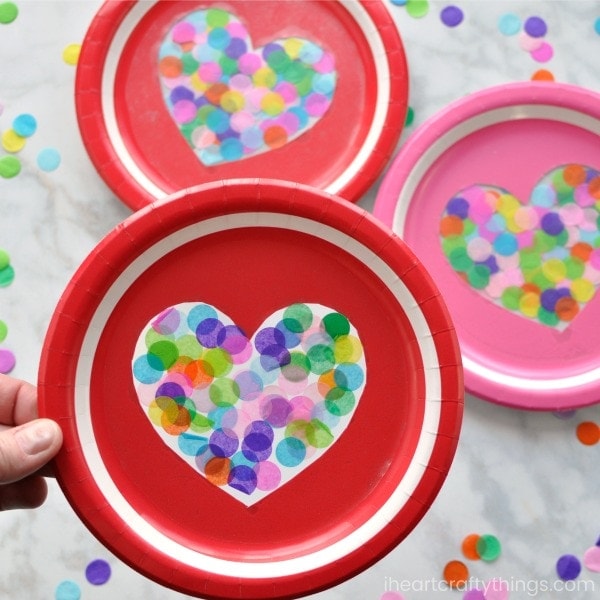
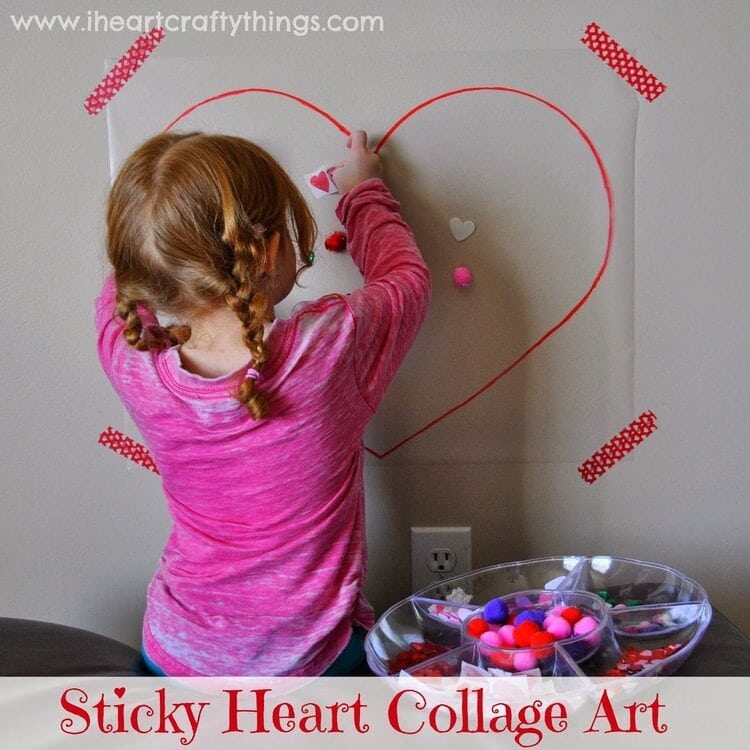
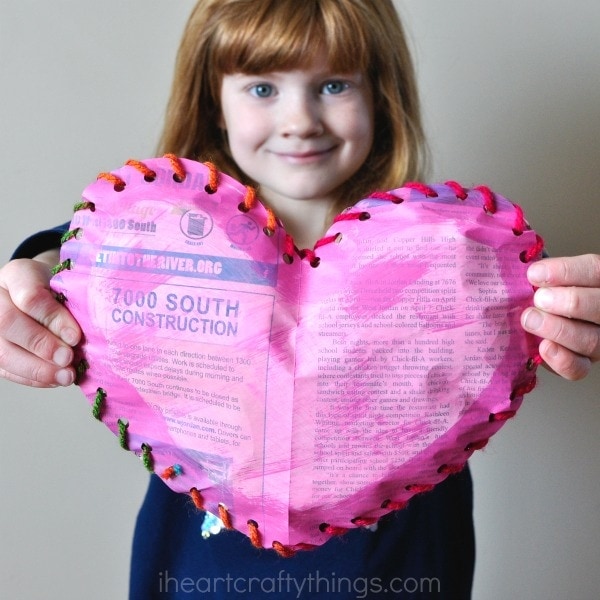
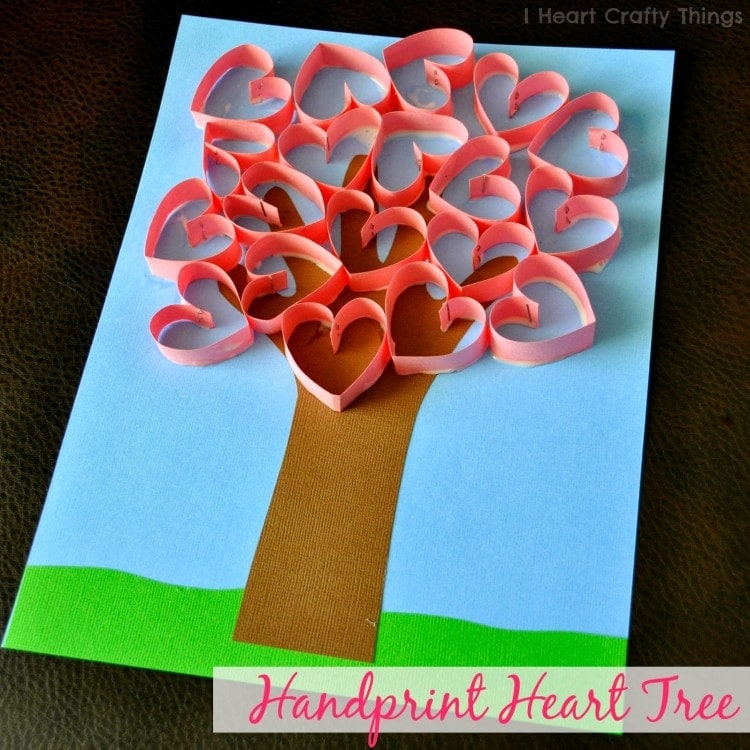
Lovely Heart Crafts & Decorations
Brighten up your space with heart-shaped décor that captures the warmth and magic of Valentine’s Day. Simple yet stunning, these creative accents add a touch of romance to classrooms, living rooms, or any cozy corner.

Tips for a Successful Valentine’s day Craft Session
Teachers and parents planning a Valentine’s day art project can create a fun, engaging experience by focusing on simple, hands-on activities. Whether you’re making DIY cards or brainstorming fresh gift ideas, these heart-themed crafts offer a perfect way to spread love for kids of all ages.
- Gather all necessary supplies before starting.
- Choose crafts that match your group’s skill level and attention span.
- Encourage kids to incorporate heart shapes and personal messages of love.
- Use a variety of materials—paper, paint, and glitter—to spark creativity.
- Break down each project into easy steps for smooth progress.
- Keep cleanup hassle-free with protective coverings and washable surfaces.
- Celebrate every child’s work to build confidence and excitement.
Embrace the Heartfelt Spirit of Valentine’s Day
As hearts flutter with anticipation for the most romantic day of the year, these easy DIY Valentine’s Day ideas add a special spark to every handmade token of affection.
Share the process with kids or indulge your own creative side, letting each project blend artistry and sentiment. Fill your world with sweet gestures, gentle laughter, and treasured memories—reminding us that the simplest gifts, made with genuine care, can leave the biggest impressions.
Let this Valentine’s Day be a celebration of the warmth, love, and joy shared with those who hold a special place in your heart.