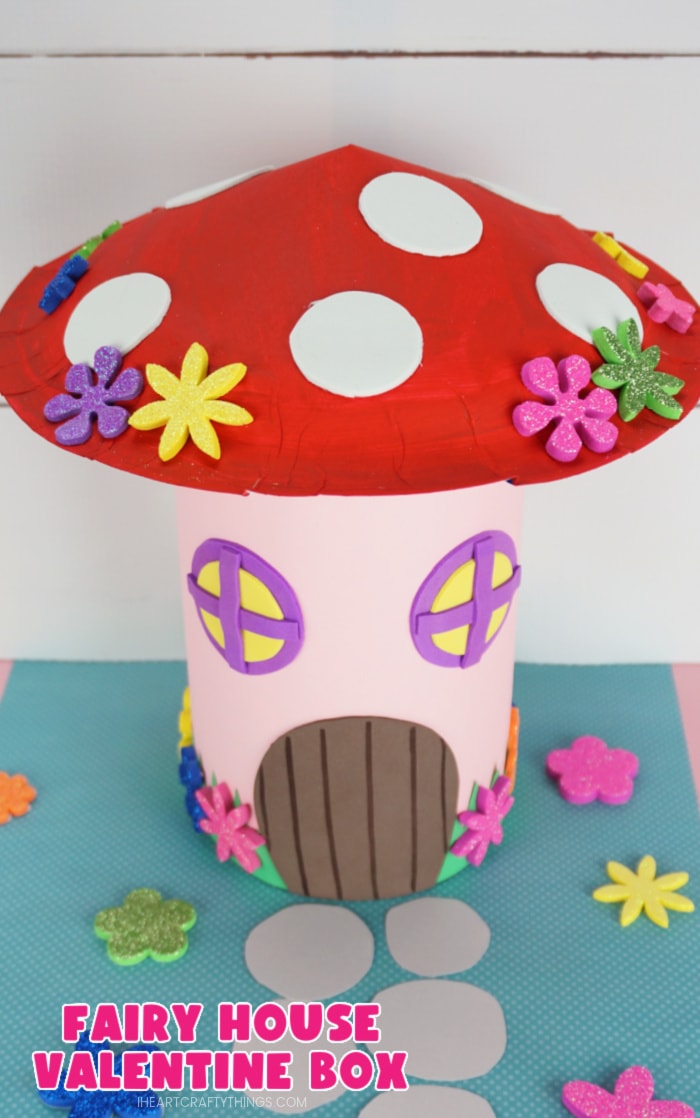
Your friends are going to oooh and ahhh over this colorful DIY fairy house Valentine box! Keep reading to learn how you can turn an ordinary cardboard oatmeal container into your own cute fairy house for Valentine’s Day.
It’s amazing how many every day items you have at home that you can turn into a homemade Valentine box. A shoe box and a cereal box are most commonly used by children around the world but I’ve recently discovered how a cardboard oatmeal container has amazing Valentine box potential too.
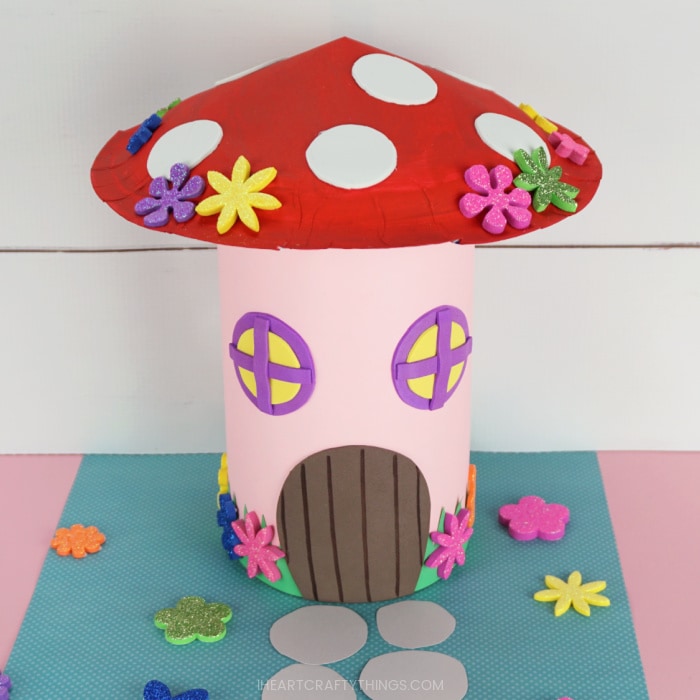
In the past we have created a butterfly and a bee Valentine box from an oatmeal container, both of which are adorable and easy for kids to make. This fairy house mailbox we are sharing today though is by far my most favorite Valentine box idea yet.
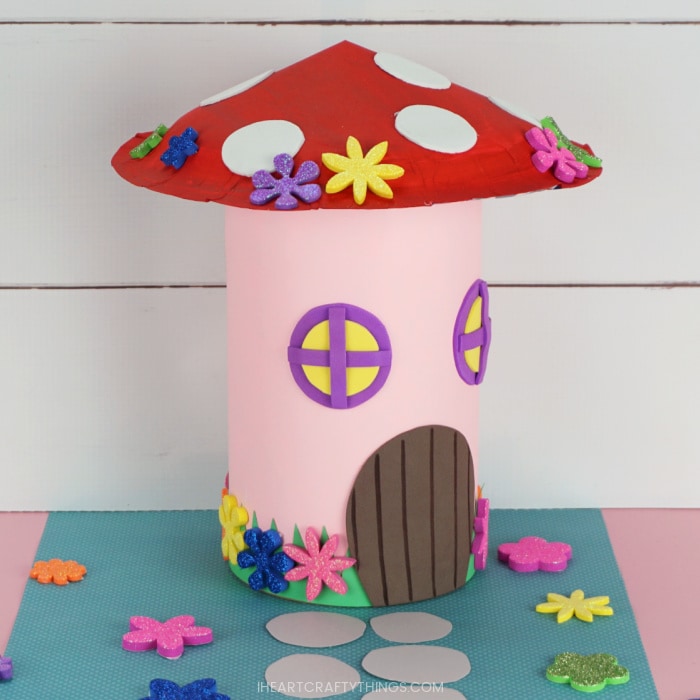
This fairy house themed Valentine’s Day box is colorful, whimsical and unique. It’s sure to stand out as a favorite when children pass out their Valentine cards at school.
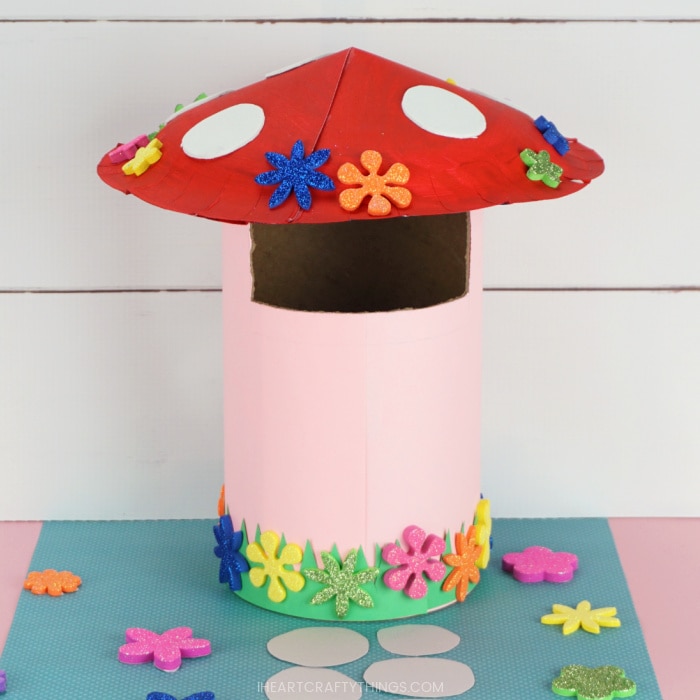
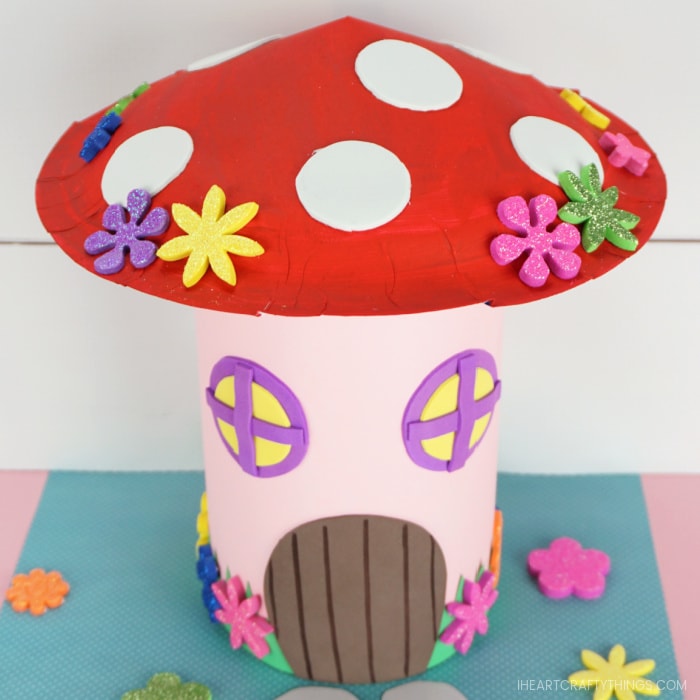
We used a traditional red and white mushroom top for our fairy house but kids can have fun customizing their house with the colors of their choice to give it a unique look.
Children can also use any type of embellishments you have on hand at home to decorate their fairy house, or simply decorate the box with markers.
Read our step-by-step tutorial below for how to create your own fairy house Valentine box. We also have a video tutorial inside this post you will find helpful before you get started on your craft project.
Supplies needed for your Fairy House Craft:
This post may contain affiliate links to the products mentioned. Read our disclosure policy for more information.
- empty cardboard oatmeal container
- heavy duty paper plate
- red acrylic paint (or color of your choice)
- paintbrush
- 12″ x 18″ construction paper
- adhesive foam sheets
- flower embellisments
- scissors
- extra strength glue stick
- markers
- hot glue gun (adult use only)
- craft knife (adult use only)
How to make a Fairy House Valentine Box
1. Cut out construction paper piece and glue it around the container
Measure the height of your cardboard oatmeal container with a ruleter. Trim a sheet of 12-inch by 18-inch construction paper to that height and use an extra strength glue stick to glue the paper around the container, covering it completely.
2. Cut a rectangle opening in the container
Have an adult use a craft knife to cut a rectangle opening at the top and back of the paper covered oatmeal container for a slot to place the Valentine’s into the box.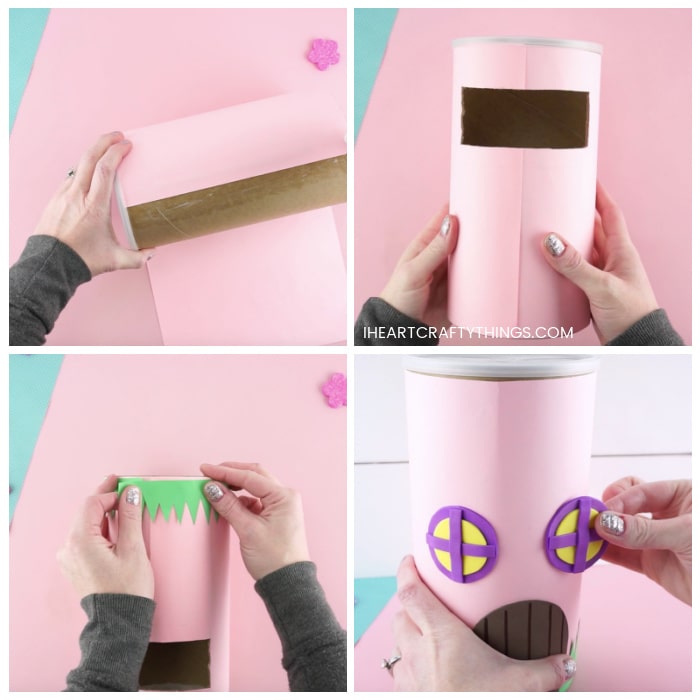
3. Create grass
Cut out a green construction paper strip that is several inches tall to use for grass around your fairy house. Using scissors, cut out triangles along the entire top of the paper strip to create the grass texture. Glue the grass around the entire fairy at the bottom of the container.
4. Cut out door and windows pieces
Draw a door and windows onto adhesive felt sheets and cut them out. For our windows, we layered a smaller yellow circle on top of a larger purple circle. Then we cut out two small rectangle pieces to layer as a cross on top of the yellow circle.
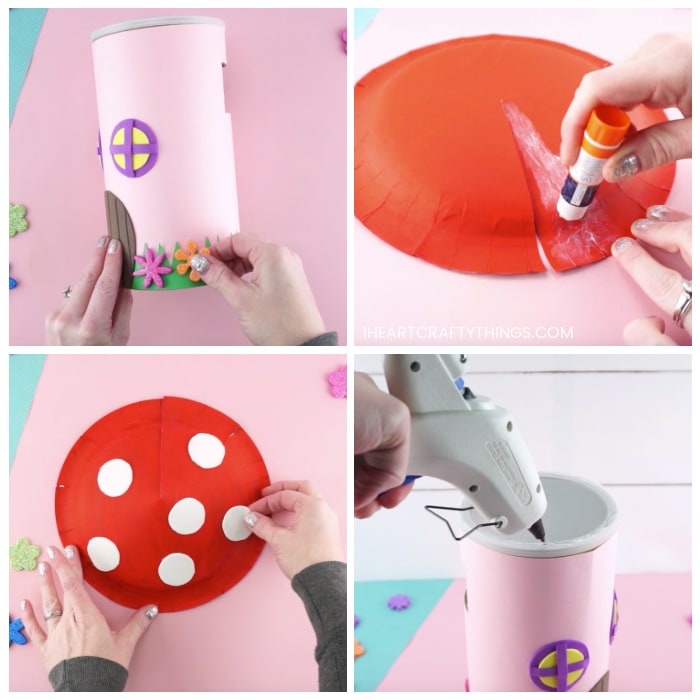
You can use markers to add additional details to your pieces if wanted. We used a brown marker to draw lines on our door to make it look like wood.
5. Attach door and windows onto fairy house
Remove the backing from the adhesive foam sheets and place the door and windows onto your fairy house.
6. Cut out white circles
Cut out several white circles from an adhesive foam sheet to place on the roof for mushroom spots. Our circles were about 1-1/2 inches in diameter and we used six. You can customize your circles however you choose.
7. Paint the bottom of paper plate with red paint
Paint the bottom of a heavy duty paper plate with red acrylic paint and let it dry completely.
We loved the traditional red and white mushroom top look for our roof but children are more than welcome to customize their roof with whatever color they want.
8. Create a roof piece
Once the paint has finished drying, cut a straight line in the paper plate from the outside of the paper plate into the center of it. Add a triangle section of heavy duty glue stick down from the center of the paper plate along the straight line, and then overlap the paper plate onto the glue to create the mushroom shaped roof. Hold the paper plate in place over the glue for a bit until it is secure and stays in place.
9. Stick white circles onto red roof piece
Remove the backing off each of the white foam circles and place them around your mushroom roof. You can also decorate the roof with additional flower stickers.
10. Glue roof piece onto container
Have an adult use a hot glue gun to add a line of glue around the edge of the plastic oatmeal container lid and place the mushroom roof onto it to secure it in place on the fairy house.
