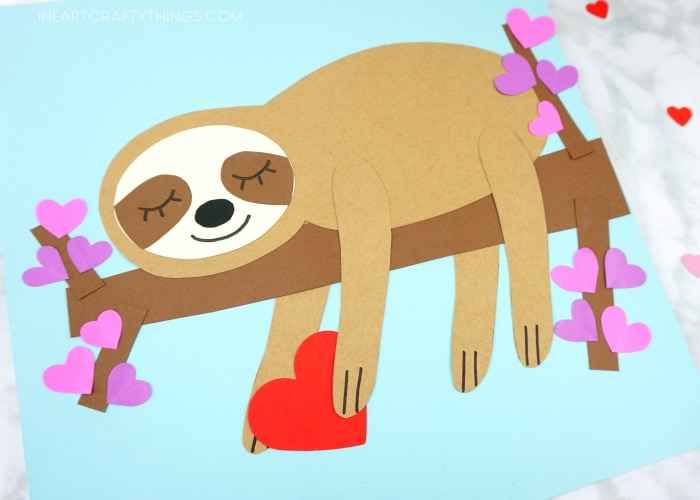
Are you in love with all things sloth lately? If so, you are going to adore our latest craft. In this post, learn how to make this fun paper sloth craft with our helpful template, step-by-step tutorial and video.
Our free template makes prep time for this sloth craft a breeze. We made it with Valentine’s Day in mind but really, you can make it any time of the year. Keep in the hearts or switch them out for paper leaves for more of an evergreen end result. Either way, this sloth craft is absolutely adorable!
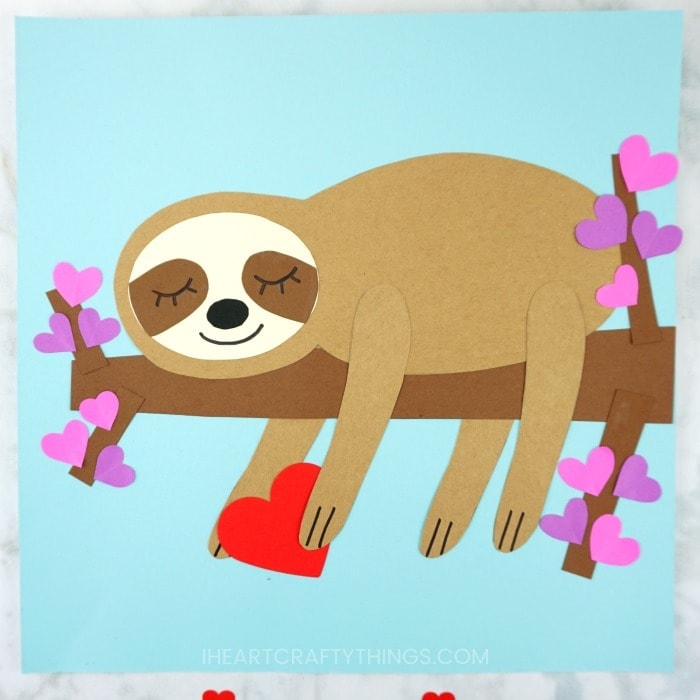
Imagine how darling a wall full of these paper sloths would look up on a classroom display. The thought makes me squeal with delight! If you enjoy making this sloth craft, we’d love for you to share a photo with us on social media and tag us.
This post contains affiliate links to the products mentioned. I Heart Crafty Things is a participant in the Amazon Services LLC Associates Program, an affiliate advertising program designed to provide a means for sites to earn advertising fees by advertising and linking to amazon.com.
Supplies:
- sloth craft template <—- GET THE TEMPLATE HERE
- blue, brown, red, black, purple and cream cardstock
- tan cardstock
- black marker
- scissors
- glue
Instructions:
1. Print & cut out template
Begin by downloading and printing out the sloth craft template. Cut out each of the pieces of the template.
2. Trace template pieces
Trace the pieces of the template on your colored cardstock paper. On the kraft paper, trace the sloth body and the sloth leg four times. Trace the face on cream cardstock, eye patches on brown cardstock and the nose on black cardstock.
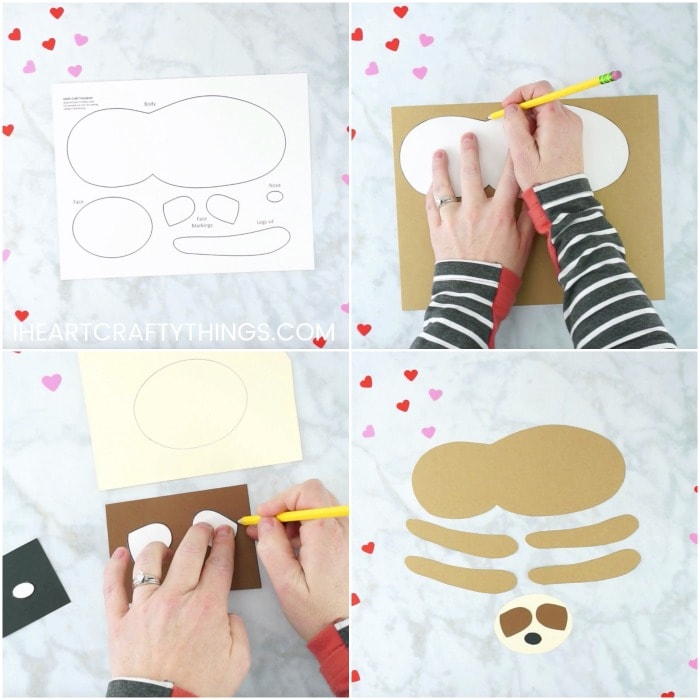
3. Cut out pieces
Cut out each of the template pieces you traced.
4. Now – make tree limb
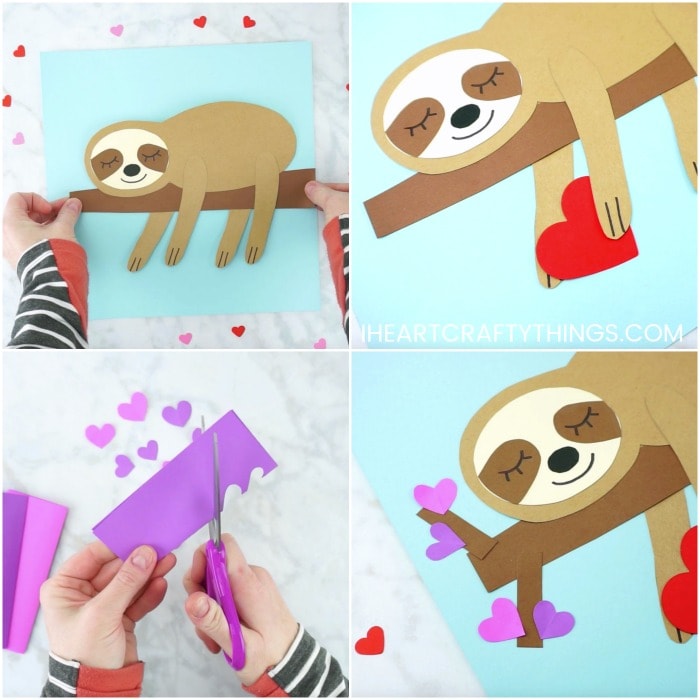
Cut out a tree limb from brown cardstock. Glue the body of the sloth in the middle of the top of the tree limb. Then glue each of the sloth legs onto your sloth, two on the front of the sloth and two on the back of the sloth so it looks like the sloth is hanging over the tree limb.
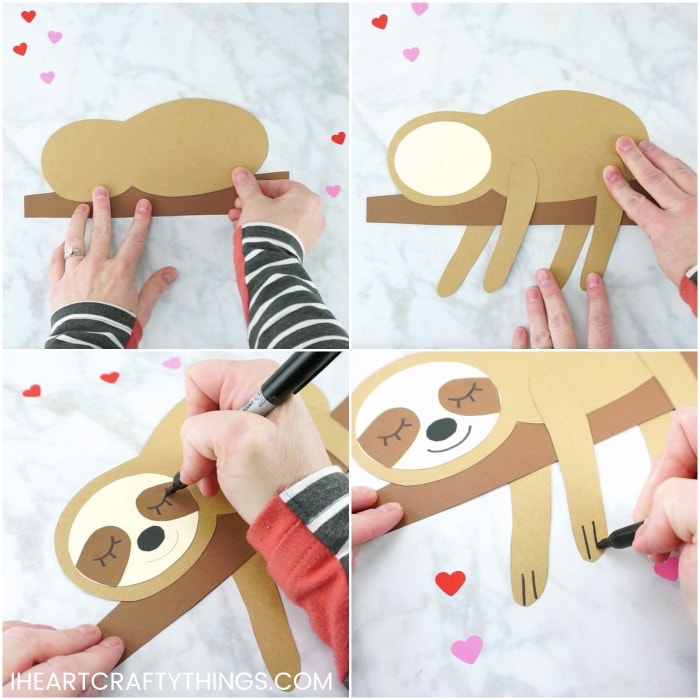
5. Glue face details on
Glue the sloth cream sloth face on your sloth craft. Then glue the eye patches and nose on your sloth face.
6. Draw face details
Use a black marker to draw eyes and mouth on your sloth. We drew the sloth with closed eyes to look like he was lounging taking a nap. You could also use googly eyes for an alternative. Next draw claw lines on the bottom of each of the sloth legs.
Time to put your sloth craft together
7. Glue sloth to the cardstock
Add glue to the back of your sloth craft and glue in the middle of your blue cardstock.
8. Cut heart shape & and glue it
Cut out a heart from red cardstock and glue it between the front two legs of the sloth. (Note: If you aren’t using this craft for Valentine’s Day you can always leave out the heart details.)
9. Cut out more hearts
Fold a piece of purple paper in half and cut out several smarts from it. We used two different shades of purple to add extra color to the sloth craft.
10. Make branches
Cut out a few small tree branches from brown cardstock and glue them at the front and back of the sloth on the tree limb.
11. Add purple hearts
Glue your purple hearts all over your tree branches.
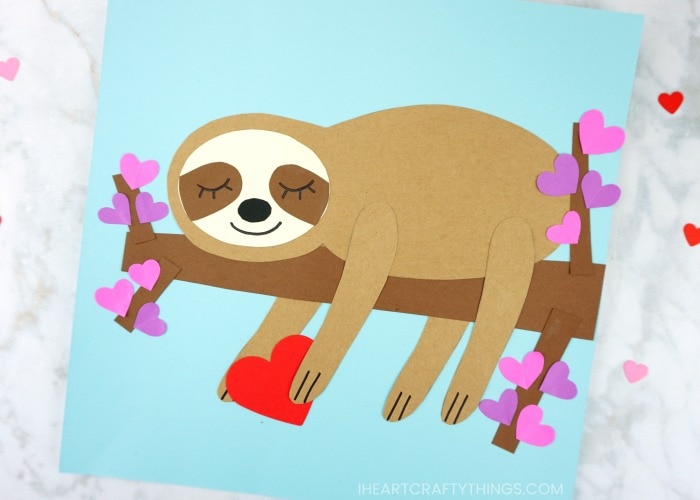
Your sloth craft is complete!
