


Easy DIY Crafts Ideas for Kids
Arts and crafts for kids go far beyond fun and games. They’re a hands-on way to sharpen fine motor skills, inspire self-expression, and encourage problem-solving—key building blocks in any child’s development. Whether you’re a parent, teacher, or caregiver, introducing creative projects at an early age nurtures curiosity, confidence, and a love for learning that lasts a lifetime.
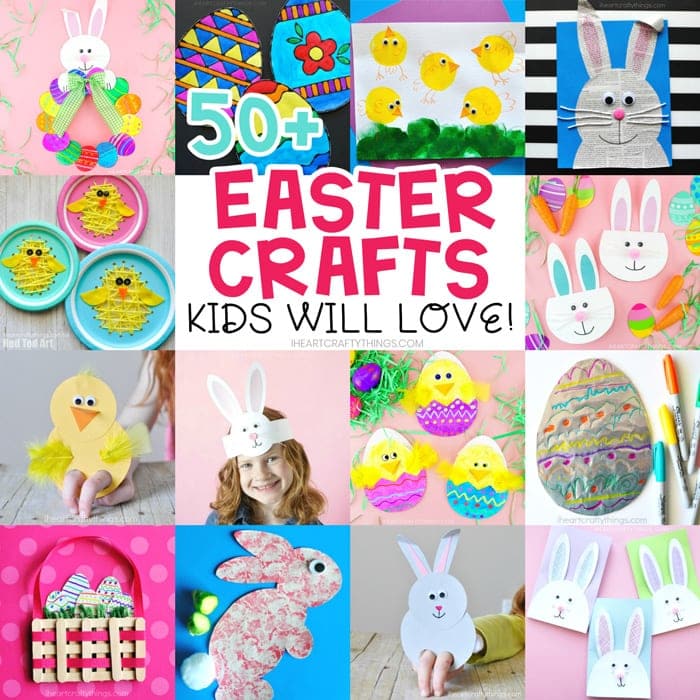
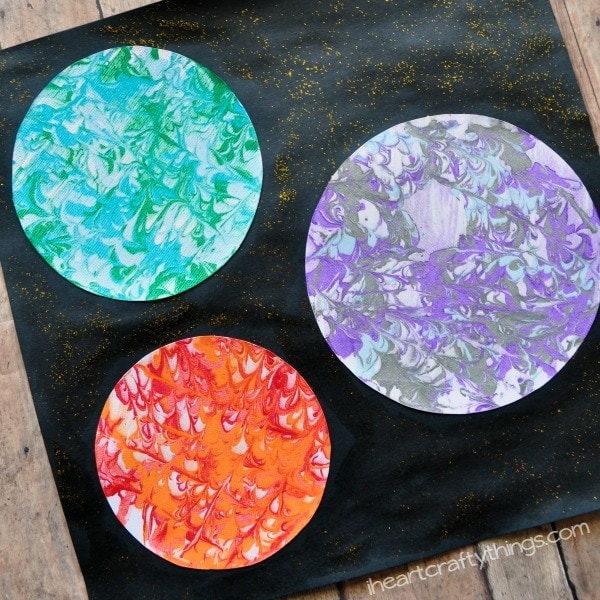
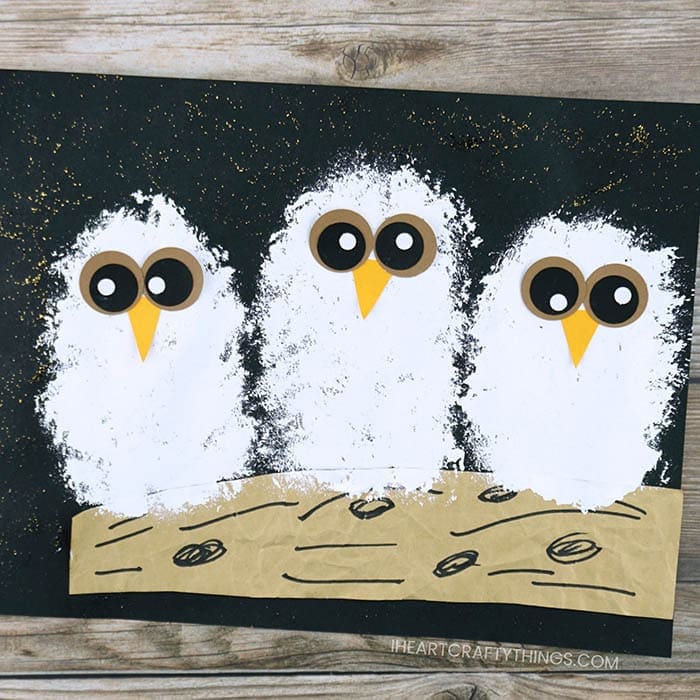
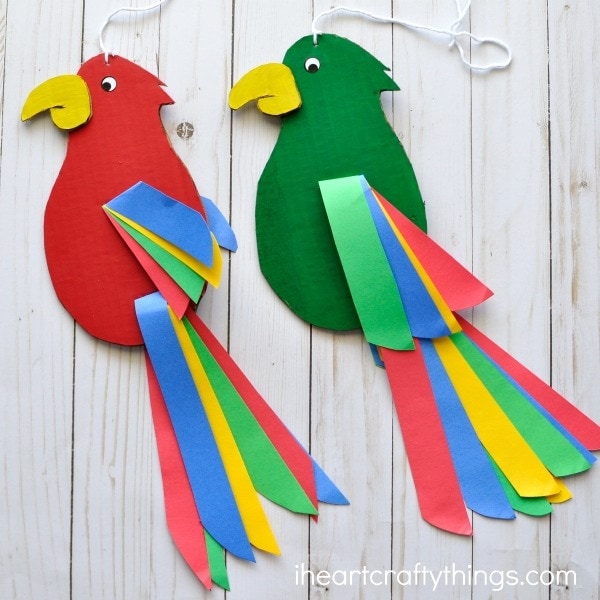
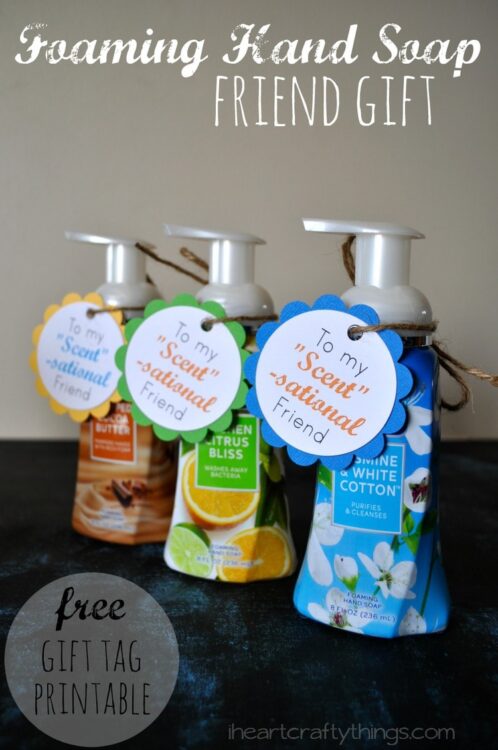
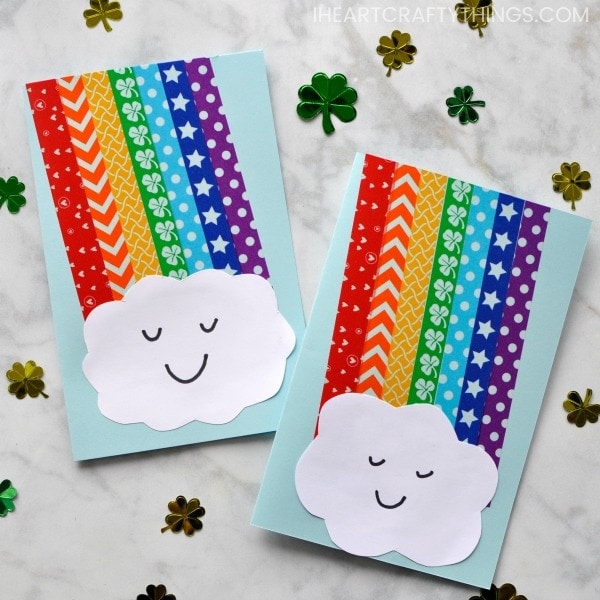
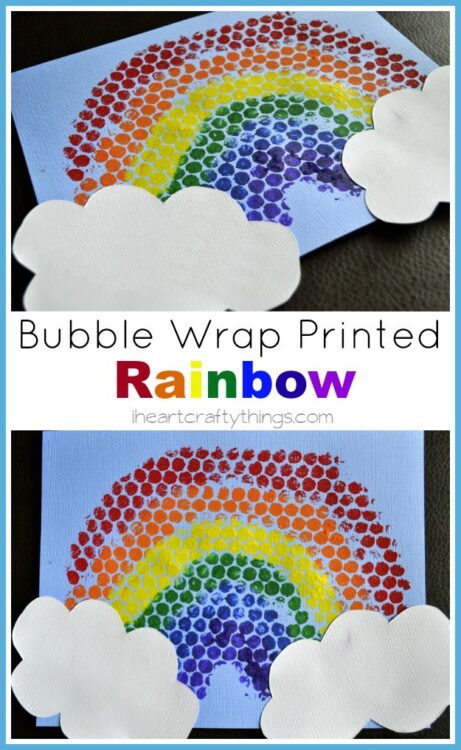
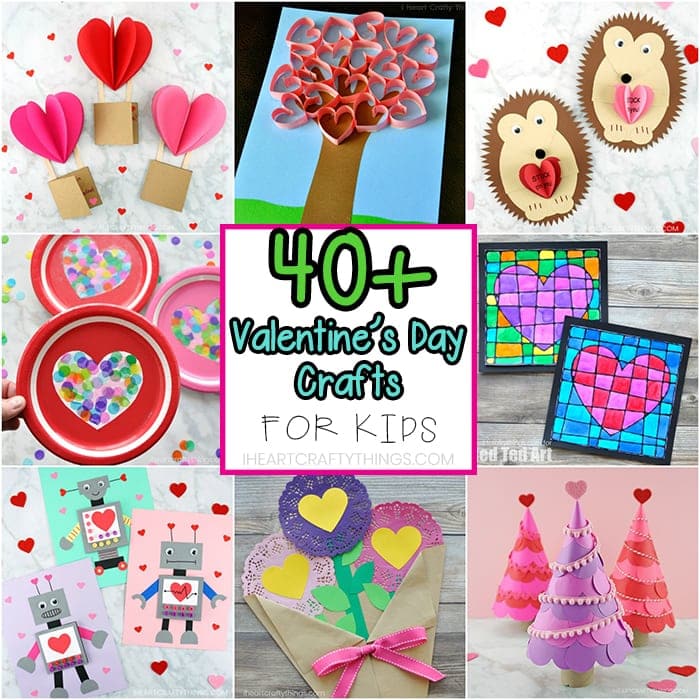
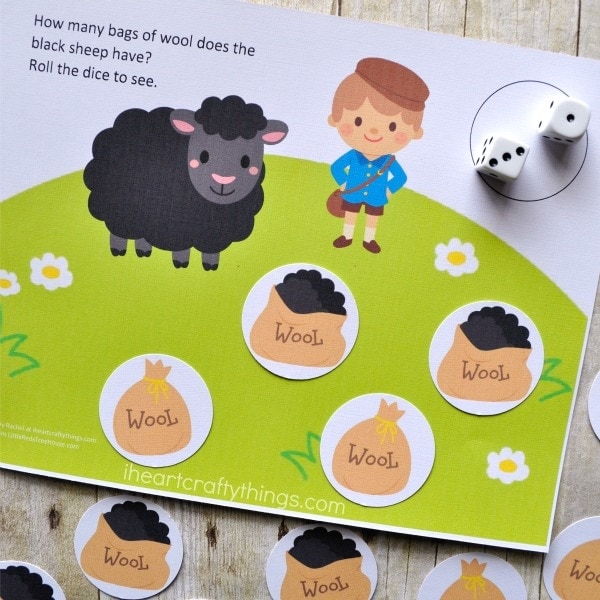
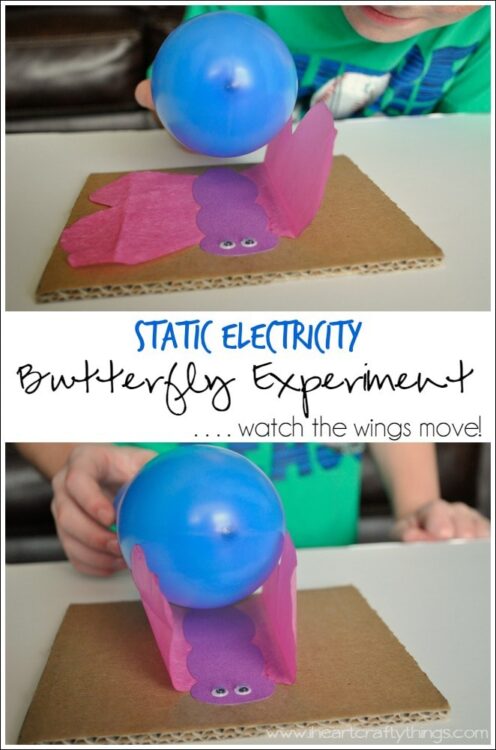
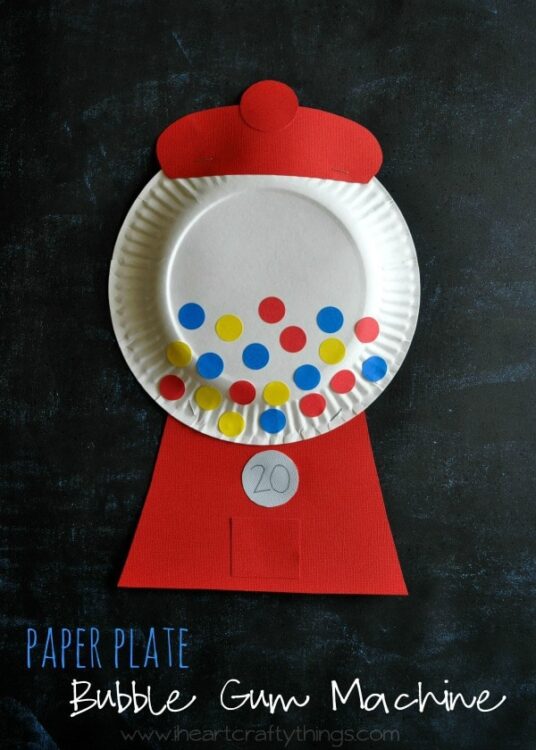
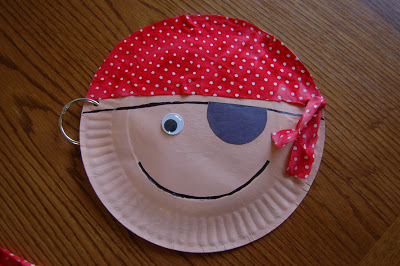
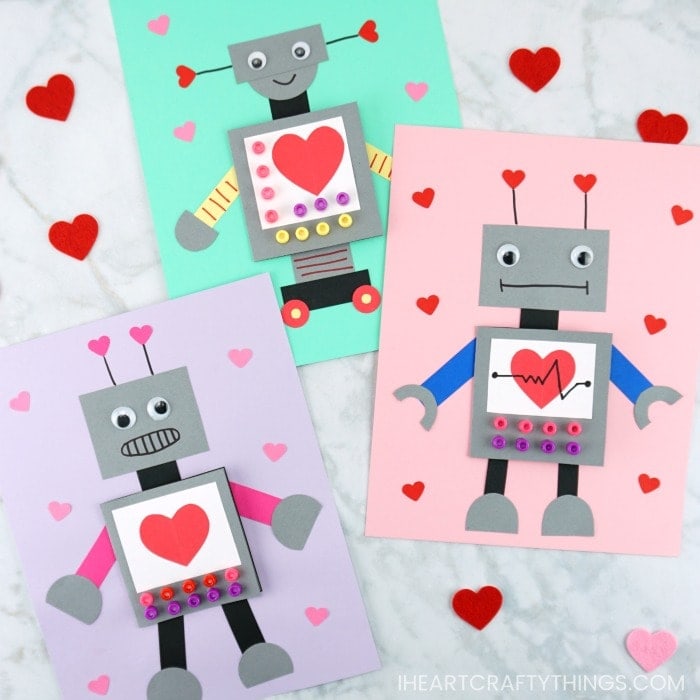
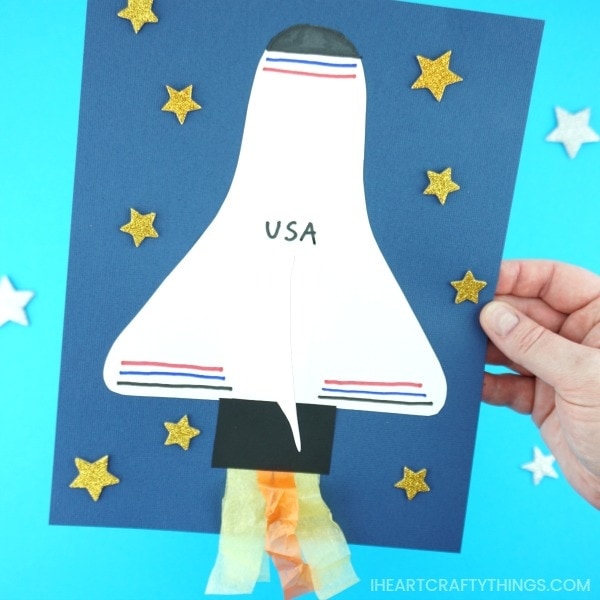
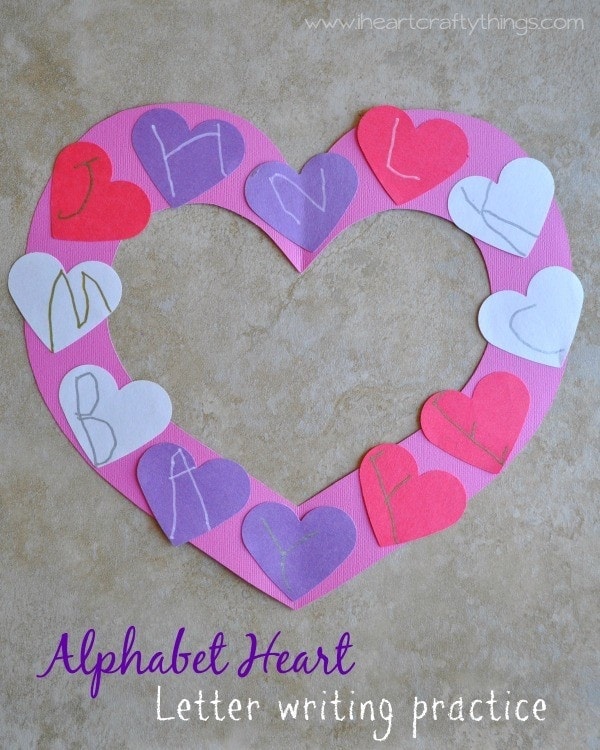
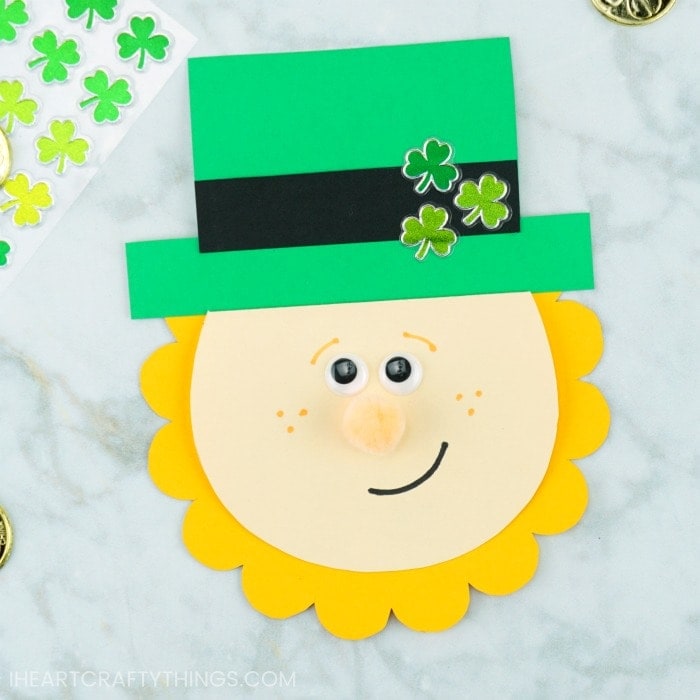
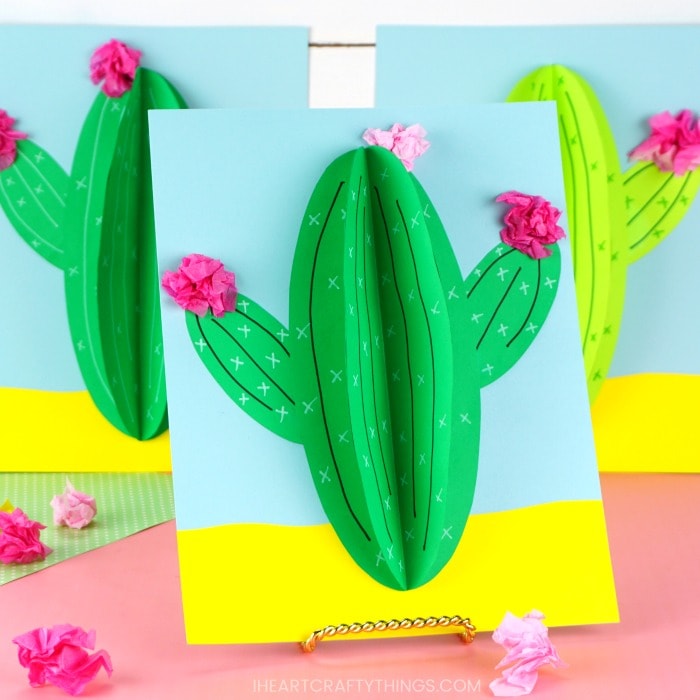
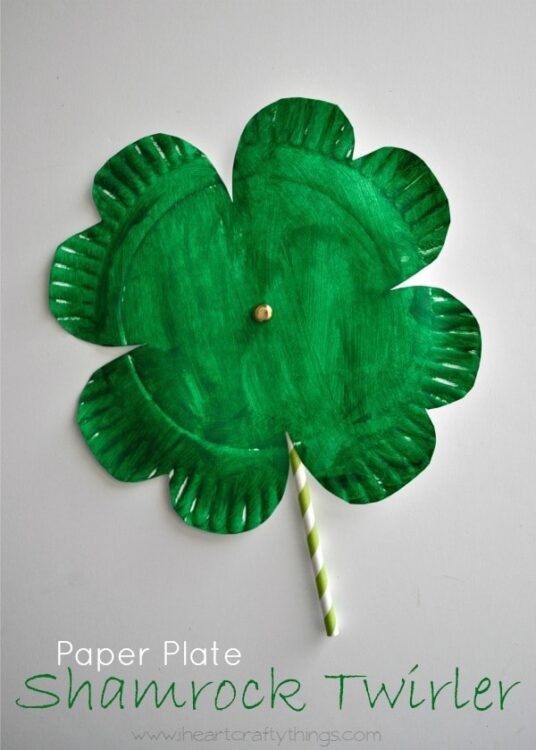
With over 700 art and craft projects gathered here, this broad collection offers free, easy activities that kids and adults can enjoy all year long. You’ll find crafty inspirations in every corner, sorted into detailed sub-categories that span paper creations, seasonal favorites, and countless special themes, including 4th of July, Christmas, Easter, and Earth Day. Whether you’re looking for quick tasks or more involved projects, this ever-growing selection suits any interest or occasion, covering everyday fun, holiday highlights, and so much more.
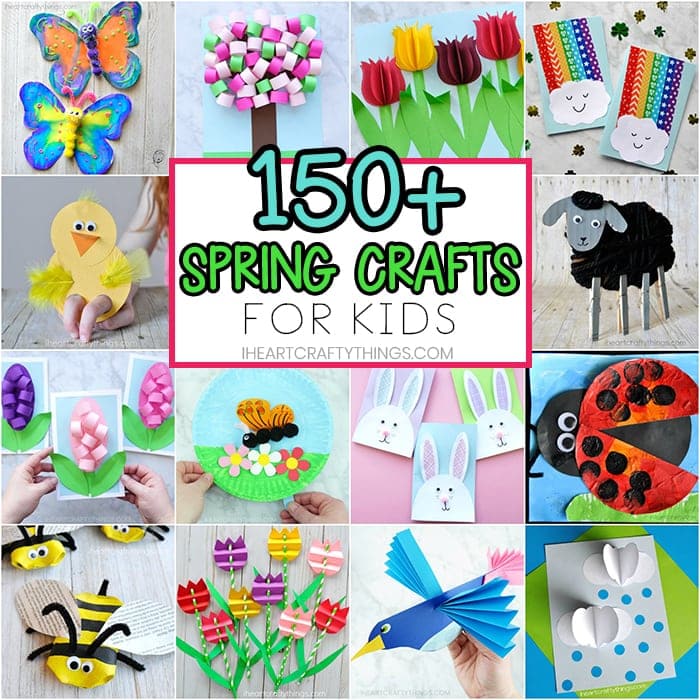
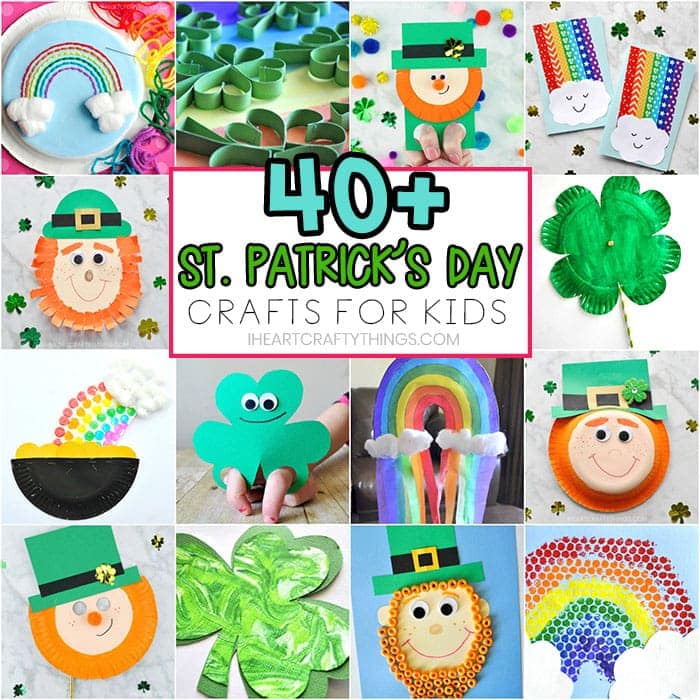

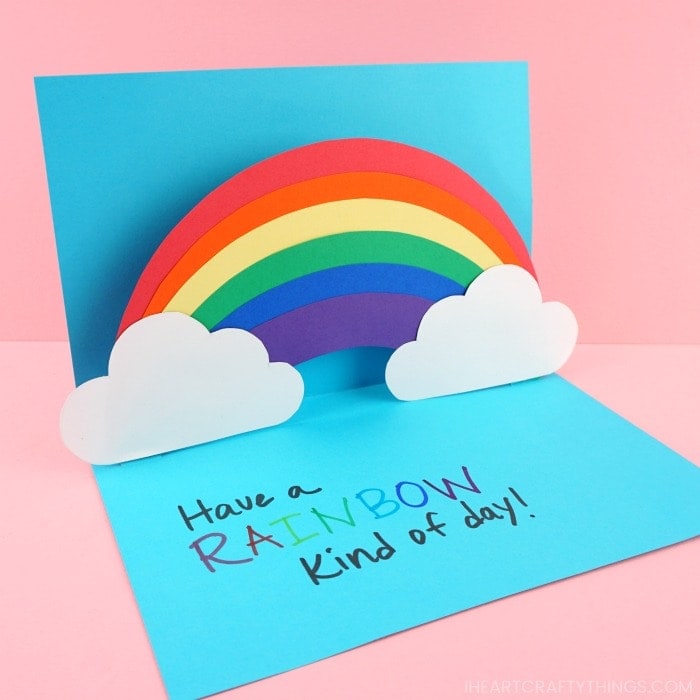
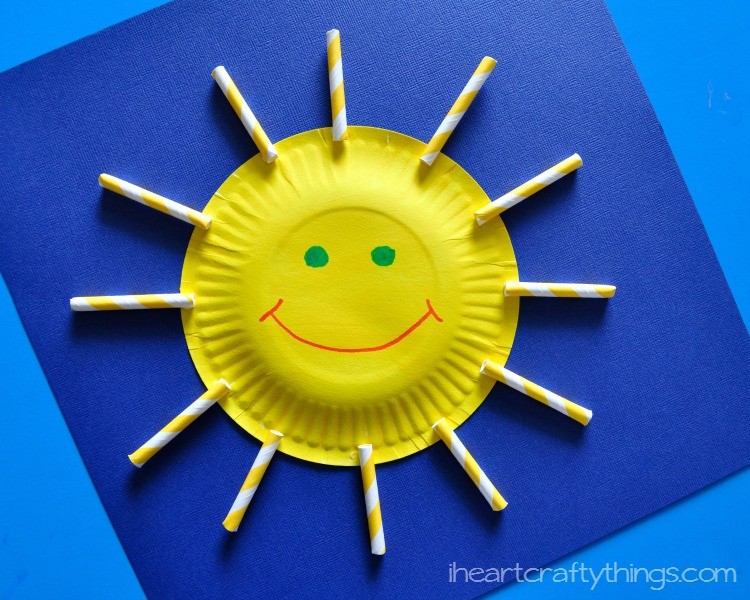
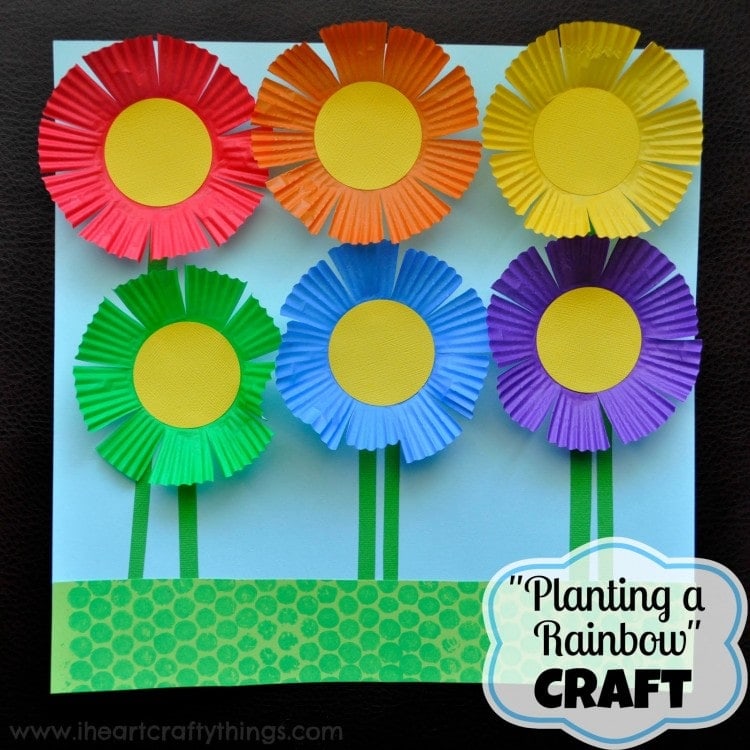
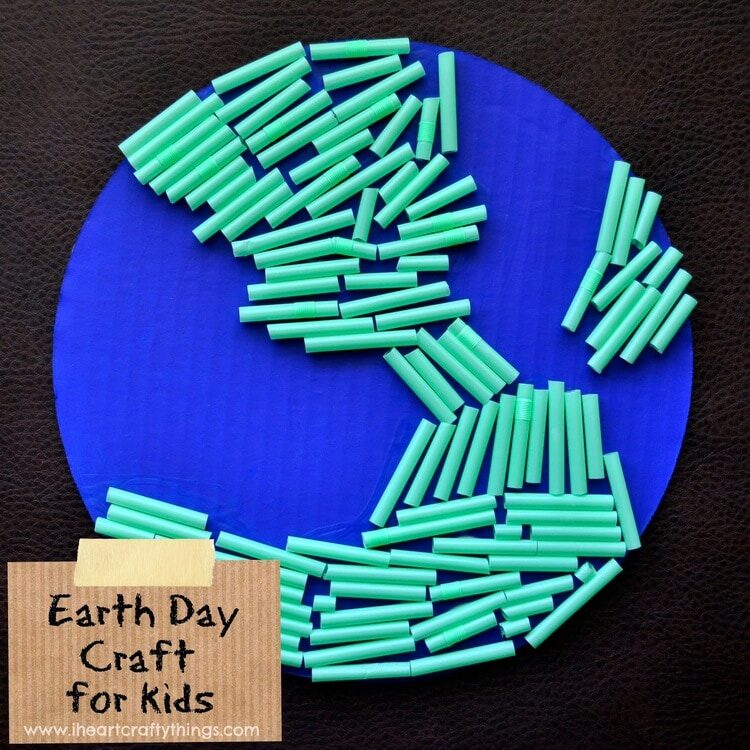
Trending Crafts Theme: Earth Day & Spring


Most Recent Crafts


Why Crafts Matter: Benefits at Every Stage
From easy preschool crafts that teach simple shapes and colors to more advanced DIY crafts teens can personalize, each activity plays a role in a child’s growth. Here’s what makes crafting so impactful:
- Motor Skills – Cutting, folding, and gluing strengthen hand-eye coordination and finger dexterity.
- Self-Expression – Colors, textures, and designs give young creators freedom to explore their personal style.
- Focus & Patience – Crafts require concentration, helping kids develop perseverance as they see each project through.
- Confidence Building – Completing a craft offers a rewarding sense of achievement, boosting self-esteem.
Essential Supplies: From Colored Paper to Imagination
A well-stocked craft corner doesn’t have to break the bank. Basic materials like colored paper, cardstock, eye stickers, and glue sticks are enough to bring countless arts and crafts ideas to life. With just a few affordable staples, it’s easy to transform an ordinary afternoon into a memorable crafting experience—right at home or in a classroom.
What You’ll Find in Our Crafts Posts
Each post in this category is carefully crafted (pun intended!) to help you set up a fun, stress-free experience for kids of all ages:
- Step-by-Step Instructions – Clear photos and directions guide you through every stage, making it simple to plan.
- Printable Templates – We often include PDFs or other templates for easy prep, so you can get right to the fun part.
- Material Lists – Know exactly what you need before you start, from basic school supplies to optional embellishments & even suggestions where to get them
- Customization Ideas – Encourage kids to experiment with colors, patterns, or themes to make each craft their own.
- Video Tutorials – Most our DIY crafts feature helpful videos showing each technique up close, perfect for visual learners.
Tips on How to Engage Kids into Crafting
Sparking long-term interest in arts & crafts often comes down to framing each activity as an exciting mini-adventure:
- Offer Choices – Let kids pick from a few different project ideas or color palettes.
- Mix Media – Incorporate stickers, tissue paper, or natural elements like leaves to keep things fresh.
- Celebrate Progress – Congratulate every step completed—whether it’s cutting out shapes or gluing the final piece.
- Share & Display – Encourage children to show off their crafts to friends, teachers, and family, building confidence and pride.
Crafting for All Ages & Abilities
Whether you’re working with toddlers, preschoolers, or middle schoolers, there’s a project level to match their skills and interests:
- Toddler Crafts – Easy crafts that emphasize sensory play and fundamental skills like grasping and sticking.
- Preshcool Crafts – Activities that introduce shapes, letters, and simple patterns in a fun, hands-on way.
- Crafts for Older Kids – Projects that require more precision, creativity, and problem-solving—ideal for boosting self-reliance.
From Boredom Busters to Fun Holiday Crafts
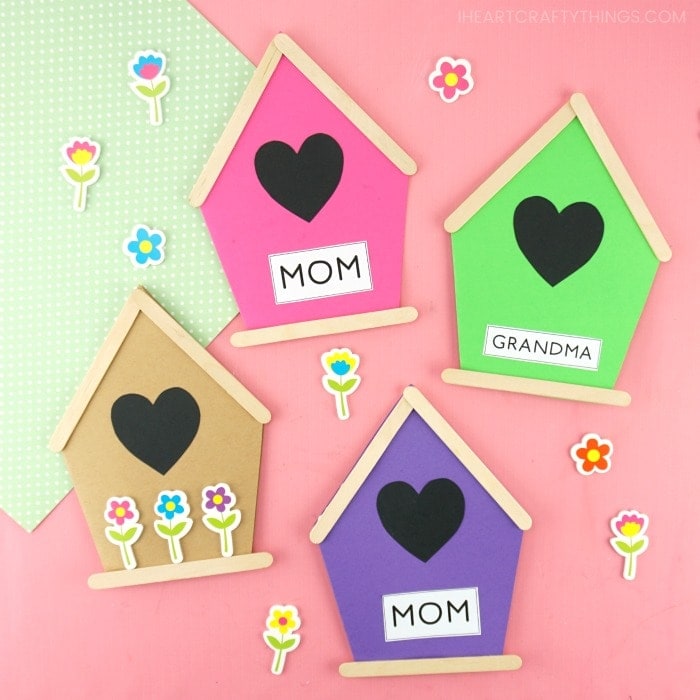
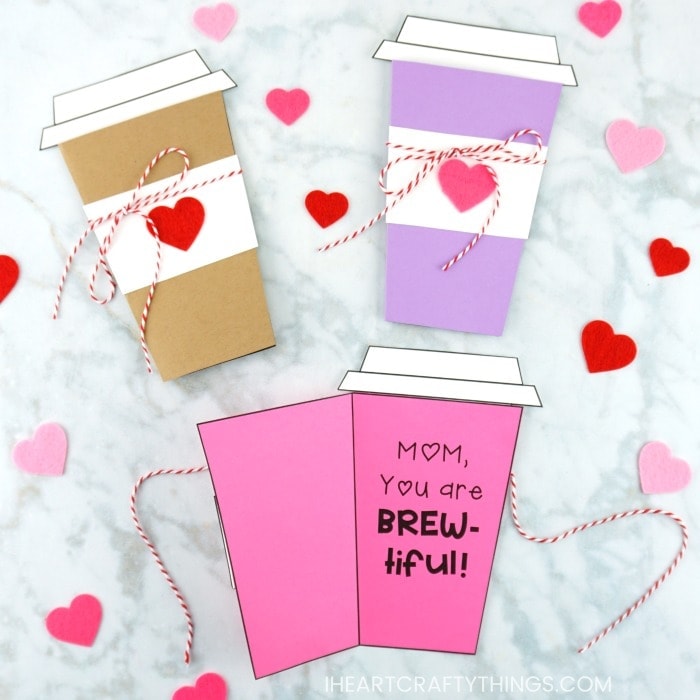
Crafts aren’t just standalone activities; they can transform everyday moments into shared memories. Whether you’re looking for ways to keep boredom at bay on rainy days with easy projects you can do at home, celebrating each season with festive décor like fall leaves or winter snowmen, or creating heartfelt gifts and keepsakes for grandparents, teachers, and friends, there’s always an opportunity to turn simple supplies into something memorable.
Ready to Get Crafting?
Crafts aren’t just standalone activities; they can transform everyday moments into shared memories. Whether you’re looking for ways to keep boredom at bay on rainy days with easy projects you can do at home, celebrating each season with festive décor like fall leaves or winter snowmen, or creating heartfelt gifts and keepsakes for grandparents, teachers, and friends, there’s always an opportunity to turn simple supplies into something memorable.