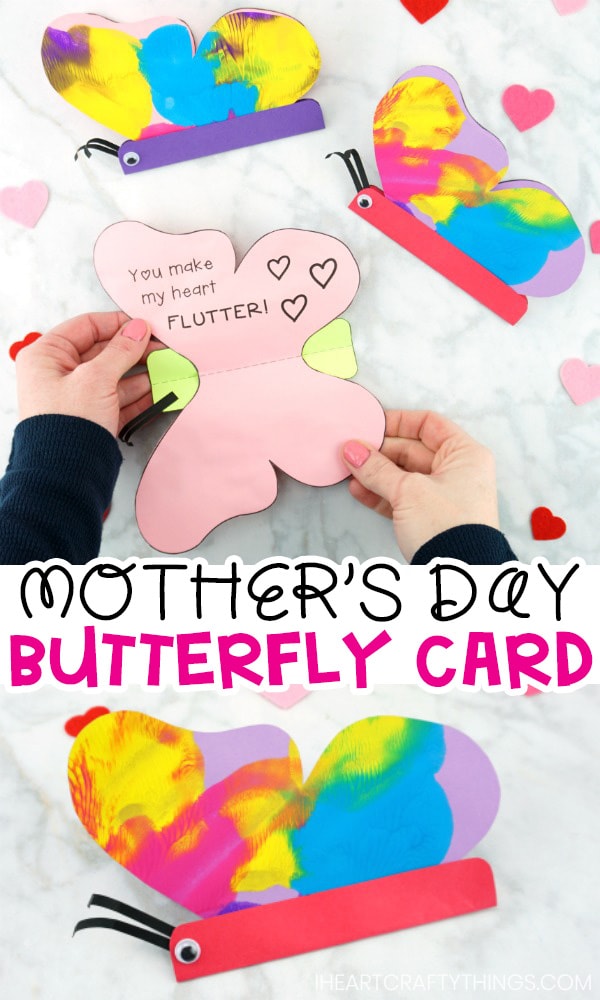
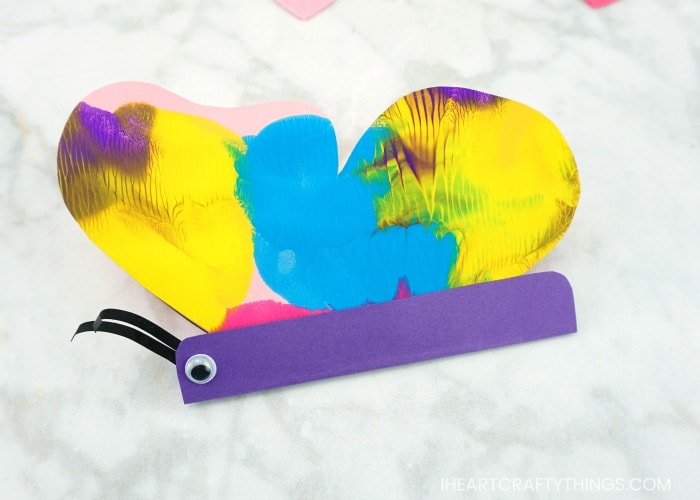
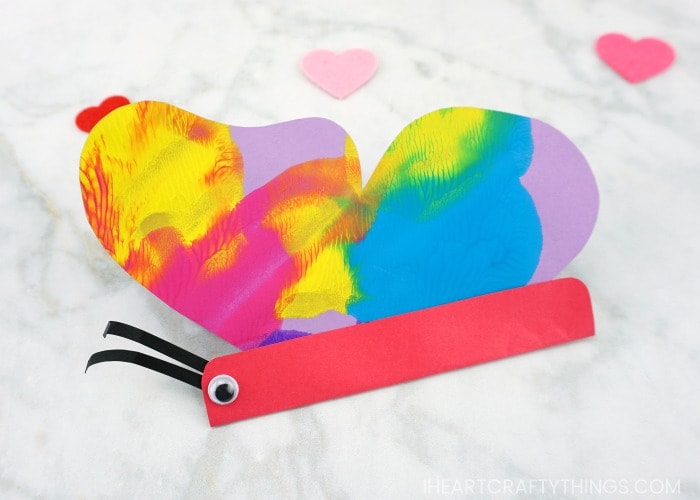
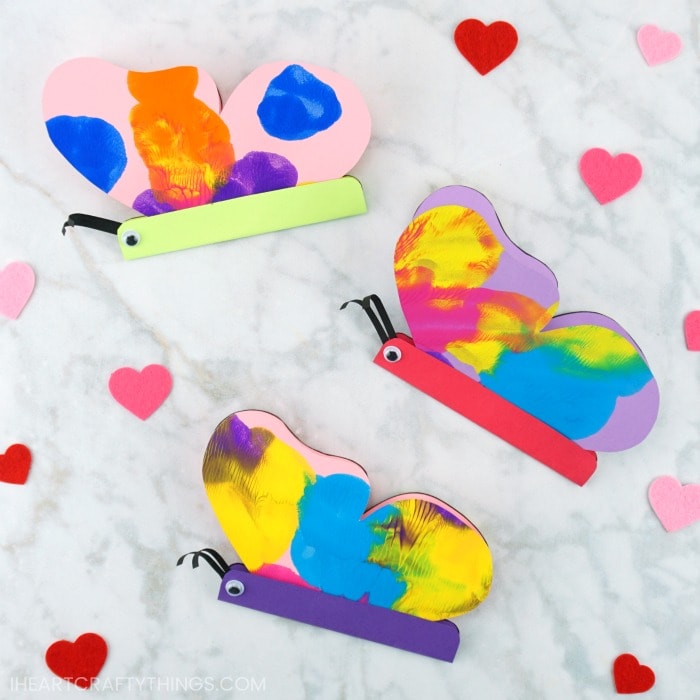
Kids will have a blast creating this simple butterfly card for Mother’s Day, Valentine’s Day or any special occasions. The art technique of paint smashing is a fun addition for kids and it adds colorful and beautiful details to the butterfly wings of this easy diy card.
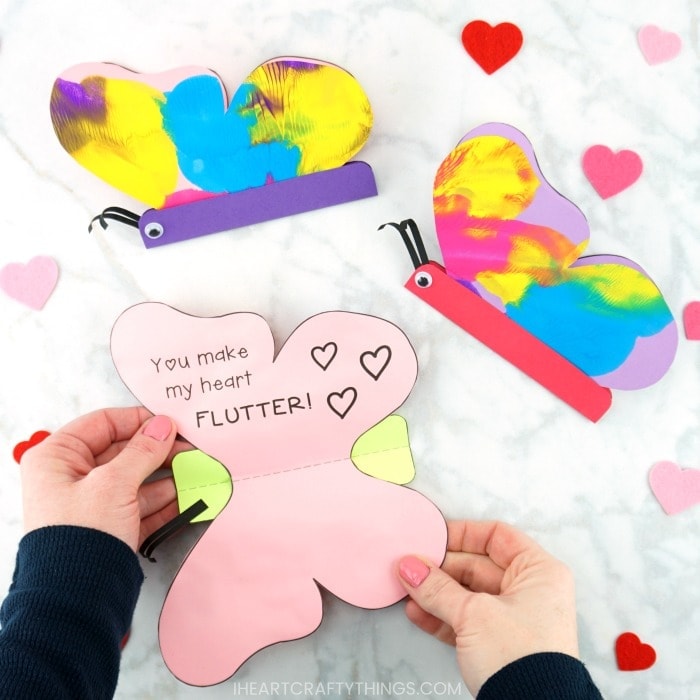
Making homemade cards is such a fun activity for any age. You can make a unique greeting card for every possible occasion like celebrations, birthdays, holidays, anniversaries or simply just to brighten someone’s day unexpectedly and let them know you are thinking of them.
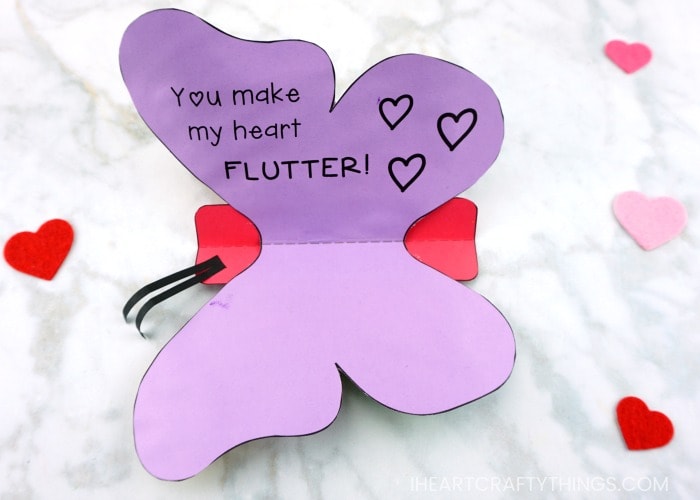
This colorful butterfly card has the message “You make my heart flutter” inside making it a great card to give to someone you love. Grab our card template, your crafty supplies and get ready to make someone’s heart explode with joy when you give them this sweet butterfly card.
This post contains affiliate links to the products mentioned. Read our disclosure policy for more information.
Supplies needed to make this card:
- butterfly card template <—- Purchase in our shop
- colored and black cardstock paper 8.5″ x 11″ (or construction paper)
- googly eyes
- washable tempera paint
- scissors
- glue stick
Instructions for making paint smash butterfly card:
1. Print out template on colored cardstock and cut it in half
Purchase and download the butterfly card template. Print out the template on colored cardstock or construction paper (8.5” x 11”).
The butterfly body template page has two on it so you will need to cut it in half and give each child one for their butterfly card.
2. Fold printed butterfly wings template page in half
Fold the printed butterfly wings template page in half with the wings and card message on the outside of the folded paper. Open up the fold and lay your paper down with the blank side facing up.
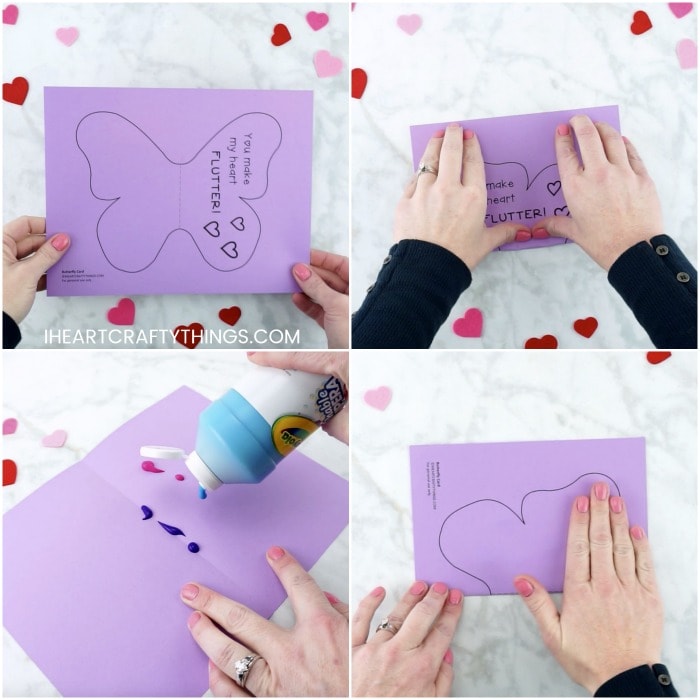
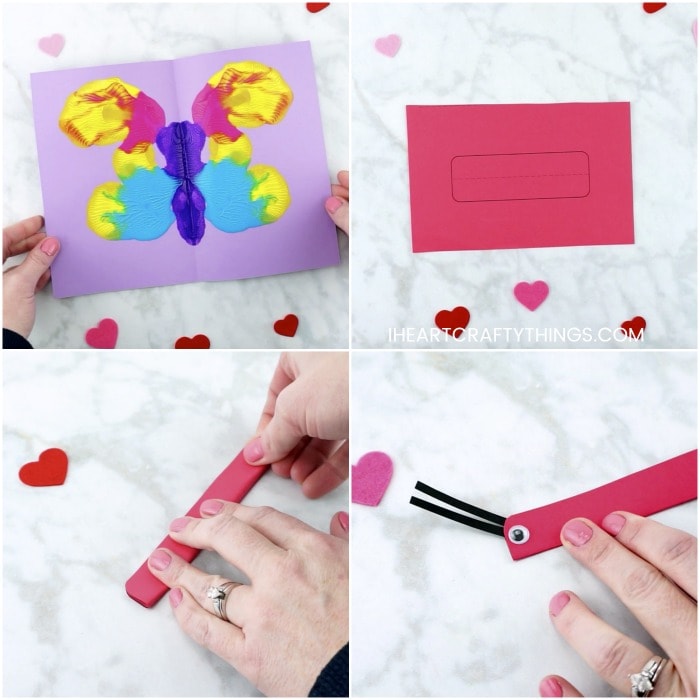
3. Place a few dots of tempera paint in the middle crease and on one half side of the paper
Place a few dots of tempera paint in the middle crease of the paper and then a few dots of tempera paint on one half side of the paper.
You will want to make sure children don’t use too much paint or get too close to the edge of the paper or it will seep out when you smash your card closed.
4. Fold card in half again along the crease and carefully smash paint in between two paper halves
Fold the card in half again along the crease and carefully smash the paint in between the two paper halves to transfer the paint all over your paper. Open up your paper to inspect it and decide if more smashing needs to be done.
When you are happy with your design, set your paper aside to allow the paint to dry completely. (This may take several hours or overnight)
5. Cut out butterfly body and fold it in half along the dotted line
Cut out the butterfly body template. Fold it in half along the dotted line in the middle. The folded edge is the bottom of your butterfly body.
6. Make butterfly antennae and glue eyes
Carefully cut out butterfly antennae from a black piece of cardstock or construction paper. Glue them on the inside of the folded butterfly body on the front section of the butterfly. Then glue a googly eye on your butterfly.
7. Curl antennae
Open up the butterfly body and run scissors along the front of the antennae to help them curl forward a bit. You can also use your fingers to curl them slightly.
8. Cut out butterfly wings and fold them in half
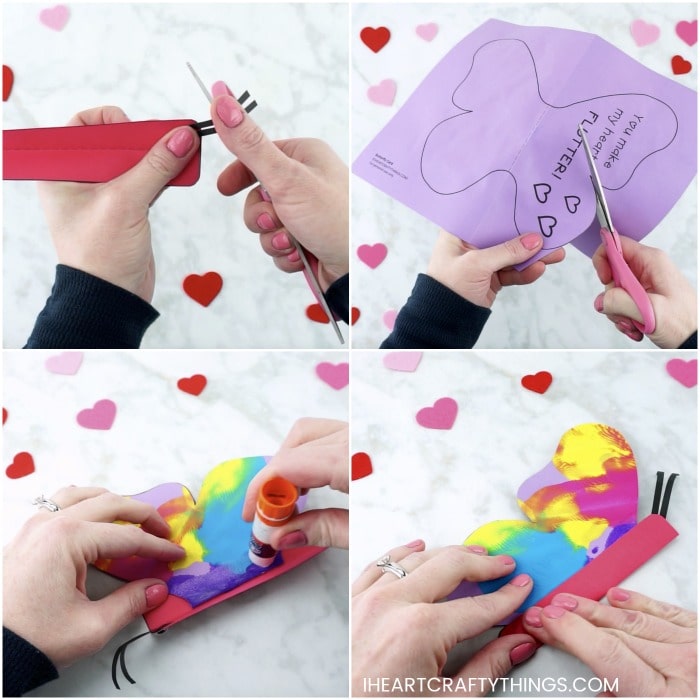
When your painted butterfly wings are finished drying, use scissors to cut them out. Then fold the wings in half along the dotted line shown on the template with the painted side facing out.
9. Glue folded wings and butterfly body together
Open your butterfly body and place the folded wings inside along the folded edge of the body. Add glue at the bottom of the butterfly wings on one side and then glue the body to it.
Turn the butterfly around to the other side of the wings. Add glue to that side of the wings at the bottom and glue the other side of the body to the wings, fully connecting the butterfly body and wings together.
10. Write your message inside the card
Your butterfly now becomes a card. Simply open up the wings to reveal the message on the inside. You can personalize the butterfly card further by writing additional messaging on the inside of the card.
Video Tutorial: How to make this simple Butterfly Card
Watch the video below for a step by step guide on how to make this simple butterfly Mother’s Day card with our card template.
Find more spring crafts and Mother’s Day card ideas by browsing the categories at the top menu bar of our website.
