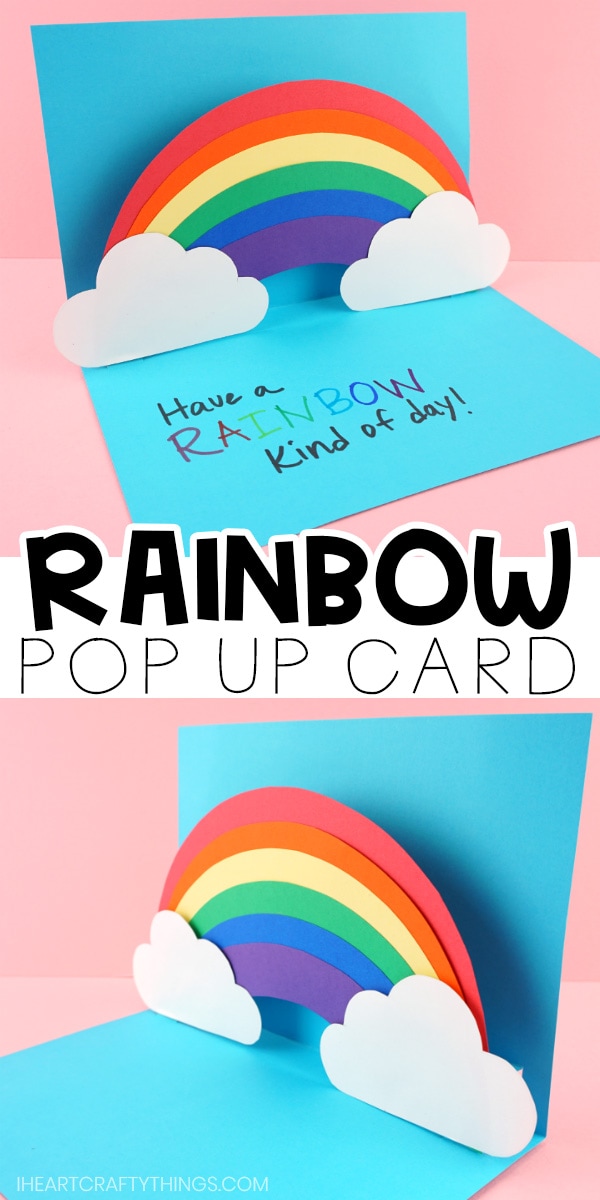
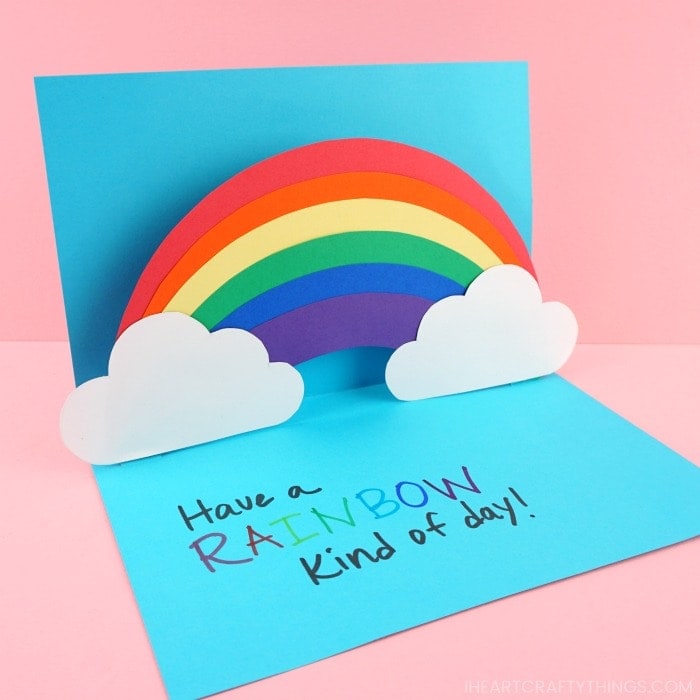
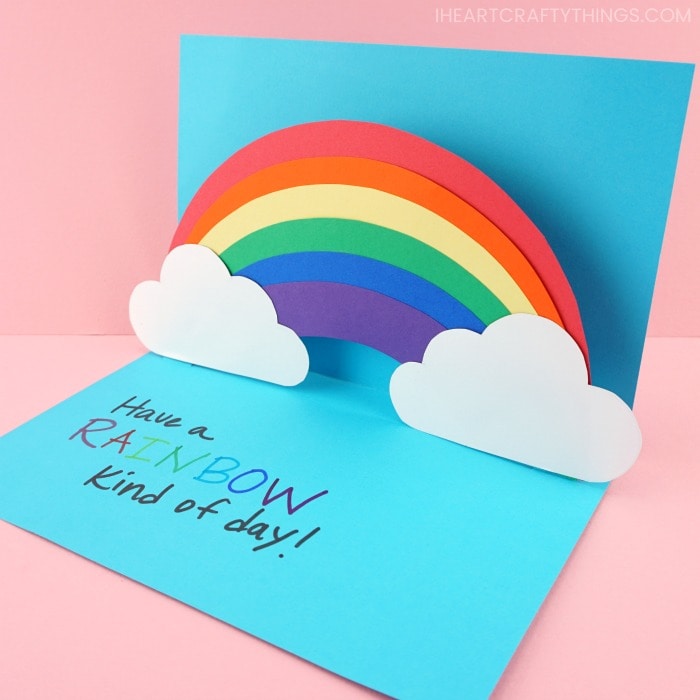
Send some colorful, good vibes to a friend this spring with this easy pop up rainbow card. This rainbow card is simple and easy to create and makes a great card for a teacher gift, a sweet Mother’s Day card or an everyday card for a friend or loved one.
This post contains affiliate links to the products mentioned.
Supplies needed:
- rainbow pop up card template <—— GET THE TEMPLATE HERE
- colored cardstock (all the colors of the rainbow and white)
- pencil for tracing
- glue stick
- scissors
- markers
Tutorial:
1. Print & cut out template
Begin by downloading and printing out the rainbow pop up card template on white cardstock paper. Cut out the pieces of the template.
Make your pop-up card
2. Fold blue paper in half
Grab a light blue piece of cardstock for the base of your rainbow card. Fold it in half to create a card.
3. Trace rainbow
Place the rainbow template on the edge of the folded end of the card. Using a pencil, trace where the bottom of the rainbow lands, about 1-inch up on both sides.
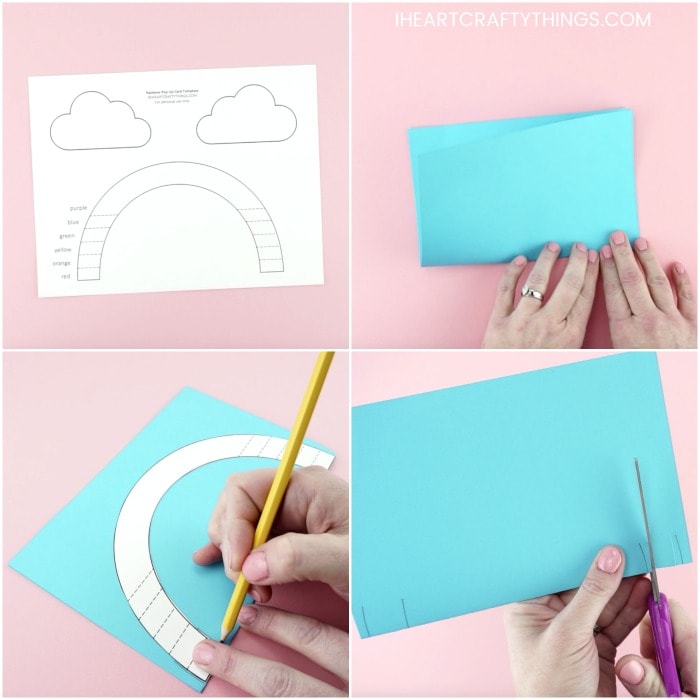
4. Cut slits
Carefully cut slits on the lines you traced on the folded edge of the card.
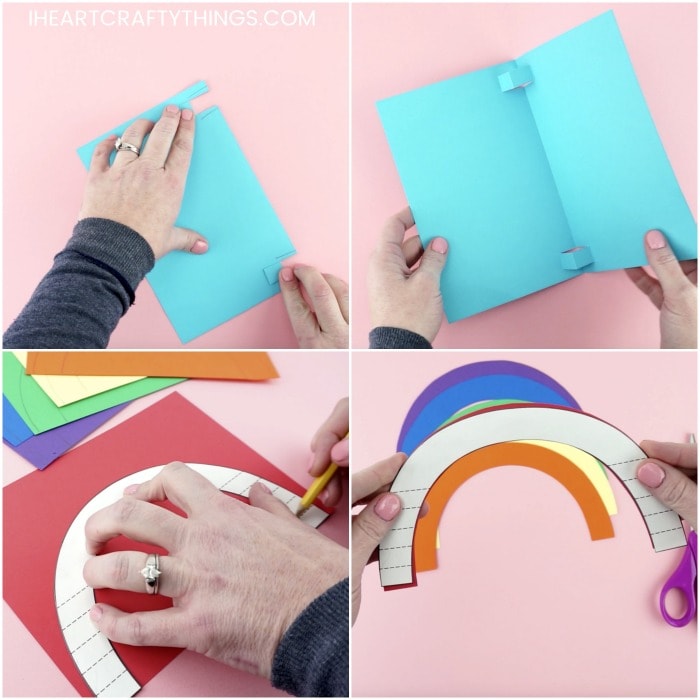
5. Fold and crease paper along the slits
Fold down and crease the light blue cardstock along the slits you cut. Carefully open up the blue cardstock again, invert the folded pieces of the paper so they stand upright in the crease to create the pop out of the card.
Create your rainbow for your pop-up card
6. Trace rainbow on colored paper
Trace the rainbow template on a piece of red, orange, yellow, green blue and purple cardstock. Cut out each of the arch colors you traced.
7. Trim each of the arches
Use the rainbow template as a guide to trim each of the colored rainbow arches. The red arch does not need to be trimmed at all.
Cut along the first dashed line of the rainbow template to make the correct size for your orange arch. Align the pieces together and trim down the orange arch.
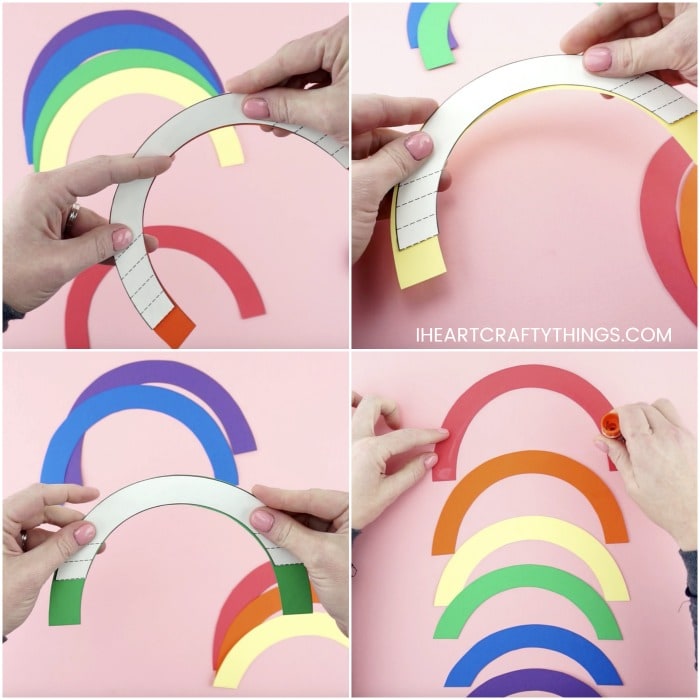
8. Glue orange arch to the red
Place a line of glue along the bottom rim of the red rainbow arch. Line up and glue the orange rainbow arch onto the red arch.
9. Then glue yellow and other colors
Add glue along the bottom of the orange rainbow arch and glue the yellow arch onto it. Keep adding glue at the bottom of each arch and add the remaining arches to create your rainbow.
Assemble your pop-up rainbow card
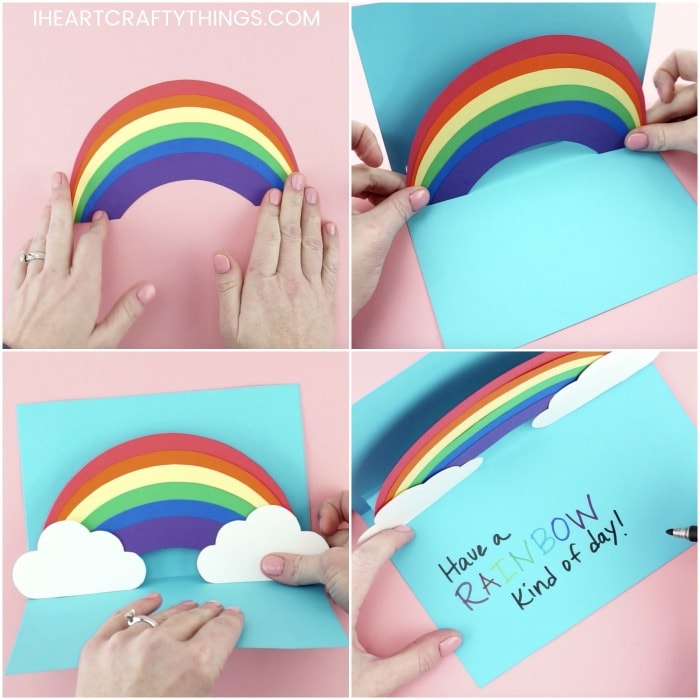
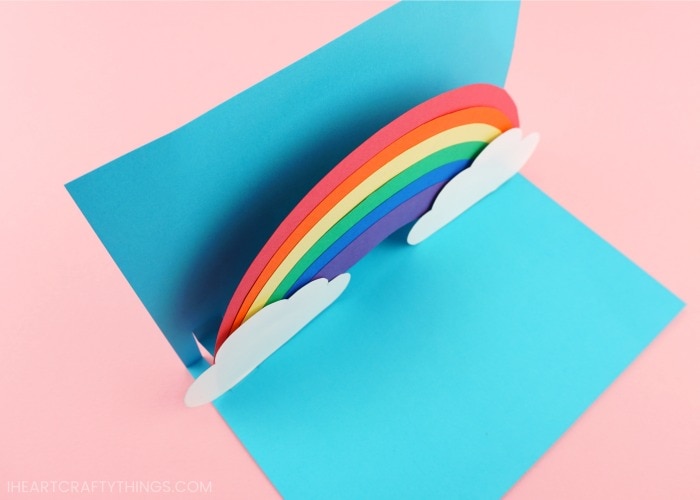
10. Attach rainbow to the card
Place glue on the two pop out sections of your folded card. Attach your rainbow to the glue.
11. Glue on clouds
Put glue on the back of the white clouds from the pop out card template and glue them at the bottom of each side of the rainbow.
Add finishing touches to your card
12. Write a message
Write a personal message at the bottom of your card with markers. We used the saying “Have a RAINBOW kind of day” with each letter in rainbow represented by a different color.
Depending on who the recipient of your rainbow card will be, there are lots of different rainbow themed sayings you could use.
Here are some different sayings you can include on the inside of your rainbow card:
- You color my world
- I love your true colors
- You are like a Rainbow after the storm
- Sending colorful thoughts your way
- You make gray skies blue

Watch the video below to be guided through each step of this creative card idea.
Browse through more of our easy kids craft tutorials right here on our website to view more simple video tutorials.