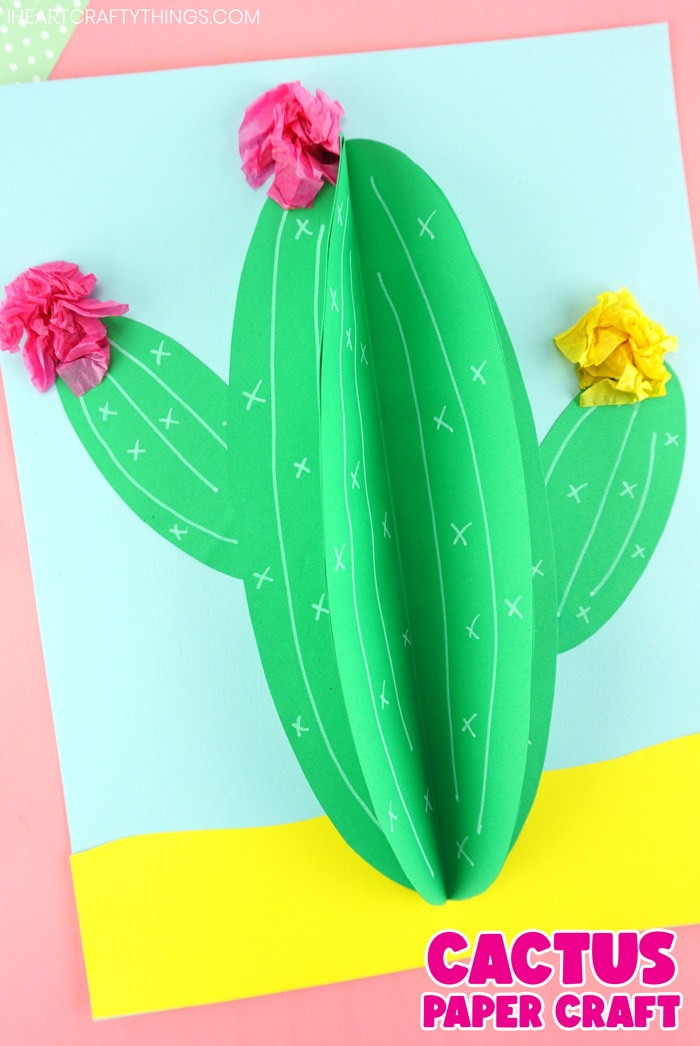
Add some colorful 3D fun to your craft wall this summer by making this easy paper cactus craft with your kids.
Did you know there are around 2,000 different species of cactus? Since cacti live in hot, desert climates, learning about them is a perfect theme for preschoolers in the summer months. Kids are always fascinated when they learn that unlike most plants, cacti have spines instead of leaves.
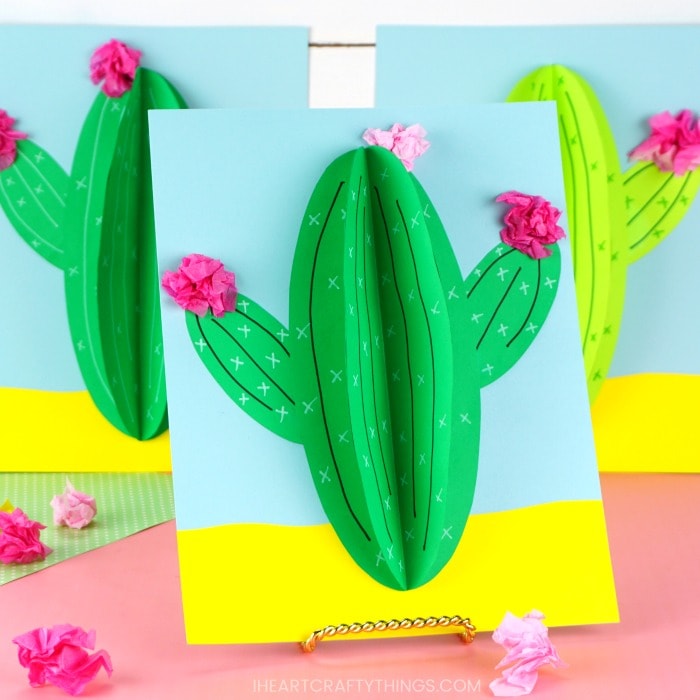
After learning all about cactus plants, kids will have a blast making this easy cactus paper craft. The bright colors of this craft, along with the fun three dimensional aspect of it, makes it a perfectly stunning craft project to display all season long.
This cactus craft doesn’t require any fancy or tricky materials either, like hot glue, so kids can easily create it on their own. Did we mention we have a cactus template too? Our template makes this craft doable for even little crafters.
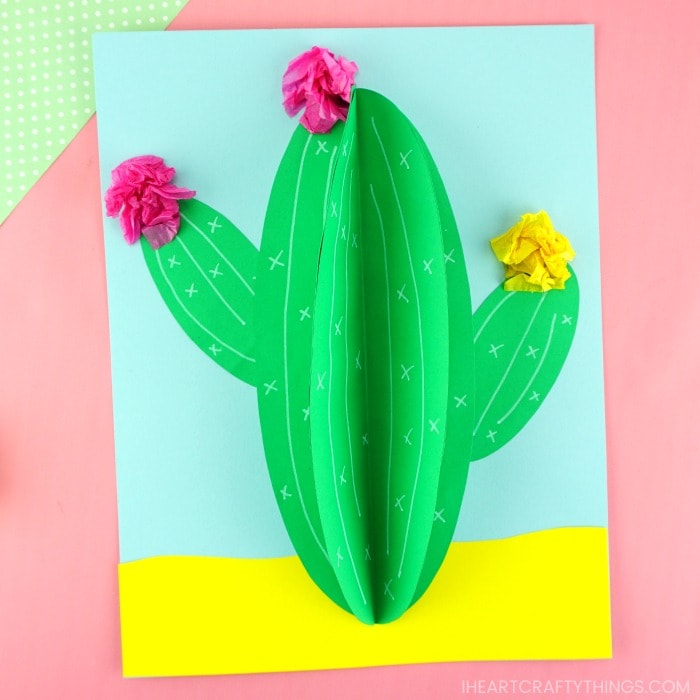
This easy paper cactus craft is easy for preschoolers and kids of all ages to create. It makes a great summer decoration to display at home or inside the classroom.
Read our easy how-to instructions below for how to make your own paper cacti. Make sure to watch our craft tutorial video inside this post before you get started too.
Supplies needed:
This post contains affiliate links to the products mentioned. Read our disclosure policy for more information.
- paper cactus template <—– Get the template Here
- green, yellow and blue cardstock paper
- markers
- white chalk marker (optional)
- tissue paper squares
- pencil for tracing
- scissors
- glue stick
Tutorial:
1. Print & cut out template
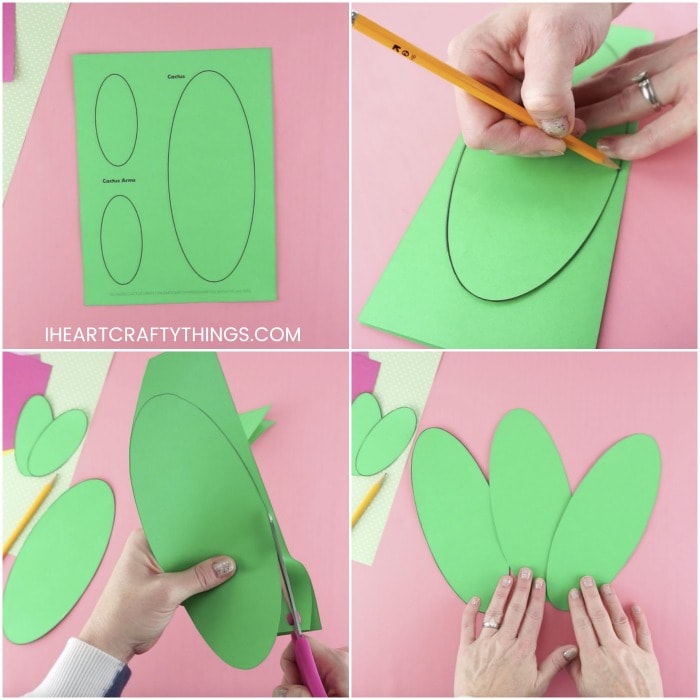
Begin by downloading and printing out the cactus craft template on green paper. Cut out each of the cactus and cactus arm pieces from the template.
2. Fold paper and trace cactus piece on it
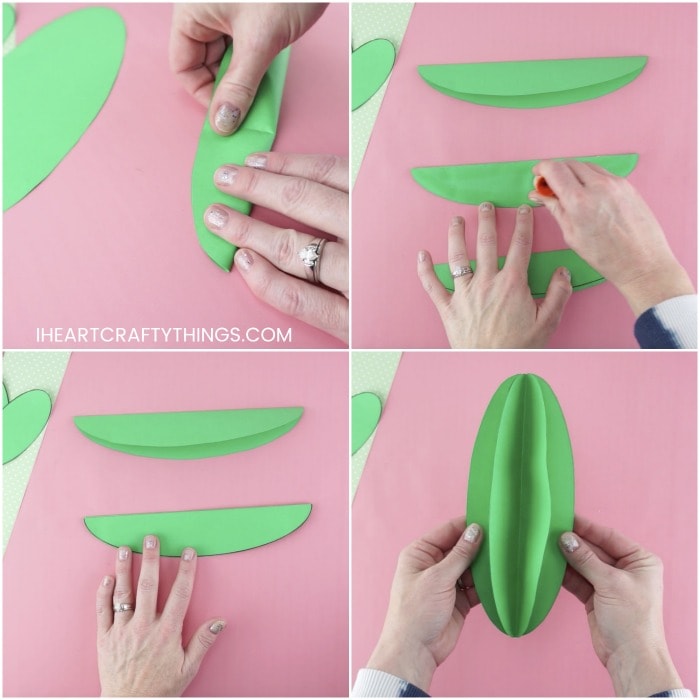
Fold a second piece of green paper in half lengthwise. Use a pencil to trace the cactus piece of the template on your folded green paper.
3. Cut out cactus
Cut out the traced cactus. Since the paper was folded in half you will get two cactus shapes, leaving you with three in total.
4. Fold pieces in half and glue together
Fold each of the cactus pieces in half lengthwise. Use your glue stick to add glue to one of the folded cacti halves. Then glue another cactus on to it. Add glue to that cactus half and glue the last cactus onto it creating a 3D cactus.
5. Draw lines and needles
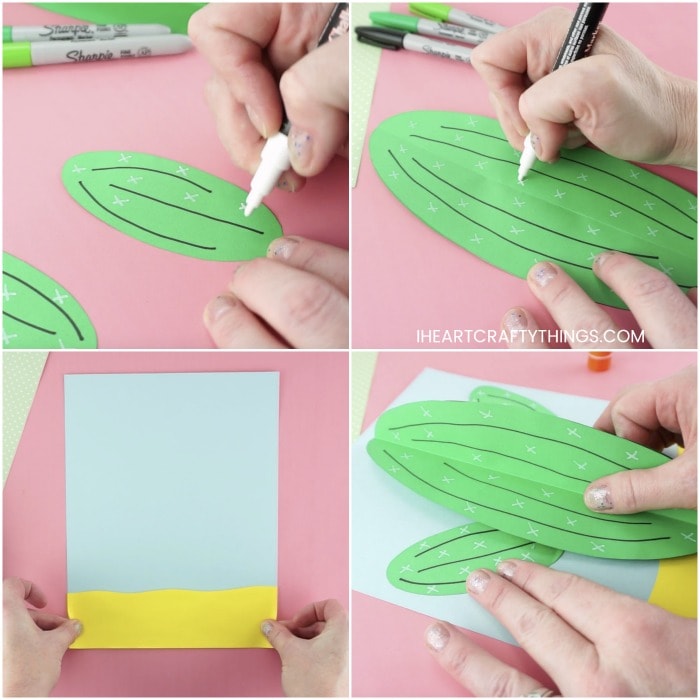
Use markers to draw lines and needles on both of the cactus arms. The lines help add extra dimension to your paper cactus.
Then use markers to draw lines and needles on each folded side of the 3D cactus. You can use a mixture of different colors to add extra color and pizazz to your cactus. We used a dark and light green color on our lighter green cactus and tried a variety of black and white chalk marker on our dark green cacti.
7. Cut out yellow piece and glue to cardstock
Cut a piece of yellow paper for sand and glue it at the bottom of a light blue piece of cardstock paper.
8. Glue arms to the cactus
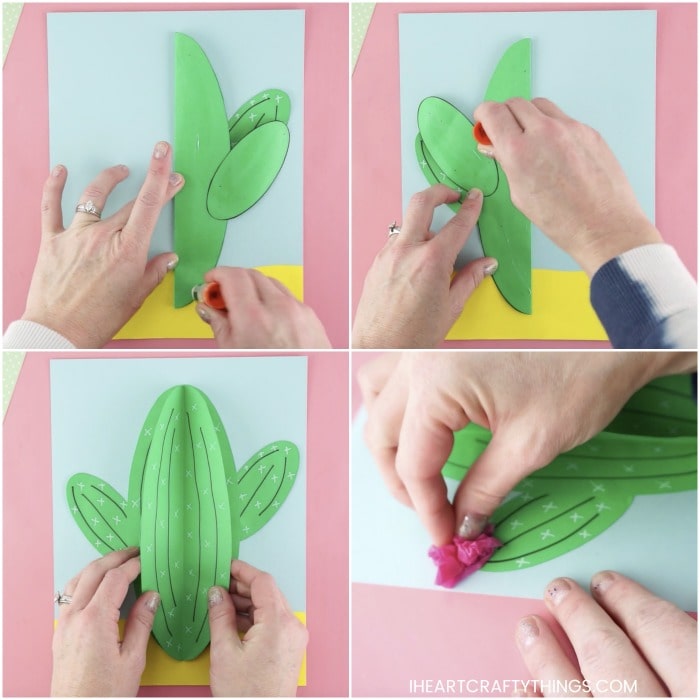
Glue each of the cactus arms on the back of the 3D cactus. We glued one on each side of the cactus but you can design your cactus however you would like.
9. Glue cactus to the cardstock
Fold your 3D cactus in half. Add glue to one side of it and glue it in the center of your blue cardstock paper. Then add glue on the back of the second half of your cactus and secure it in place on your paper.
10. Crumple tissue paper to make flowers
Crumple up a few square pieces of tissue paper for cactus flowers. We used pink and yellow tissue paper. Add glue on your cactus where you want to have a flower and place the tissue paper flower onto it.
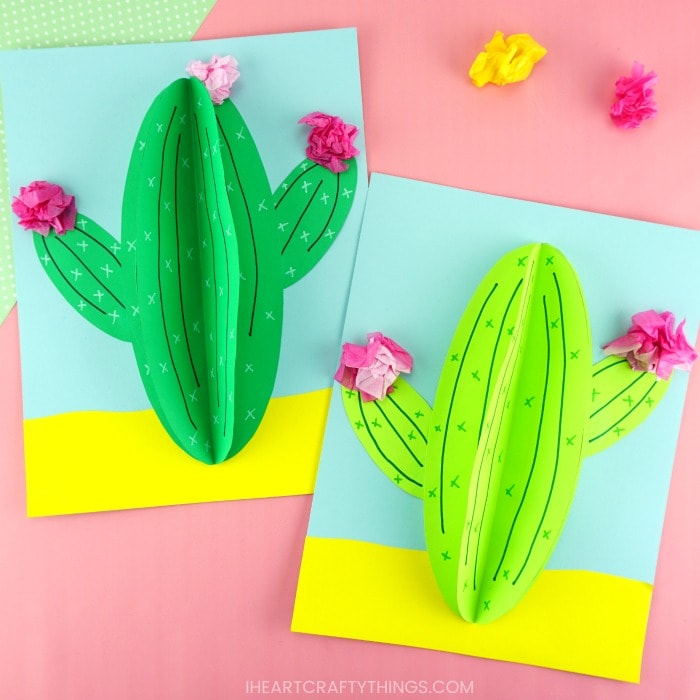
Your easy paper cacti are complete! There are a couple ways you can switch up the craft to make it more advanced for older children. Try adding more than three layers to your cactus to give it even more dimension.
You could also glue connect each cactus layer together to make a full 3D cactus. Then make a plant pot for your cactus out of a cardboard roll or cardstock and glue the 3D cactus inside of it.
