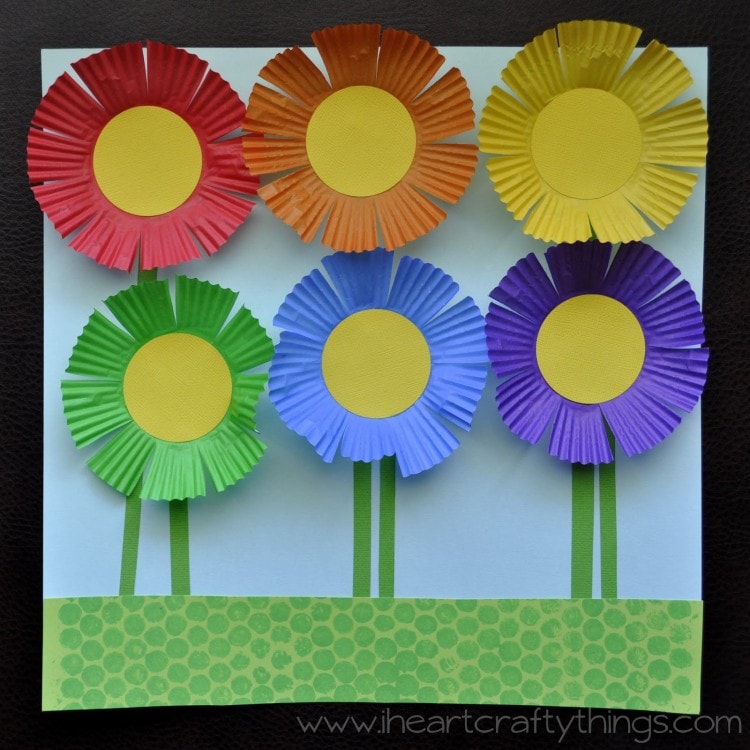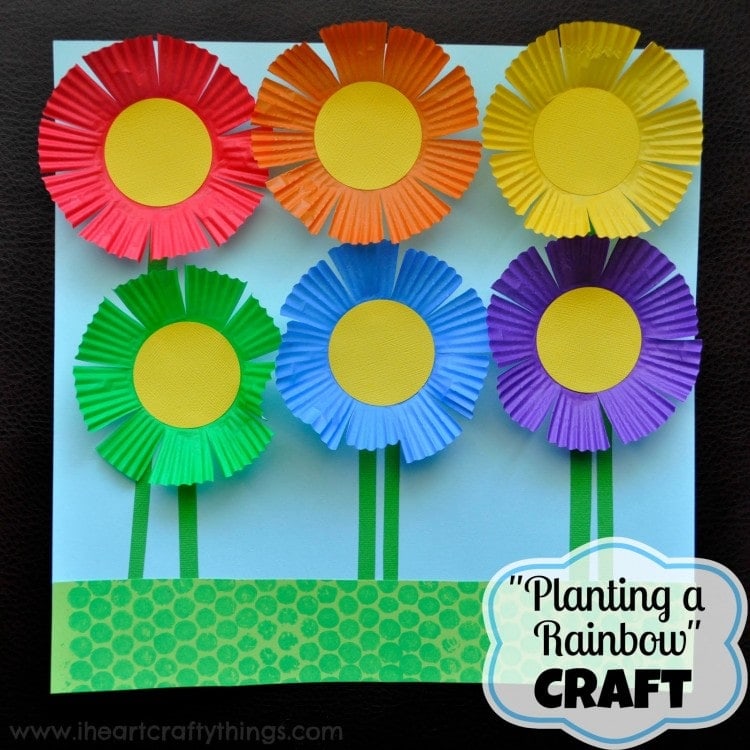
What you will need:
- blue, yellow and green cardstock paper
- bubble wrap
- green paint
- paint brush
- 6 Cupcake Liners in red, orange, yellow, green, blue and purple
- scissors
- glue
Tutorial:
1. Paint grass using bubble wrap
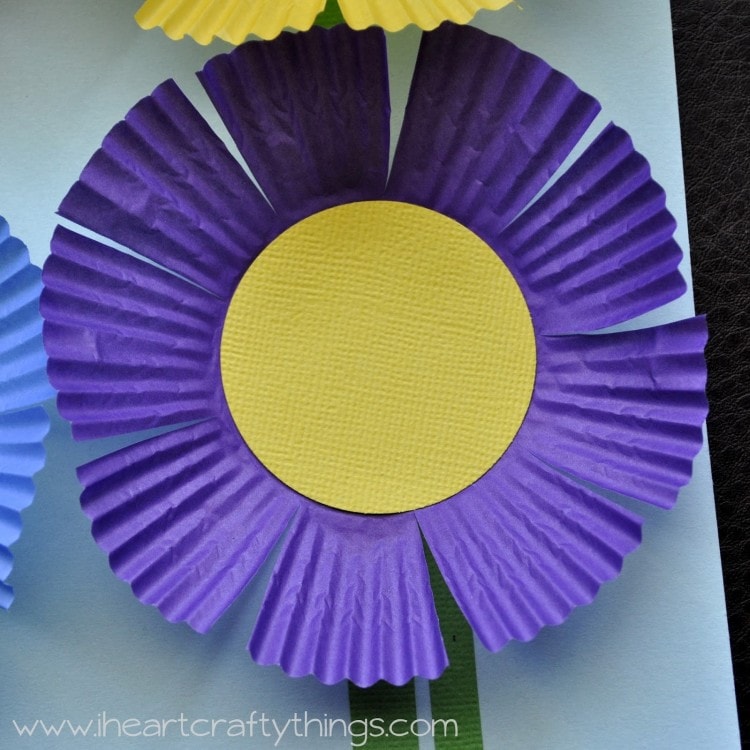
2. Make slits in cupcake liners
3. Make stems
Cut green stems out for all six of your flowers out of green paper.
4. Glue cupcake liners & stems
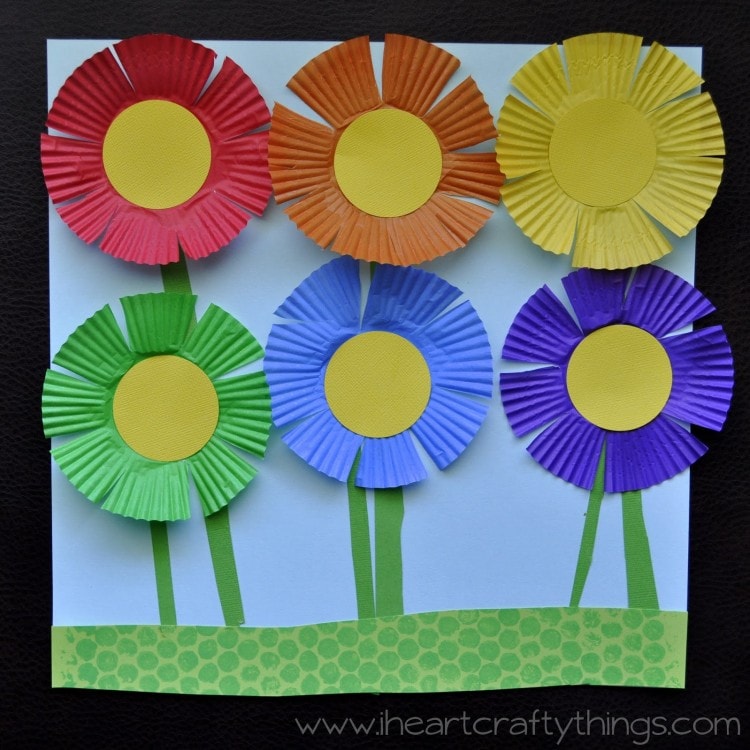
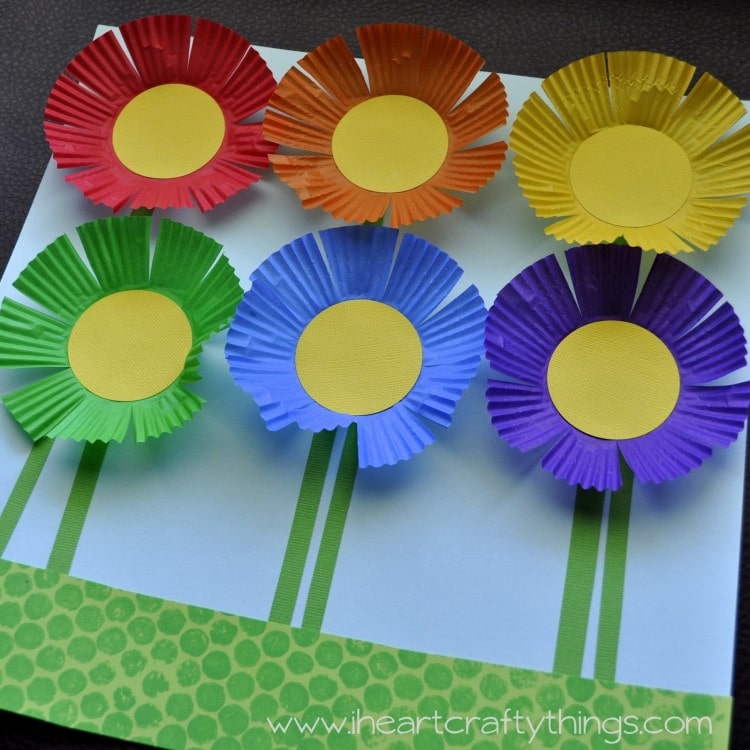
Glue the the red, orange and yellow cupcake liners at the top of your blue cardstock paper. Then glue the flower stems underneath them.
5. Glue next row
Glue the green, blue and purple flowers on the next row and the stems underneath them. If your stems are too long, trim them with your scissors.
6. Glue circles to the flowers
Glue your 2″ yellow circles in the middle of your cupcake liners. I used a circle punch to punch out all my circles. If you don’t have one, you can just cut out your own, freehand them, or have your children cut out their own circles. Pom-poms or buttons would also be a fun option for the centers.
7. Glue on grass
To finish the craft, cut off a section from your bubble wrap printed page, and glue it to the bottom of your paper to create “grass”.
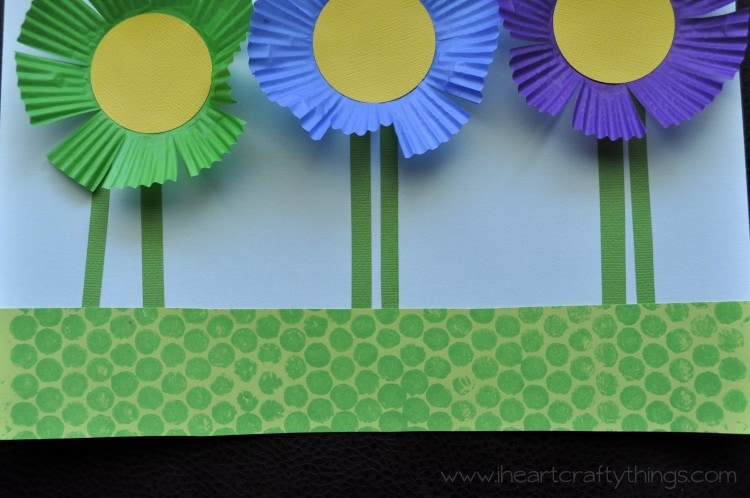
The rainbow colors make such a beautiful craft for spring!
