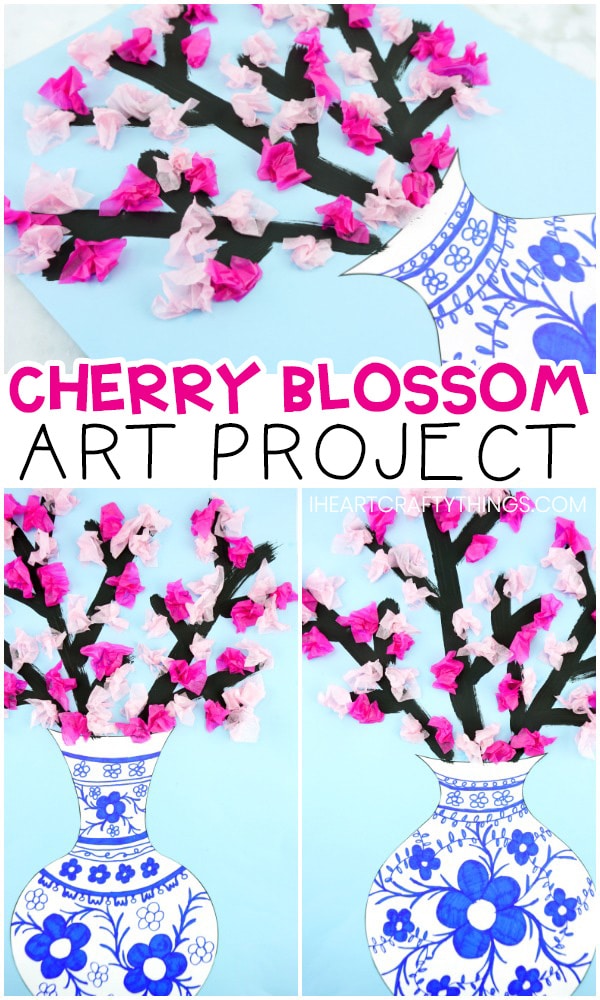
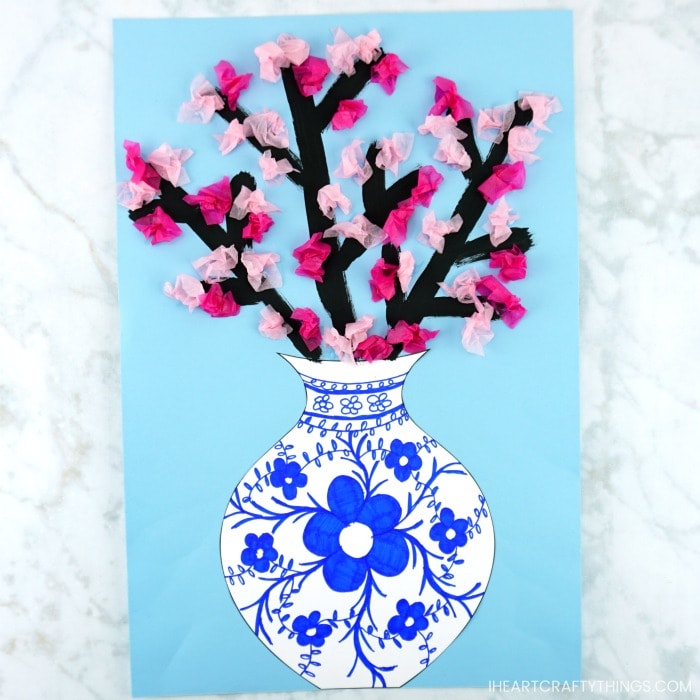
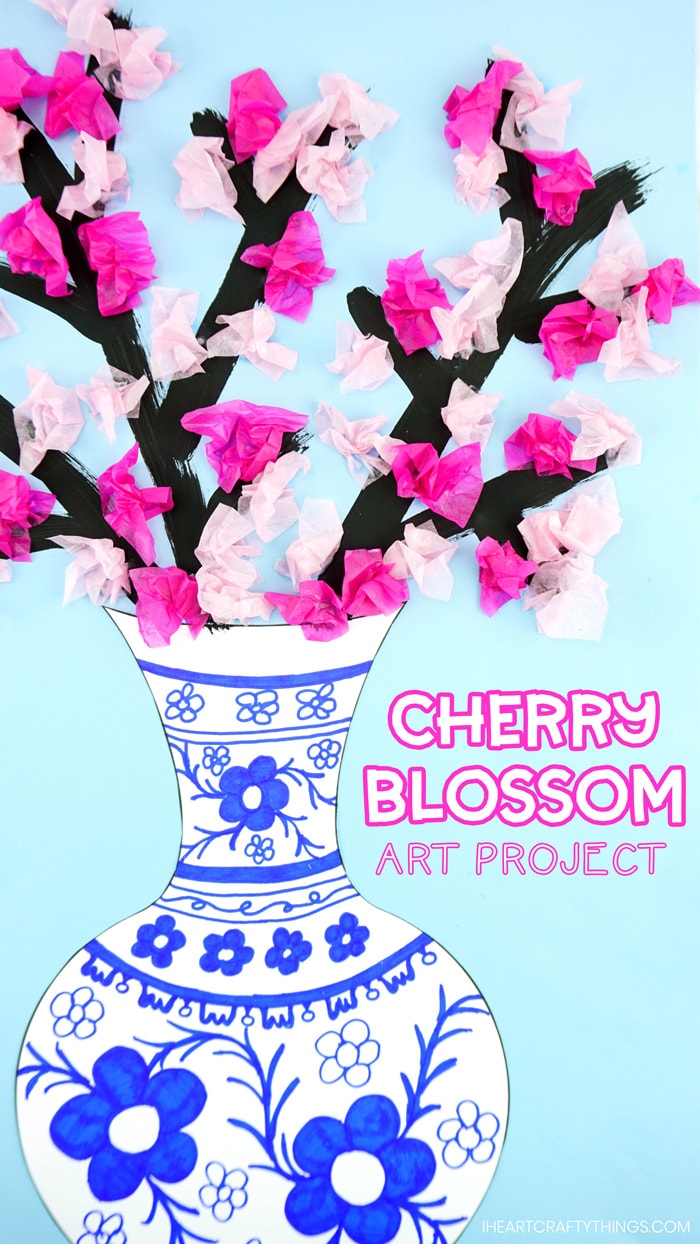
Cherry blossom trees is one of my most favorite things about the spring season. The brightly colored flowers and the sweet smell of the blossoms make my heart so happy. This gorgeous cherry blossom art project is a great way to celebrate the spring season. It also makes a perfect art activity to include in your lesson plan if you are learning about Japan.
While this spring art project is great for elementary age children, you’ll also find that it’s a simple enough art activity for preschoolers to enjoy. The end result is stunning and each child will have a unique looking art project full of colorful cherry blossoms to display in the classroom.
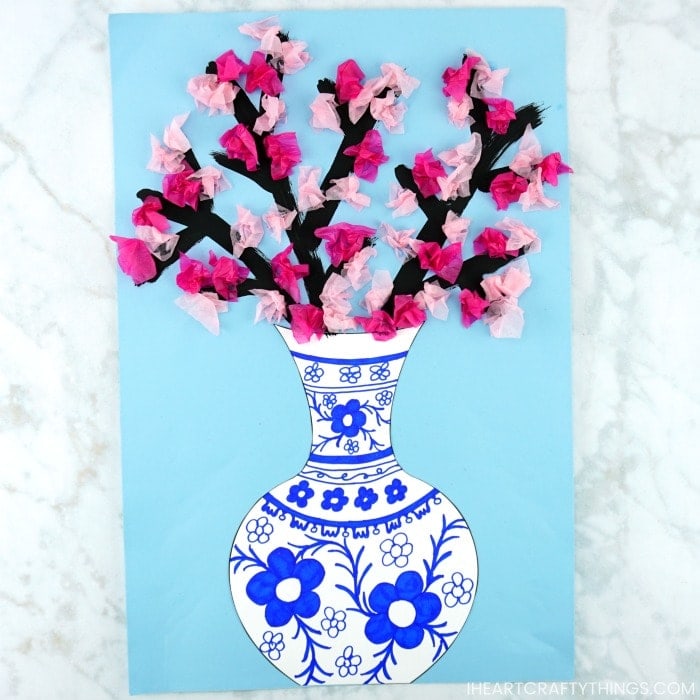
A little background behind this beautiful art project. I have recently become obsessed with Japanese blue and white porcelain vases.
The cobalt blue Japanese art against the white vase is absolutely stunning. We decided creating our own vase was a perfect compliment to our simple cherry blossom art.
If you have a cherry blossom festival in your neighborhood to visit as a spring field trip or family outing, this art project is a great way to bring the beautiful flower viewing back home and display some gorgeous cherry blossoms up on an art wall.
This post contains affiliate links to the products mentioned. Read our disclosure policy for more information.
Supplies needed for this art project:
- Vase template, printed on white cardstock (8.5” x 11”) <—- Purchase in our shop
- Light blue construction paper (12” x 18”)
- Blue marker
- Black paint
- Paintbrush
- pink and light pink tissue paper squares
- School Glue
- Scissors
- Glue stick
Instructions for cherry blossom art project:
1. Print off vase template on white cardstock
Purchase the vase template in our shop. Download and print off the vase of your choice on white cardstock (8.5″ x 11″). If you prefer not to purchase our template, simply draw a vase of your own on a piece of white cardstock.
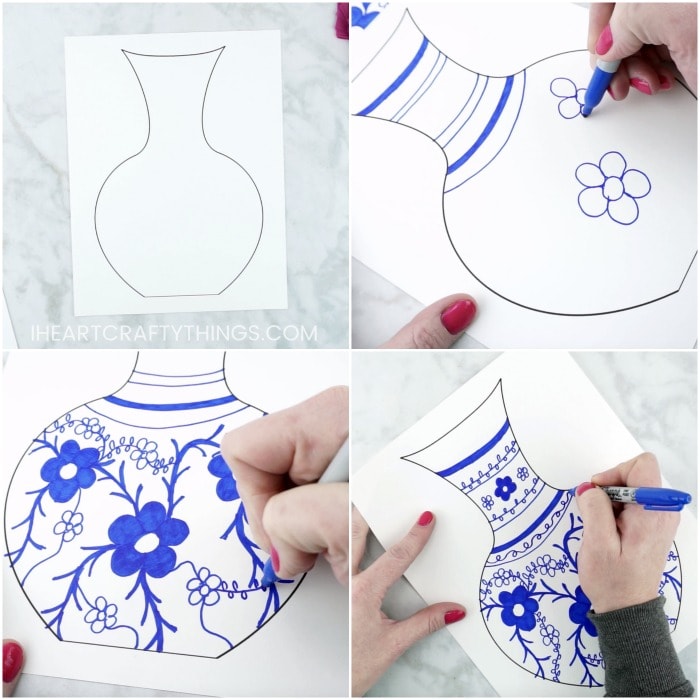
2. Use a blue marker to make designs and decorate vase
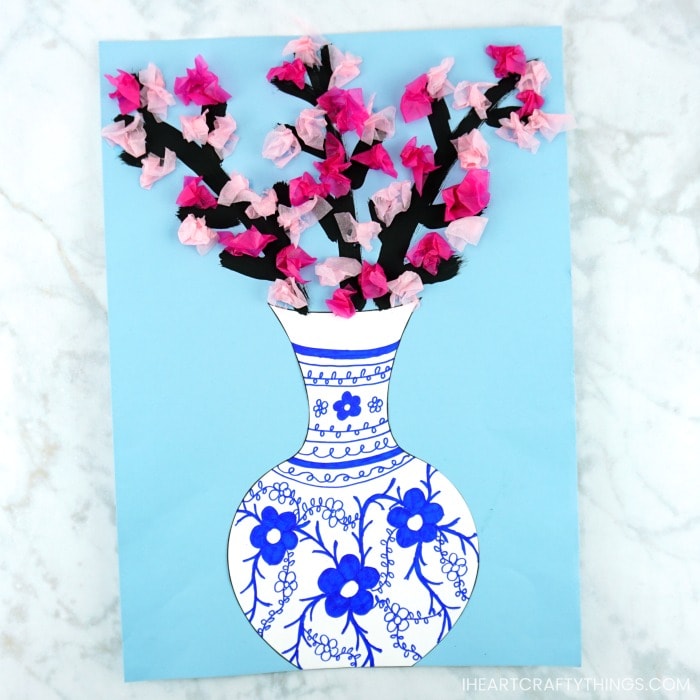
Use a blue marker to make designs and decorate your template to resemble a Japanese blue and white porcelain vase. We tried to use a variety of straight lines, thick lines, squiggly lines, flowers, stems and leaves. We also colored in some of our flowers and left some just outlines.
There is not a right away to decorate your vase. Let your creativity flow and design it however you would like.
Tip for young children: To help children avoid any mishaps with their design, it might be helpful to have them draw their design on their vase lightly with pencil first. Once they are happy with their design they can trace over it and color it in with a blue marker.
3. Cut out vase
When you are finished decorating your vase, use scissors to cut it out.
4. Glue vase onto blue construction paper
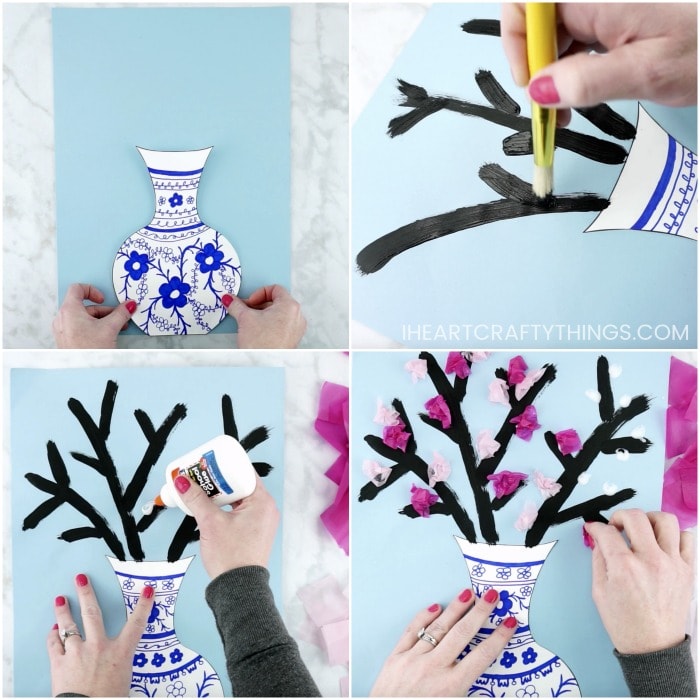
Add glue on the back of your vase with a glue stick and glue it at the bottom of a light blue piece of construction paper (12” x 18”). Make sure your construction paper is vertical to leave room for your cherry blossom art at the top of your vase.
5. Draw cherry tree branches coming out of the top of vase
Use a paintbrush and black paint to draw cherry tree branches coming out of the top of the vase. We used acrylic paint but tempera paint is also great. Let the black paint dry completely.
Another fun way to create cherry blossom branches is with a blow painting technique. Do this by adding dots of thinned out black paint on your paper and then blowing paint upward to create the branches.
6. Cut out tissue paper squares
Cut out tissue paper squares from light pink tissue paper and dark pink tissue paper.
7. Glue tissue paper blossoms
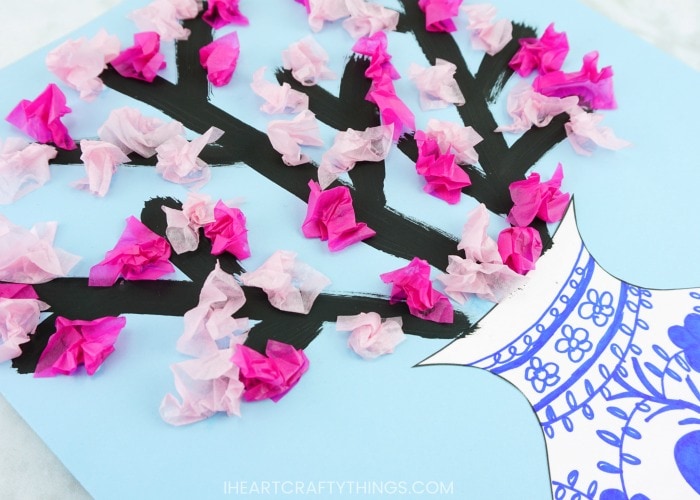
After your black paint is completely dry, add dots of school glue around the cherry tree branches for your blossoms. Crinkle up the squares of light and dark pink tissue paper to make them look like small cherry blossoms and place them on your dots of glue.
Video Tutorial: How to Make a Cherry Blossom Art Project
Watch the video below for a step by step guide for making this cherry blossom painting art project. Find more spring crafts and easy kids arts and crafts ideas by browsing the categories at the top menu bar of our website.
