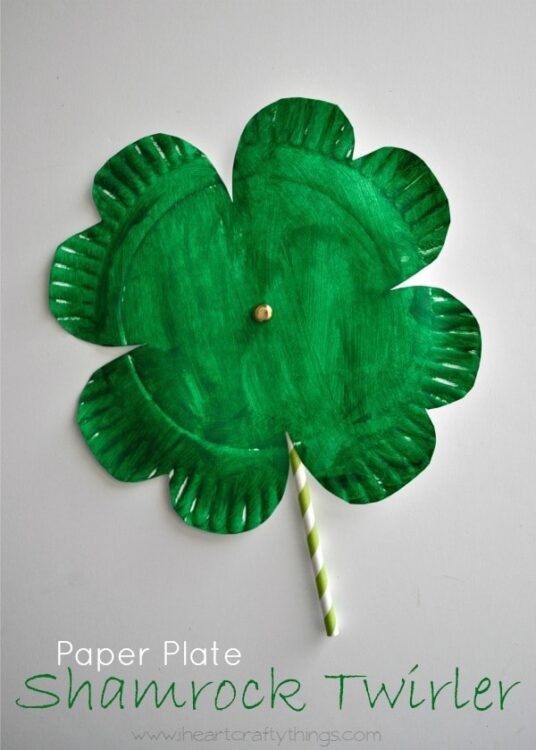
Like most kids, my daughter loves pinwheels. Whenever we buy one at the store I even catch myself blowing it and watching it spin around and around. As a spin off to my daughter’s love for pinwheels, we made this spinning Paper Plate Shamrock Twirler that brought a huge smile to her face. Look for a short video at the end of the post to see the twirler in action.
This post contains affiliate links for your convenience. Read our Disclosure Policy for more information.
Supplies needed:
- paper plates
- pencil
- scissors
- green paper straw
- green paint
- paint brush
- craft knife (for adult use only)
- metal brad (about 1-inch long)
Tutorial:
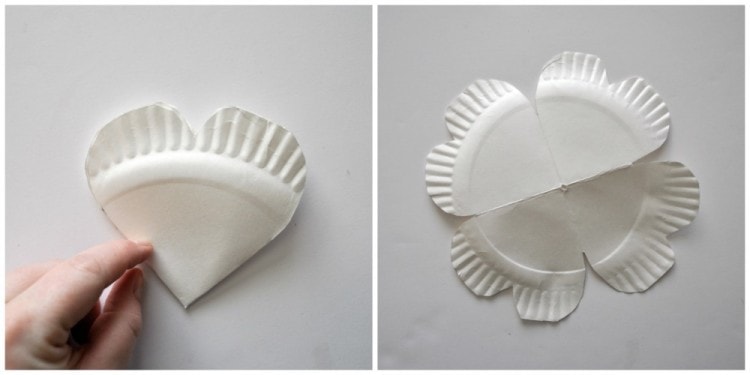
1. Cut out shape from a plate
Start by making a template for your shamrock shape. Fold a paper plate into quarters, and cut a heart shape out of it. When you unfold it you will have a shamrock shape.
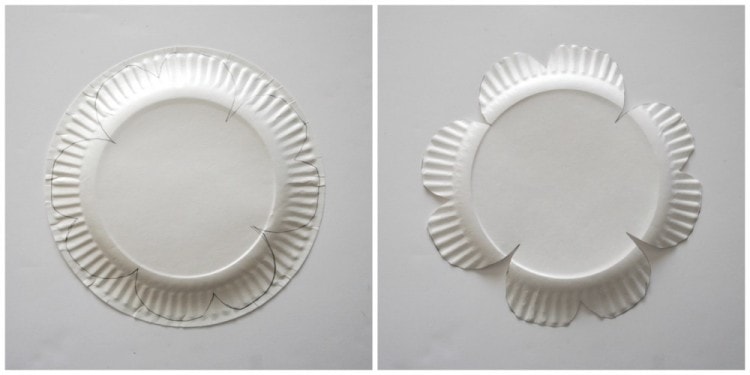
2. Trace the shape to another plate & cut out
Use your pencil to trace the shamrock shape onto a new paper plate. Cut out the shamrock.
3. Paint it green
Paint your shamrock green and let it try completely.
4. Make slits on plate and straw
Use your craft knife to poke a small slit in the middle of your paper plate. Also, make a small slit in your paper straw about 1-inch from the top. Turn the straw over and make another small slit directly behind your other slit. Make sure not to cut through your straw.
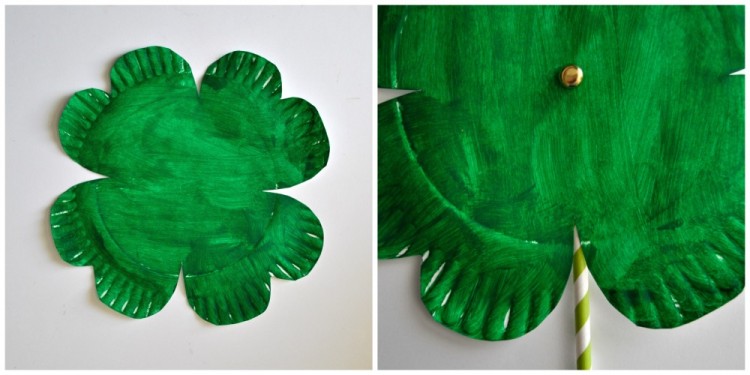
5. Poke metal brad through plate and straw
Poke your metal brad through the holes in your paper straw and then pull it back out. This just helps open the holes more so it’s easier to put together. Now, poke your metal brad through the front of the paper plate and then through the straw. Keep the paper plate a bit loose from your straw and then push down the ends of the brad to hold it in place.
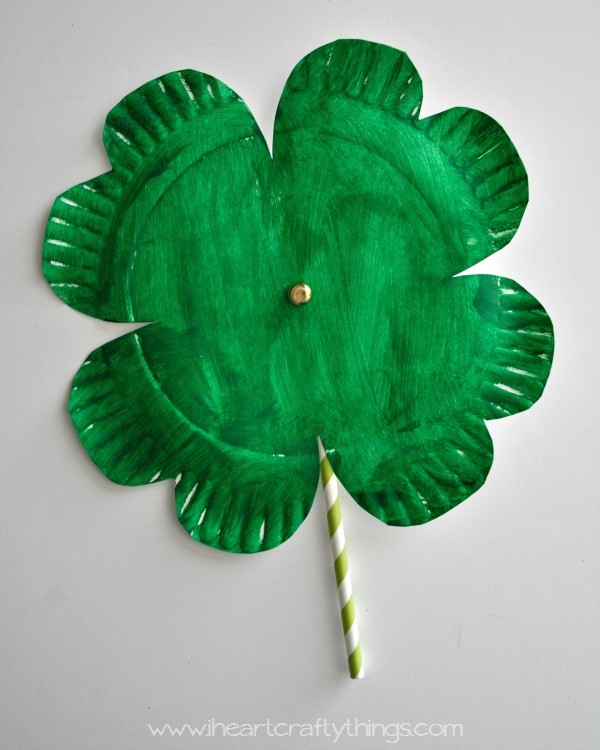
6. Now have fun!
Now use your hand and twirl your shamrock around and around!


