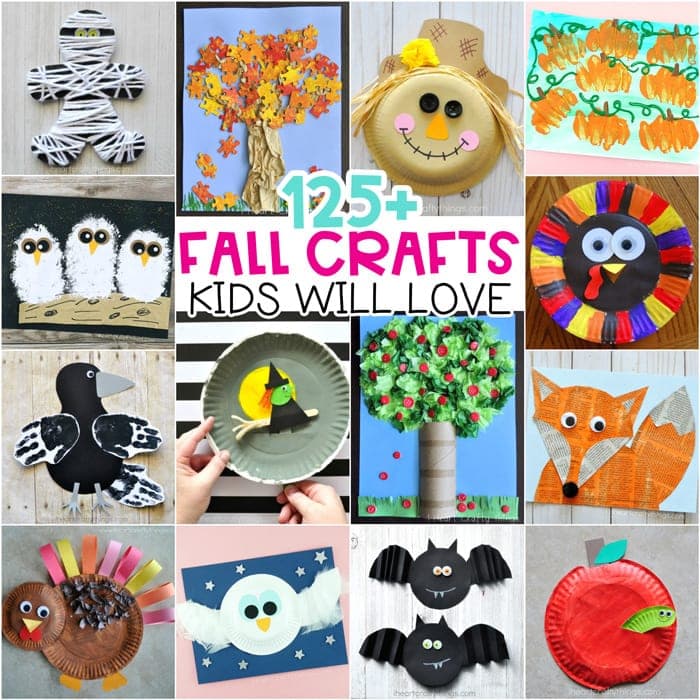
If you’re looking for some crafty inspiration and fun things to do with your kids for Halloween this year, you have come to the right place! All you need is a paper bowl, some simple craft supplies and a little creativity to make these fun and easy Halloween craft ideas.
Watch our full tutorial video near the bottom of this post to see how to make each of these cute Halloween crafts.
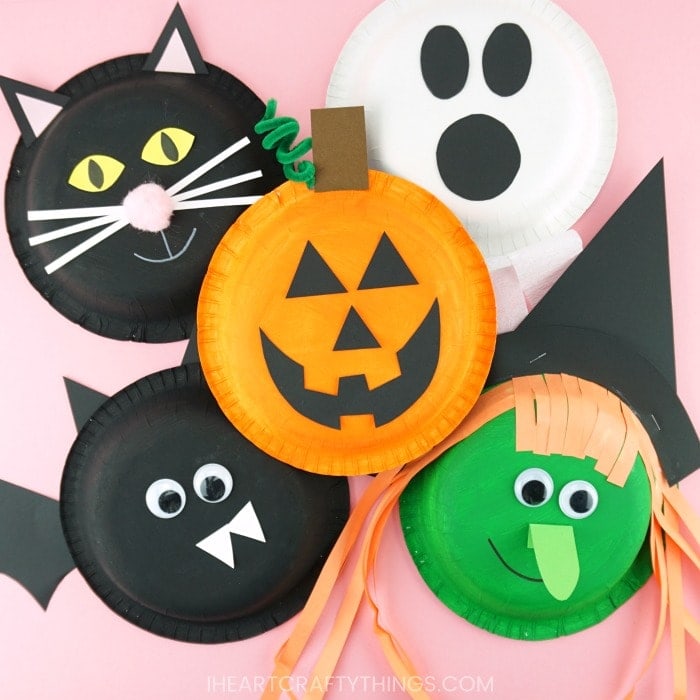
Five Easy Halloween Craft Ideas for Kids
With Halloween just around the corner, what better way to get into the Halloween spirit then to do some fun Halloween crafts with your kids?
These cute and easy paper bowl Halloween craft ideas are perfect for any occasion, whether it’s a school party, a play date, or just for some family fun at home!
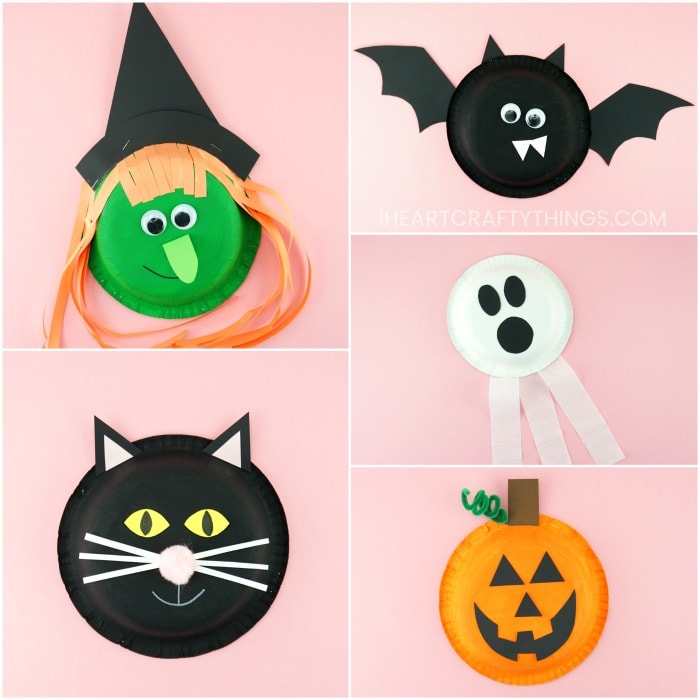
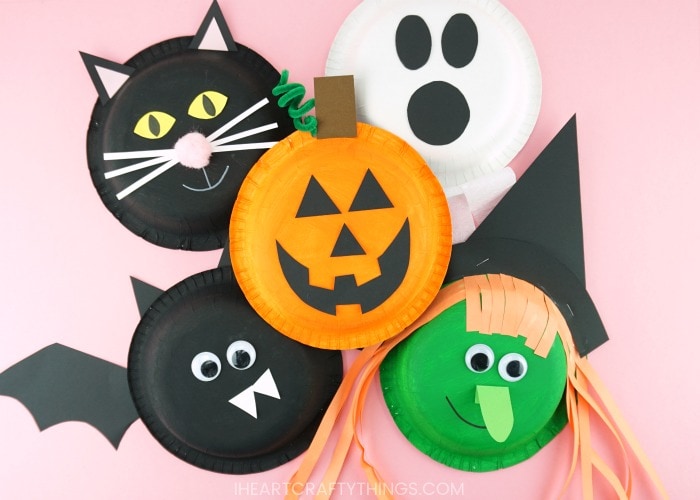
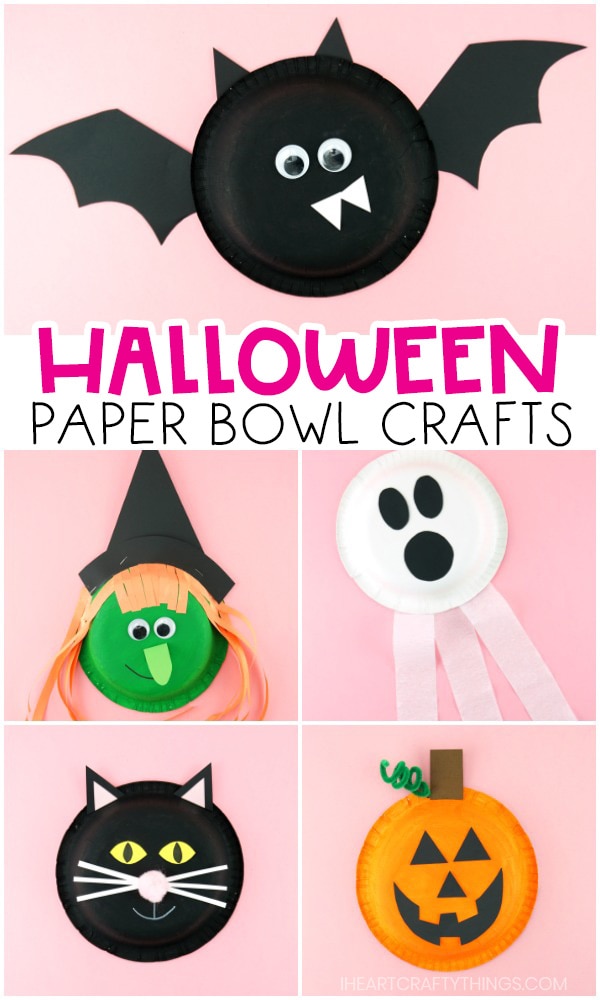
Keep reading to learn how to make a bat, witch, black cat, ghost and Jack-o-Lantern craft from a simple paper bowl for Halloween. Which one is your favorite?
Supplies Needed for these Halloween Crafts
This post contains affiliate links to the products mentioned. Read our disclosure policy for more information.
- paper bowl crafts template <—- Get the Template HERE
- paper bowls
- acrylic paint
- paintbrushes
- googly eyes
- cardstock paper or construction paper
- pink pom-pom
- white crepe paper
- green pipe cleaner
- hole punch
- Glue Dots
- markers
- white chalk marker (or white colored pencil)
- scissors
- glue
- stapler
How to Make a Paper Bowl Bat Craft
Hang these cute bats up from the ceiling or a classroom display for some spooky Halloween decor. They are super simple for kids of all ages to make, especially with the help of our handy template.
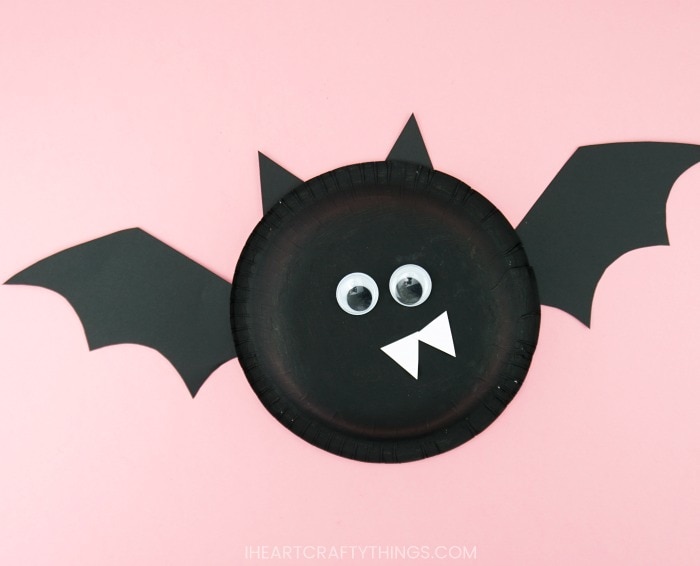
Instructions for making Bat Craft
Step 1: Paint the bottom of your paper bowl with black paint. Let it dry completely.
Step 2: Use our printable template to trace and cut out the bat wings, ears and fangs from black and white cardstock paper or construction paper.
See Also: Paper Bag Halloween Crafts
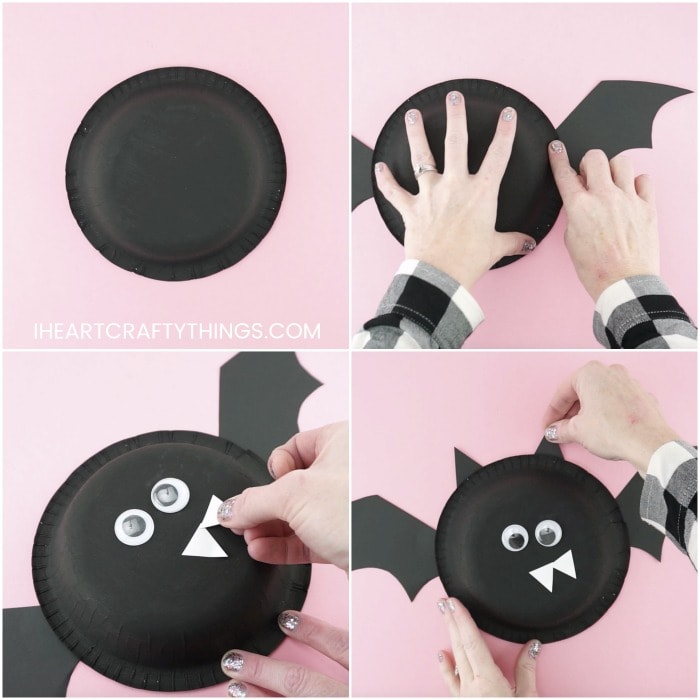
Step 3: Glue a bag wing on each side of the paper bowl. Then glue googly eyes and the fangs onto the paper bowl.
Step 4: Finish your Halloween bat craft by gluing the ears at the top of the paper bowl.
How to Make a Paper Bowl Ghost Craft
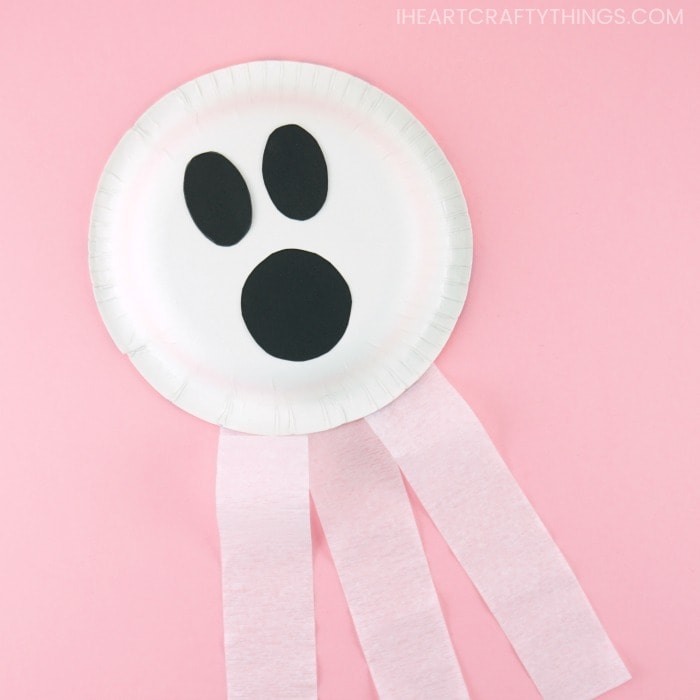
These simple ghosts are the easiest of the Halloween crafts to make since they require no painting at all. It makes them a perfect Halloween craft for toddlers and preschoolers.
Instructions for Making Ghost Craft
Step 1: Use the printable template to trace and cut out the ghost eyes and mouth from black cardstock or construction paper.
Step 2: Glue the eyes and mouth on the back of the paper bowl.
Related: Paper Bowl Scarecrow Craft
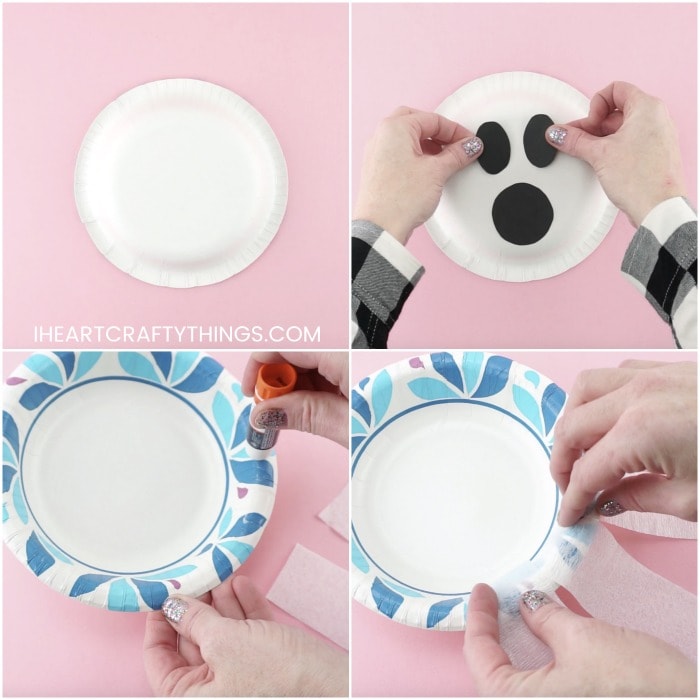
Step 3: Cut three strips of white crepe paper about 12-inches in length.
Step 4: Turn your ghost craft over and add glue along the bottom edge of the paper bowl. Place the three pieces of crepe paper on the bottom of your paper on the glue to secure them in place.
How to Make a Paper Bowl Jack-o-Lantern Craft
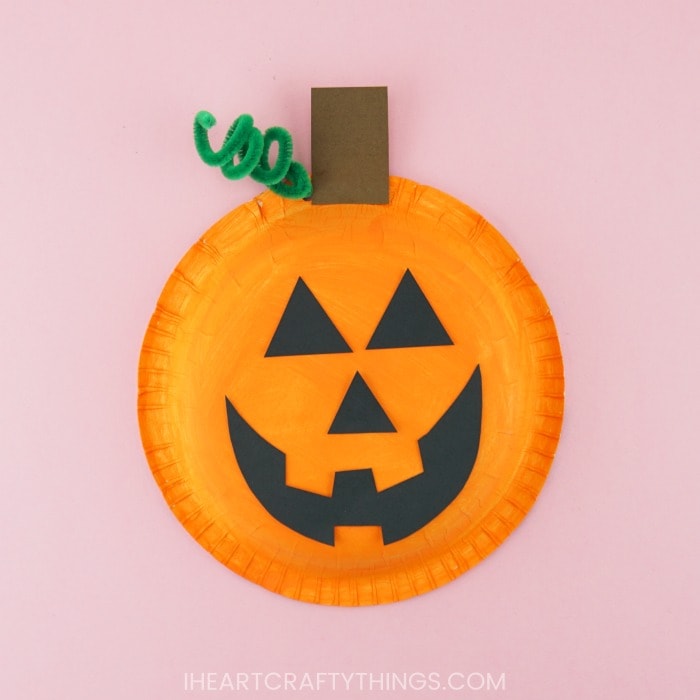
We have a simple Jack-o-Lantern face template for this pumpkin craft, but you could also let kids create their own unique design to add some extra creativity to the craft. The different pumpkin faces will make a great Halloween bulletin board display at school.
Instructions for Making Jack-o-Lantern Craft
Step 1: Paint the bottom of your paper bowl with orange paint. Set it aside to dry completely.
Step 2: Use our printable template to trace and cut out the Jack-o-Lantern face pieces from black construction paper or cardstock. Glue the eyes, nose and mouth onto the back of the painted bowl.
Related: Pumpkin Patch Art Project
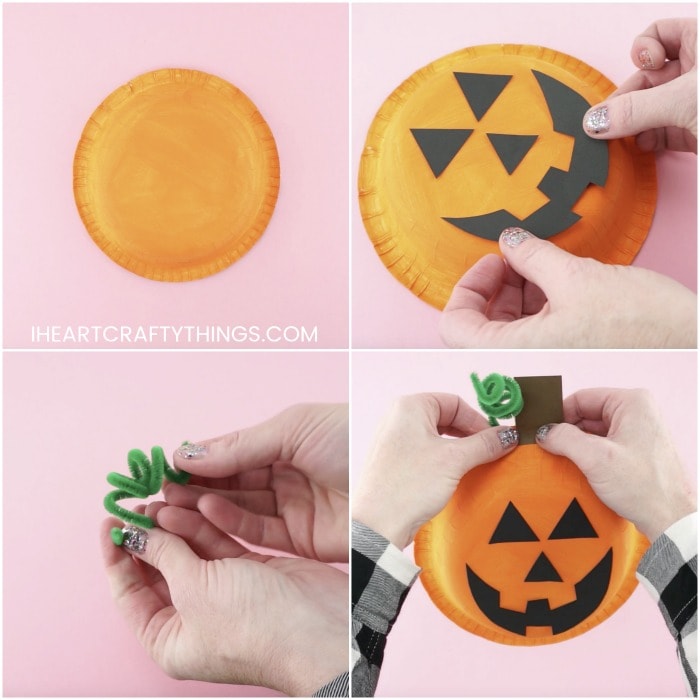
Step 3: Cut a rectangle pumpkin stem from brown cardstock or construction paper and glue it at the top of your pumpkin.
Step 4: Wrap a green pipe cleaner around your finger to make a curly pumpkin vine. Punch a hole next to the pumpkin stem with a hole punch. Place the end of the curly green pipe cleaner into the hole and wrap it around itself to secure it in place.
How to Make a Paper Bowl Black Cat Craft
The pop out of the paper bowl gives this black cat a fun 3-D effect. This easy cat craft could be made any time of the year, really, by switching up the color of the cat to gray, orange or white.
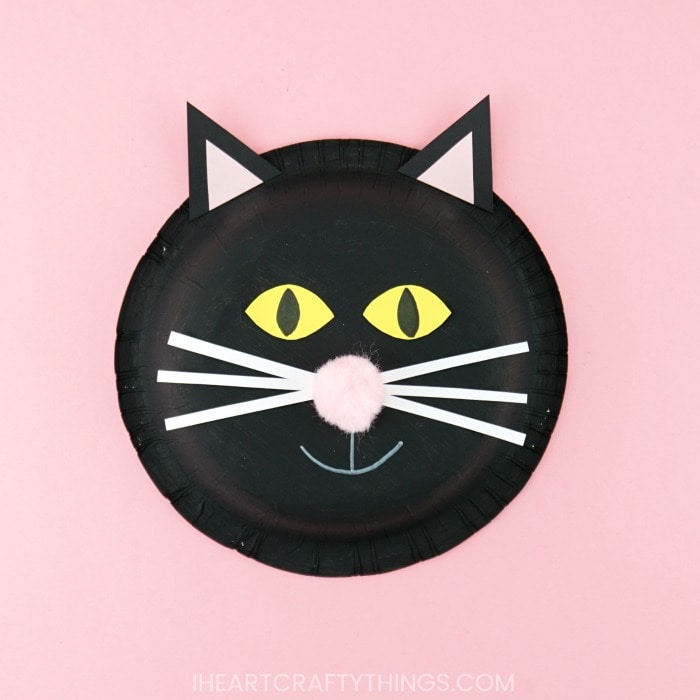
Instructions for Making Black Cat Craft
Step 1: Paint the bottom of your paper bowl with black paint. Set it aside to dry completely.
Step 2: Use our printable template to trace and cut out the cat eyes and ears from cardstock or construction paper.
Related: Paper Plate Cat Craft
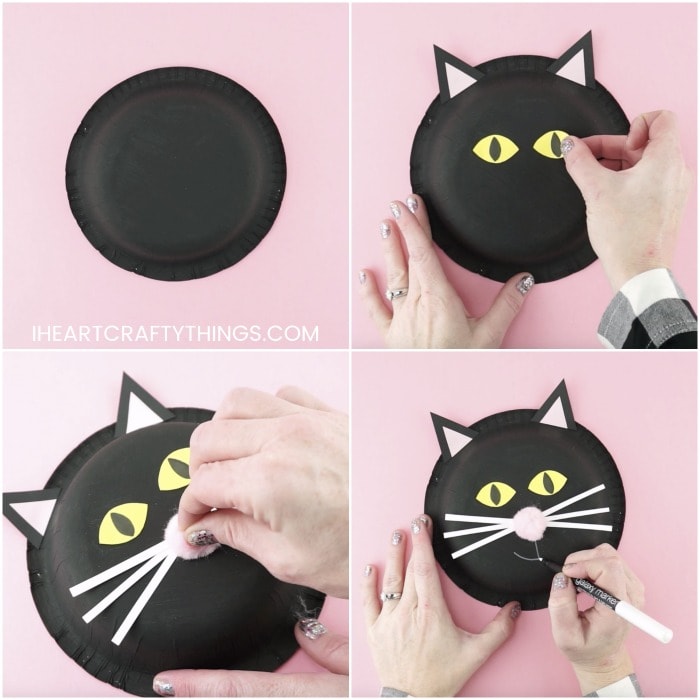
Step 3: Use a black marker to draw slits in the center of your cat eyes. Glue the cat ears and eyes onto the paper bowl.
Step 4: Cut out strips of white paper for cat whiskers. Add glue in the center of your paper bowl and glue the whiskers in place. Then glue a pink pom-pom nose in the center of the whiskers.
Related: Handprint Raven Craft
Step 5: Finish your black cat craft by using a white chalk marker or colored pencil to draw a mouth onto your cat.
How to Make a Paper Bowl Witch Craft
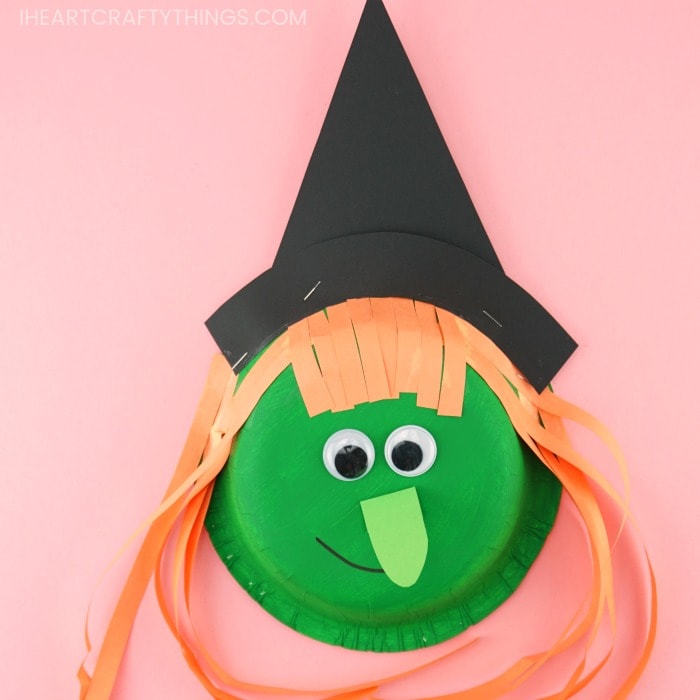
This fun paper bowl witch might be my favorite! Kids will love getting creative by adding stringy orange hair and bangs to their witch and a pointy nose. Try crinkling the hair or wrapping the strands around a pencil to give it some extra texture and dimension.
Instructions for Making Witch Craft
Step 1: Paint the bottom of your paper bowl with green paint. Set it aside to let the paint dry completely.
Step 2: Use our printable template to trace and cut out the witch hat pieces from black cardstock paper. Place the two hat pieces together and use a stapler to attach it to the top of your paper bowl.
Related: Easy Paper Witch Craft for Preschoolers
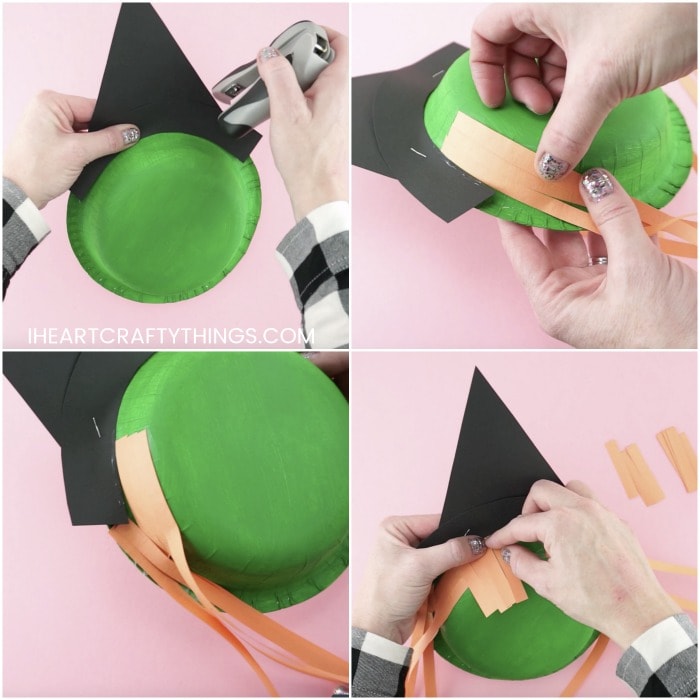
Step 3: Cut out several strips of orange construction paper for witch hair. Add a generous amount of glue stick on each side of the paper bowl and glue on strands of orange hair.
Step 4: Cut out smaller strips of orange construction paper and glue it at the top of the paper bowl for bangs. Use a glue stick to glue down the bottom of the bangs onto the paper bowl.
Related: Accordion Fold Paper Bats
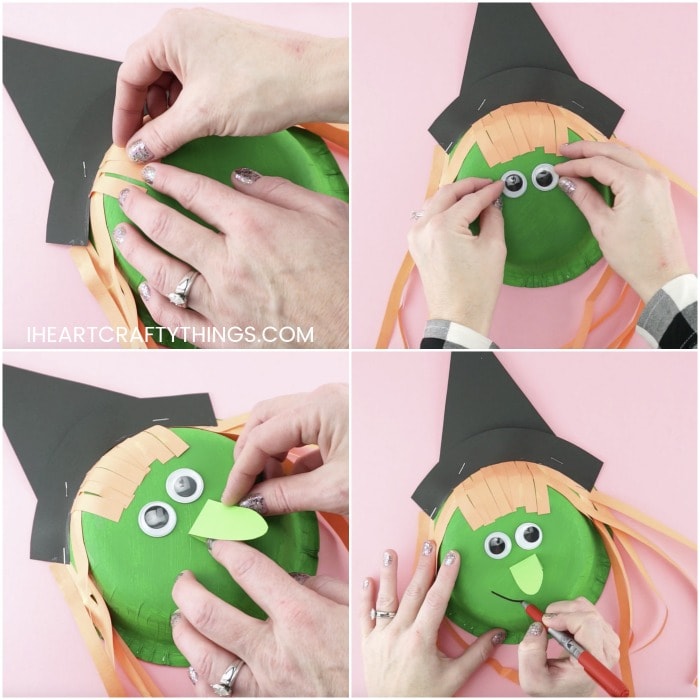
Step 5: Glue googly eyes onto your witch craft. Then cut out a pointy witch nose from green cardstock. Bend down the bottom of the nose and use a glue stick to glue it down in the center of the paper bowl.
Step 6: Use a red marker to draw a smile on your Halloween witch to finish your craft.
Video Tutorial: How to Make 5 Simple Paper Bowl Halloween Crafts
Watch the video below for a step by step guide on how to make each of these Halloween paper bag crafts.
Find more fun and easy fall arts and crafts and Halloween craft ideas by browsing the categories at the top menu bar of our website.
More Easy Halloween Craft Ideas for Kids
Get some great fine motor practice in while making this cute yarn wrapped mummy craft for Halloween. Our template makes prep time a breeze!
All you need is two paper plates to put together this fun Halloween candy holder. Such a great craft to make for a Halloween class party.
These big-nosed monster bookmarks will not only get kids excited about reading but they also make a simple and fun Halloween craft for kids of all ages.
Kids will have so much fun making and playing with this playful spider web craft! The little spider turns into a puppet and kids can move it around on their paper plate spider web for some interactive fun.
Our friend over at Non-Toy Gifts has an amazing collection of paper cup Halloween crafts. Another fun way to craft with recyclable materials!
Looking for more easy fall crafts and activities? Check out ultimate list of over 125 fun fall craft ideas.


