In the animal kingdom, it would be hard to find a creature more majestic than an eagle.
This predatory bird has come to be associated with nobility, and the bald eagle is even the national bird of the United States.
Because of this reputation along with its beautiful appearance, many people like to portray this wondrous bird in artwork, and they like to learn how to draw an eagle head.
For fans of this famous bird, this will be a tutorial that is not to be missed! By the end of these steps, you will know exactly how you can go about depicting this raptor.
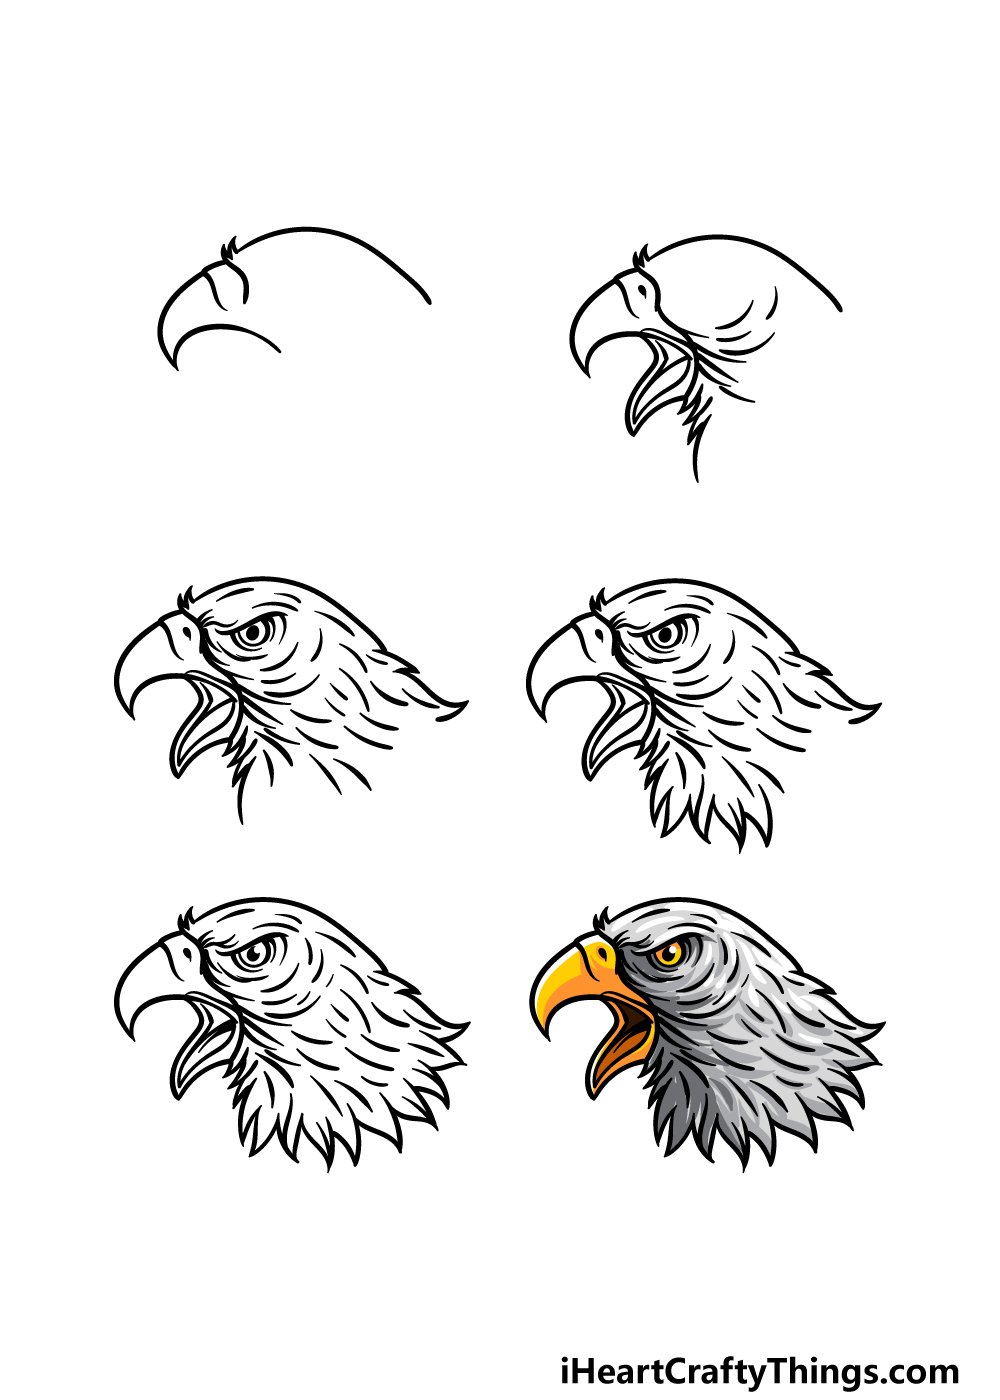
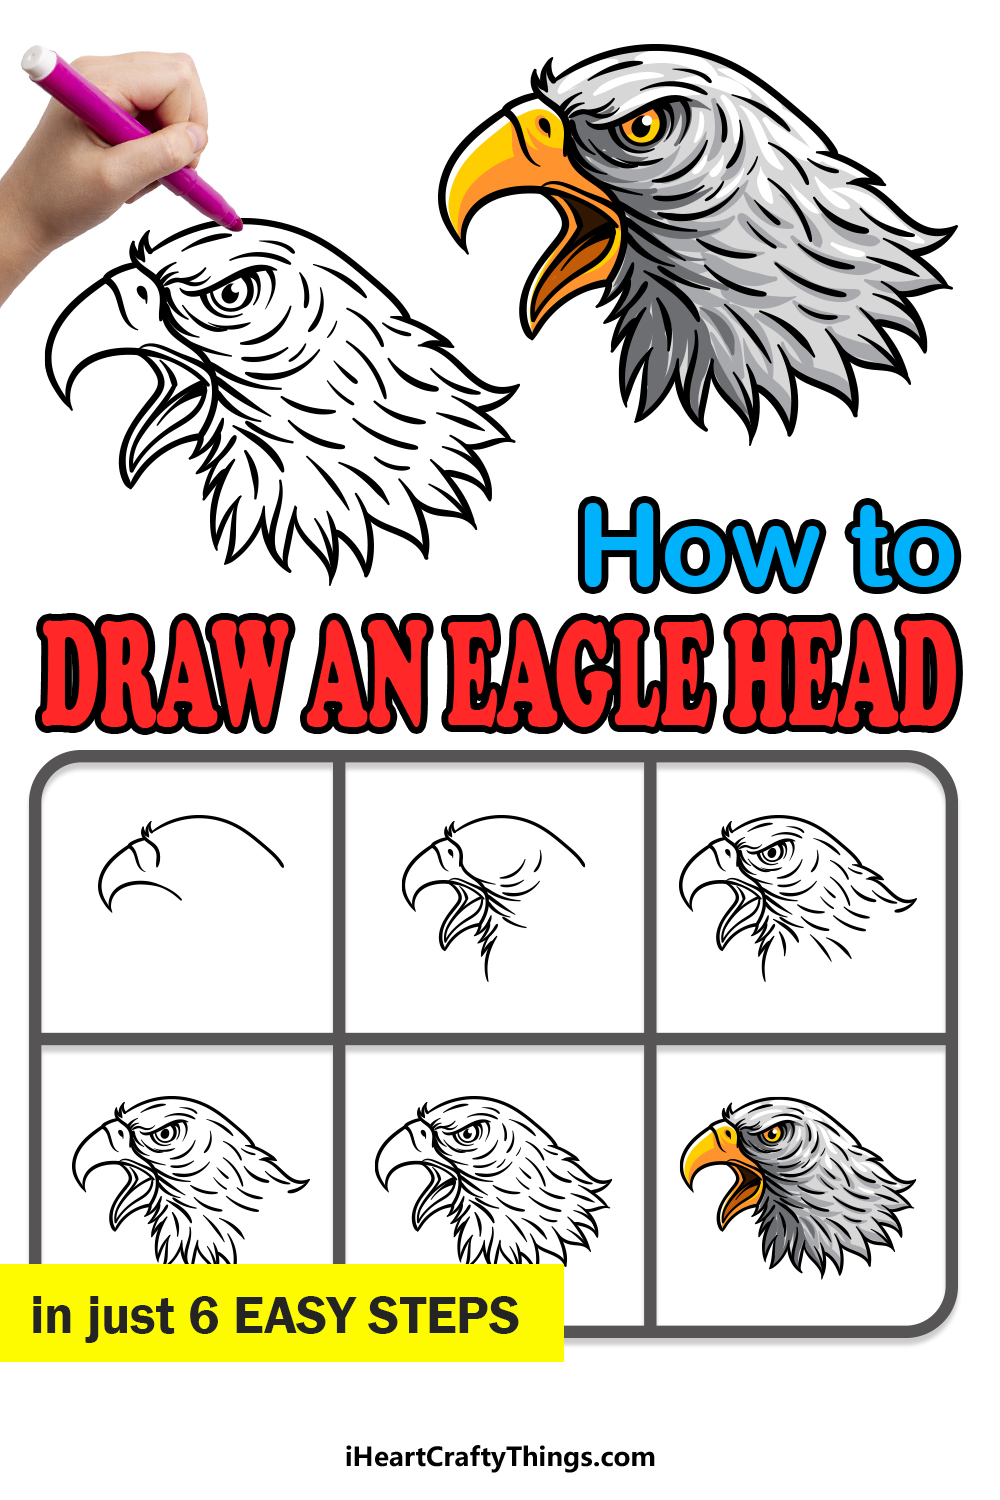
Get ready for this incredible step-by-step guide on how to draw an eagle head in just 6 easy steps!
How to Draw An Eagle Head – Let’s Get Started!
Step 1

The depiction we will be working on in this guide on how to draw an eagle head will be quite the close-up on this incredible bird.
For this first part, we will begin with the outline of the head and the beak. First, draw a curved line for the top of the head.
This will connect to more curved lines for the beak. At the point where the head and the beak connect, there will be two small, pointy shapes poking up.
For the beak itself, we will be attaching some more curved lines for the bottom of the top half of the beak, and this will give it a very pointy tip.
That’s all there is to it for this step, and then we can move on to the next one.
Step 2 – Now, draw the bottom half of the mouth

You drew the top portion of the beak, and in this second part of your eagle head drawing we will be adding the bottom half along with some details around the mouth area.
Use some curved lines to draw the open mouth under the beak, and add a tongue inside of it. Once you have drawn the mouth, you can also add the outline of the bottom beak.
Once the beak and mouth are drawn, we will then be adding some curved lines around the mouth area, and then you can use some jagged, pointy lines for the top of the neck.
Step 3 – Draw the eye and some texture details

Continuing with this guide on how to draw an eagle head, we will now be adding the eye and some texture details to this depiction.
For the eye, draw a curvy horizontal line, and then add a circular shape beneath it. Then, add a dot to this circle for the pupil of the eye.
Next, draw some more curving, pointy lines for the top of the back of the neck. Once this is drawn, we will add lots of texture details for the feathers covering the head.
Simply use lots of curved lines inside the head area for these texture details, and then it’s on to step 4!
Step 4 – Next, draw the pointy feathers at the base of the neck

The next few steps of this eagle head drawing will see you finishing up some final details and touches.
For now, we will be drawing some more of the base of the neck.
This section will go on the left-hand side of the neck base, and it will be drawn using some more of those curving lines that culminate in sharp tips.
The sizes of these pointy sections will be quite irregular to create an intentionally rougher look for the feathers. Once drawn, we will move on to those final details in the next step of the guide!
Step 5 – Add the final details to your eagle head drawing

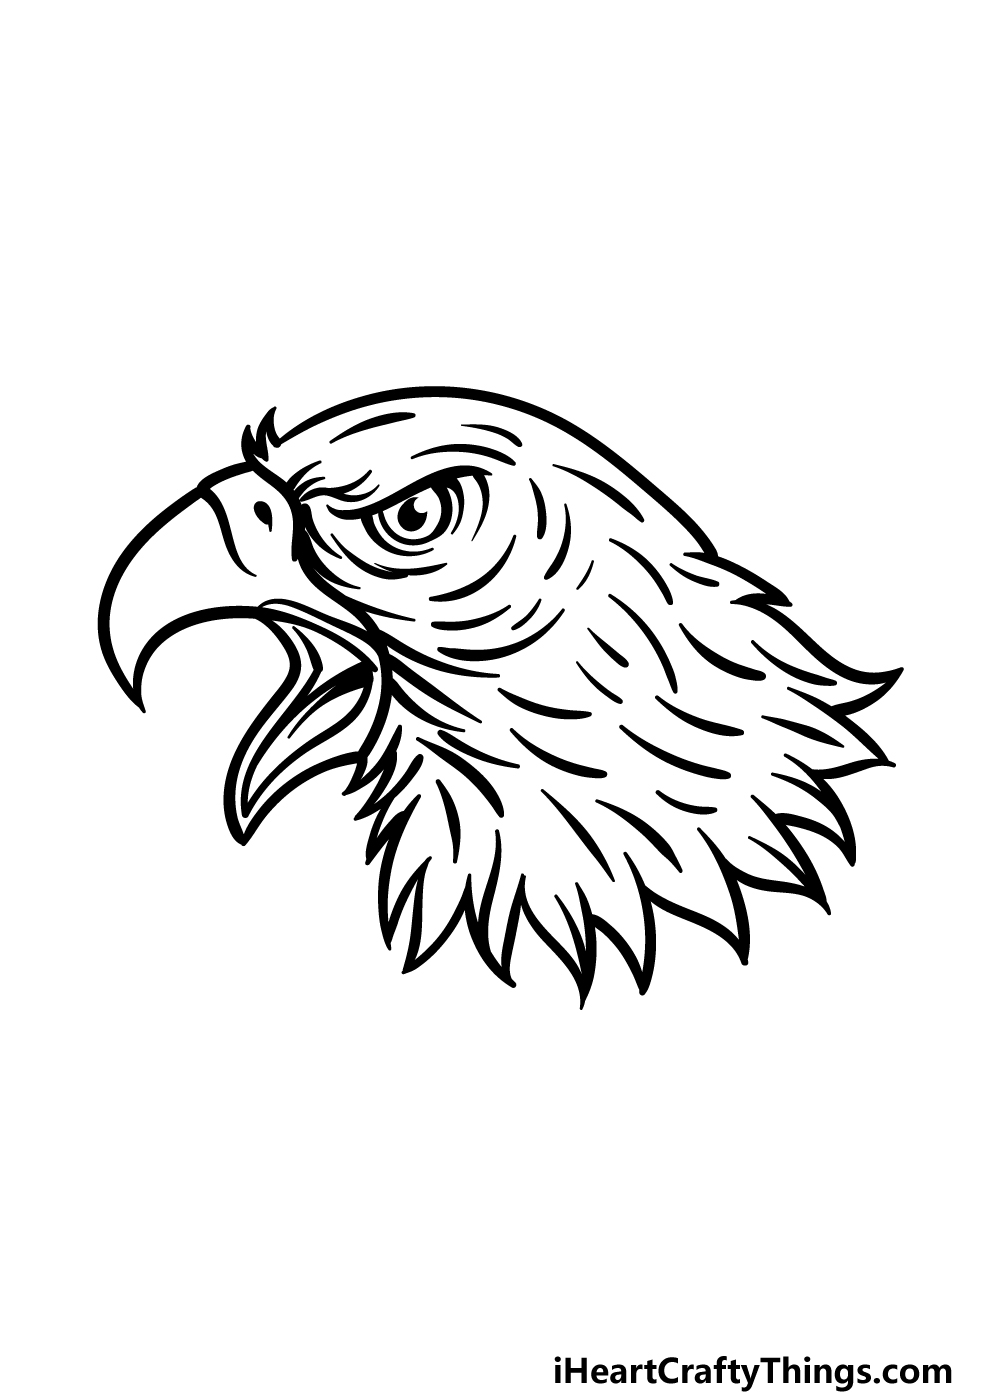
It will almost be time to fill in some colors in the final step of this guide on how to draw an eagle head, but first we have some smaller details to fill in!
First, we will finish up the outline of the neck base, and this can be done using some more curved, pointy lines.
Once this outline is complete, you can then add some smaller details to the eyes and mouth to finish off those areas as well.
When all of the details are complete, you will be ready for the final step! Before moving on, you could also add some extra details of your own.
One idea would be to draw some more of the eagle’s body, but you could also draw a background fitting of this awesome eagle portrayal. How will you complete this wonderful picture?
Step 6 – Finish off your eagle head drawing with color

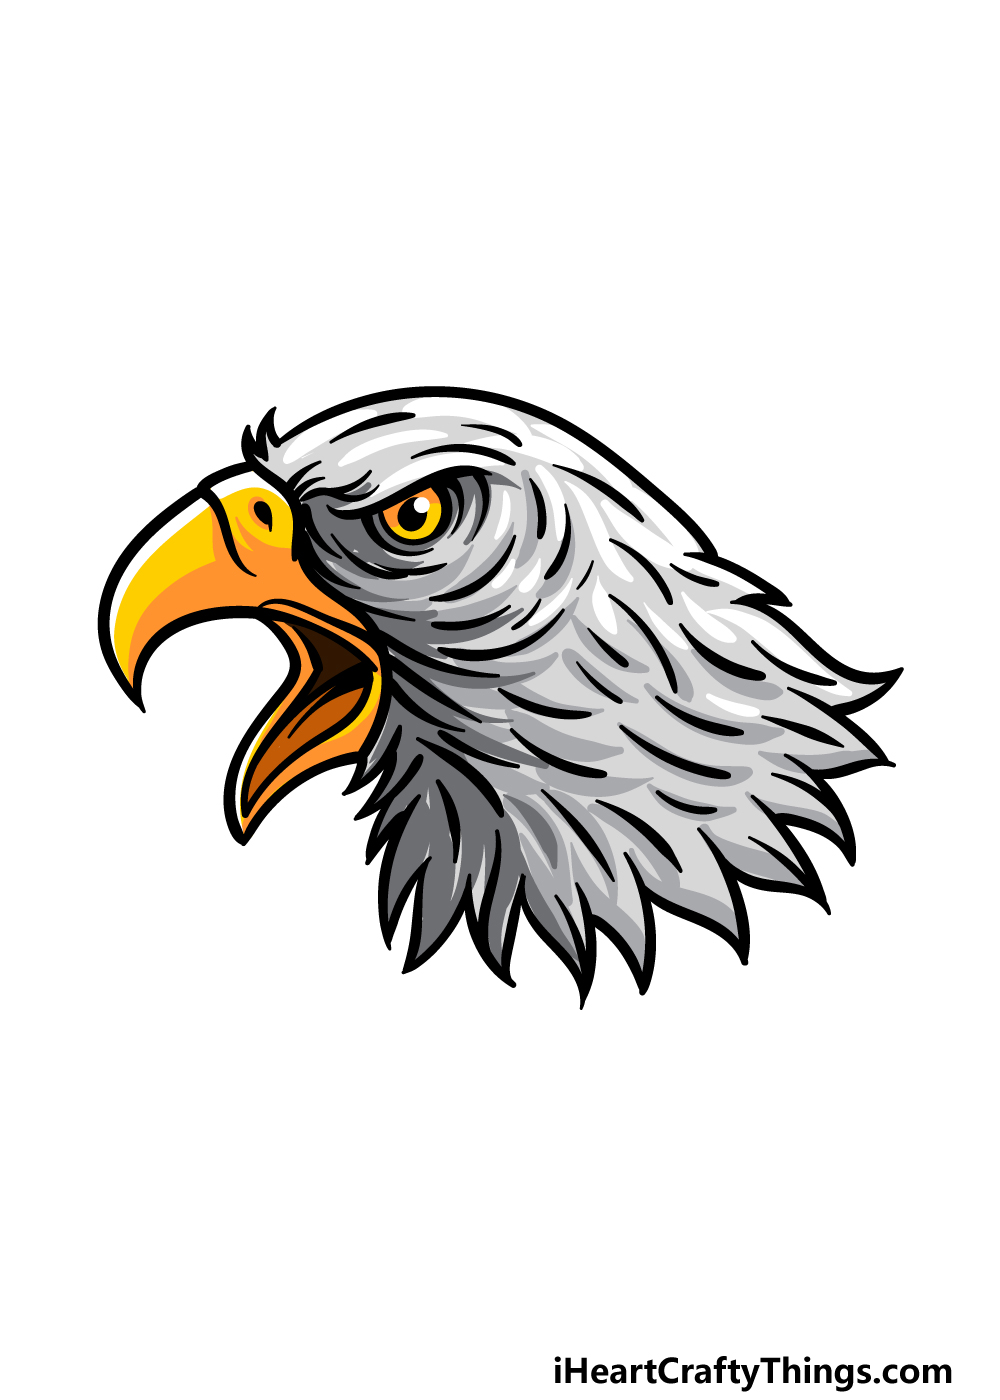
This is the final step of this eagle head drawing, and in it we shall add some colors to really finish it off.
For the head itself, we used various shades of light greys to create a more dynamic look for the feathers. Then, we used various shades of yellows for the beak to create a bright contrast.
When coloring your own image, be sure to use any other colors you may prefer!
When adding your colors, you can also have fun playing around with the various art tools and mediums you use to achieve them. What will you choose to use to finish up this image?
3 More tips to make your eagle head drawing easy!
Create a majestic drawing with these tips for making your eagle head sketch even easier!
This drawing of an eagle head has a lot of line details on it to replicate the look of feather texture. This makes the drawing look even better, but the greater level of detail can make it harder to draw.
If you find this level of detail to be frustrating then you could scale them back a bit.
For the first few attempts of this drawing, you could focus on just the outline of the eagle head and then incorporate the most vital details.
When you make future attempts, you could then add more of these details that you didn’t add previously.
While the images in this guide are there to make your eagle head drawing easier, you could still use other sources.
If you go to your favorite image search online, you will find many drawings and photos of eagles.
With the help of these images, you can make drawing the eagle head so much easier. If you can get photos that look similar to our reference images, then that would be even better!
Even if not, the photos will make drawing the shapes, proportions and details of the eagle head even easier to do. They would also help if you wish to create variations!
Taking the previous tip even further, you could add to your eagle head sketch by drawing more of the eagle it is attached to. This would be made much easier if you had some photos to help.
You might wonder how adding more to the eagle would make your drawing easier, but it would mean that the head of the eagle is a much smaller part of the drawing.
The head and face are arguable the trickiest part of the image, so the smaller it is on the page the less detailed it would need to be.
Not only would it take off some of the pressure of drawing the eagle head, but your drawing will be even more complete!
Your Eagle Head Drawing is Complete!
As we mentioned in the introduction to this guide on how to draw an eagle head, this bird is possibly the most majestic and revered of them all!
We really tried to do this great bird justice in this guide, so we hope that these steps made it fun and easy for you to work through!
Now that you have finished up this guide, you can keep the fun going with your own awesome details and ideas.
We spoke about how you can change up details, add a background or play around with art mediums as ways to change things up, but how will you put your own spin on it?
There are also many more amazing drawing guides to enjoy on our website! We have a massive selection to choose from with more on the way soon, so keep checking in to catch every new guide.
We would be thrilled to see how this eagle head drawing turned out, so please share your finished creation on our Facebook and Pinterest pages!


