


Anyone can learn how to draw a sword by following this guide for kids! No matter what your age is, you can create an incredible cartoon sword before you know it.
Swords have been an important part of warfare for thousands of years. Even though we don’t really use them much anymore, they’re still important thanks to fantasy stories and the fascination of history.
There are many different kinds of swords depending on the origin and purpose, but the one we will be working on will be based on a classic medieval sword.
I kept it nice and simple without any frills, as that will make it easier for you to learn the design. You’ll see how to draw the hilt, cross guard and of course the blade.
Once you have done so, you could also add some engravings, jewels or any other details you think it needs. Unsheathe your drawing tools and let’s begin this guide!
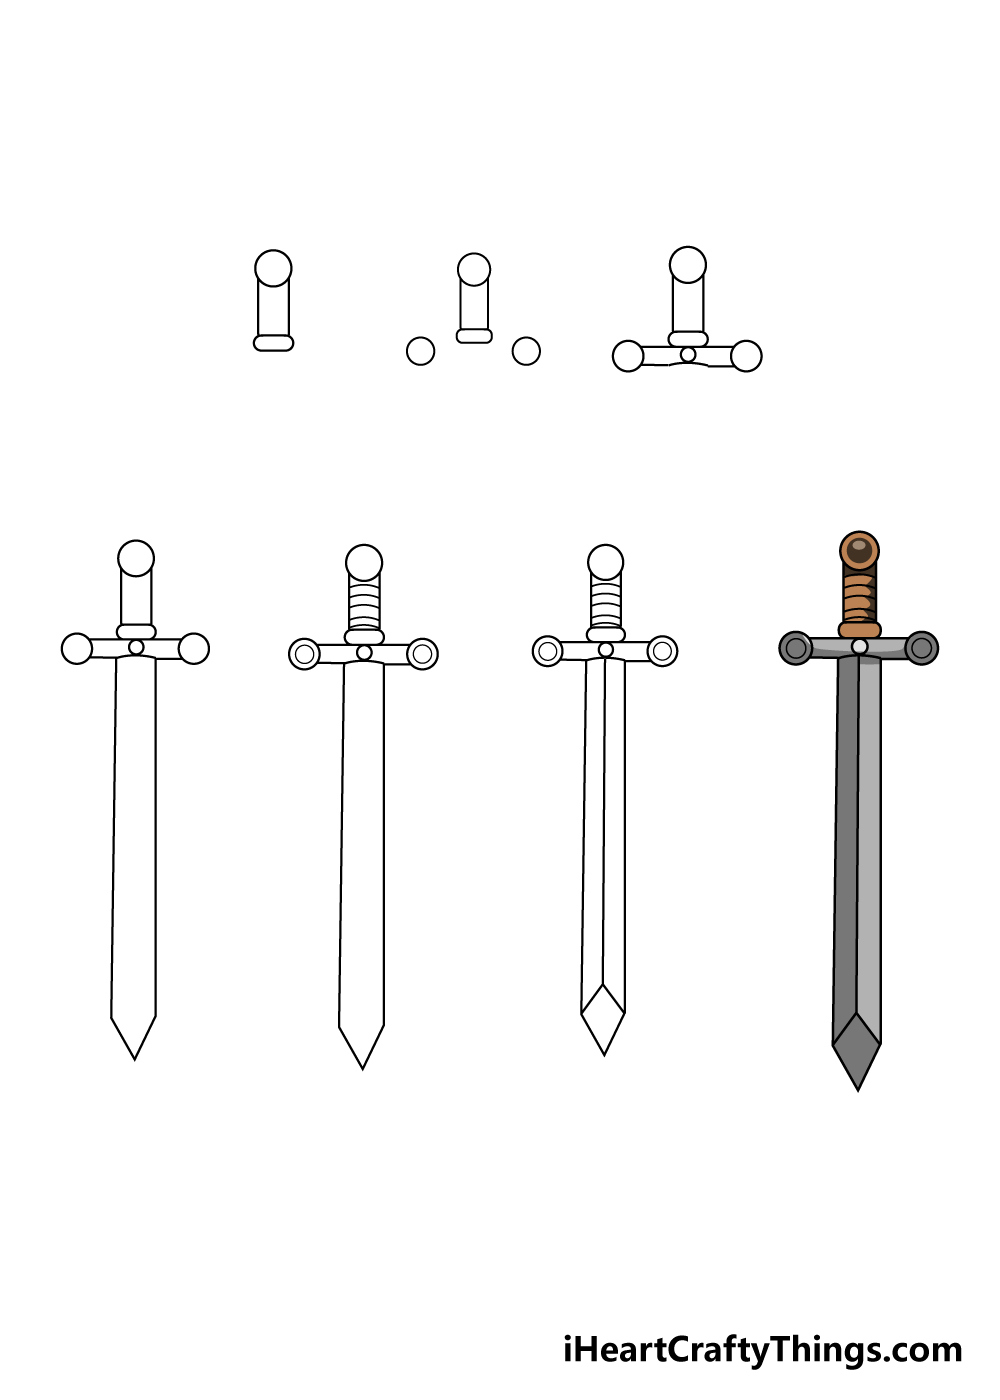
Watch These Steps To Create Your Sword Drawing
How to Draw A Sword – Let’s get Started!
Step 1

While working on this guide on how to draw a sword, your life will be made much easier if you have a ruler on hand to work with. You can use it in this very first step, in fact!
To get this guide started you can begin with a fairly small circle that will go at the end of the hilt, or handle, of the sword.
Then, using that ruler we mentioned earlier you can draw two lines going down from this circle. Finally, you can add a small rectangle with rounded corners under those two lines.
Step 2 – Draw some more of the hilt in this step

For this second part of your sword drawing, you will simply be drawing two more small circles that will go on the hilt.
These circles will be going on what is known as the crossguard of the hilt. These floating circles may look a bit out of place now, but with the third step you will see how they fit into the sword design!
Step 3 – Next, finish off the crossguard
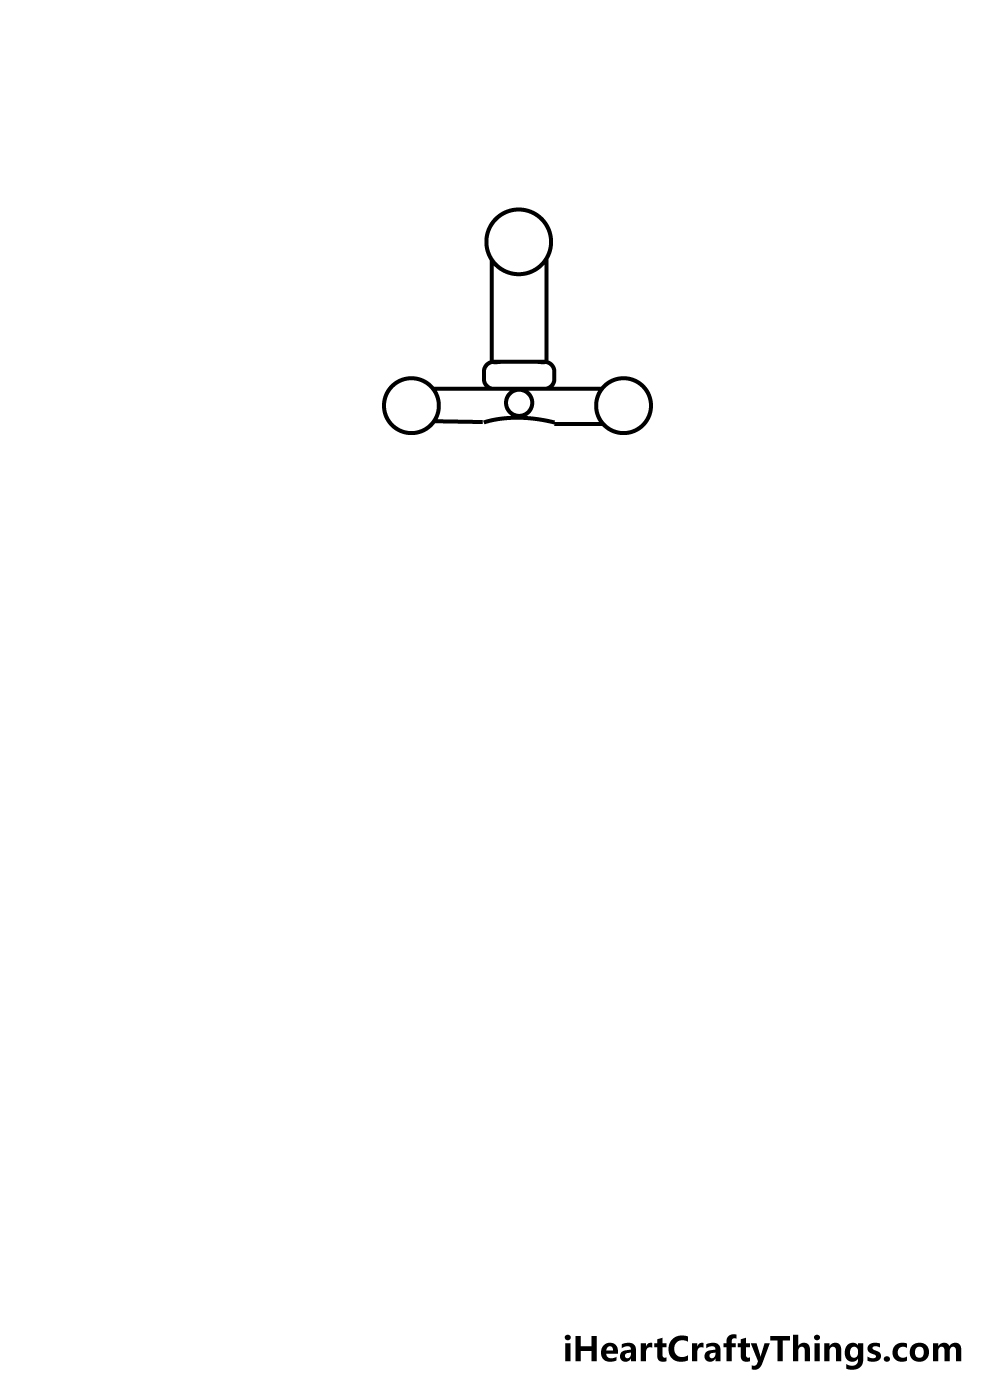
We mentioned in the previous step how we will be finishing off the crossguard in this third step of our guide on how to draw a sword, and we intend to stand by that!
First, draw a straight line that connects the two circles and also touches the bottom of the handle for your sword.
There will be another line connecting the bottom of the circles, but this one won’t be a solid, straight line. This one will have a slight dip in the center, as shown in our reference image.
Finally, you can finish off the crossguard by drawing a small circle inside the middle of it for some ornamentation.
Step 4 – Now draw the blade of the sword
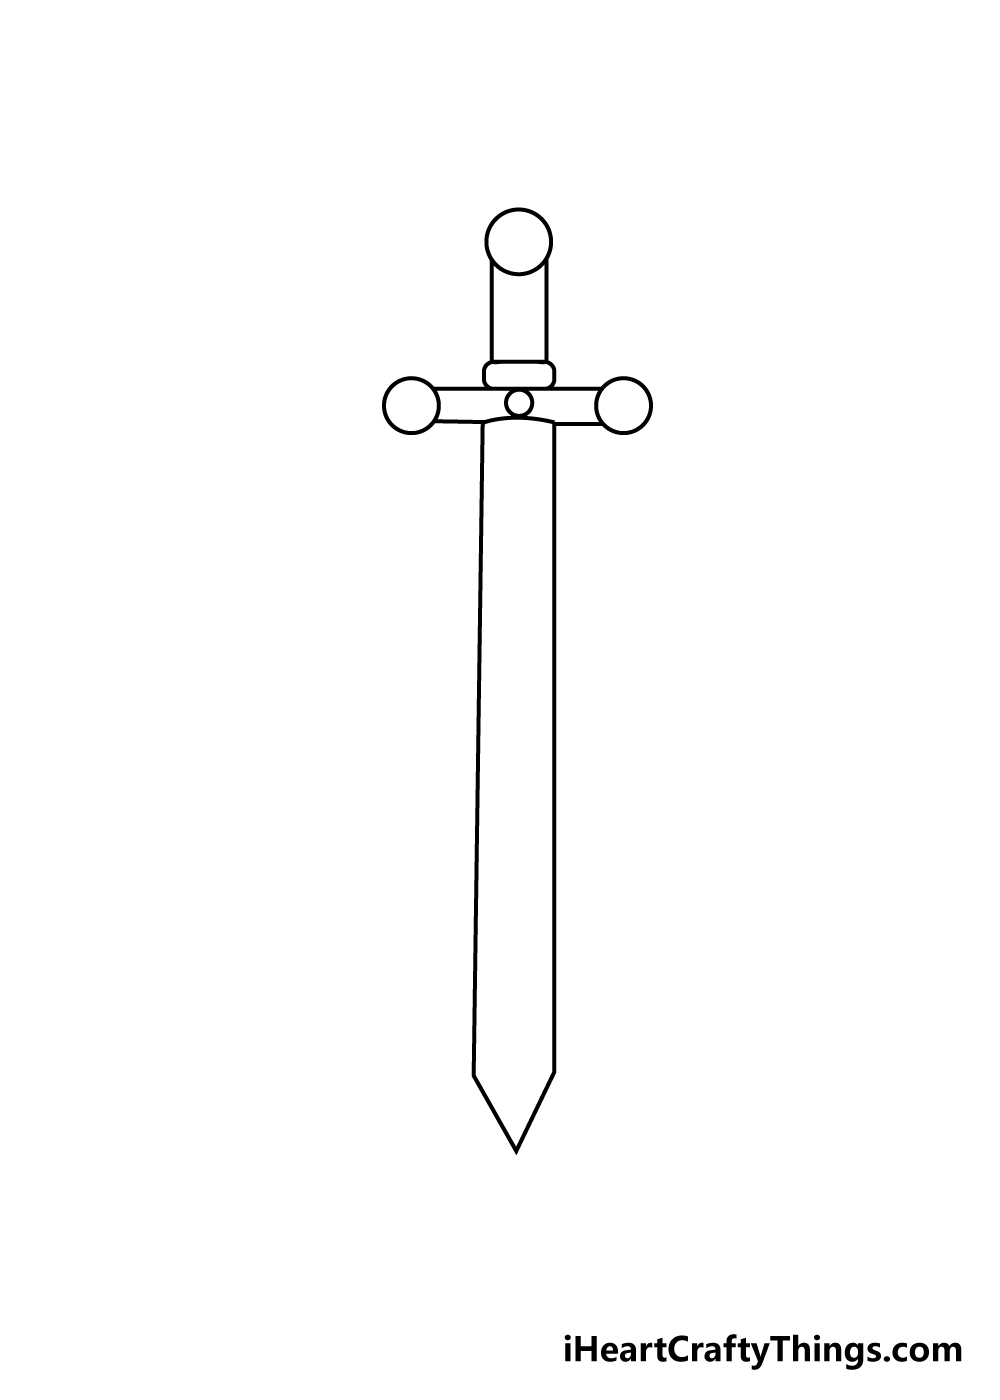
You’ll want to use your ruler again for this step of your sword drawing! To draw the blade of the sword, you can extend two fairly long lines down from the crossguard.
Then, once you have those two lines drawn you can add two smaller ones that meet at a point like the one in our reference image.
Step 5 – Draw some detailing for the handle
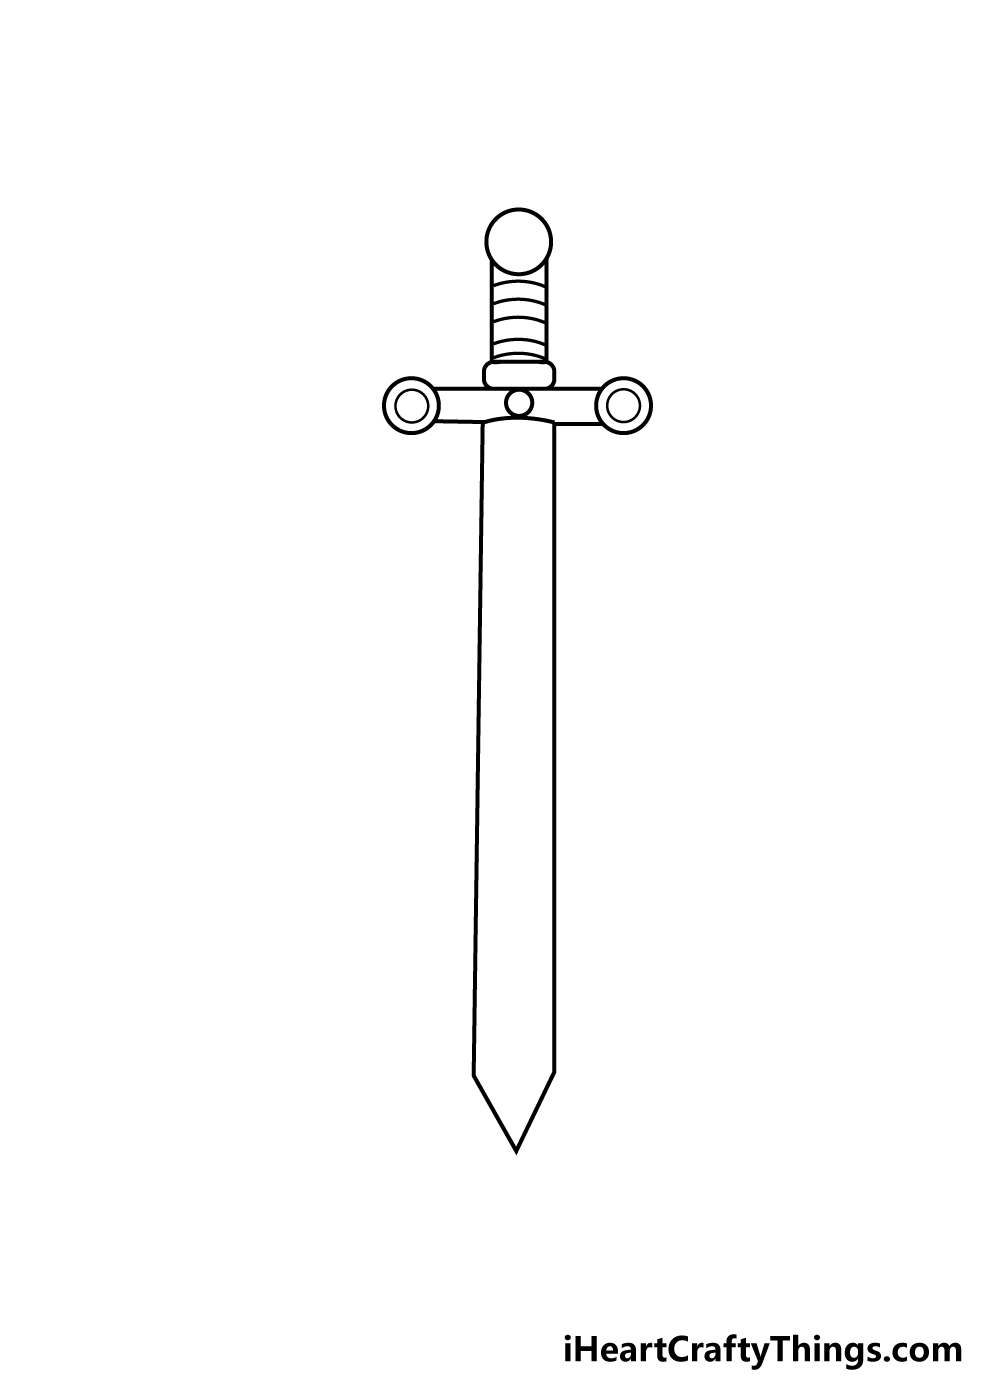
This drawing of yours is already looking really great! In this step of our guide on how to draw a sword, we shall be adding some texture detail to the handle of the sword.
To do this, all you need to do is draw a series of slightly curved lines along the handle of the sword as shown in our reference picture.
Handles on swords are often covered with strips of leather, and these lines will help to give that appearance of leather for it.
Once you have these lines done, it’s on to some final details!
Step 6 – Now, finish off the blade and final details
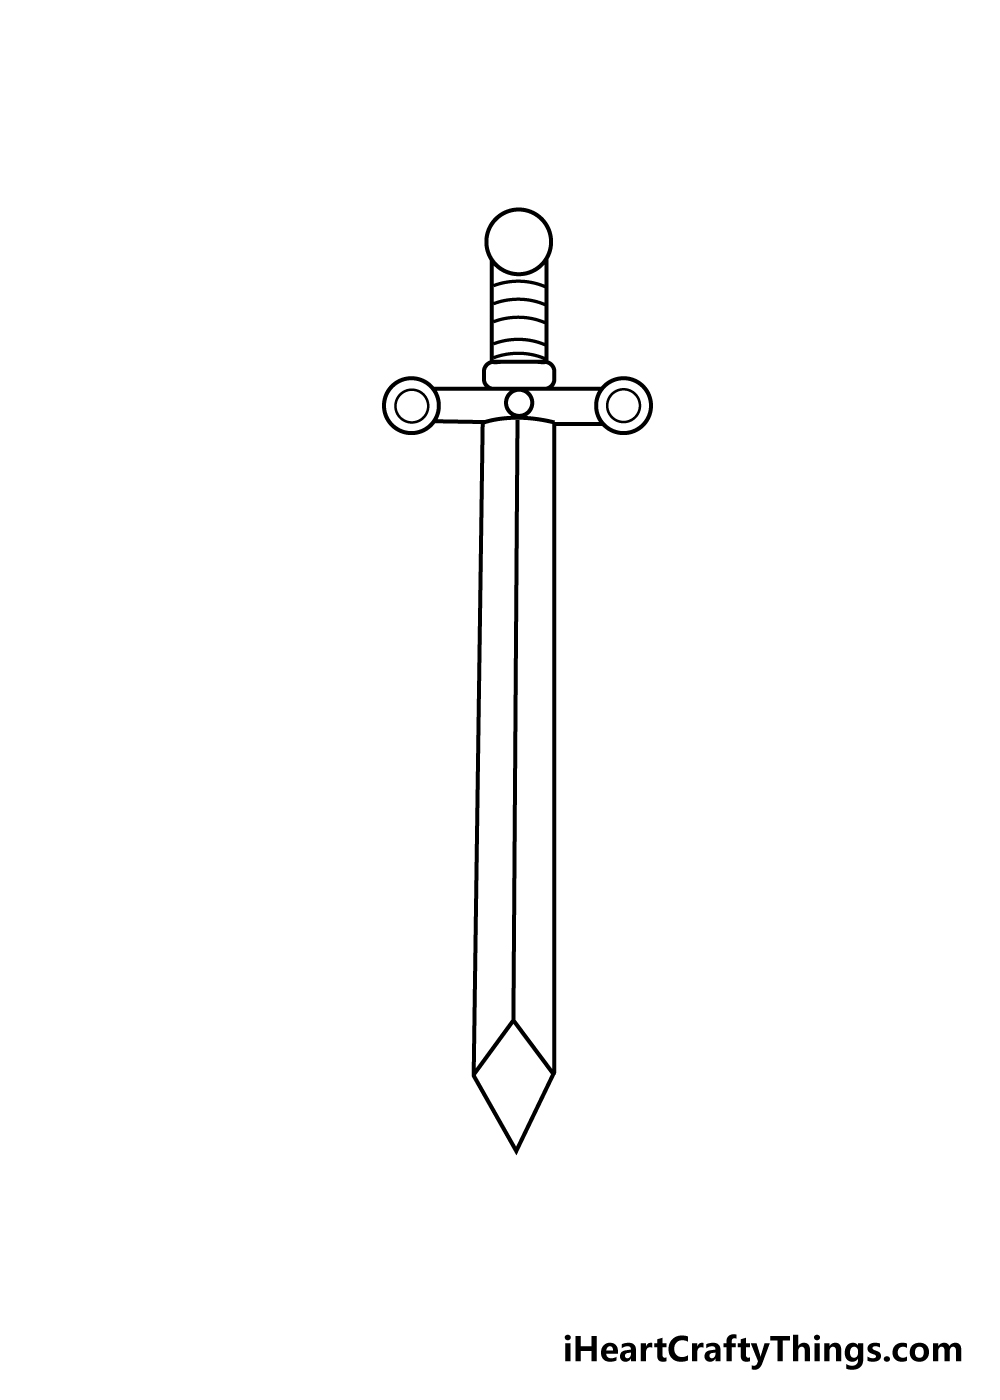
This sixth step of your sword drawing will see you adding some final details before finishing off with some colors. To start these details off, first use your ruler to draw down the center of the blade.
This line should stop a bit before the tip of the sword. Where this line ends, you can then draw two smaller lines to the edges of the sword.
The reference image will guide you on how these lines should look.
That concludes the details that we would add to the sword drawing in this guide! Before you move on, be sure to add any details that you would like for your drawing.
These could include some background elements like other pieces of a knight’s gear and armor beside it.
Sometimes swords have ornamental engravings on the blade, so you could add some engravings on to really personalize your sword!
These are just a few ideas that we had, but you can really use your imagination for this! How will you finish off this sword drawing before the final step?
Step 7 – Finish off your sword drawing with some color

Now that you have finished drawing your awesome sword, you can finish bringing it to life with some colors in this step of our guide on how to draw a sword!
We used a grey color scheme for the blade and then used some brown for the handle to finish off that leathery look we mentioned for that area.
This is just one color scheme out of many that you could go for, however and you should feel free to use any colors that you love for your sword!
You could incorporate some gold to some elements, or even include some reds and greens to some of the ornamentations to make it look like it has rubies and emeralds adorning it.
How will you finish off this sword drawing?
Do this to take your sword drawing to the next level
Let’s look over a few ways you can make your sword drawing even better than it already is!
There is a lot of craftsmanship to admire on a sword, but they are usually paired with interesting sheathes.
We think it would look cool to design a sheath to go with this sword! The sheath could be beside the sword for one idea.
Or, you could leave out the blade and draw the handle straight onto the sheath. That would make it look like the sword is fully inside of it! We think this would give this sword sketch a whole new look.
Our next suggestion for this drawing of a sword would be to draw someone who owns it. The sword could be on the belt of a knight or maybe a Viking warrior for a few ideas.
Or you could draw it in the hand of such warriors for another angle to try! Who do you think would be holding such a cool sword? We’re sure you can come up with something very interesting!
We mentioned the craftsmanship of swords, and you could add some to this one by drawing small details.
Sword hilts would sometimes have rubies and other stones on them if owned by someone wealthy.
Some would also have runes and other engravings on the blade itself, so you have a few options for how you could personalize this one. What kinds of decorations do you think would suit this particular sword?
Our last suggestion for this sword drawing is to add a background to the image. We spoke about drawing a person with the sword, but there are many other options.
Maybe you could put it inside of a stone to recreate the famous King Arthur myth. Or, you could draw it on a rack hanging with many other medieval weapons.
These are just two ideas, but there are so many different ways that you could portray this awesome sword! What other settings come to mind for you here?
Your Sword Drawing is Complete!
That brings us to the end of this guide on how to draw a sword! We hope that this tutorial was very helpful for learning how to draw one of these incredible weapons.
Even more so, we hope that it was lots of fun to work through!
When taking on a new drawing challenge, it’s always made much more fun and easy when you can break it down into more manageable steps, so that was our aim for this guide.
Now you can have fun adding your own elements such as more details or cool background for the picture. We can’t wait to see what you do!
When you’re finished with this guide, you can check out our website for many more free drawing guides like this one!
We also upload new ones frequently, so be sure to check in often.
We would love to see your incredible sword drawing, so please share it on our Facebook and Pinterest pages for us to enjoy!
Here Is A Sword Drawing To Inspire You!
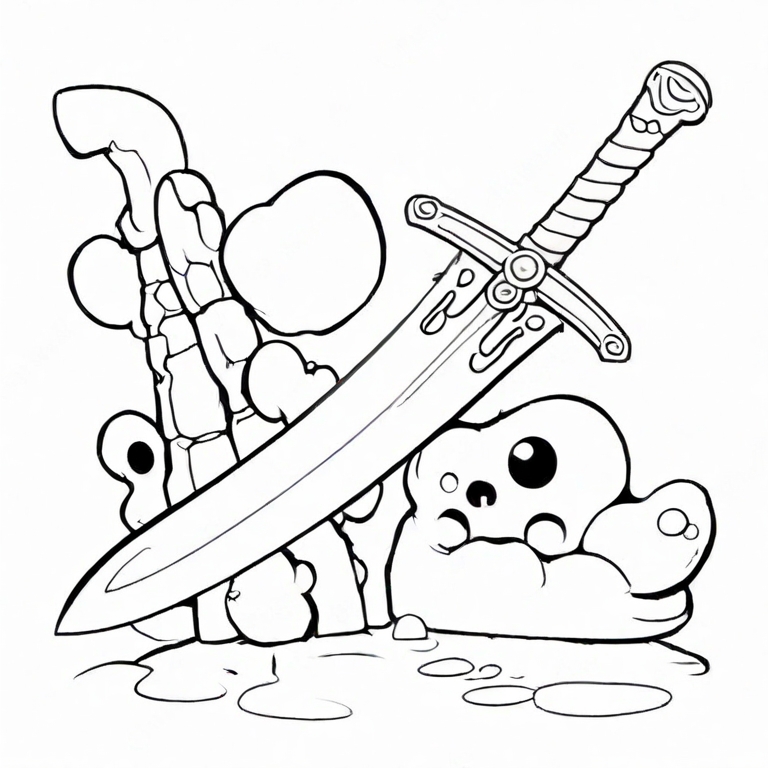
Anyone who loves swords will tell you that half the fun of a sword is the design that it comes in. This sword drawing for kids was done by our artist Freddy to get your design going.
He went with a very classic shape and design for this sword, and he added some amazing details. The hilt of the sword has some great detailing, and these details extend to the blade as well.
He even added some background details, but these can be changed and added to as you wish. The sword itself can also be easily customized as you wish.
This would be a great chance for you to make your very own unique sword design. It could be based on a sword you have seen before, or you could make something totally unique.
What will you choose?
