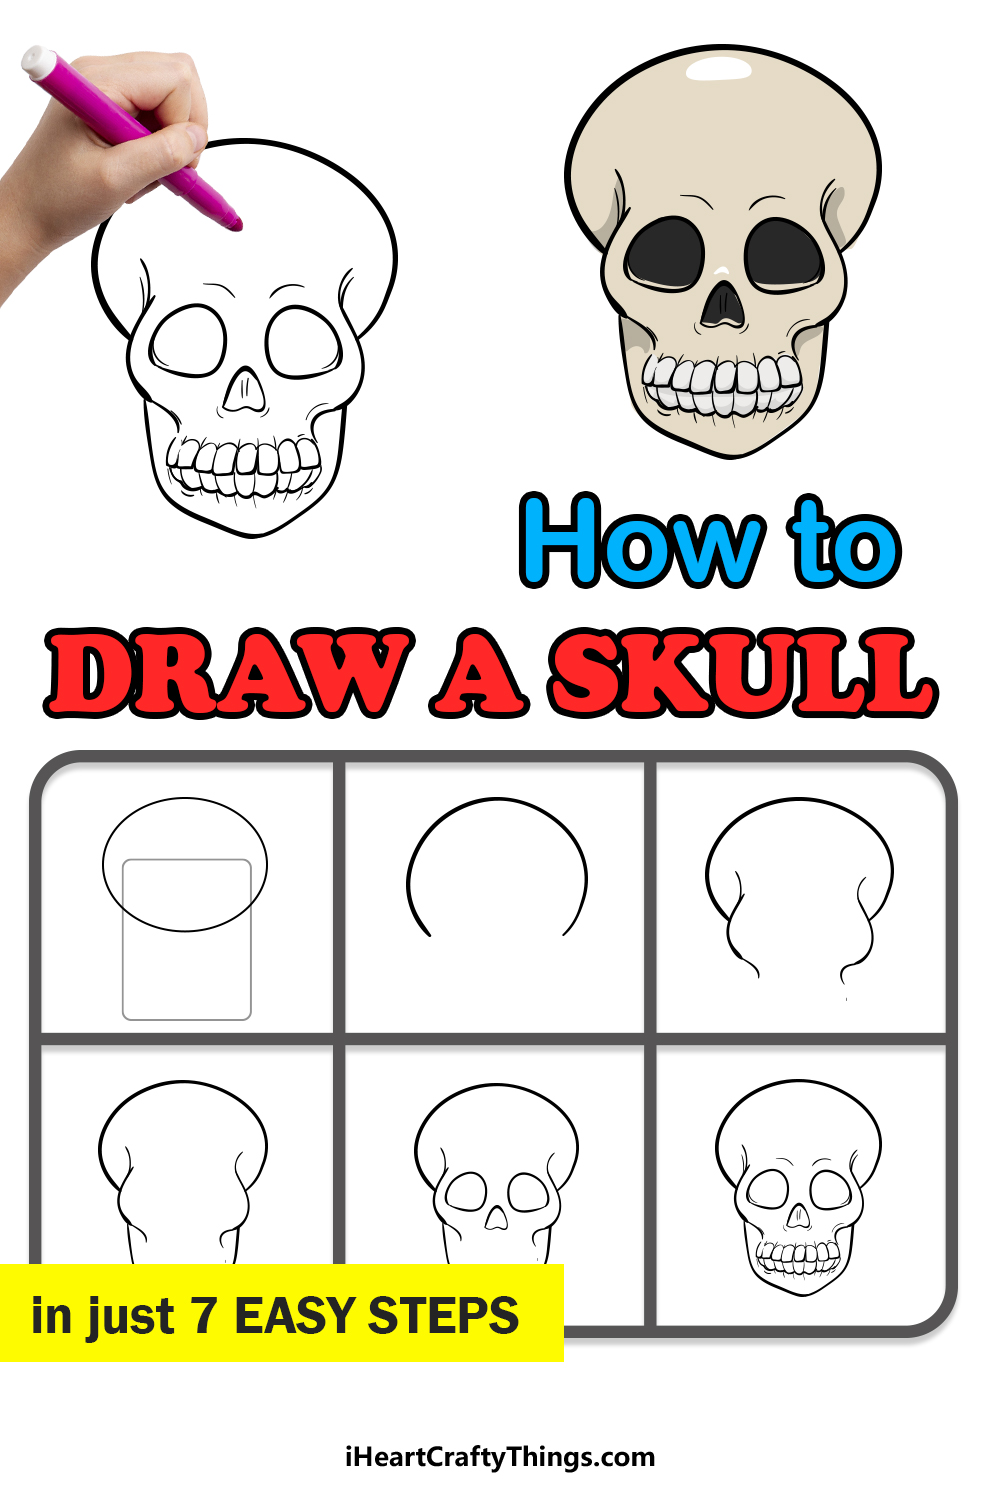
Learning how to draw a skull isn’t always as easy as you think! At least, that’s the case when you don’t have these simple and fun steps to follow.
There are many reasons why one may want to create a skull drawing, whether it’s for Halloween decorations, spooky artwork, or even for school projects.
Whatever your reasons, I know that the steps of this guide for kids will show you how it’s done in no time at all. Just follow each step and you will see how the shapes of the eyes, nose, teeth and other elements of a skull all come together to form the whole picture.
Then you can use your drawing for whatever spooky purposes you could have in mind! There are no bones about it: this guide is your ticket to drawing fun!

Watch And Learn These Easy Steps On How To Draw A Skull
How to Draw a Skull – Let’s get Started!
Step 1
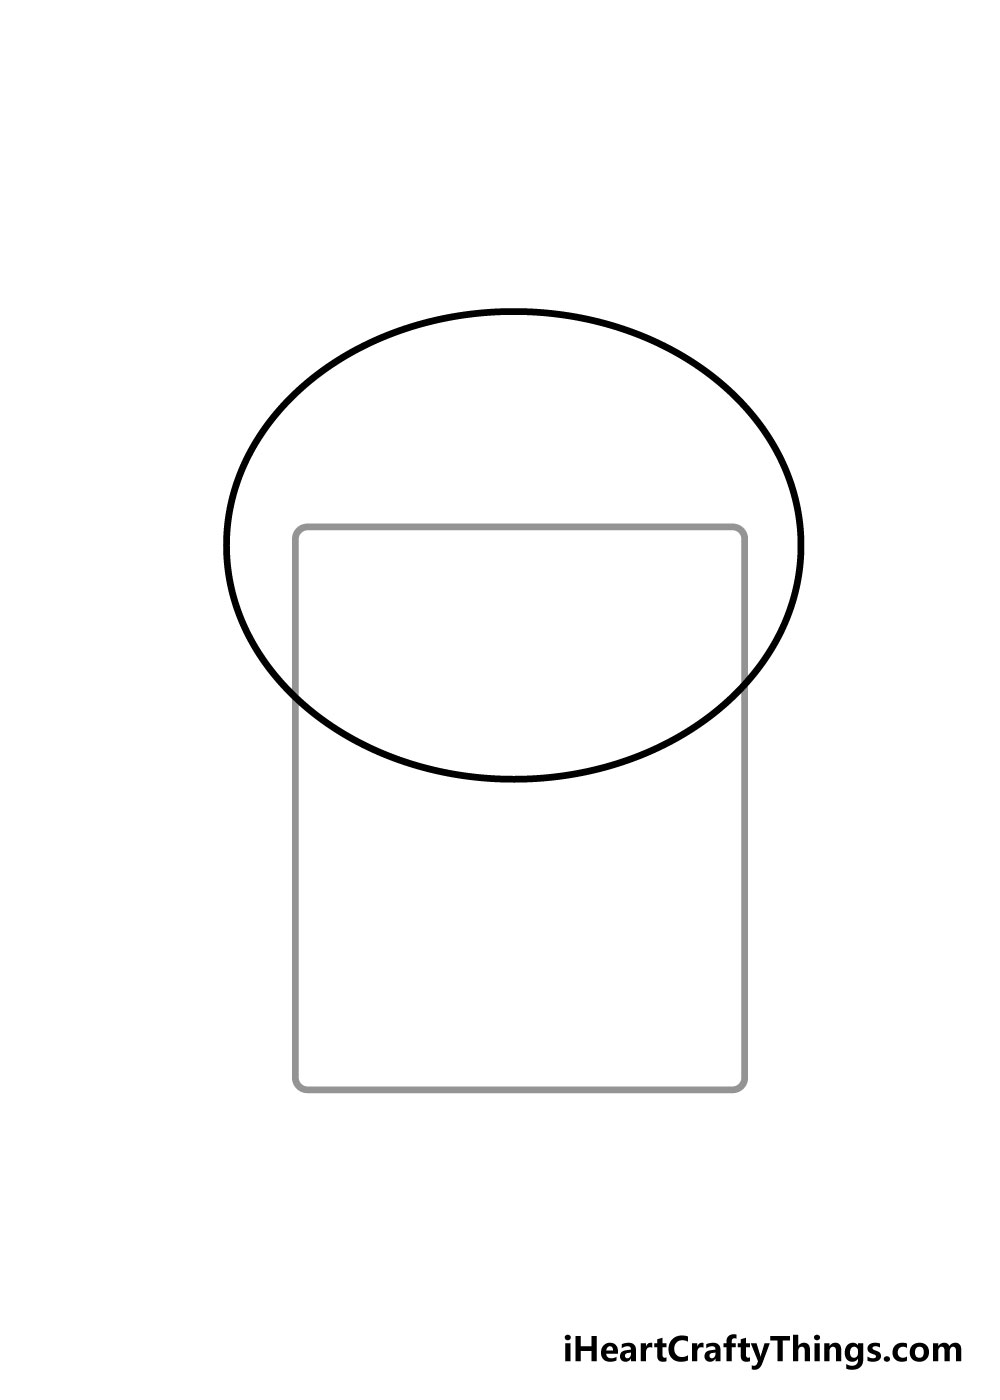
To start off this guide on how to draw a skull, we will start by drawing a rectangle with a lighter pencil.
We will be using a pencil for now, as this rectangle is to guide you and won’t be in the final picture.
Next, you can draw in an oval shape over the top of the rectangle.
Drawing an oval can be challenging if done freehand, so you could use a drawing tool like a compass to make it easier!
For the oval, you should use a pencil for now as well. The reference image we have provided will serve as a good visual guide for how it should look!
Step 2 – Next, erase the pencil and draw in the skull
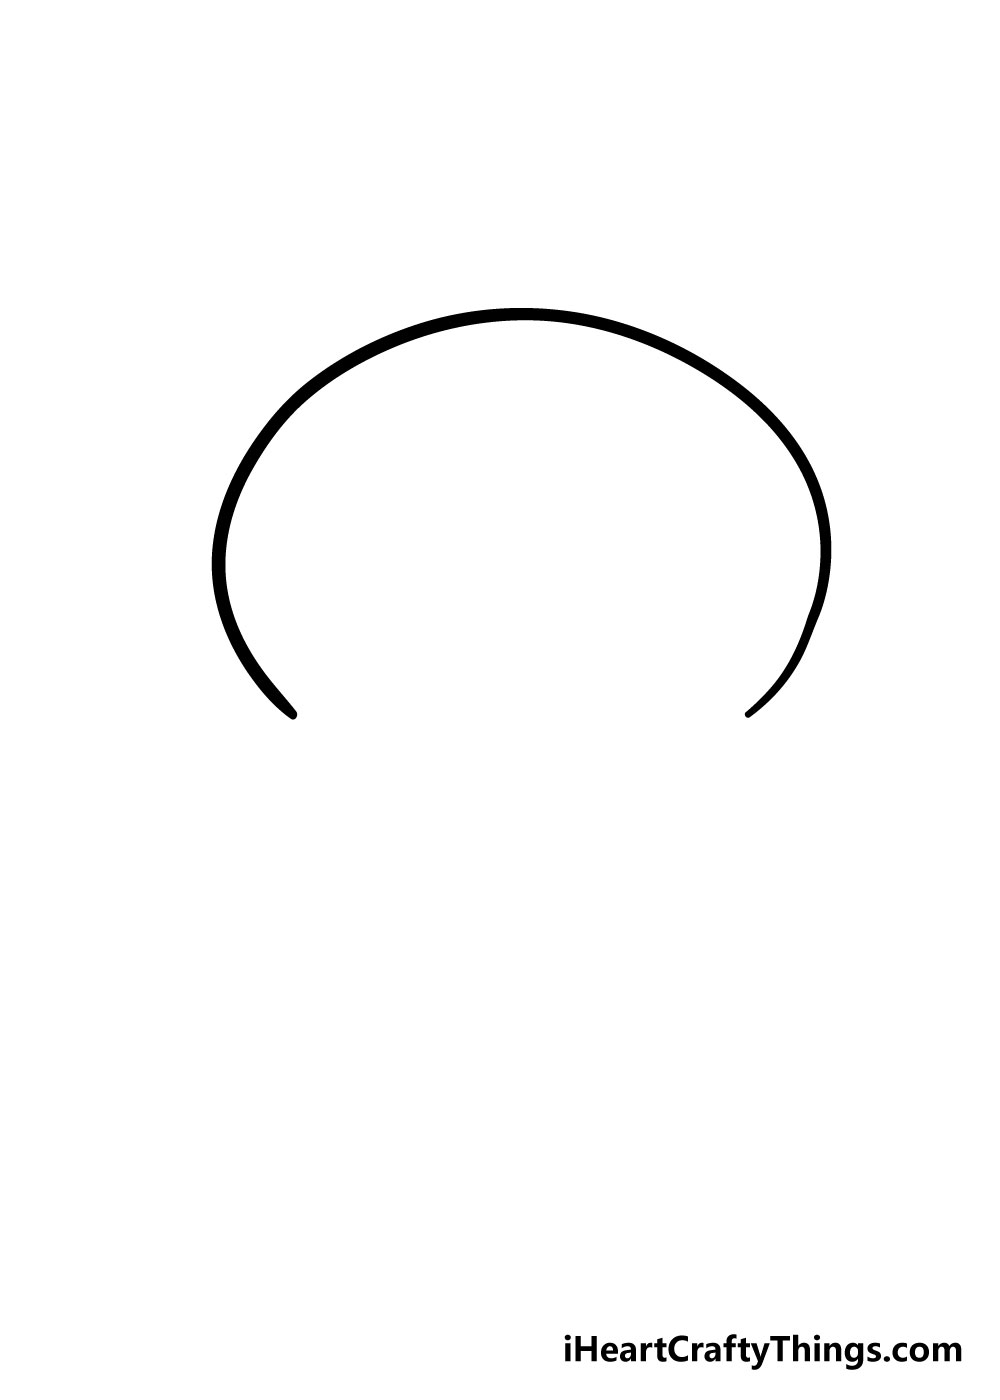
For this next step, you should draw over your pencil oval in pen, but only parts that aren’t inside the rectangle. Once you’ve drawn that, you can then rub out all of the pencil.
Make sure that you let the pen ink dry properly before you erase or you could smudge the ink.
Step 3 – Next, draw in the cheekbones
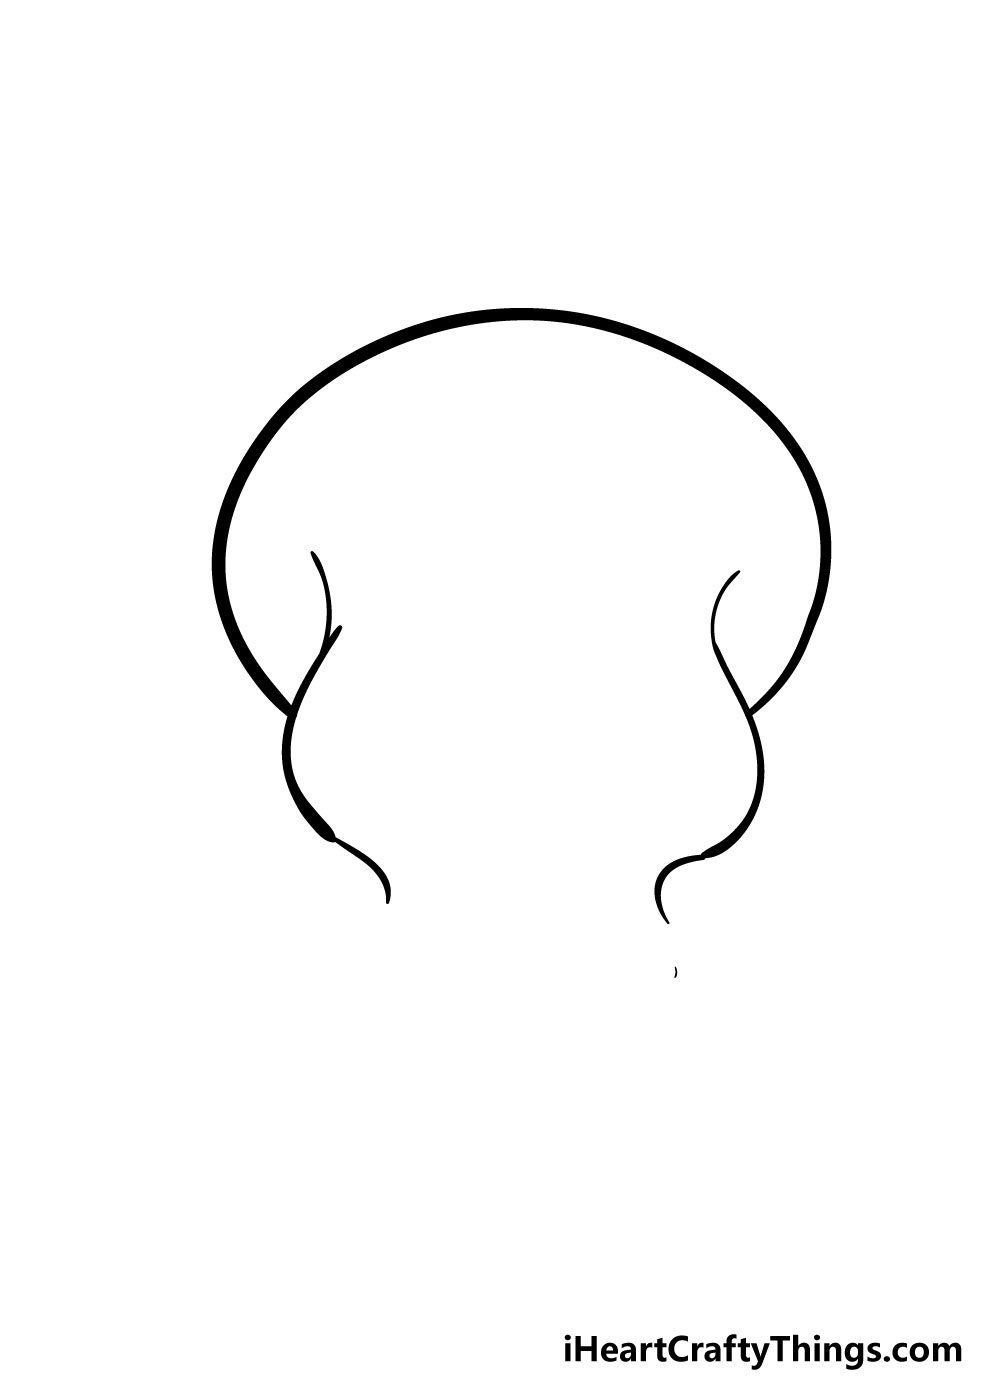
For step 3 of learning how to draw a skull, we will be drawing in the cheekbones. To do this, you can draw in two very wavy lines that mirror one another, as you can see in the image.
If you can get them to be around the same size and shape as one another then that would be great!
Step 4 – Now draw in the jaw of the skull
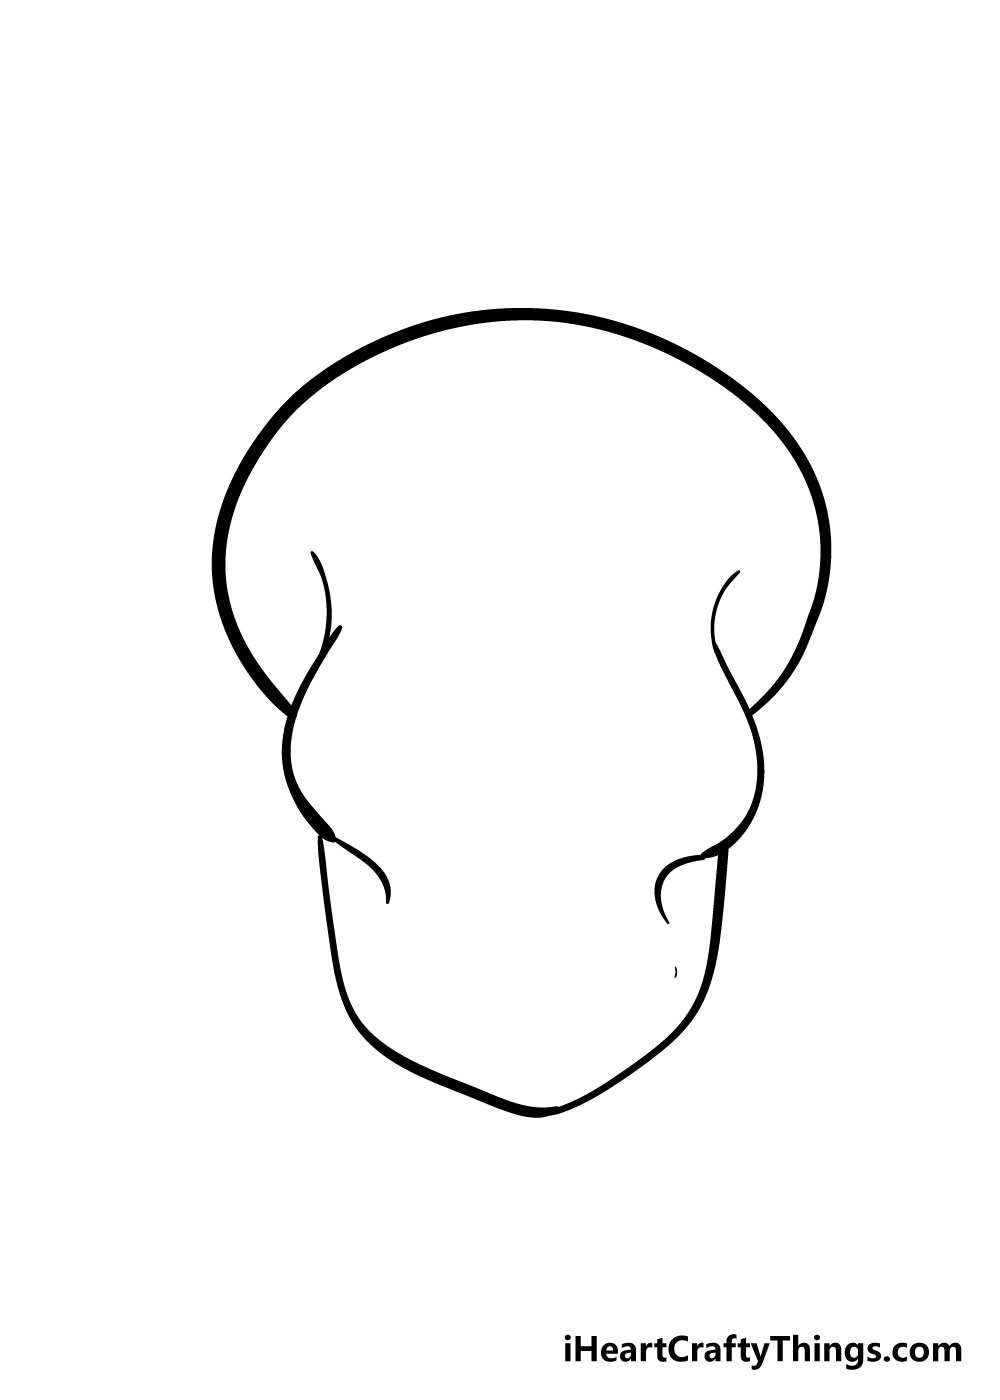
For the next step of your skull drawing, we will be adding in the jaw. This will extend from below the cheekbones and into the shape they appear in for the reference image.
Using the picture as your guide, it’s best to avoid having the jaw be too long or too short.
Step 5 – Next you will be adding in the first eye socket
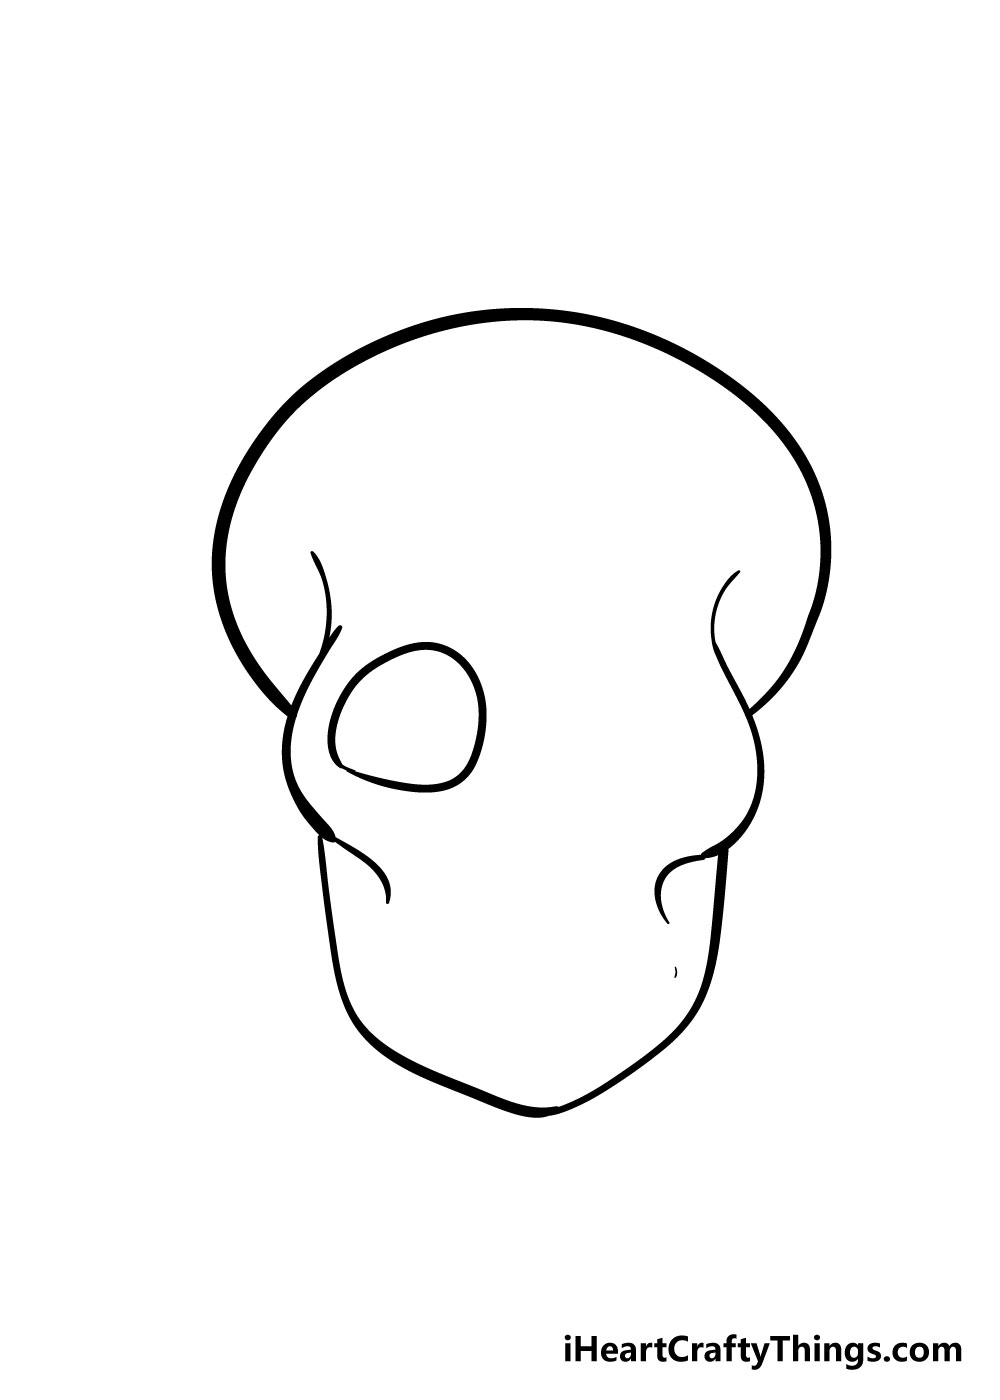
For step 5 in this guide on how to draw a skull, we will be adding the first eye socket.
You can see in the image that this should be round and flat on the right-hand side and a bit more pointed on the left.
Step 6 – Now draw in the other eye socket and nose hole
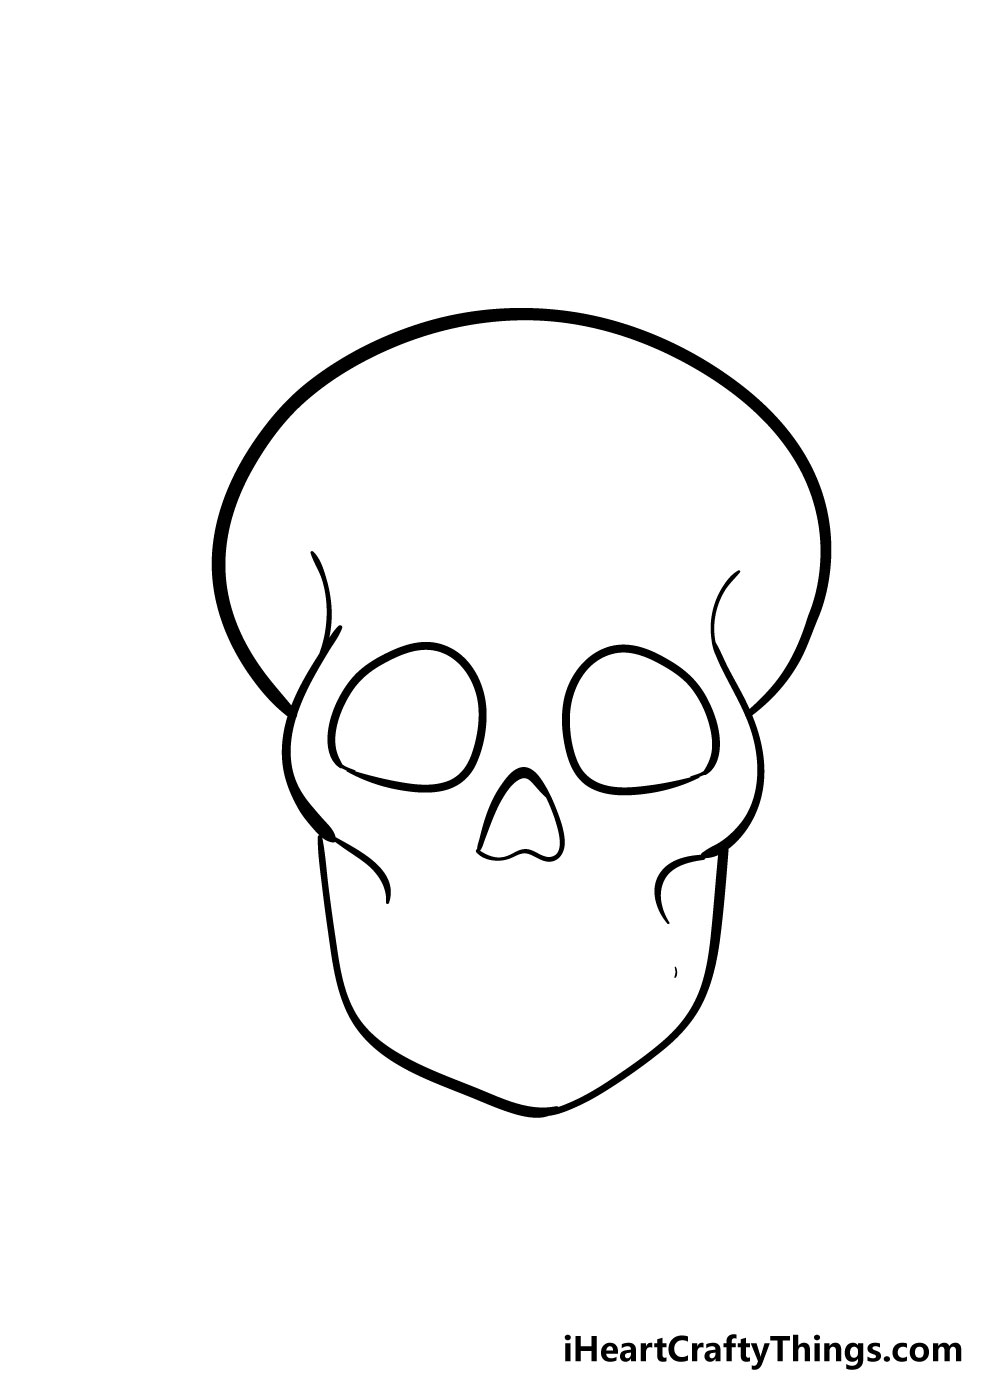
In this next step, you can draw in a mirror image of the left eye socket you drew in step 5. The reference image will be your guide on the placement for the other eye socket.
Once you have both eye sockets, you can draw in the nose as it appears in the picture.
Step 7 – Next you will be adding in the teeth and final details
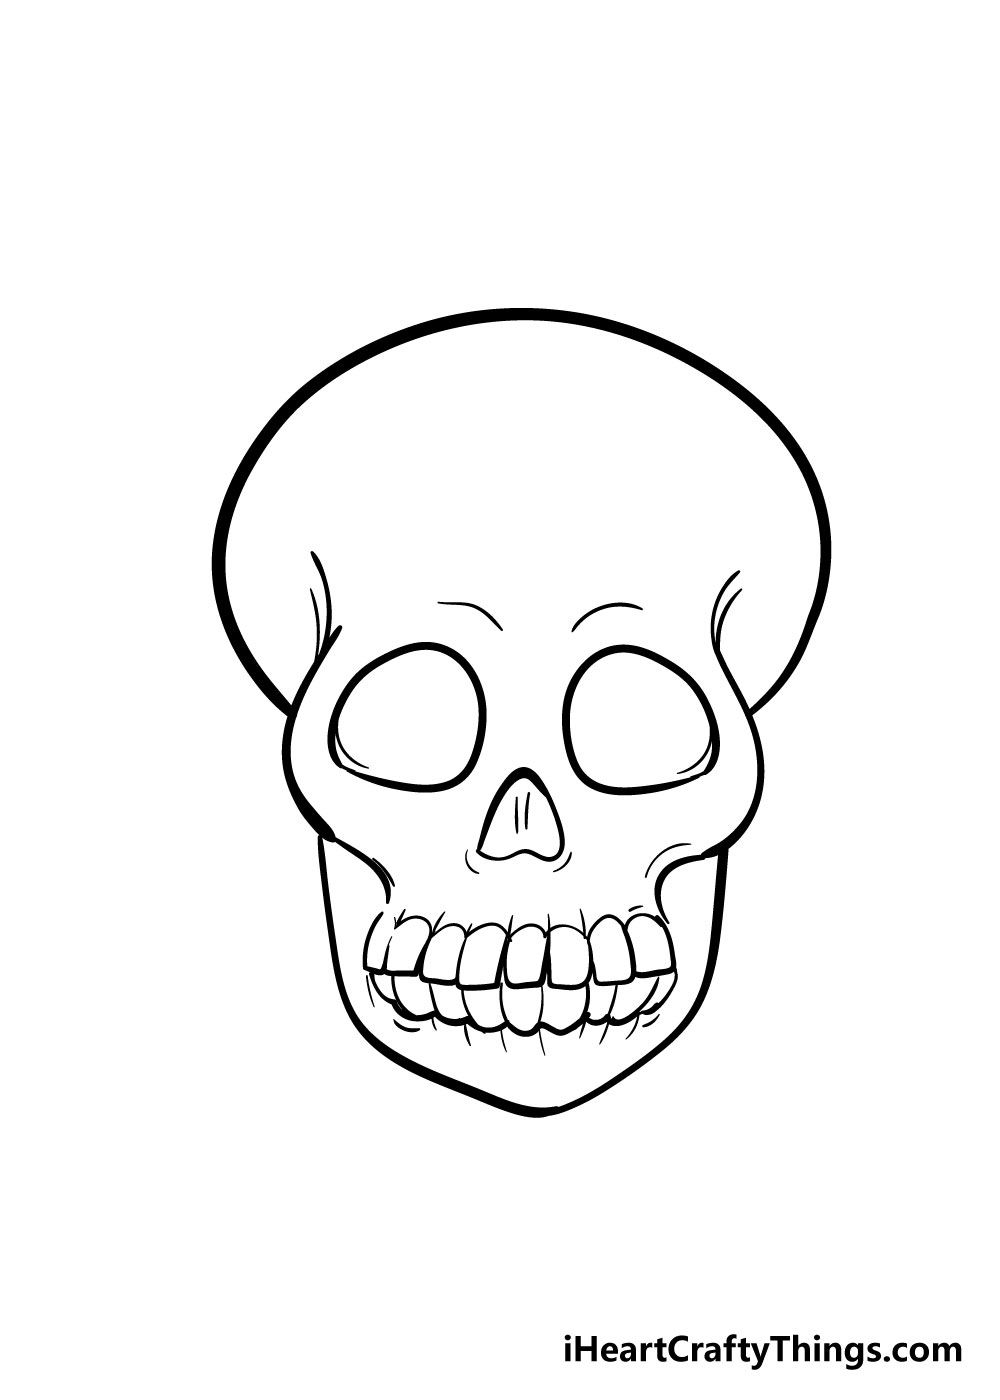
For the last details of your skull drawing, we have one of the trickier aspects of your drawing. Drawing the teeth is a bit more challenging, but we can make it easier!
I would use a pencil to draw a curved line that looks like a smiley face to make sure the teeth will be even.
You can then count how many teeth are in the reference image and then use your pencil to draw some curved lines down onto the guide line you drew.
Once you’ve got all of the teeth drawn in, you can add in more lines for the details of the teeth as you can see in the reference image.
When you’re happy with the teeth, you should go over them with a pen and then erase your pencil lines.
Once that is done, there are just a few more line details to add on to the skull, particularly around the eyes and the cheeks.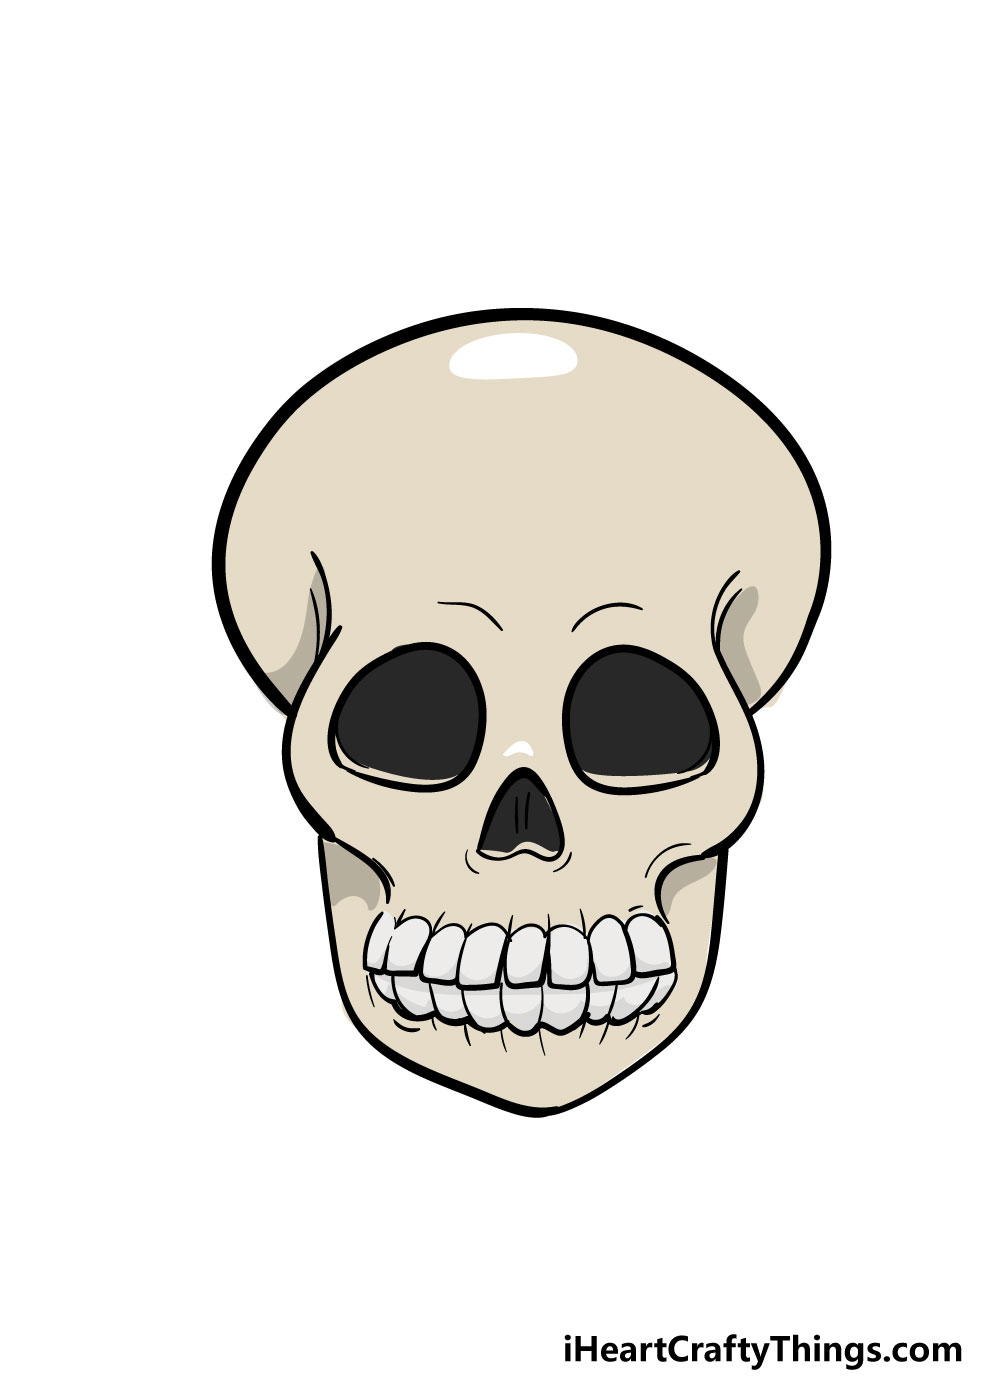
With those final details drawn in, your skull drawing is almost done! The final step is a really fun one, as you’ll be filling your skull drawing in with some beautiful colors.
There are lots of ways you could go about doing this, too. We’ve shown one way you could color it in, but you should really let your creativity flow on this one!
You could go for a more realistic look, or you could use some of your favorite bright colors for an amazing look.
If you’re feeling extra creative, you could draw in some patterns to make it look like a sugar skull.
You can also experiment with different fun art mediums such as acrylic paints, watercolors, colored pens and pencils for some incredible colors!
Bonus: Add Some Spooky Details To This Skull Drawing
When you think of it, there is no reason that we should be scared of skulls. Every human has them, and they’re essentially just bones that are the core of our heads.
Skulls have become quite a symbol of all things creepy, however, and you can always add a skull to a scene that you want to be scary. For that reason, we had a few ideas for how you could make this skull drawing creepier.
One way would be to add some fun details to the drawing. For example, maybe you could have a snake crawling through the eyes of the skull.
Or, it could also be fun to have some flames behind the skull for a sinister look. Adding a background would also be a great way to give your artwork more of a sense of place.
As we mentioned, skulls are often used as set dressing for scary scenes, so you could use all sorts of backgrounds. A graveyard or a haunted house would be some perfect locations to use.
If you would like to go for something a bit more whimsical, then maybe the skull could be wearing a tophat or maybe smiling a toothy grin. Adding objects like gravestones would also make it way creepier.
Skulls are often used as decorations around Halloween (fake ones, hopefully) so going for a Halloween theme would also be a great idea for this drawing.
Of course, this could include details such as jack-o-lanterns and other creepy monsters and objects. There are so many possibilities, and adding text for a creepy greeting would also be pretty fun.
We have given you a few ideas, but now it’s time for you to take over and show off what you think would be the perfect creepy addition to this skull drawing.
3 More tips to make your skull drawing easy!
Make this easy to draw skull even easier with the help of these tips!
The human skull is a remarkably complex structure, and all of these details can make it difficult to draw! You could make this skull drawing a bit easier by removing some of these details.
The one we created in this guide is not super detailed, but there are still some that you could change or remove.
The trick to this would be to keep the changes minor so that the design is maintained.
A good way to go about it would be to focus on any details that are specifically giving you trouble. You can change them in a way that would make it easier for you to do.
Which details would you focus on?
There are other ways you can change the design in order to make this drawing of a skull easier. One would be to change the angle of the skull.
This would again be in order to fit your particular strengths, so if you would find a certain angle easier then that would be a good place to start.
You could also change up the style of the skull entirely. For example, you may be more comfortable with a cartoony style.
If so, you could go through the guide and change it to make it even more cartoony in appearance. What styles do you find easiest to work in?
Finally, you can make this skull drawing easy to do by consulting some more resources. You would have many options if you need some extra help with this artwork!
You will find many drawings and diagrams of skulls online and in textbooks that can help a lot. They are especially helpful if you use them in conjunction with the steps of our guide.
Some stores will also sell fairly realistic skull replicas. Not only would this be a cool ornament for the house but can also help a lot with drawing the details of the skull.
It would also help you to draw the skull in other angles.
Your Skull Drawing is Complete!
Now that your skull drawing in is colored, you’re all finished and you should be very proud of your amazing artwork!
We really hope that this guide on how to draw a skull in 8 easy steps was helpful and fun for you to use.
When you set out to learn how to draw a skull, it may have seemed like a difficult challenge. However, when you break it down into smaller, more manageable steps it can be so much easier!
Our aim with this guide was to let you have fun as you learn to draw, so we really hope you had a great time with it!
Now you can show us how creative you can be with the colors, patterns and mediums you use to finish iff your skull drawings.
Once you’ve finished drawing and coloring in your skull drawings, we hope that you’ll share them on our Facebook and Pinterest pages for us to admire!
We always love to see your creativity on display and we can’t wait to see your awesome skull drawings!
Here Is A Skull Sketch To Inspire You!

Skulls always look rather sinister, even though they are a natural part of our bodies. This makes them popular, as they always look really cool and edgy.
This amazing skull sketch for kids is an amazing design by our artist Amanda. She has drawn a skull that looks like it may have belonged to a pirate at one point.
There is a bandana on the skull, and that would be perfect for adding some color to the picture. You could also add some more details to add to the theme as well.
For instance, it could be really cool for you to turn this into a skull and crossbones design. Or, you may prefer to draw a background to create a story around this picture.
What will you do to finish off this awesome design in a way that’s unique to you?