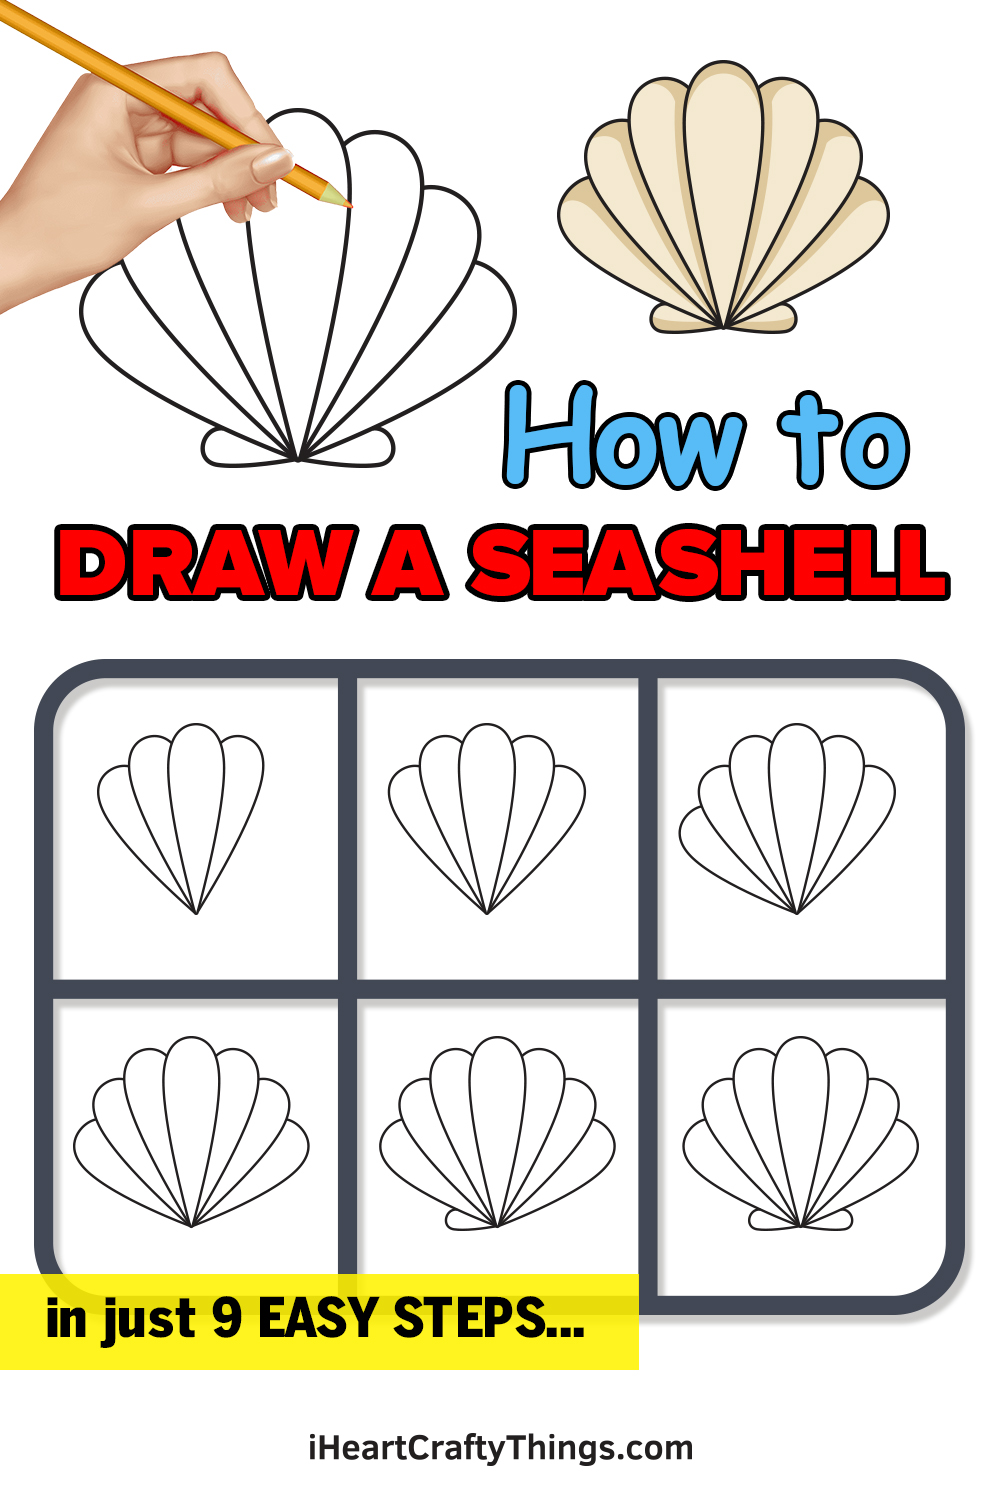
Join me in learning how to draw a seashell by following this simple guide for kids! Anyone can follow along and enjoy the process, so let’s dive in.
I love to look for seashells when going to the beach as it’s always fascinating to see the different colors, shapes and forms they come in. Trying to draw one can often be more of a challenge than you would expect, though.
Getting the distinctive shape and details to look right can present a challenge, but I have a way to make it much easier. I will be showing it to you during this guide as we break it down and slowly build up the drawing.
The idea is to get you familiar with the basics, and then you can adapt the design to any kind of shell that you would like to recreate!
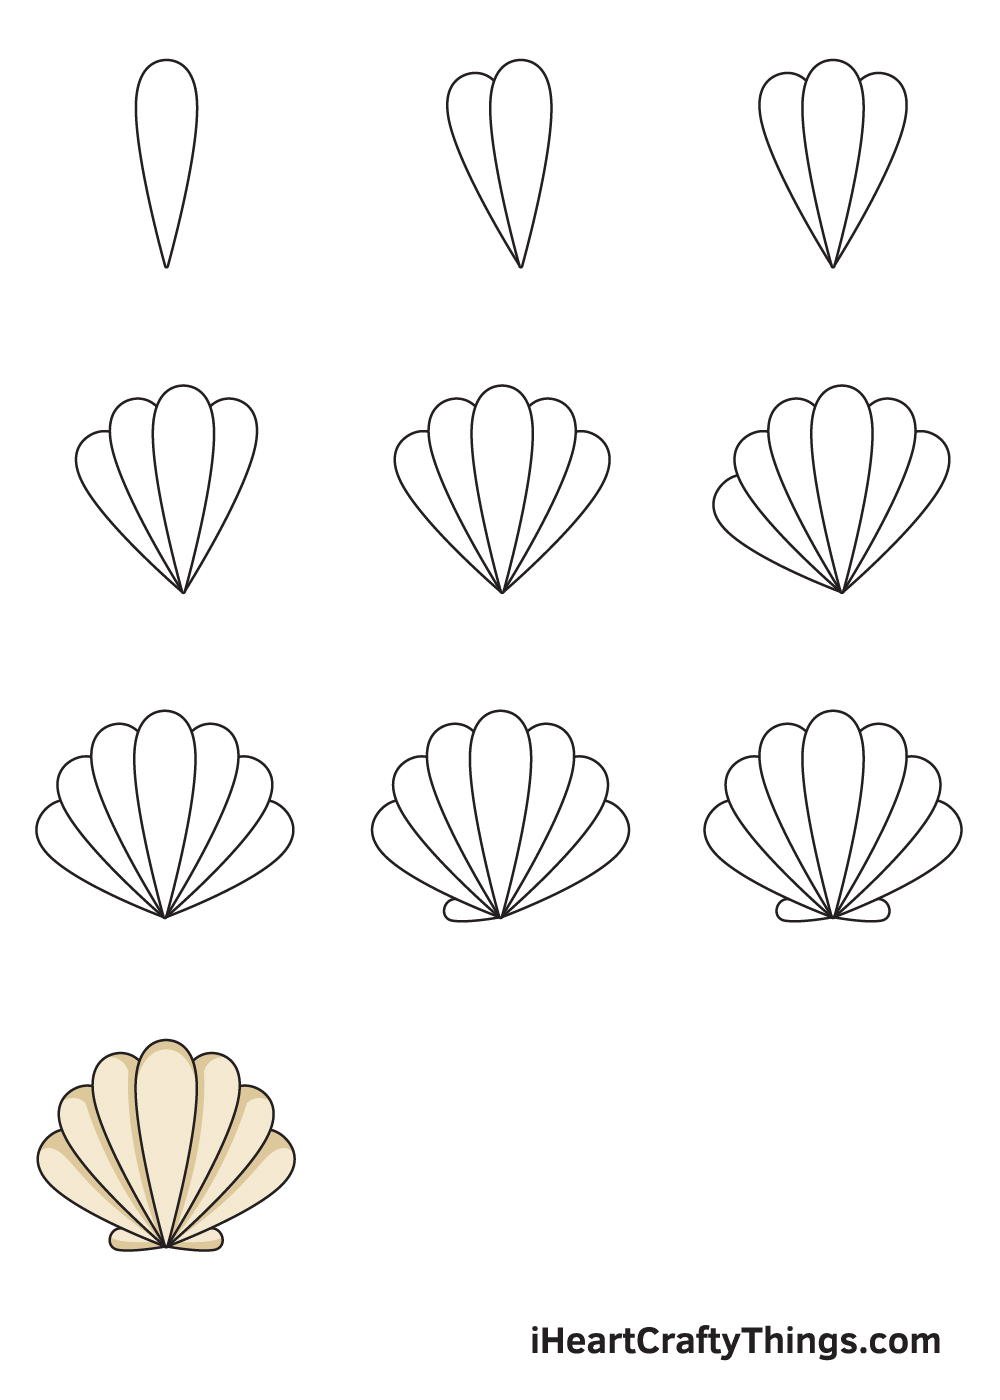
Watch This Guide To Easily Make A Seashell Drawing
How to Draw a Seashell – Let’s get started!
Step 1

Drawing a seashell is really simple! Start by drawing an upside down, vertical droplet shape. This creates the very center of the seashell.
Keep in mind that the pointed end of the figure should be at the bottom while the round edge should be at the top.
Step 2 – Draw the Middle Part of the Seashell

Everything from this point moving forward is easy and all about repetition, with slight changes in terms of size and angle of course..
Draw the second upside down water droplet shape of the seashell.
Make it slightly smaller than the first one, draw it on the left side and make it appear behind the first one, just like the one shown in the illustration.
Step 3 – Draw Another Layer on the Right Side

Similar to the previous step, we will be drawing another water droplet figure. To make your drawing symmetrical, make sure to add this layer on the right side this time.
As you can see in the illustration above, the layers of the seashell are gradually becoming fanned out.
Step 4 – Next, Draw the Fourth Layer of Shell
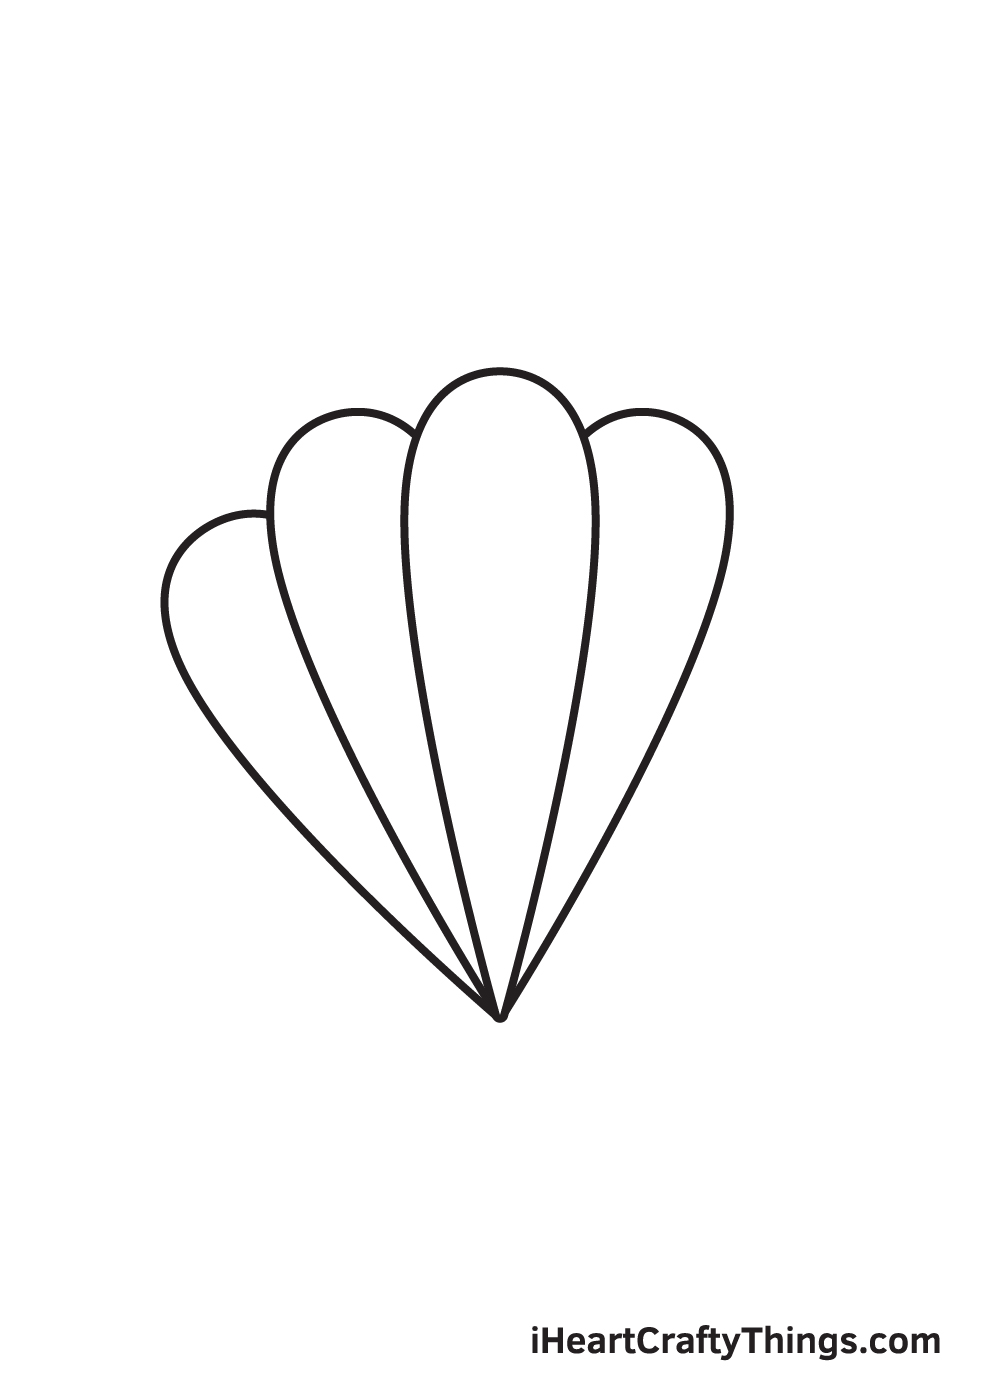
In this step, we will simply repeat the same process and draw another upside down droplet shape on the leftmost side.
Again, it should appear behind the previous one.
Step 5 – Then, Draw the Fifth Layer of Shell
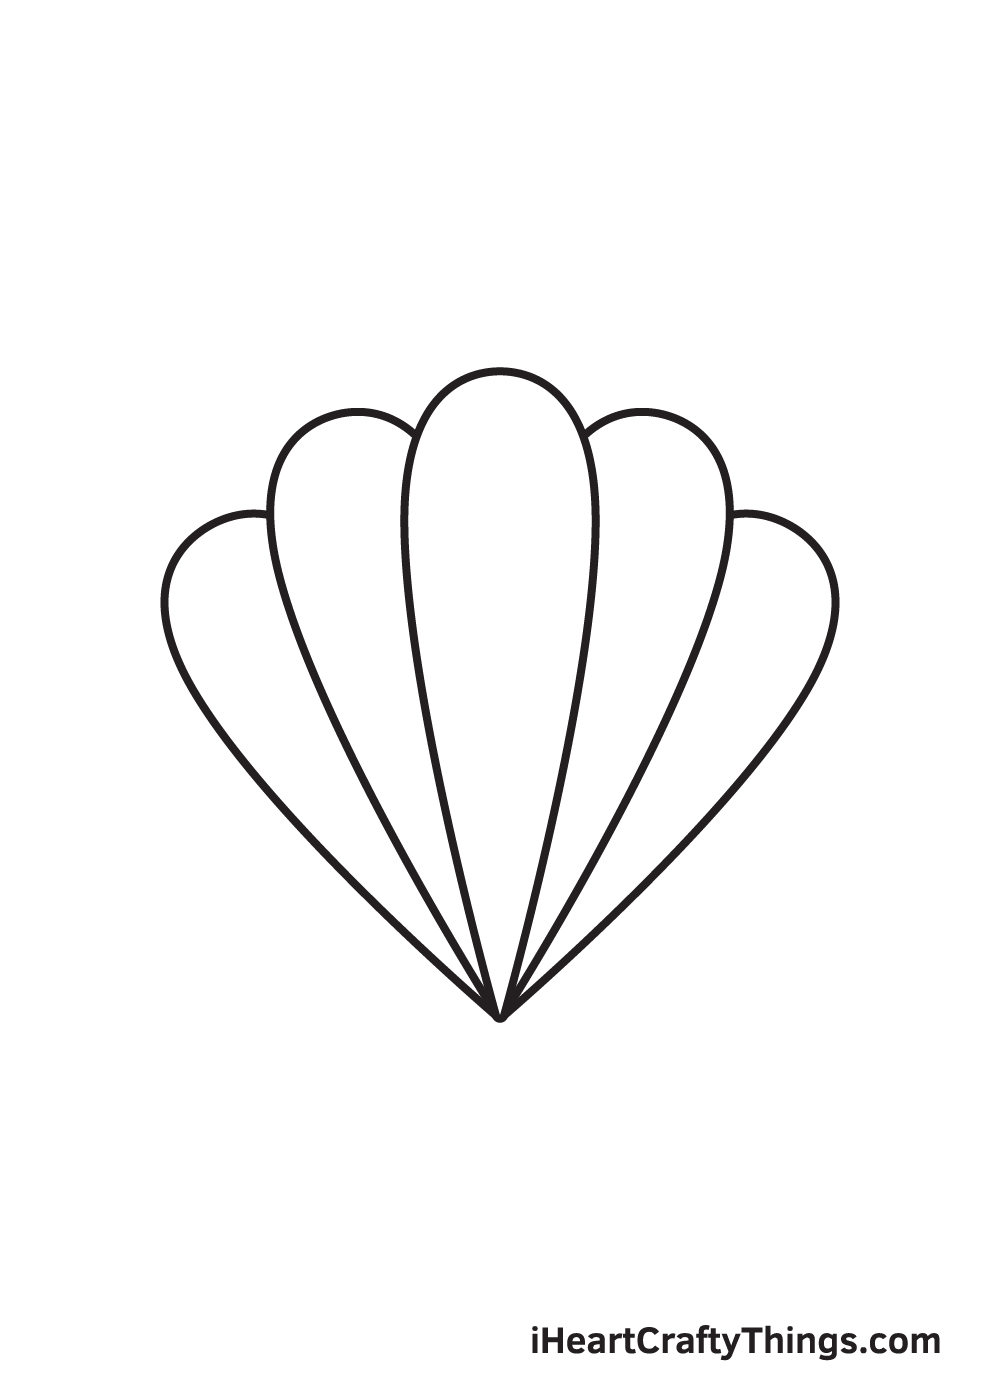
Repeat the previous step on the opposite side.
At this point, you should now have five layers of shell comprising the seashell.
Step 6 – Draw the Leftmost Layer of the Seashell
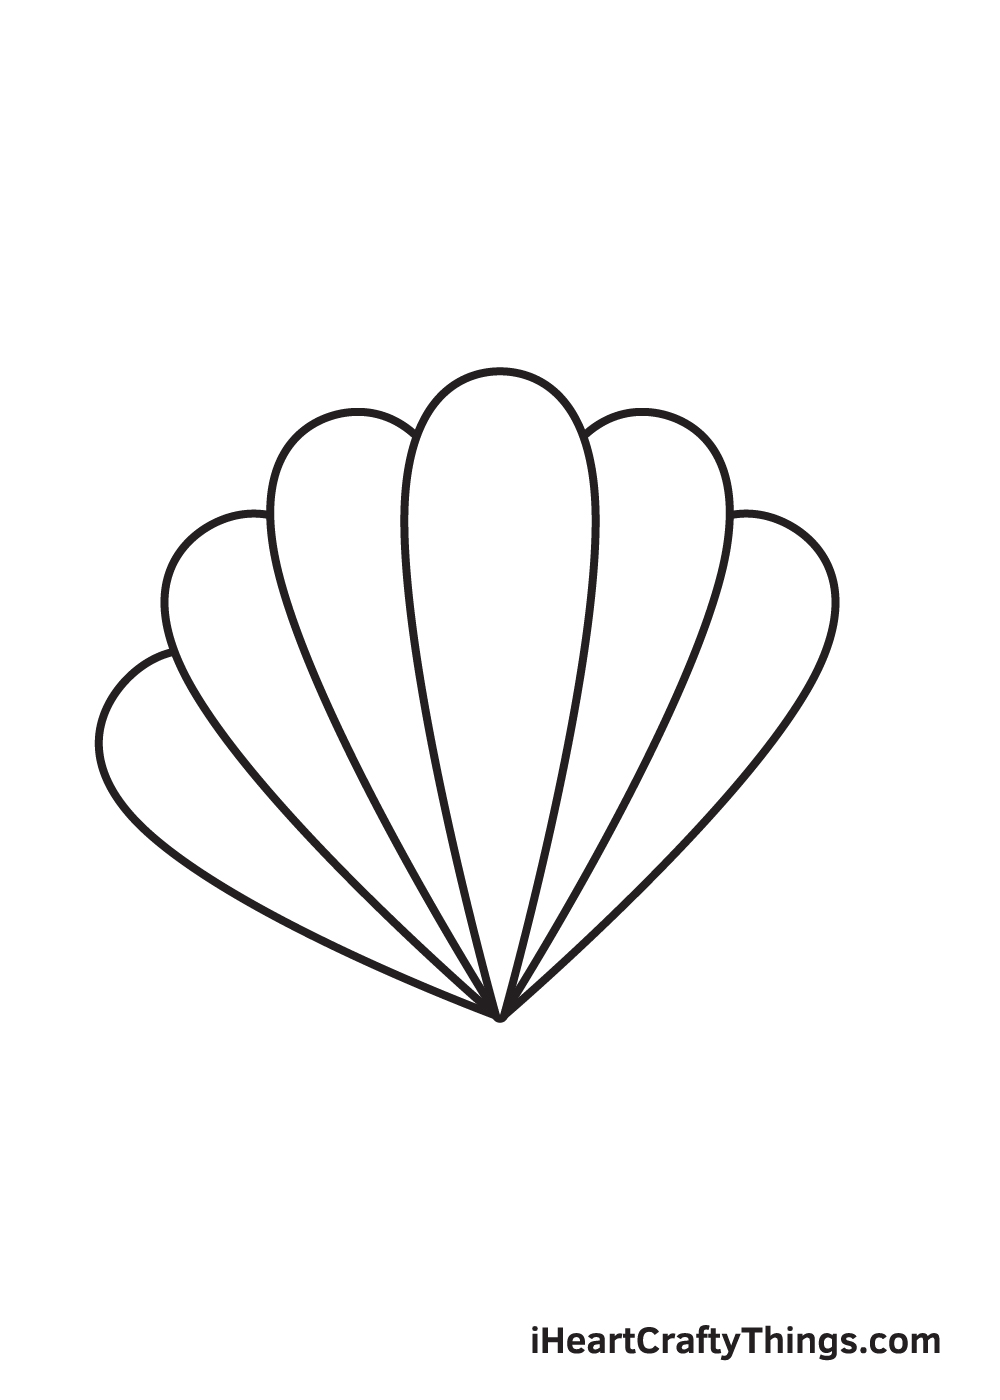
Here, we will be drawing another section of the seashell.
Keep in mind that this layer should be located on the leftmost side and should be a bit smaller compared to the other layers of the seashell.
Your seashell drawing is almost complete—keep going!
Step 7 – Draw the Rightmost Layer of the Seashell
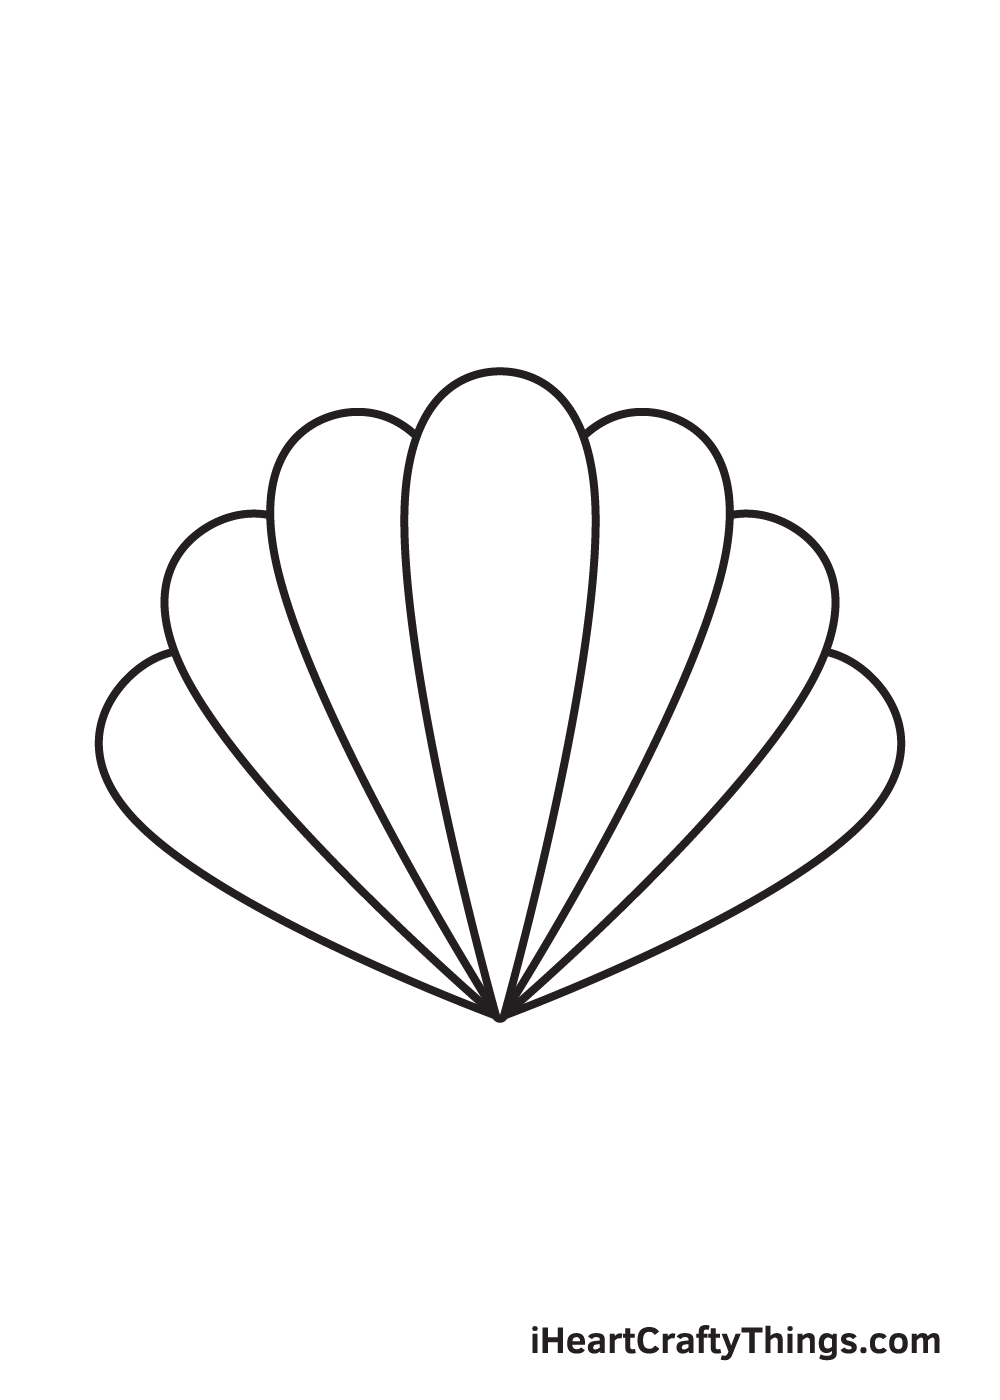
This one is another repetition. This makes it look symmetrical by adding another smaller water droplet-like shape on the rightmost side.
After finishing this step, all seven layers (one in the middle and three on each side) of the seashell should be complete.
Step 8 – Draw the Bottom Left Part of the Seashell
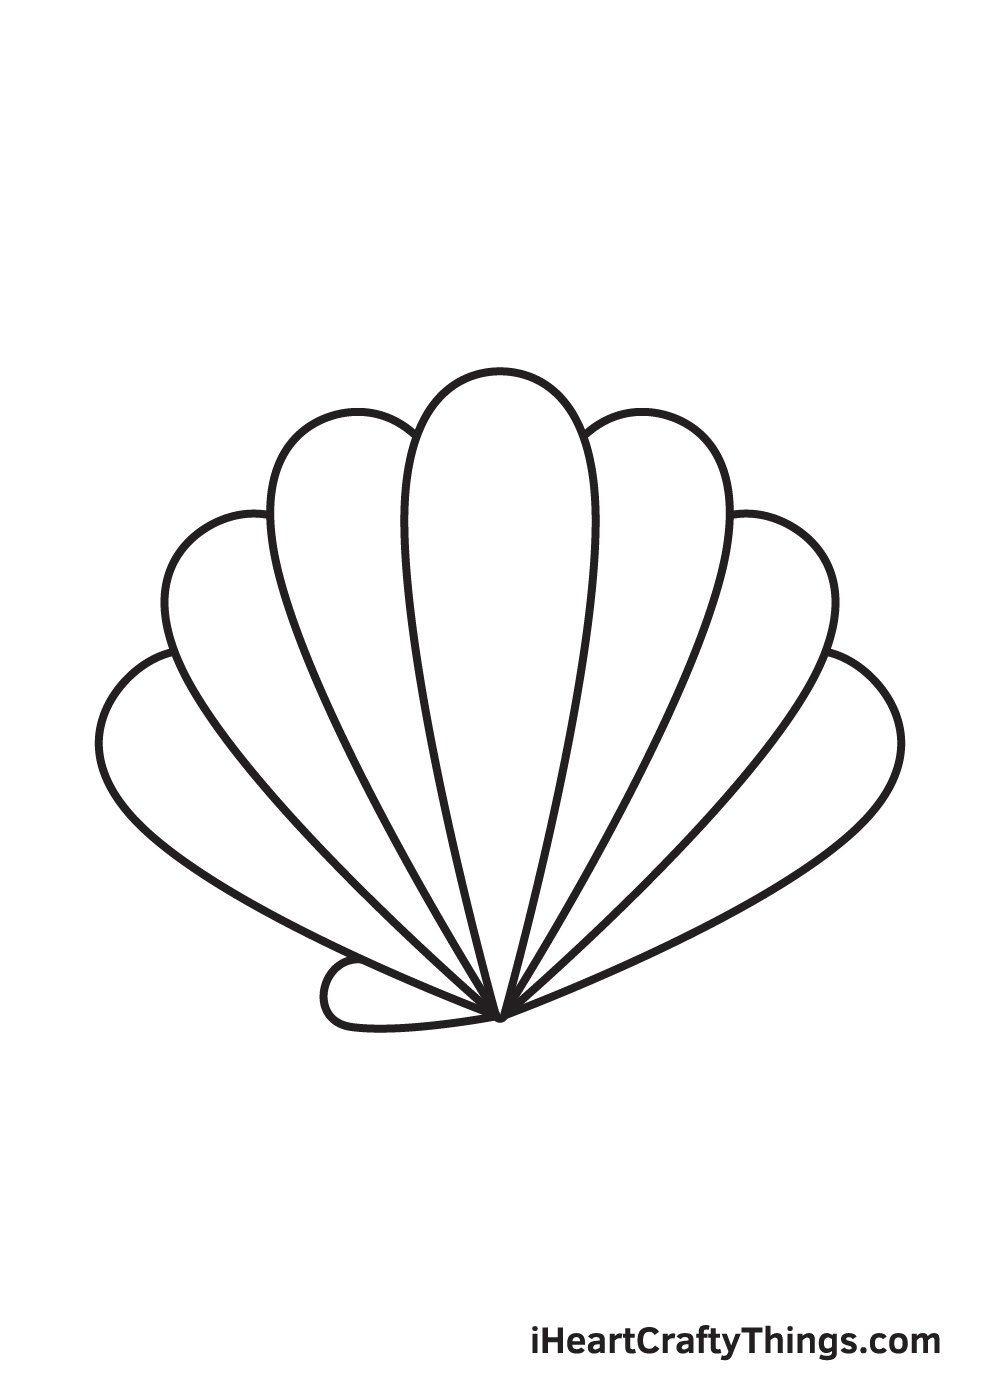
In this step, we’ll create the hinge on the bottom part of the seashell.
Simply draw a horizontal curved line directly connected on the left side of the pointed bottom of the seashell.
Step 9 – Now, Finalize the Structure of the Seashell
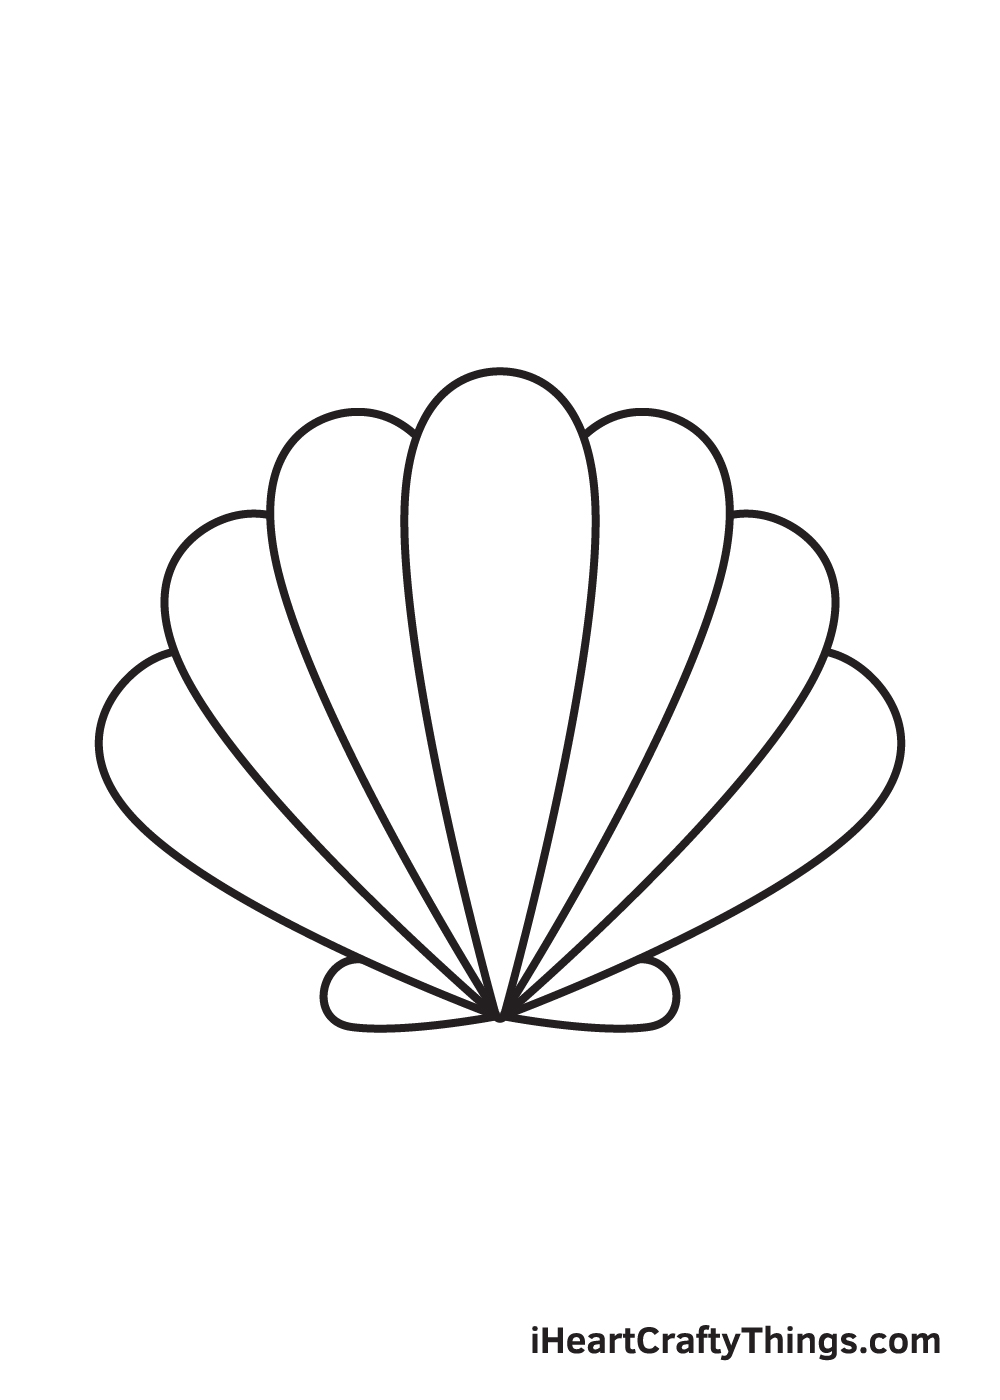
Repeat the previous step on the opposite side to complete the hinges of the seashell. This is the part that supports the seashell whenever it’s opening or closing.
Try to make this figure identical to the first one we drew in the previous. This helps keep the seashell symmetrical.
Now, it’s finally time to make your seashell look a lot more realistic by adding colors! This is most probably the most awaited step because this is where you can showcase your artistic skills!
As you can see in the illustration above, we used a mixture of the colors tan and cream. You can choose to color your seashell similar to how we’ve done ours or customize the colors. Either way, we’re sure the colors will turn out perfectly!
Have fun playing with colors and watch as the seashell ultimately comes to life!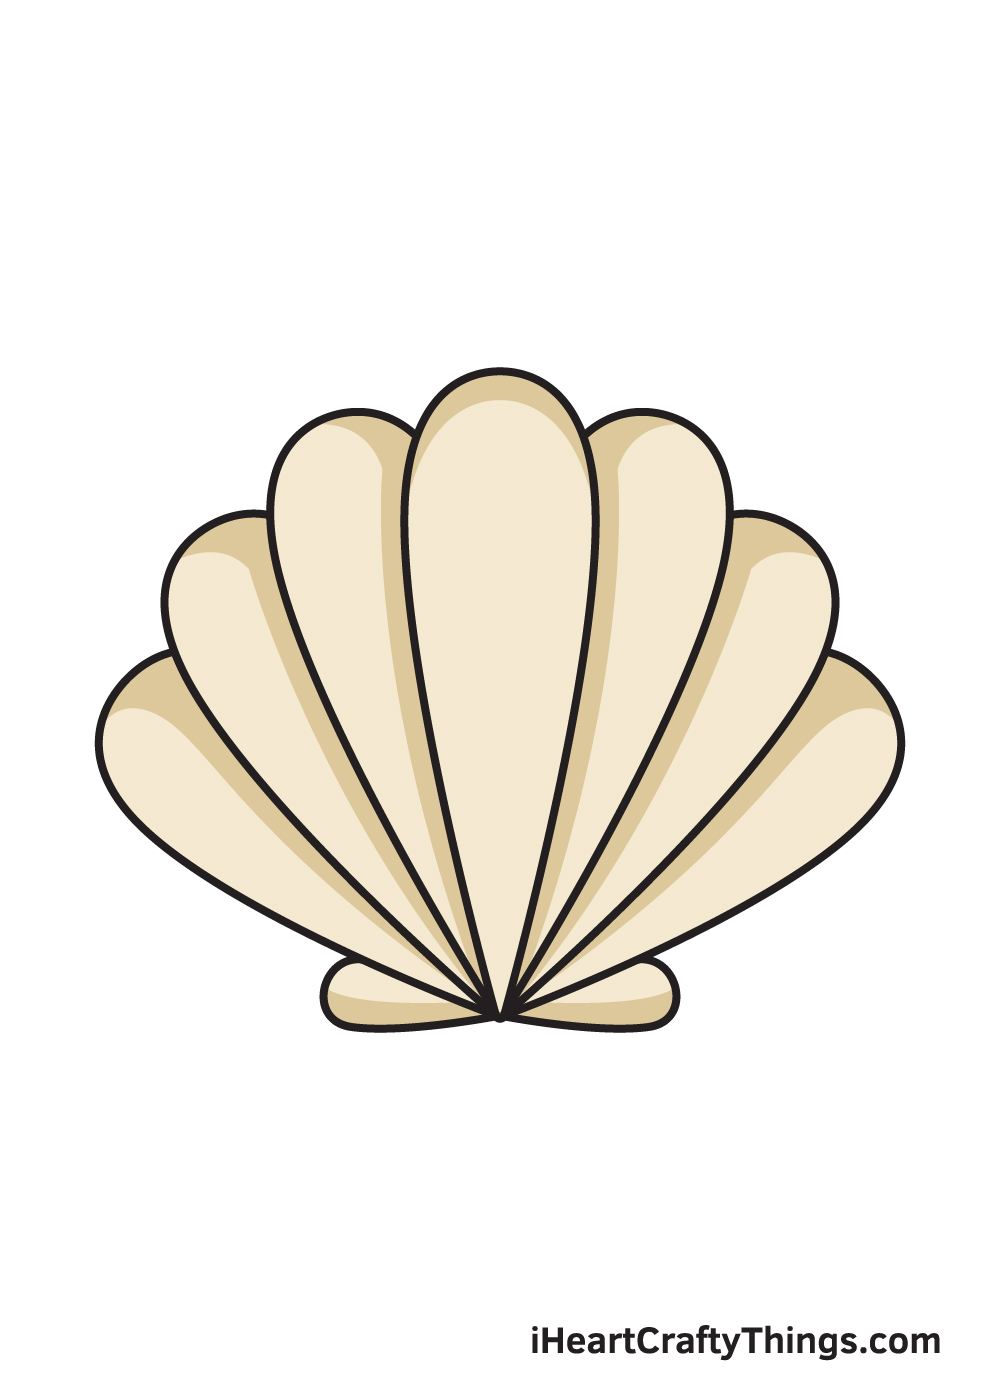
5 Tips To Make Your Seashell Drawing Even Better!
You have a wonderful seashell drawing, but we will show you how to make it even more stunning! Seashells are really beautiful to behold, and they come in many different colors and textures.
We left the surface of this seashell drawing pretty smooth and blank, but you could add some texture detailing with some simple lines.
There are so many textures you could add to this one, and it will make such a big difference!
We mentioned that shells can come in many different shapes and sizes, and now that you have finished this one you can try to design a few more to go alongside it.
If you have some shells you could use to help you, then these would be the perfect models! Otherwise, you could look up some pictures of various shells online to help you design these additional ones.
You could add this seashell to a collection of different shells, but there are also other background settings you could depict.
For example, this seashell could be lying on a sandy beach with little crabs, seaweed and ocean waves surrounding it.
These are a few beach elements you could add to this drawing of a seashell, but what other ones can you think of?
Another way that you can make this seashell sketch even better would be to add some beautiful colors. We kept the colors muted for this example, but you could make it as colorful as you like!
Choosing the colors is just a part of the fun, however. You can also experiment with various art tools and mediums to achieve the kinds of colors you want for this beautiful drawing.
Finally, you could make this drawing even better by changing, adding or removing certain details. You could change the shape of the seashell a bit, or you could add some nicks and cracks.
Another idea would be to have some small bits of seaweed or other bits of ocean objects on it to make it look more weathered. What other small details could you do?
Your Seashell Drawing is Complete!
Hopefully, you had a wonderful time drawing a seashell with this step-by-step drawing tutorial.
Now that you can draw a seashell, perhaps you can draw an ocean with beautiful seashells scattered all over the sea shore next time? If you’re interested in drawing that, feel free to check out our free ocean drawing tutorial.
Remember, all of our drawing tutorials are 100% free for you to use as learning materials to help you draw a wide range of subjects.
We are updating our “How to Draw” catalog on a regular basis, so don’t forget to keep checking back to continuously enjoy brand-new drawing tutorials.
Let us know what you would like to draw next and we’ll create a drawing tutorial for it!
Soon after you’re done drawing and coloring a seashell, make sure to show off your masterpiece as a way to celebrate your achievement!
Take a photo of your artwork and share it on our Facebook page and on Pinterest. Don’t be embarrassed! You’ve worked so hard for it, so we’re sure it looks impressive!
We can’t wait to see your beautiful seashell drawing!
Here Is A Fun Seashell Drawing To Inspire You!

When you go to the beach, there are often thousands of beautiful seashells to admire. This fun seashell drawing for kids was made by our artist Freddy to capture the feeling of being at the beach.
It can also help you with your own drawing, as you can use it as an example to strive for. He drew one large central shell with some smaller ones surrounding it.
Then, he added details such as starfish around the shell to further give it an undersea theme. When you make your own, you could take these elements even further.
If you want the shells to be at the bottom of the ocean, then you could add some fish and other sea creatures. Otherwise, you could have the shells in the sand on the beach.
Either approach would look incredible, so go with your creative instincts!
