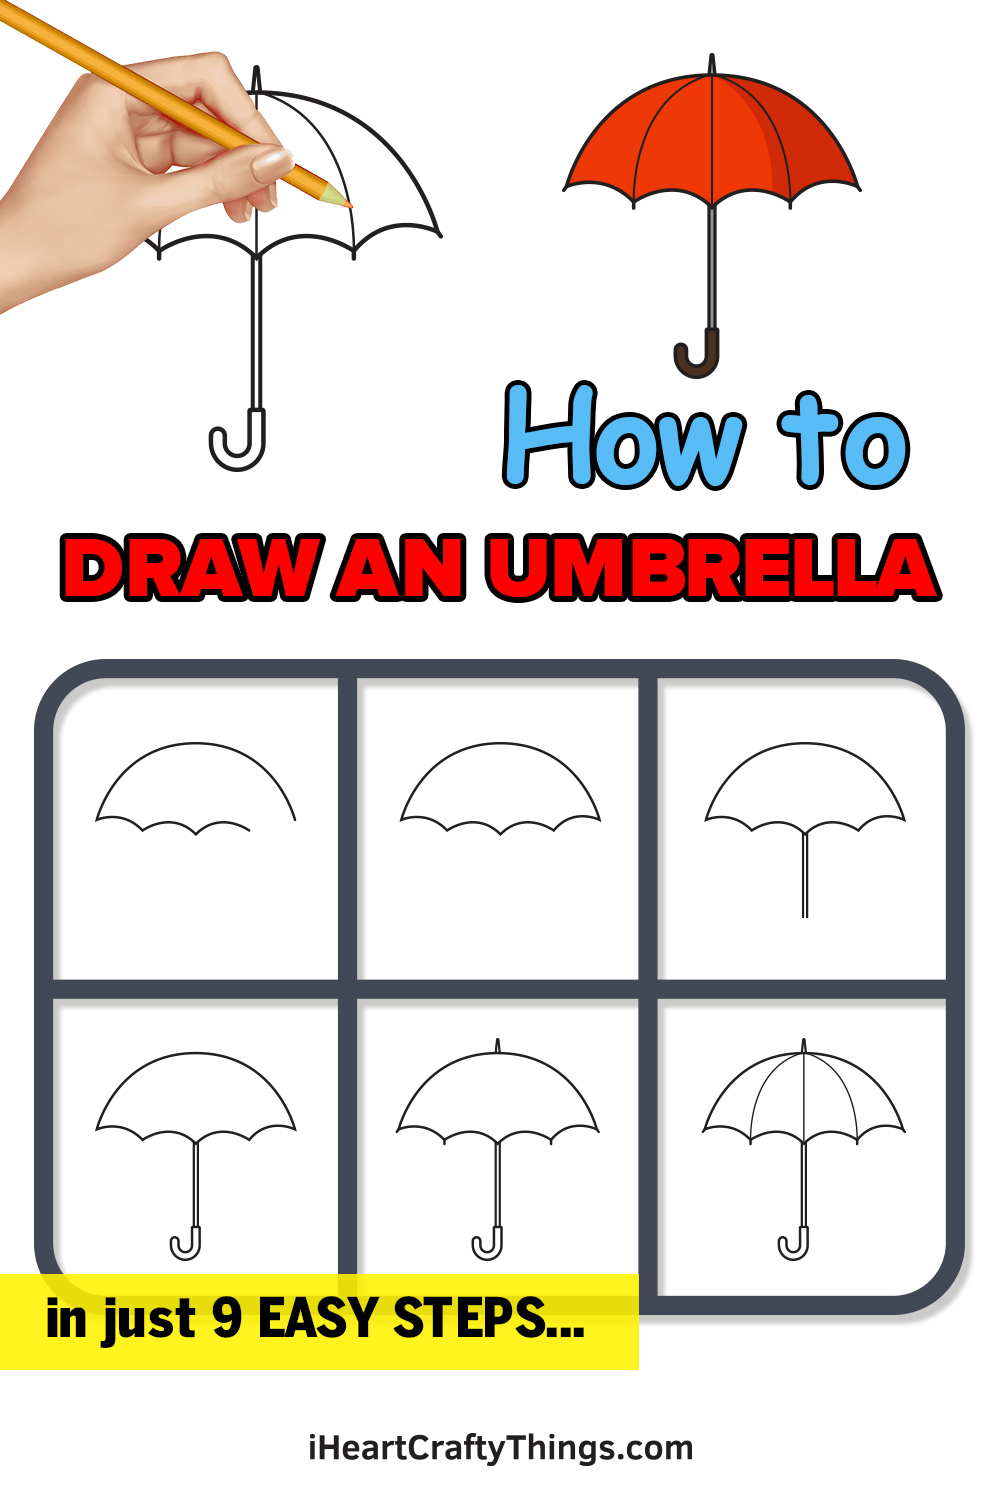
This guide on how to draw an umbrella for kids is perfect for you to easily design your own parasol. It will be fun and simple to complete this design, and then you can customize it as you please!
Umbrellas can come in many different colors, designs and forms. Some of them are even made of transparent material and others are big enough for two.
You’ll see how to draw a simple umbrella here, and I will even show you one way that you can color it. After that, you can choose your own colors and even draw some of your own designs and patterns on it.
You could even draw a character holding it with a background behind them as well! So let’s see how it’s done and get you started on this journey.
See How To Make Your Umbrella Drawing
How to Draw an Umbrella – Let’s get started!
Step 1
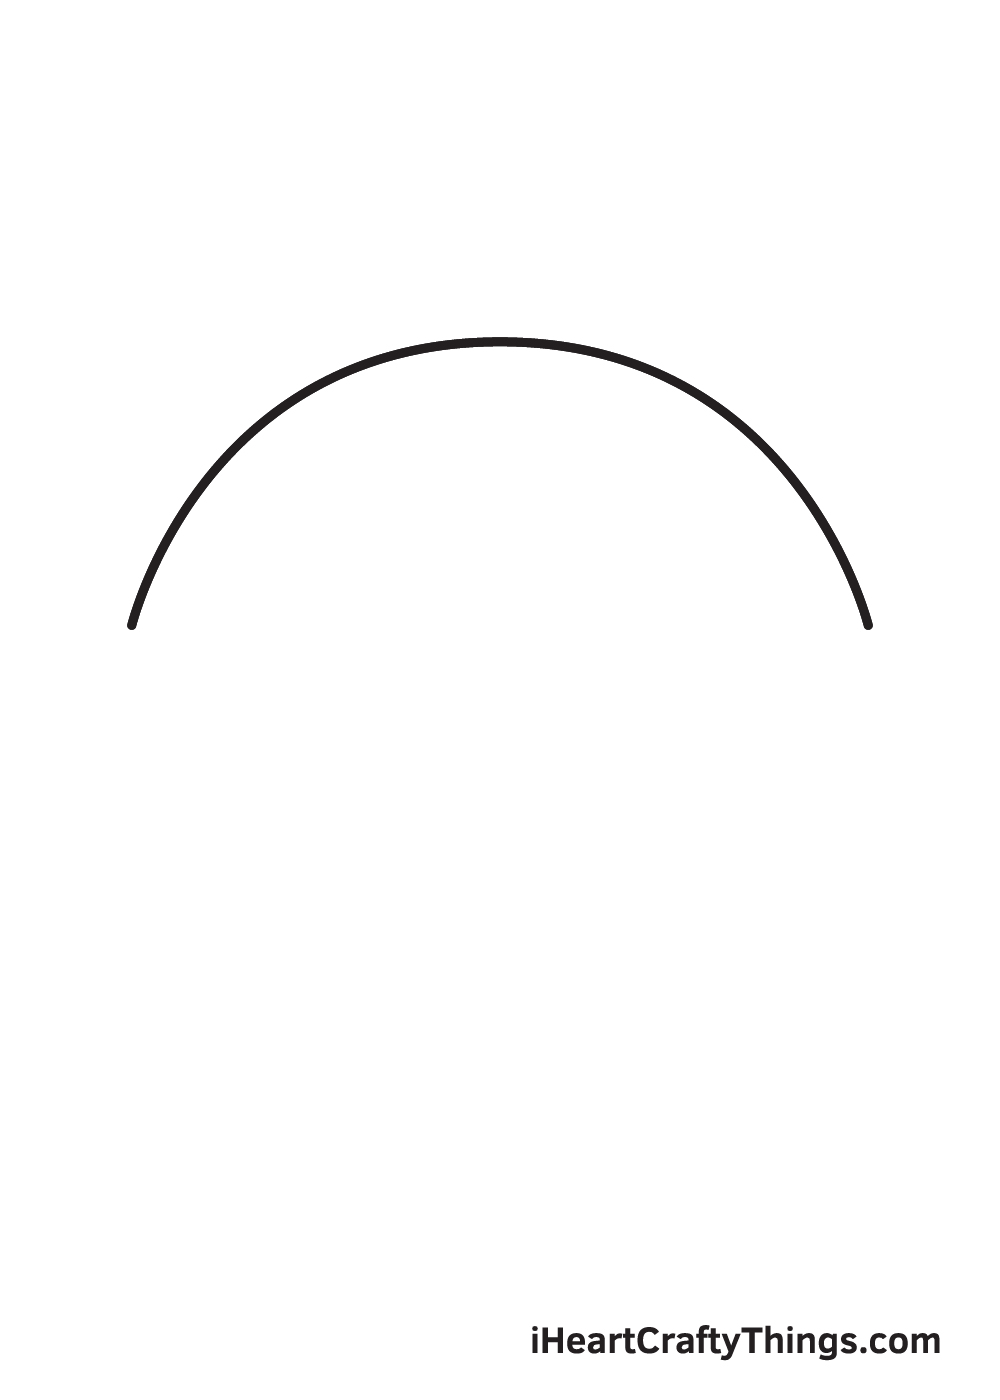
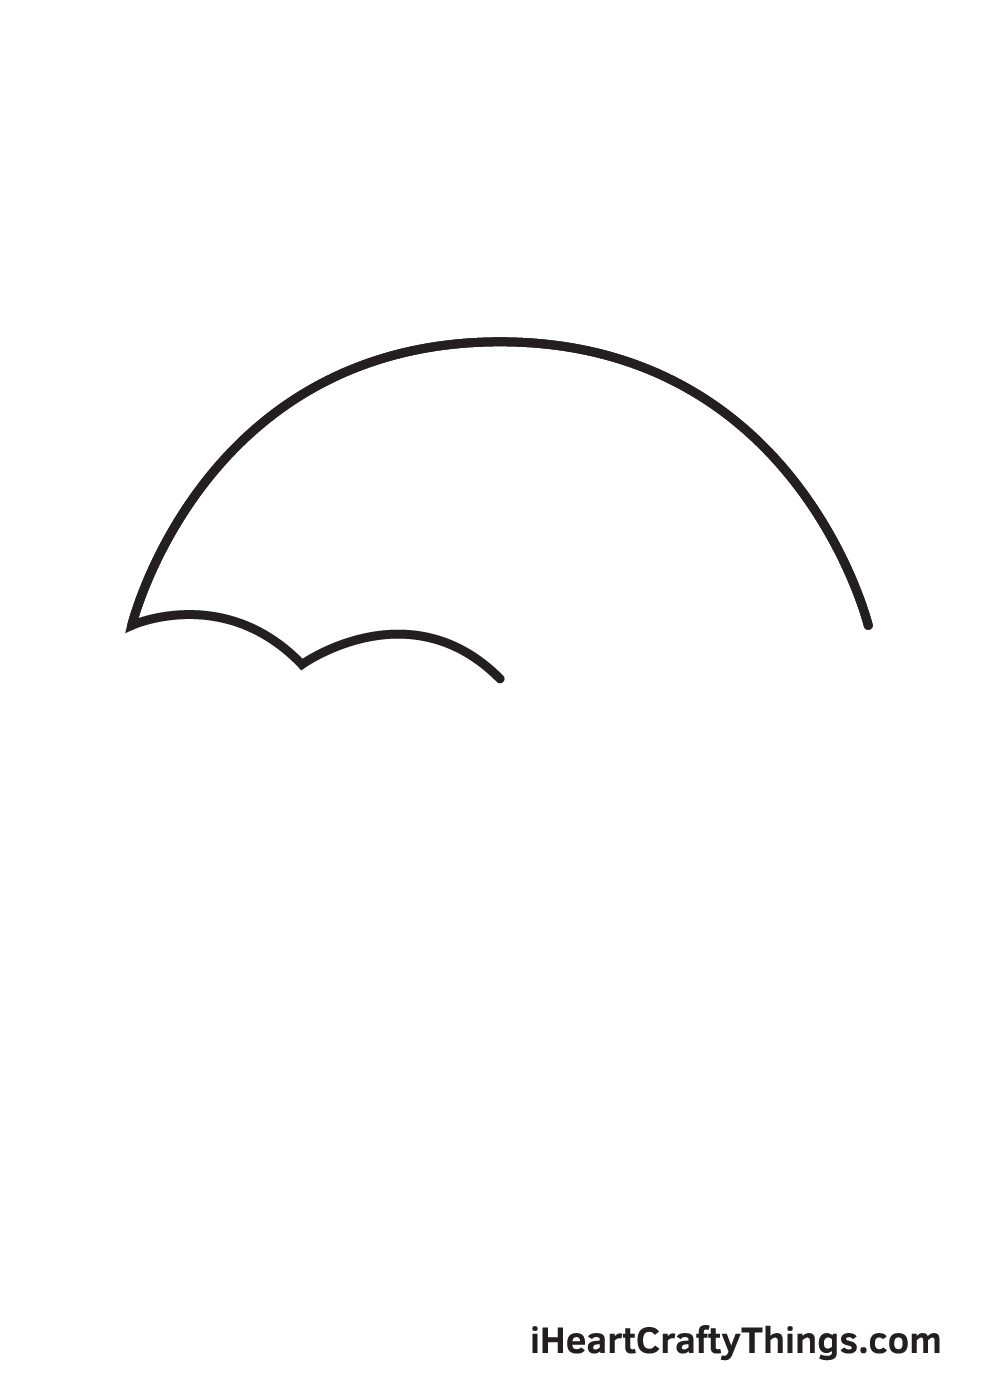
Start by drawing a big semi-circle in the middle of your paper.
This will represent the body of the umbrella (known as the canopy).
Step 2 – Draw the Topmost Part of the Umbrella
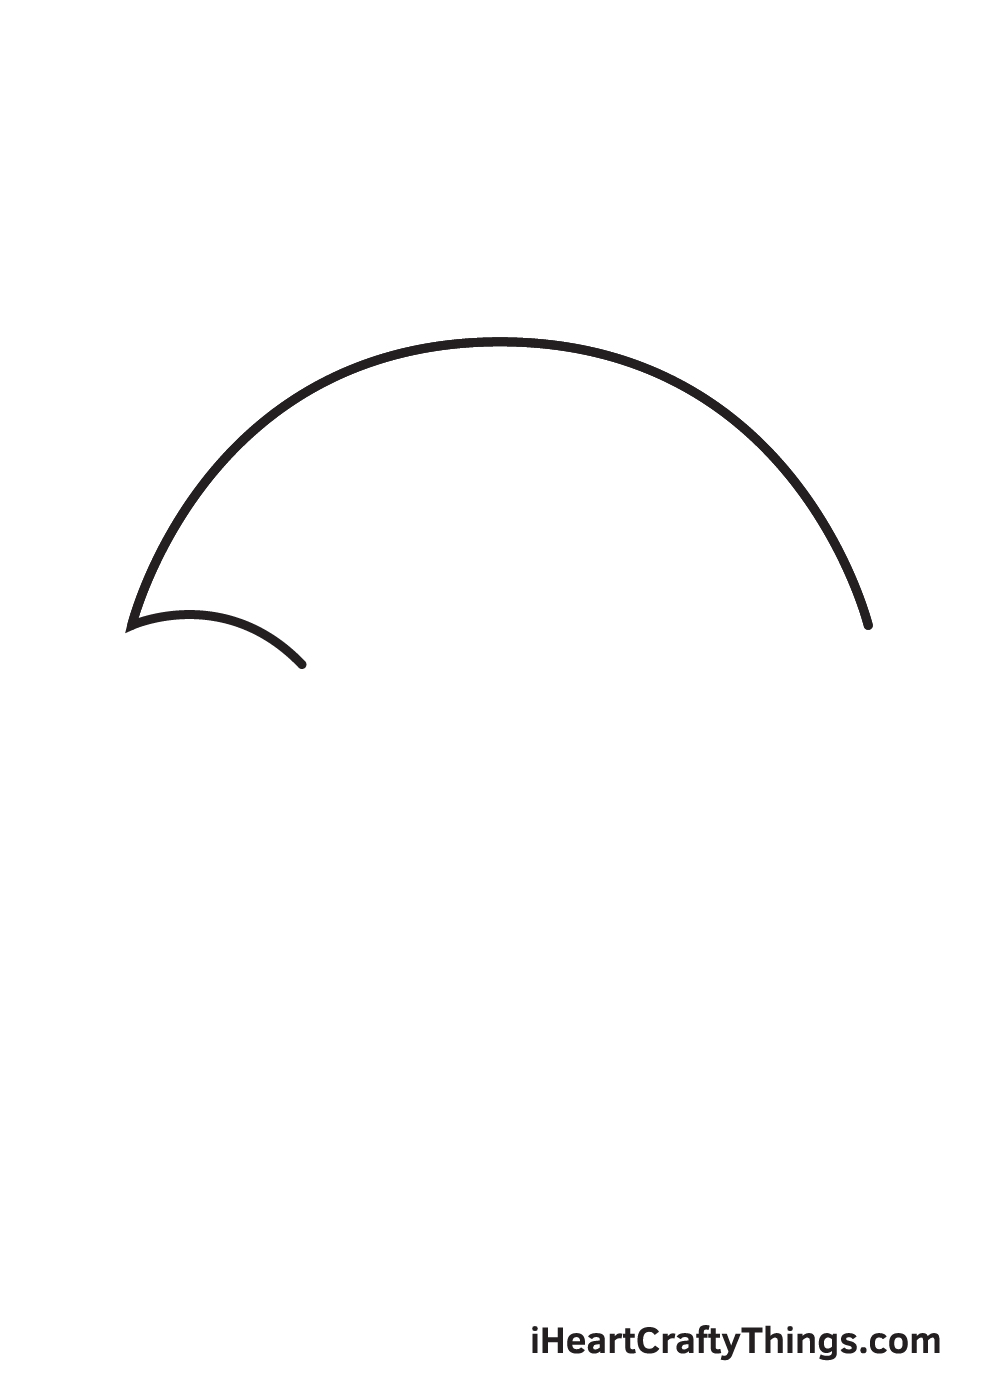
Now, we will start adding the bottom part of the umbrella (the gore, or the bottom part of the canopy).
You will create the first of four small curved lines.
Step 3 – Draw the First Layer of Canopy of the Umbrella
In this step, you will repeat Step 2 and draw the second gore of the umbrella.
This will be another small curved line.
Step 4 – Afterwards, Draw Another Layer of Canopy
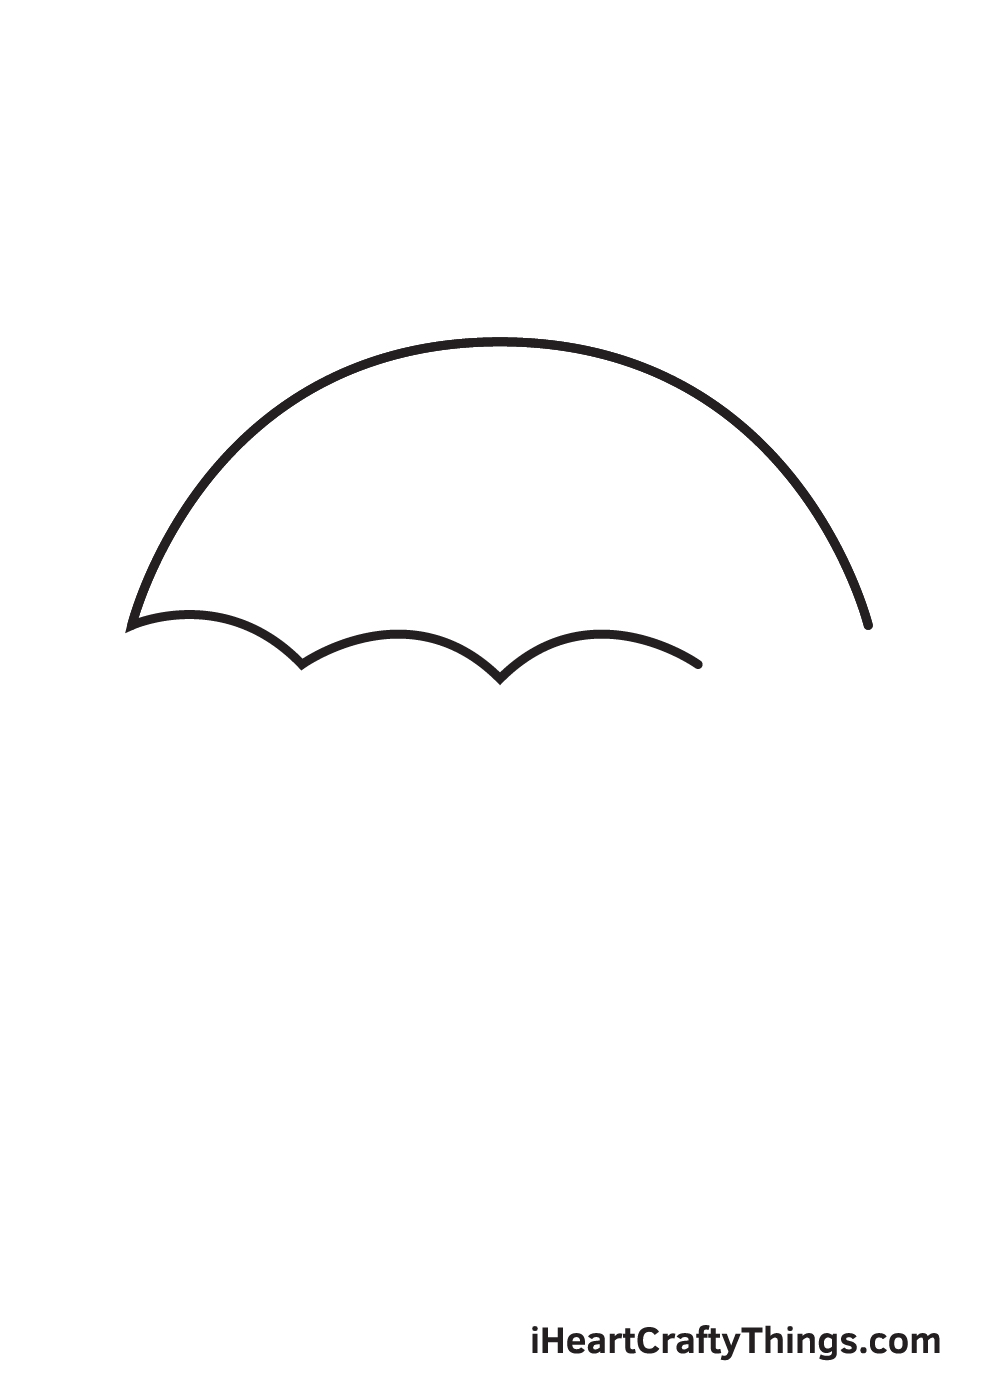
This time, you will repeat Step 2 too and draw the third gore of the umbrella.
Draw another small curved line.
Step 5 – Next, Draw the Third Layer of Canopy
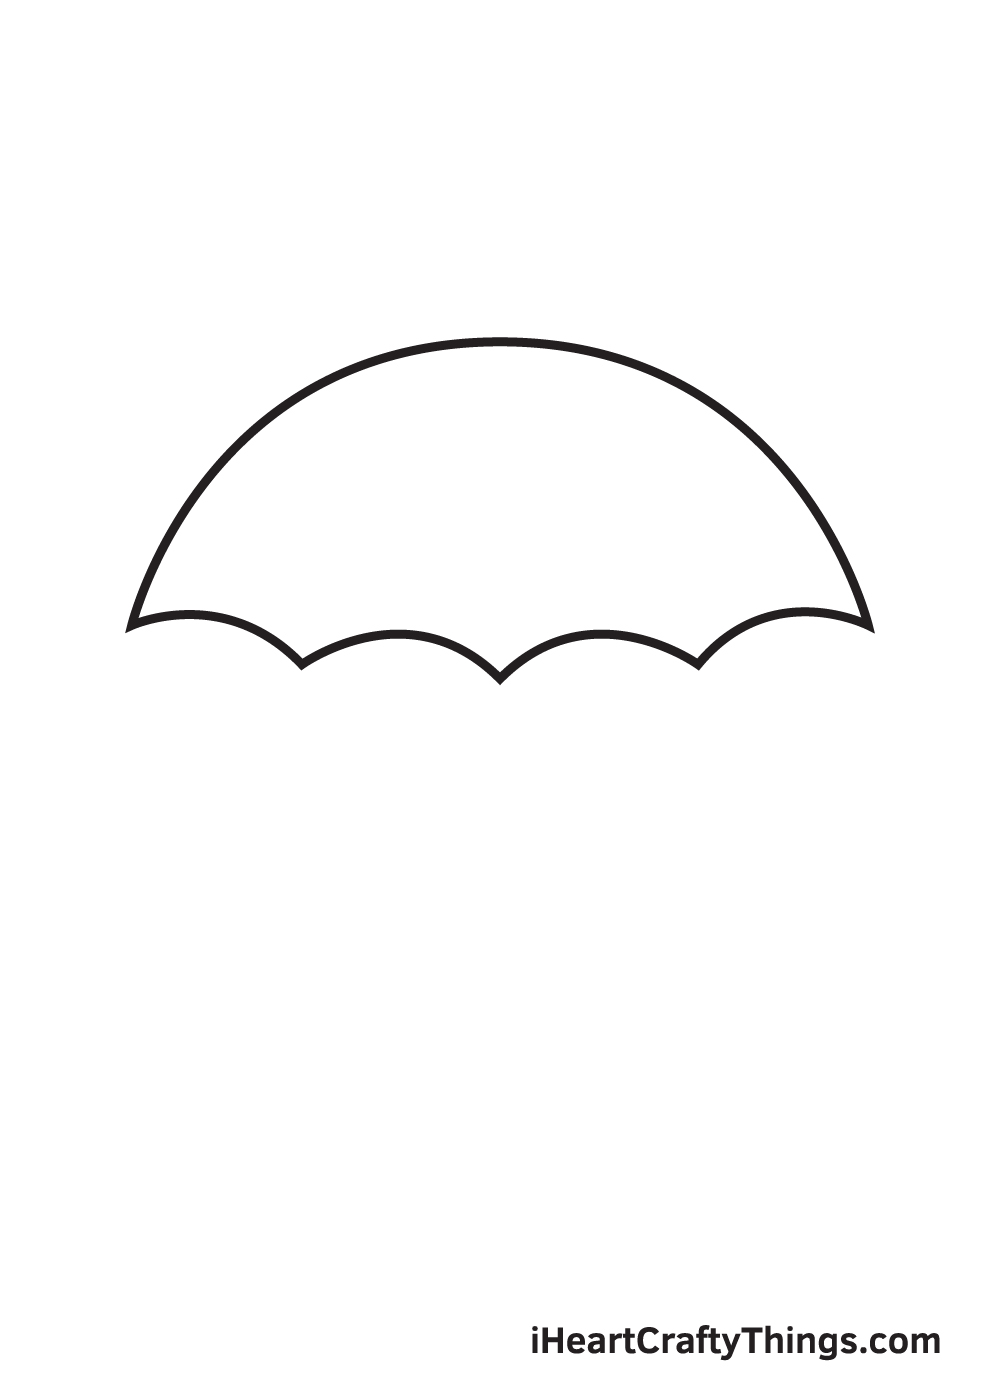
This will be the last time you repeat Step 2.
Create the final gore of the umbrella and draw another curved line connecting the 3rd gore to the rightmost part of the canopy.
Step 6 – Then, Draw the Last Canopy of the Umbrella
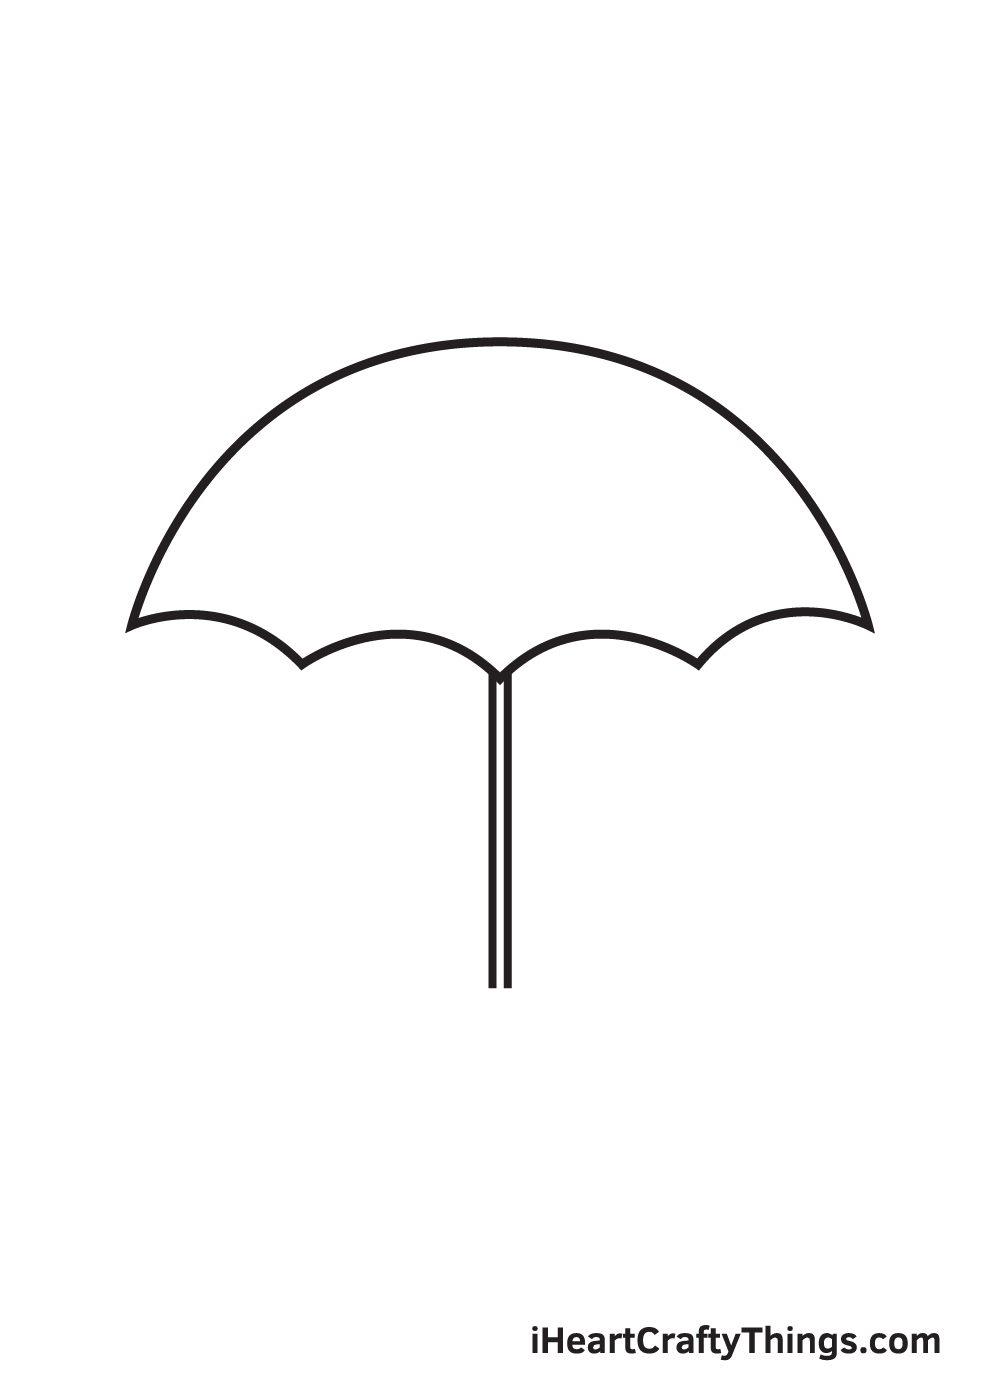
In this step, you will draw the “trunk” of the umbrella (it’s called the shaft). Draw two vertical lines, as seen in the illustration.
The umbrella is finally taking shape!
Step 7 – Draw the Long Shaft of the Umbrella
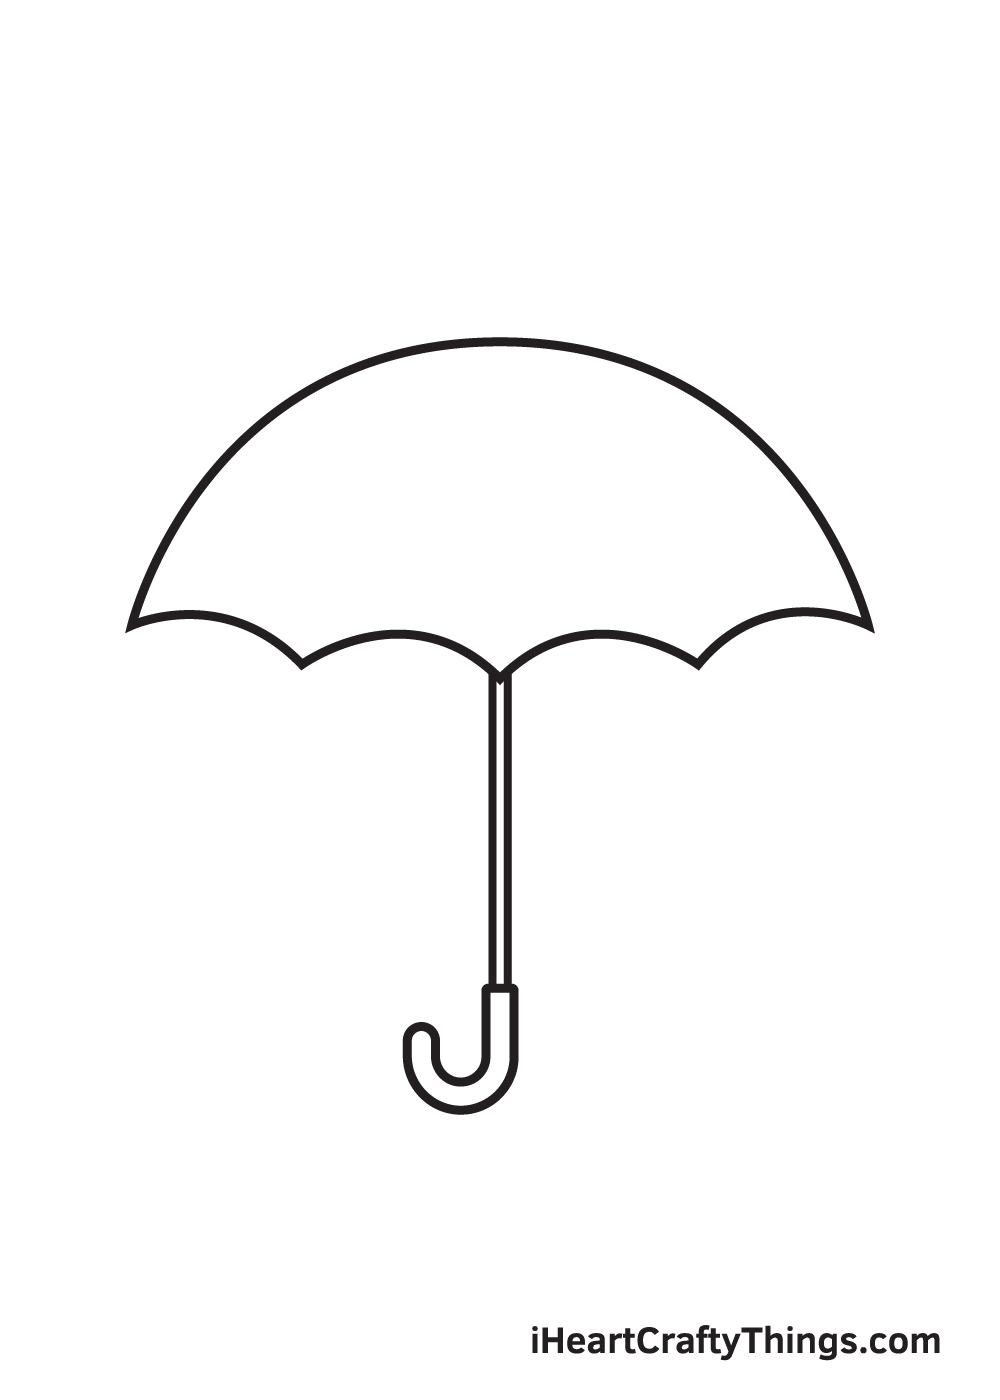
This time, you will create the handle of the umbrella.
Draw a small “J”-like shape and connect it to the lower part of the shaft!
Step 8 – Afterwards, Draw the Handle of the Umbrella
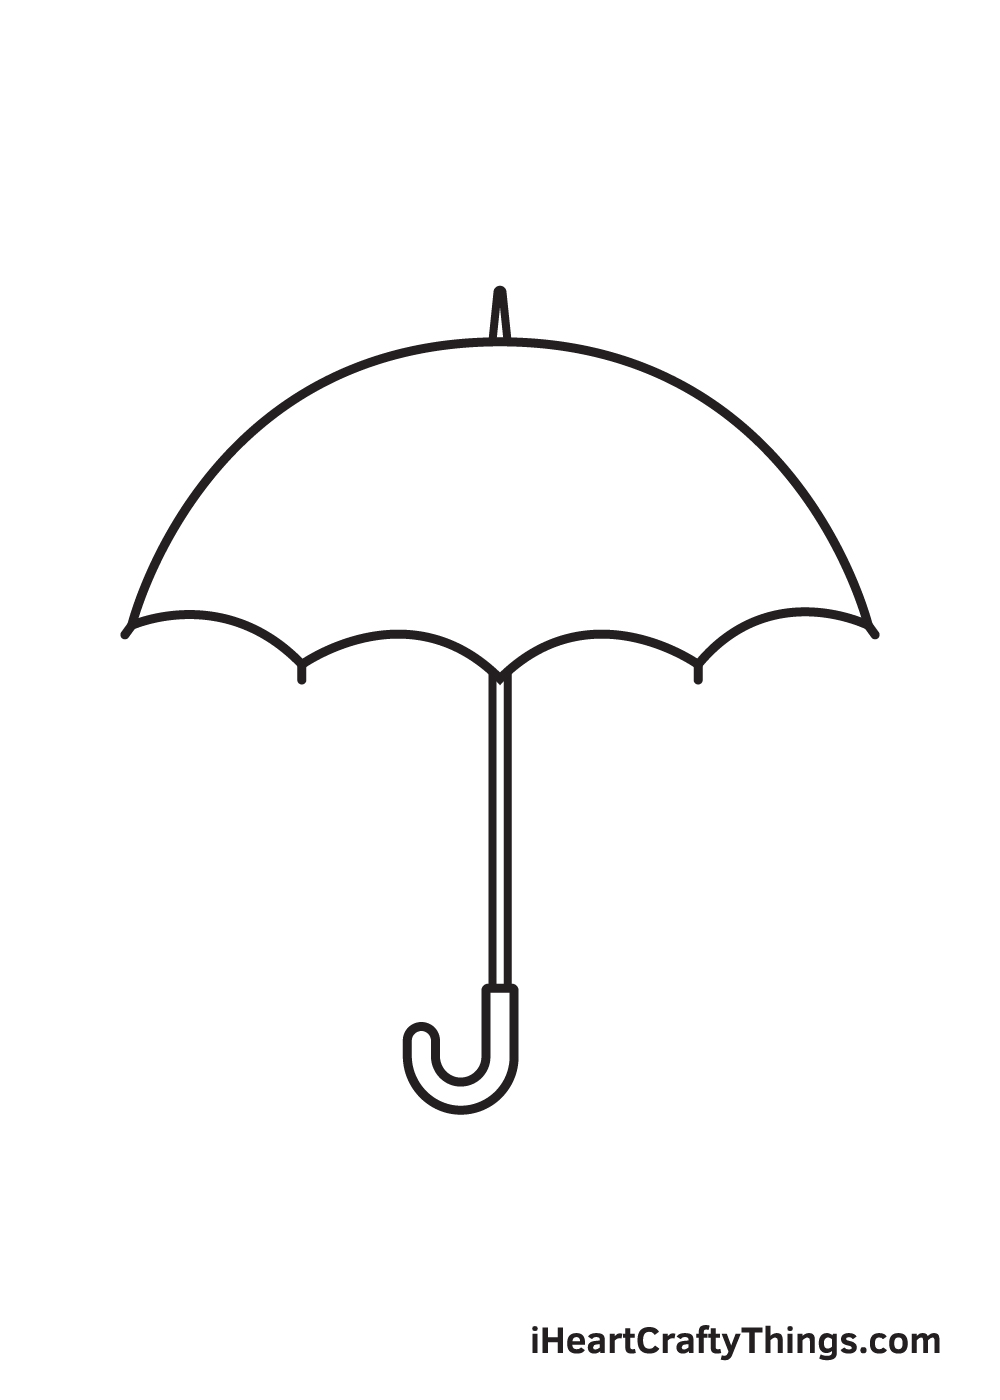
In this step, you will create the tip or the ferrule of the umbrella.
Draw a small upside-down “V” shape right on top of the canopy (add it right in the middle).
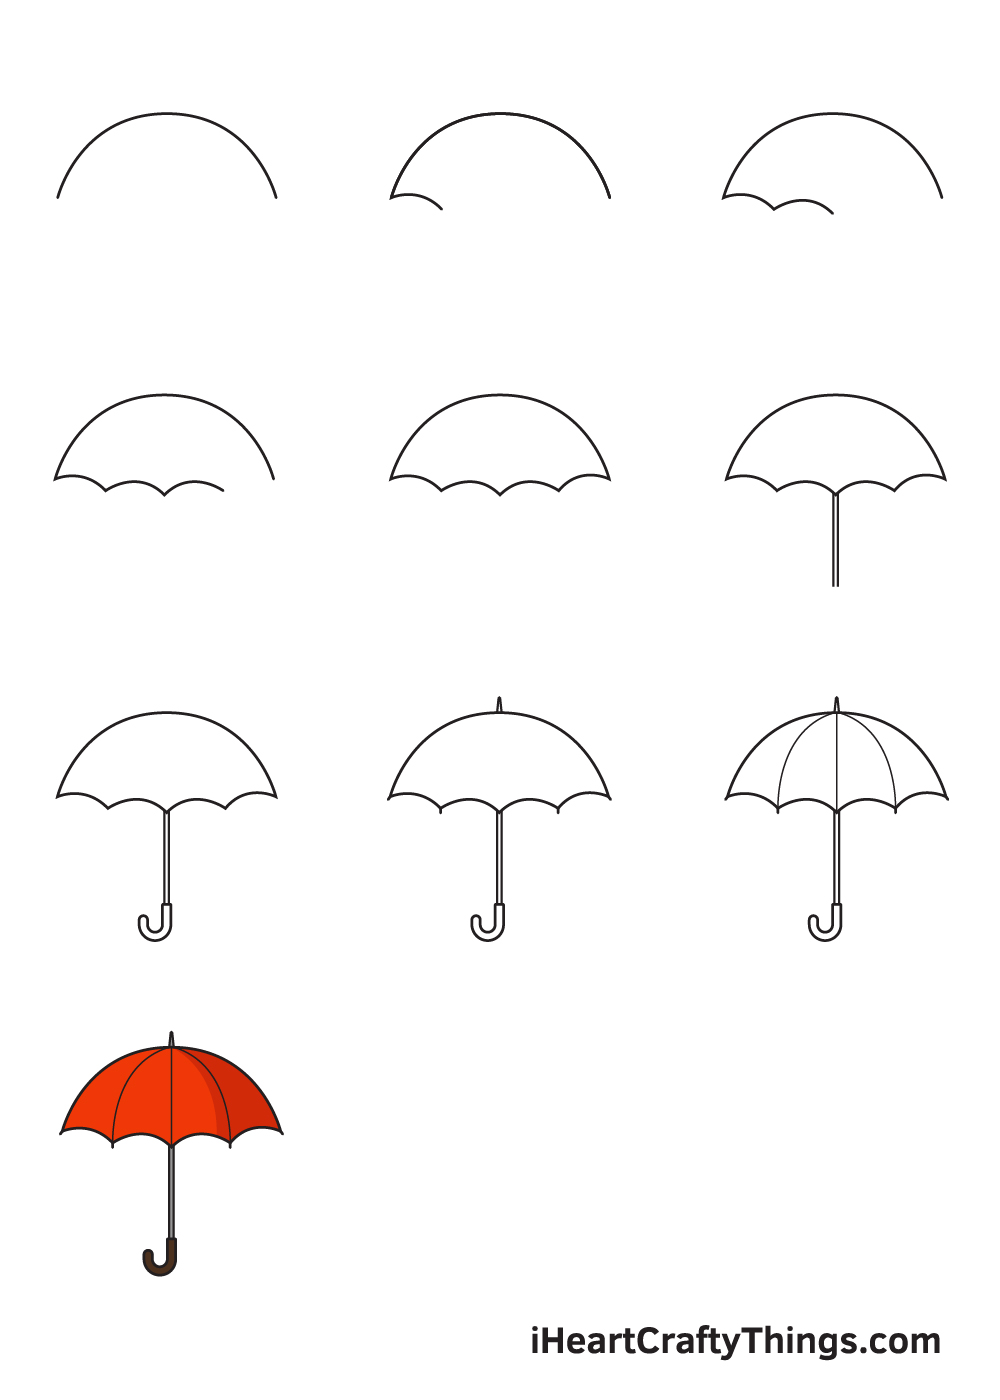
Step 9 – Now, Add Details and Patterns on the Umbrella
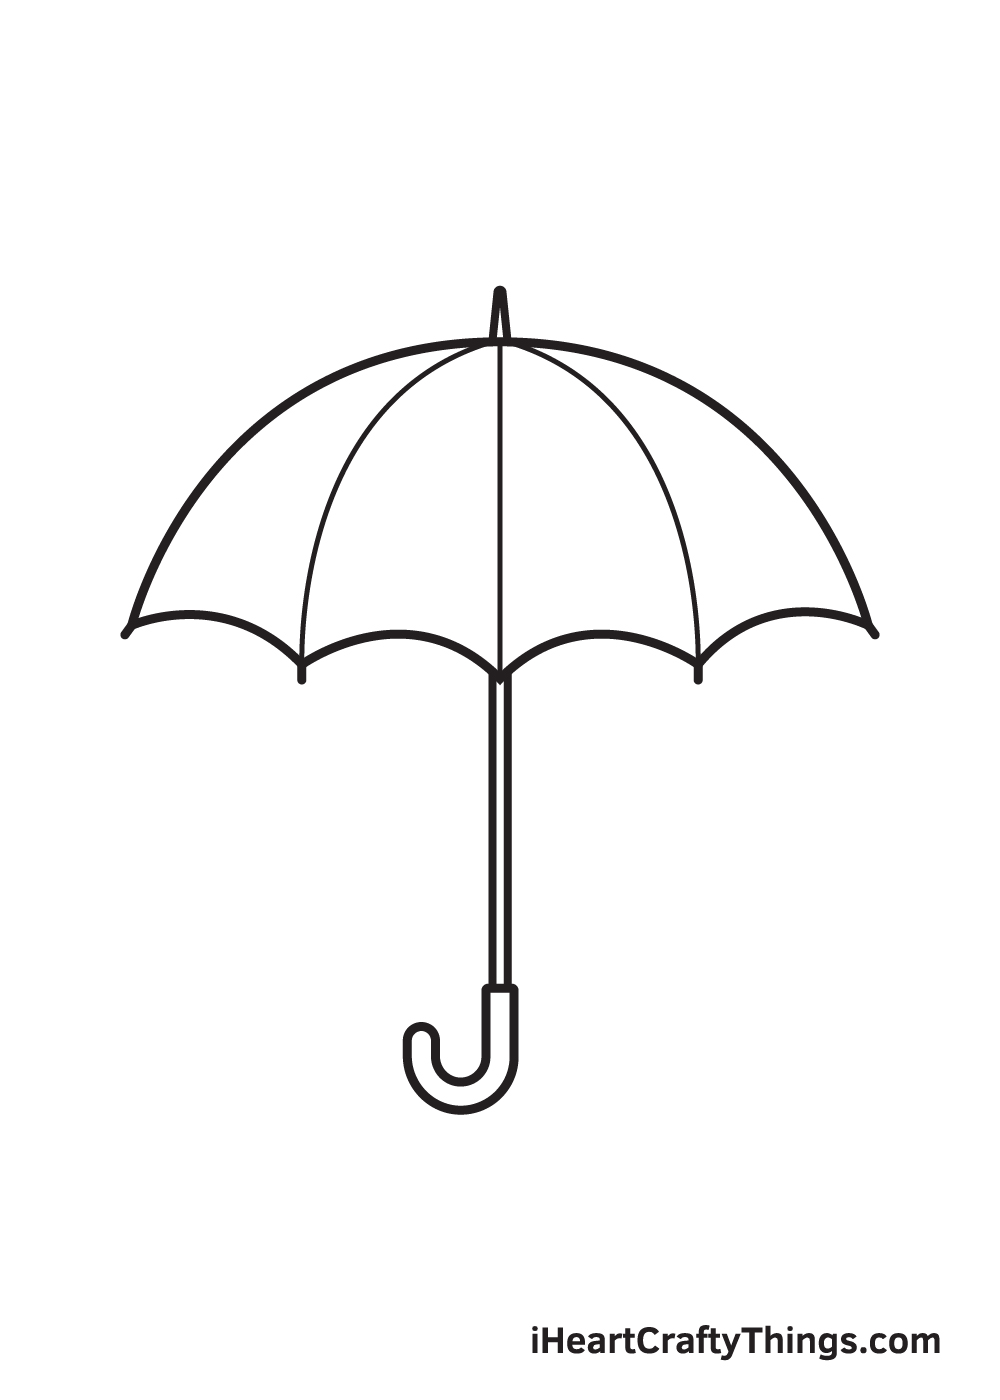
This time, you will make the umbrella look more realistic by adding the rib part (inside the canopy) and the tips (the bottom part of the rib).
Add long curved lines for the canopy and really tiny curved lines for the tips, as shown in the illustration.
It’s time to add color to your umbrella to make it pop out! We chose to use tints of red, gray, and brown, but feel free to use other colors!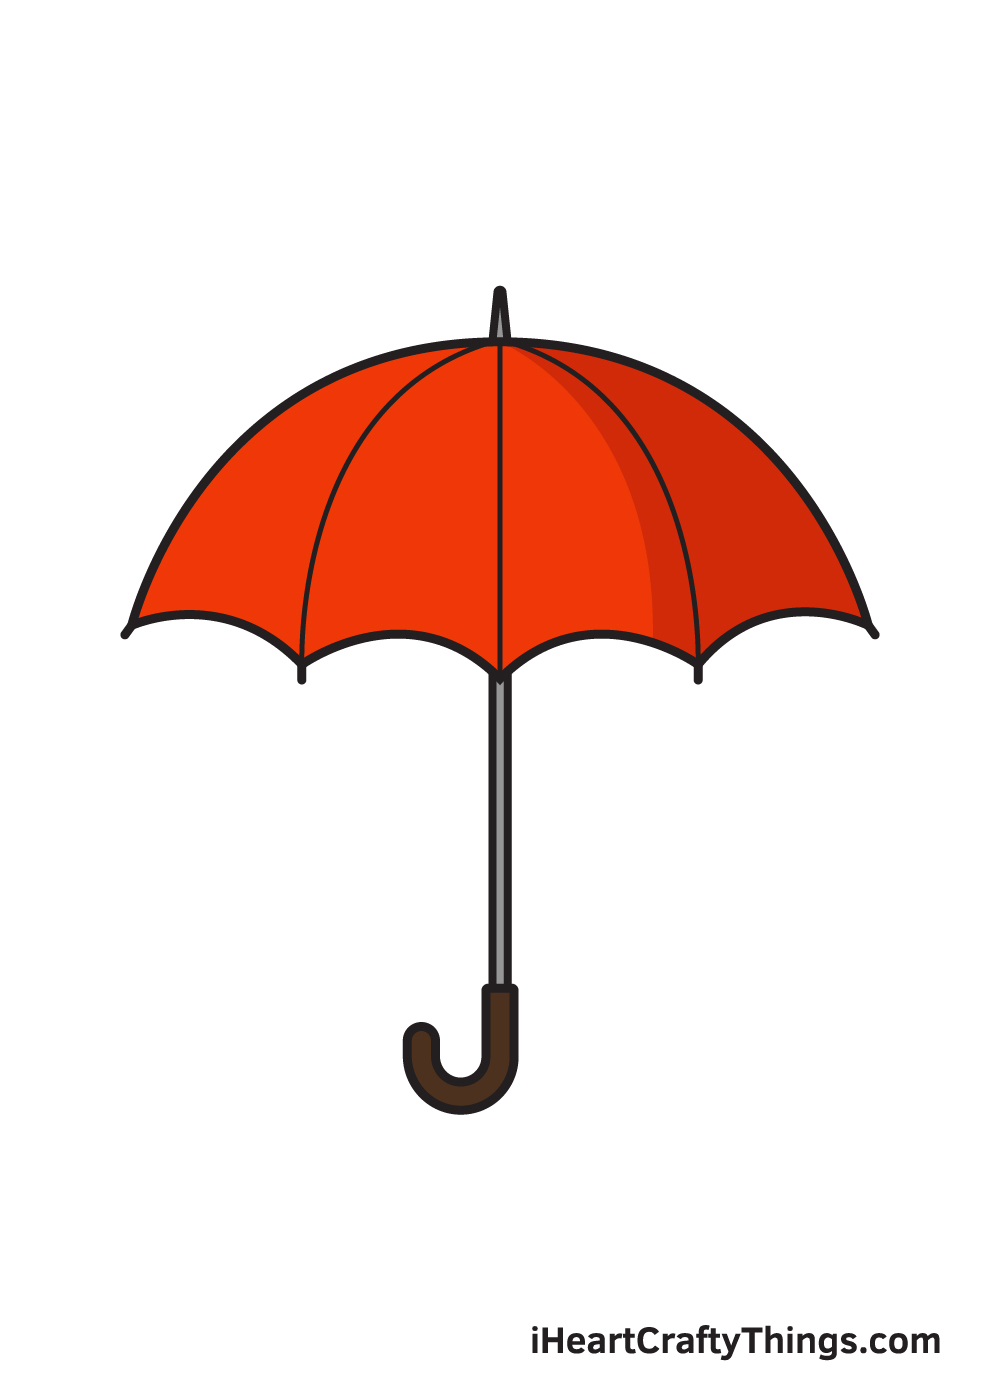
4 More Ways To Make Your Umbrella Drawing Unique
You don’t have to worry about rainy day blues with these tips for your umbrella sketch!
Creating a background is a great way to take a drawing to the next level. That would be perfect for this umbrella drawing!
An umbrella is used for a few different purposes. You might think of rain first when you think of an umbrella, but it can also be used to shield people from the sun.
These are a few settings you could create, but what else do you think this umbrella could be used for?
Another fun idea for this drawing of an umbrella would be to add a human character holding it. This would also go really well with our previous suggestion!
If you were to draw a character, you could do it in any style you like. The character could be done in a cartoon style, or they could be drawn in a more realistic fashion.
Once you know the style you would like to use, you can then choose who to depict. You could draw friends, family or even yourself for a few ideas!
We created a pretty standard example in this umbrella sketch, but they can come in many different shapes and sizes. You could change the design of this umbrella a bit in order to make it more unique!
Some umbrellas will even have small decorative elements hanging down, or they may have a longer handle. You could look up different umbrellas online to get some inspiration for how to change this drawing.
Finally, umbrellas come in all kinds of different colors. We showed you one way to color this umbrella drawing, but this is where you can also experiment with colors and art mediums!
You would be able to do anything you like when adding color. The umbrella could be one solid color, or maybe you could color each segment something unique.
For another fun idea, you could draw different shapes and patterns such as polka dots onto the umbrella. How will you finish off this umbrella artwork?
Your Umbrella Drawing is Complete!
We hope you had a great time drawing an umbrella with this step-by-step drawing tutorial.
Now that you can draw an umbrella, perhaps you can draw a character holding an umbrella on a sunny or a rainy day? Check out our other drawing tutorials to make it happen!
Remember, all of our drawing tutorials are 100% free for you to use as learning materials in your drawing activities.
We are regularly updating our “How to Draw” catalog, so don’t forget to keep checking back to continuously learn how to draw something new!
Drawing a tree successfully is a milestone, so you should feel proud of yourself for completing a masterpiece!
Take a photo of your artwork and share it on various social media platforms. And while you’re at it, we hope you take the time to like our Facebook page too!
We are excited to see your realistic umbrella drawing!