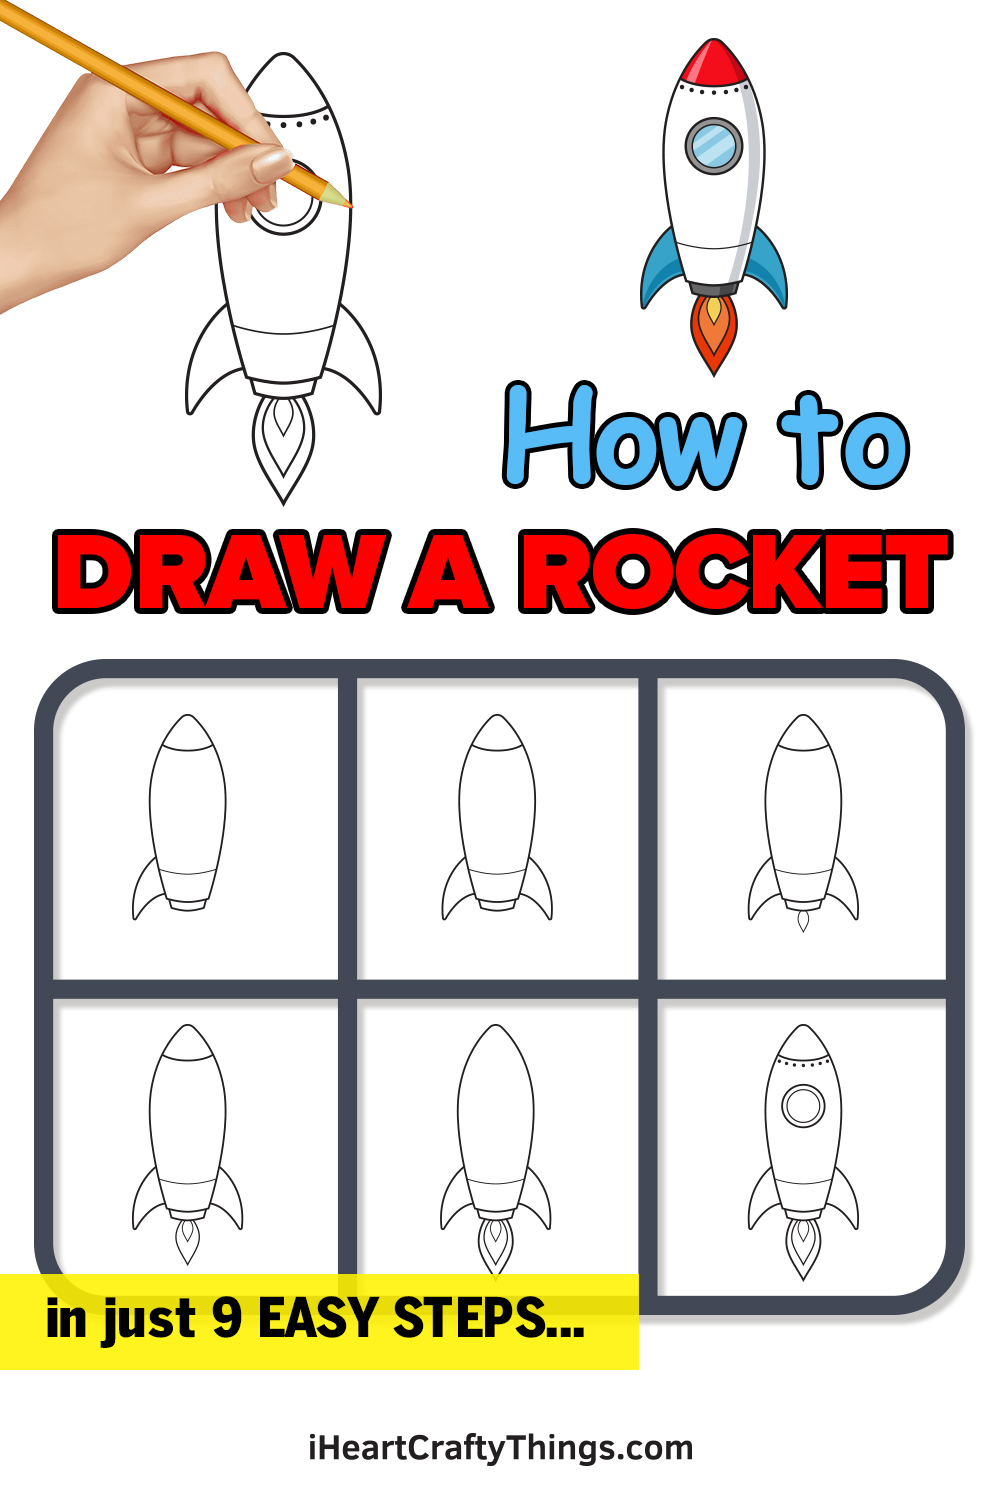
Live out your dreams of space travel with this guide on how to draw a rocket! You can create all sorts of out-of-this-world art with this design.
It’s easy to look up at the stars and imagine what it would be like to explore the final frontier of space. You can think of all the amazing worlds and strange alien creatures you may encounter, but you will need a rocket to make it happen.
This guide will show you everything you need to know in order to make your very own rocket design. I’ll take you through each step in order to make it as simple as can be.
This is just the start, as once you have finished the design you can then add your own details and perhaps even draw a background to show where you would explore with this rocket.
Watch This Video On How To Make Your Rocket Drawing
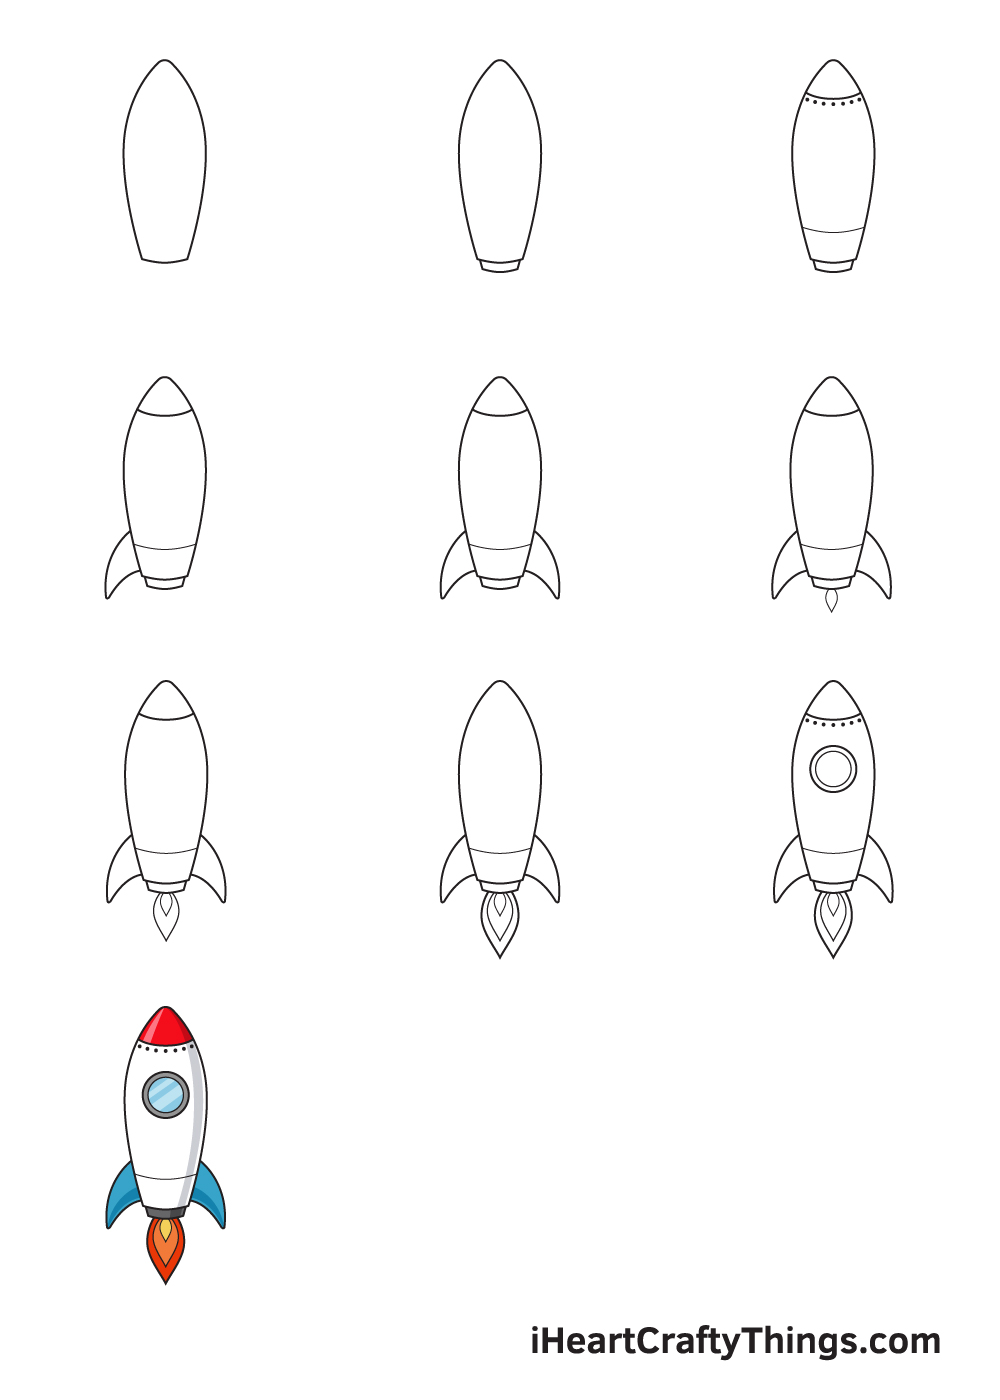
How to Draw a Rocket – Let’s get started!
Step 1
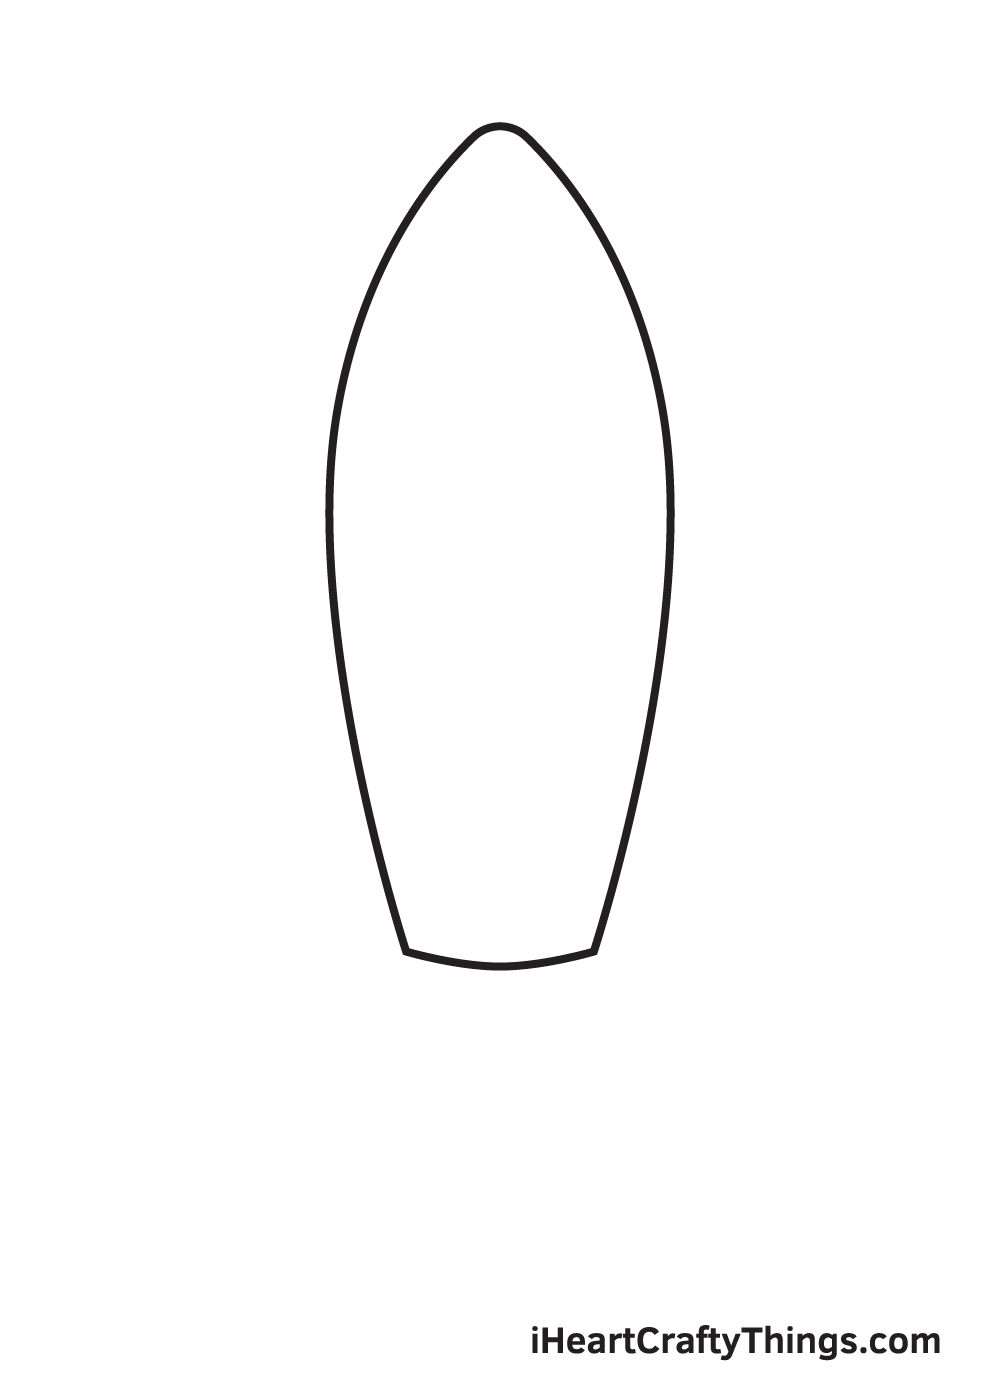
Start by drawing an irregular oblong shape with a pointed top and a flat bottom on the middle of your paper. This creates the outline of the shape of the rocket.
Make sure that the outline will be drawn in the center by creating reference lines. Simply draw an intersecting horizontal and vertical line across your paper.
The vertical line in the middle should be aligned with the outline of the rocket. Then, once you’re done drawing the rocket, you can just get rid of the guidelines using an eraser.
Step 2 – Create an Outline of the Shape of the Rocket
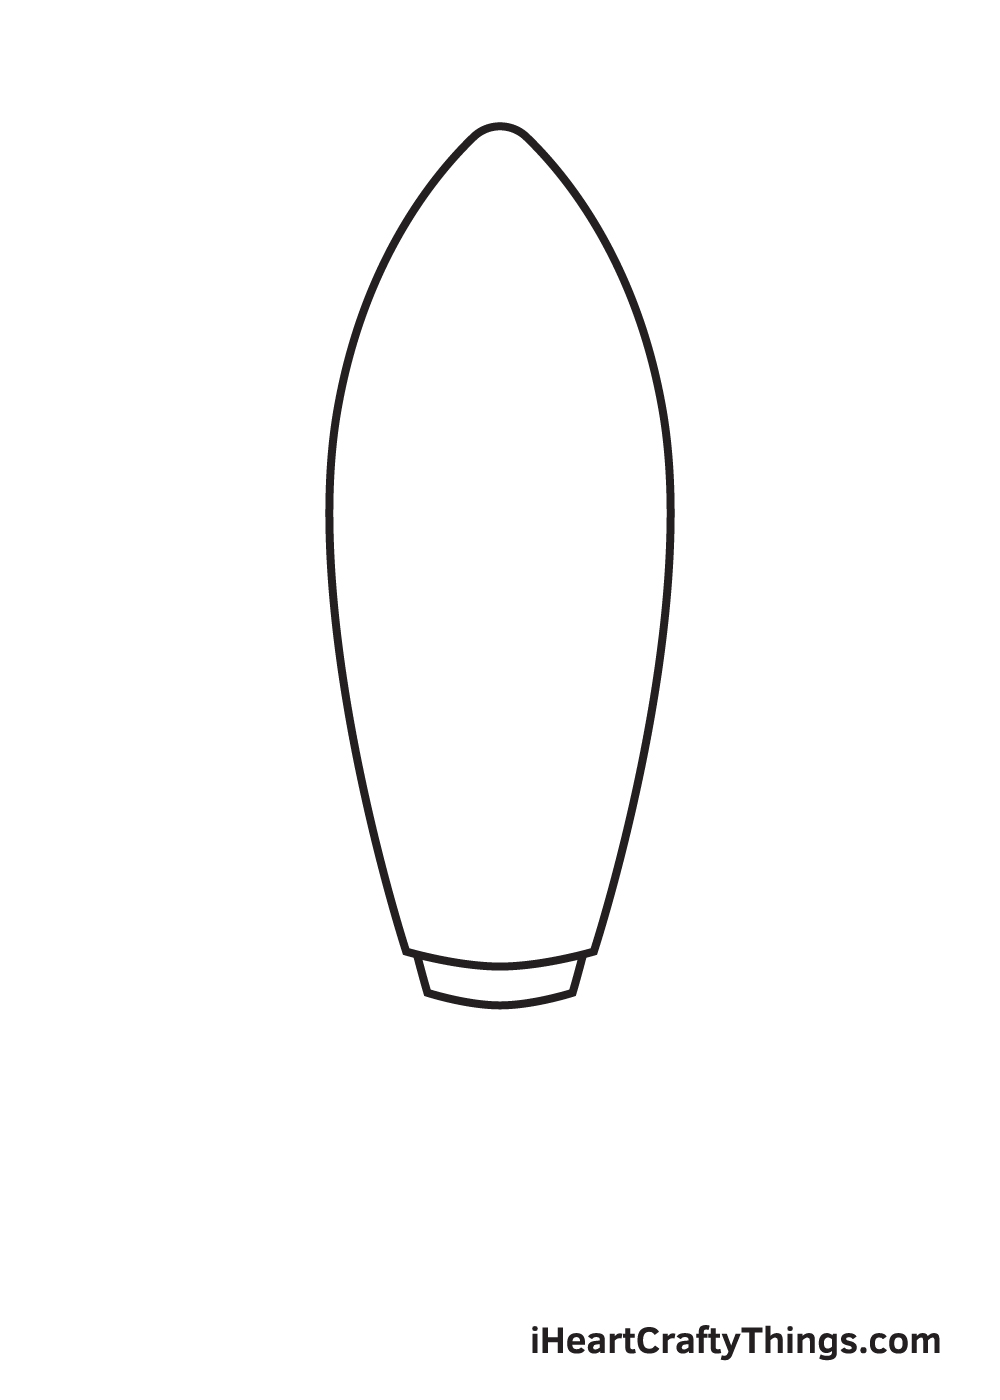
Draw a figure right underneath the rocket. The shape of the figure must look like the bottom half of a rectangular shape.
However, its bottom line should be slightly curved, as shown in the illustration above.
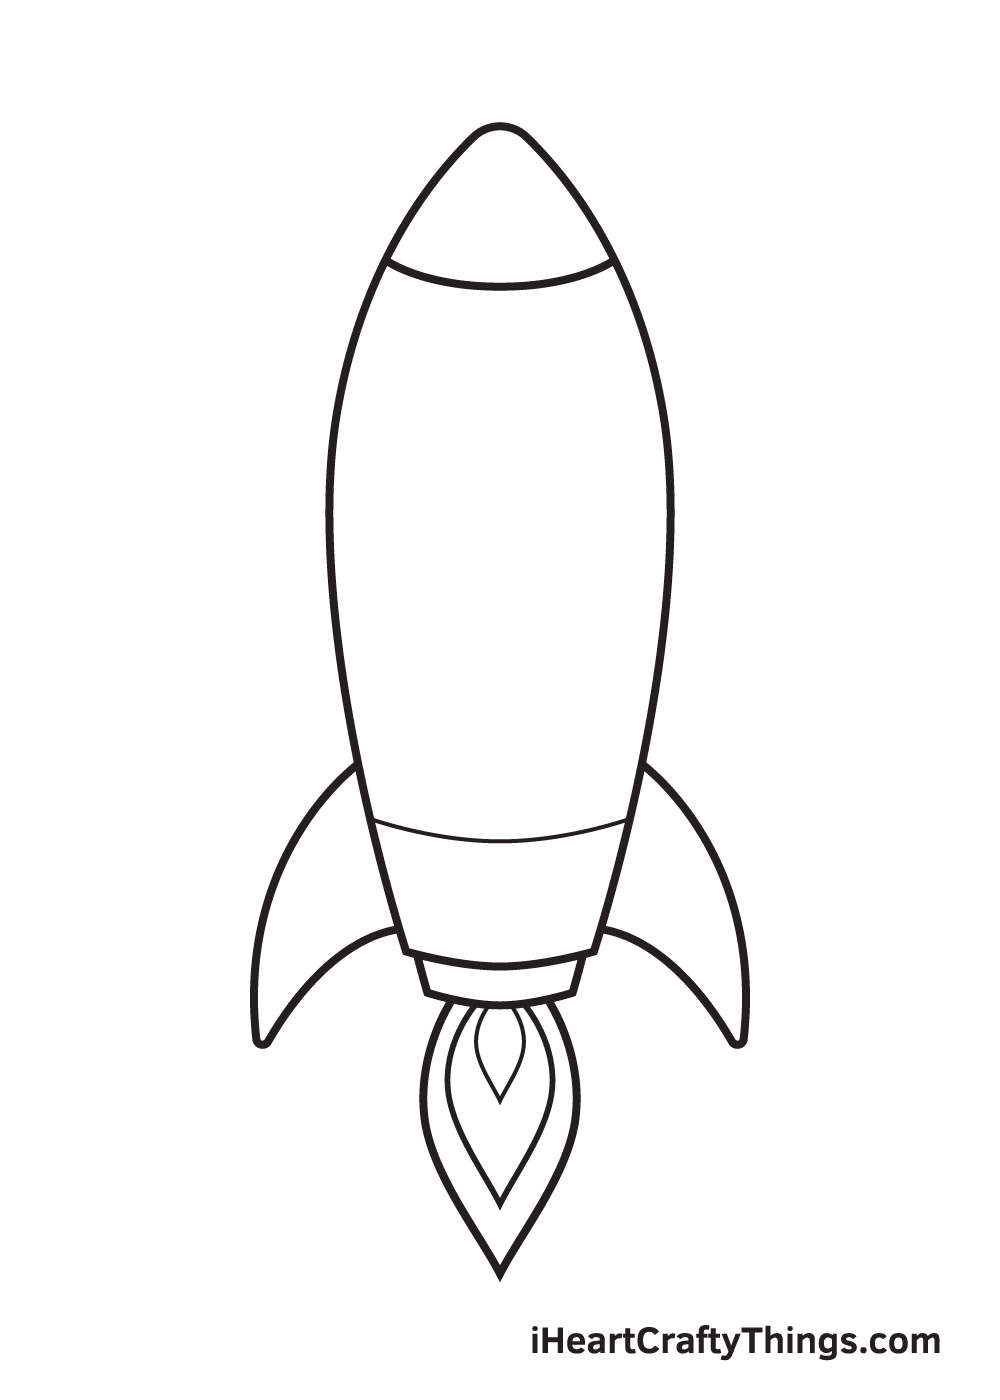
Step 3 – Add Details on the Surface of the Rocket
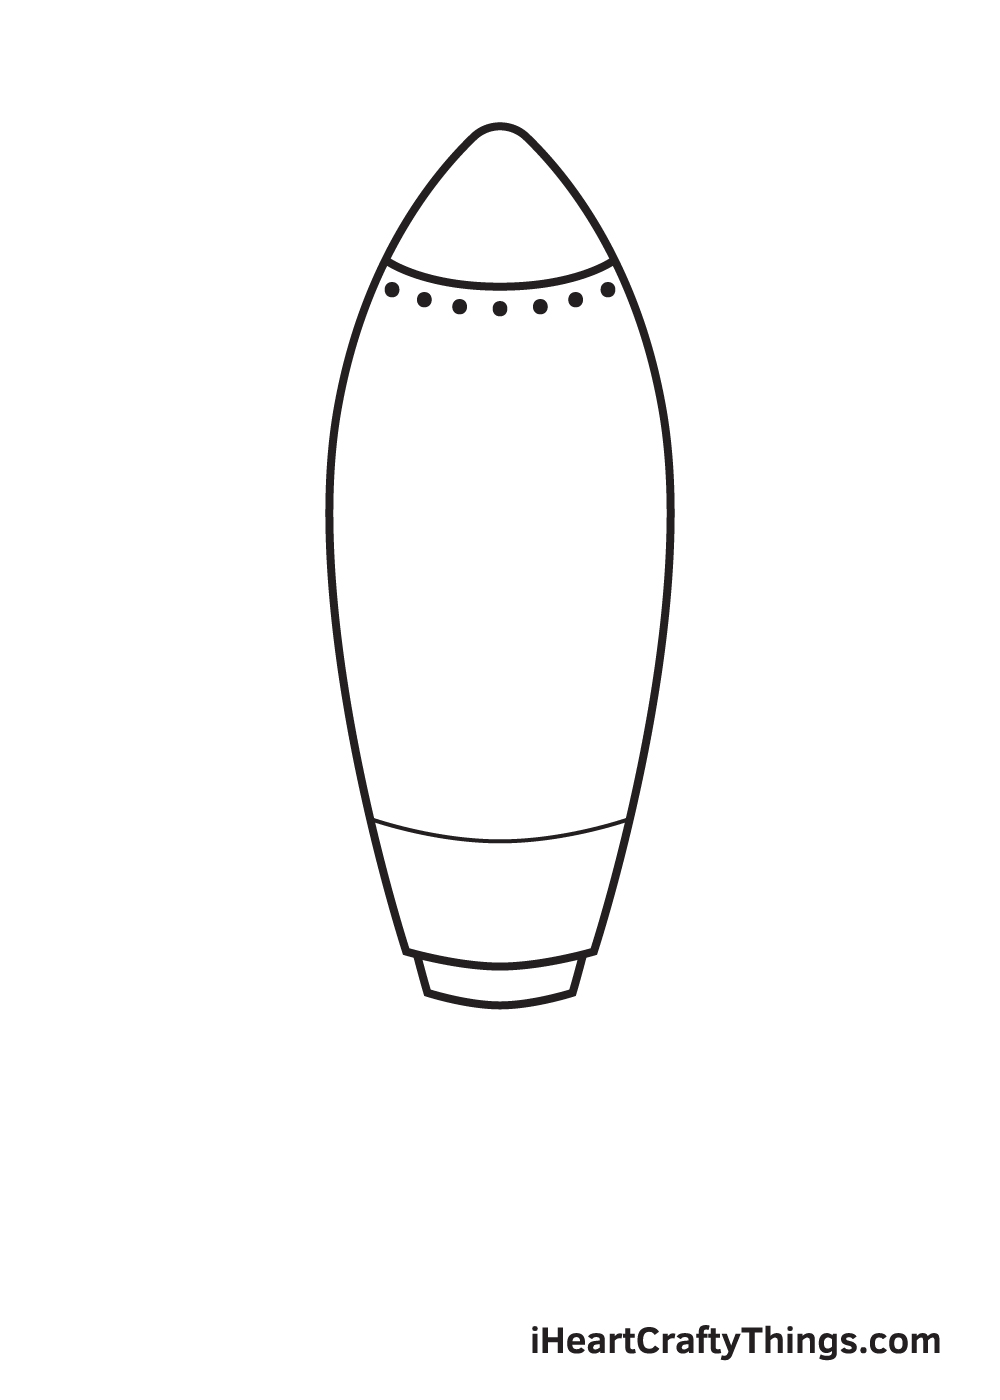
Draw a curved line enclosing the top part of the rocket. Then, draw multiple shaded dots right underneath the curved line we drew just now.
Afterwards, draw another line closer to the bottom of the rocket. This time, however, this line should be thinner than the one at the top.
This creates the distinct pattern on the surface of the rocket, making it appear more realistic!
Step 4 – Next, Draw the Left Fin of the Rocket
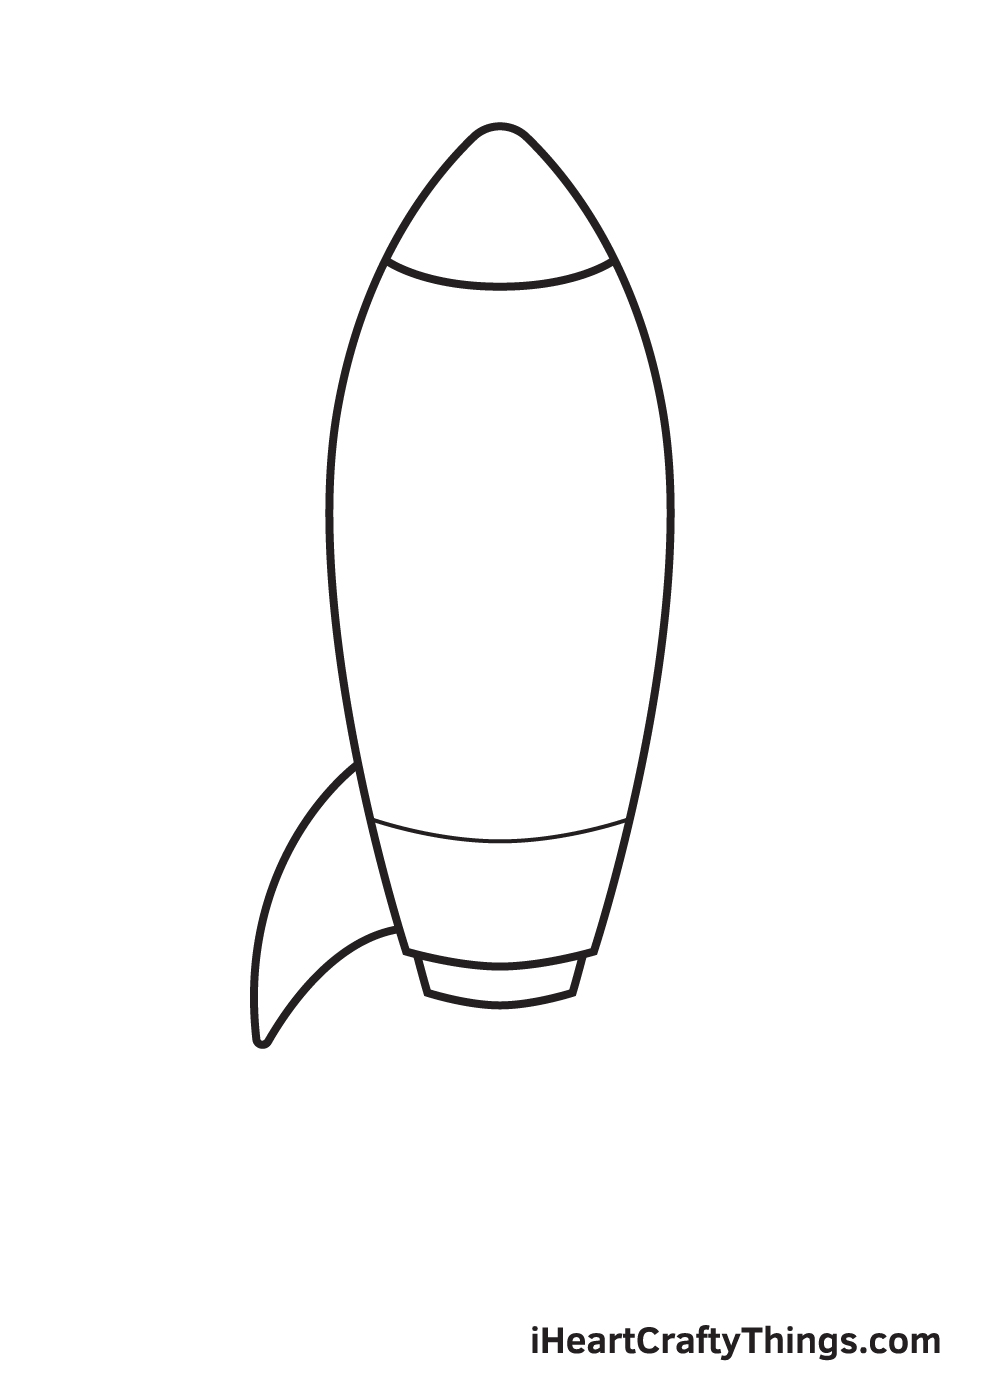
Draw a curved V-shape on the lower left side of the rocket.
This forms the left fin of the rocket.
Step 5 – Now, Complete Both Fins of the Rocket
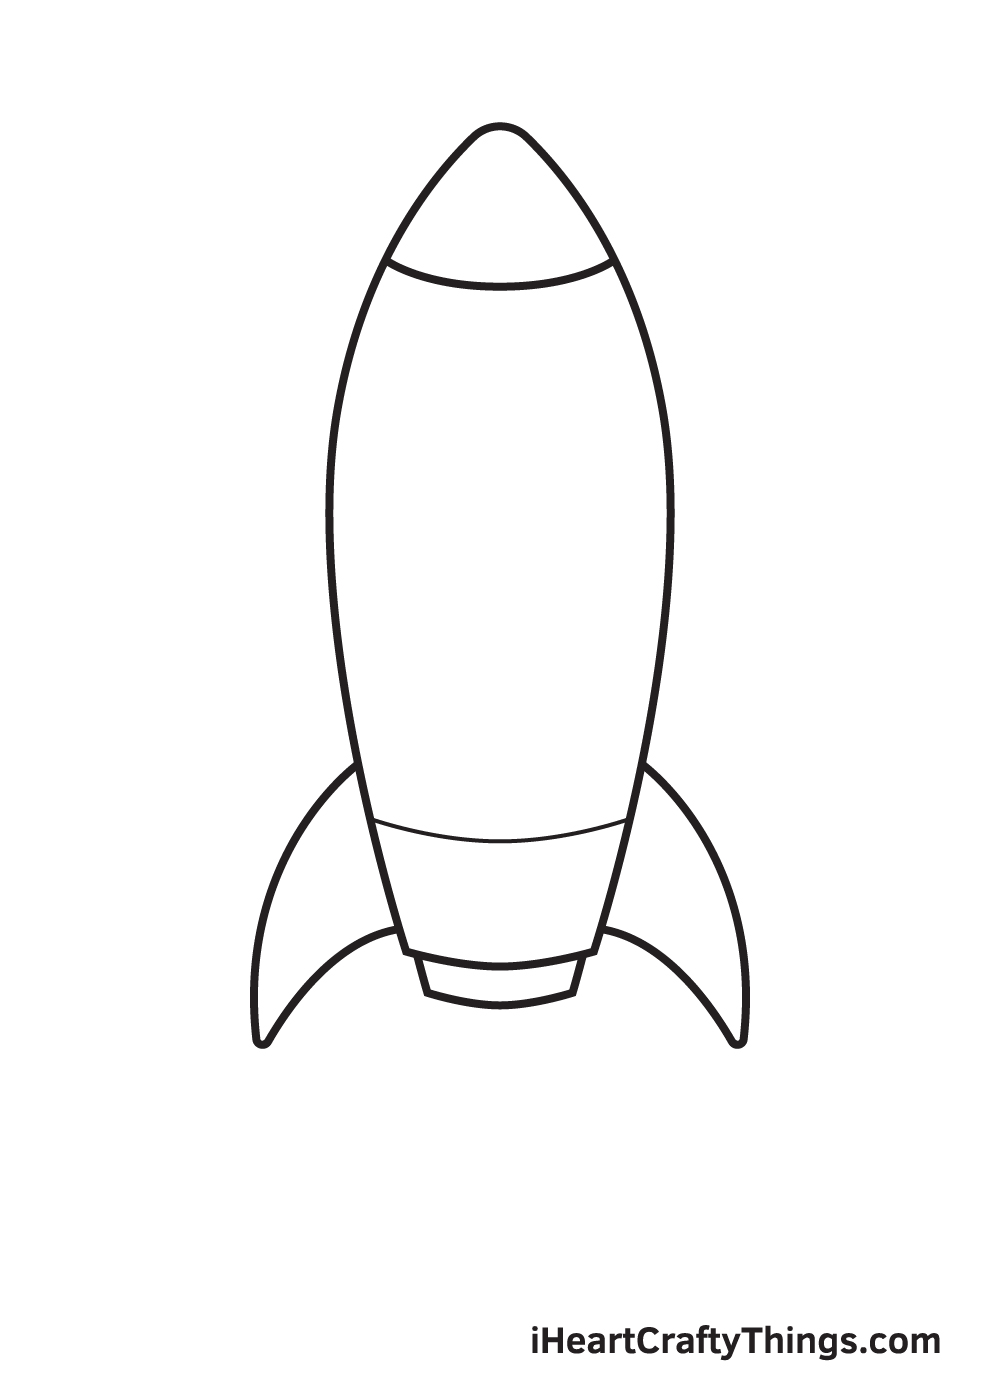
Repeat the previous step on the opposite side to create the right fin of the rocket. At this point, both the left and the right fin of the rocket should now be complete.
This is the part of the rocket that makes the rocket fly into the air. Now, your rocket is all set for a flight!
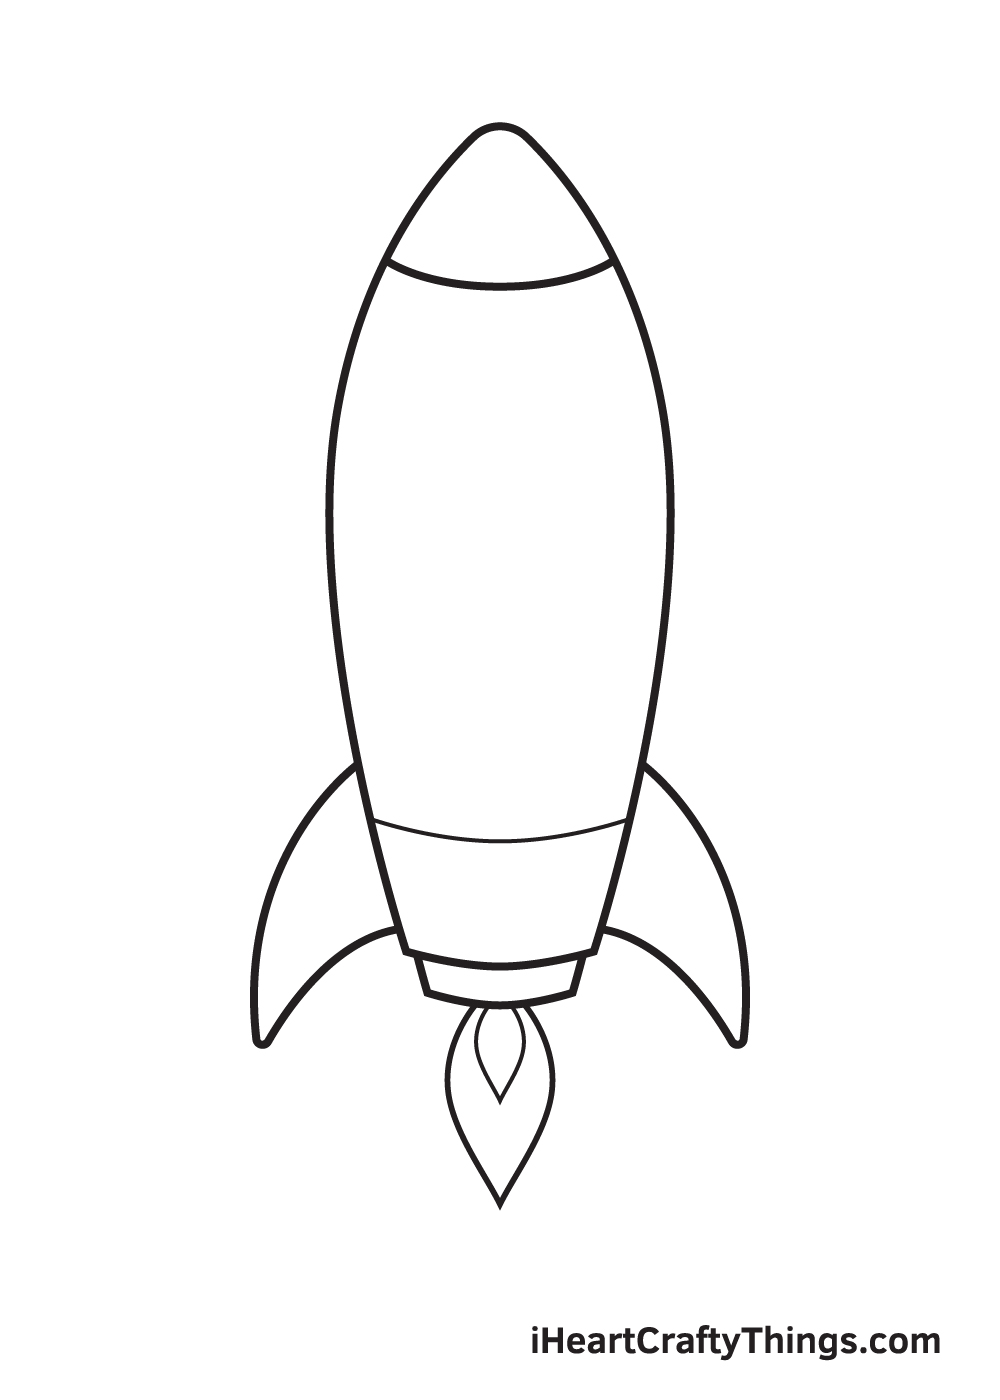
Step 6 – Then, Add the Exhaust Flame Underneath

Draw an irregular oval figure with a pointed bottom tip right underneath the rocket. This forms the inner exhaust flame of the rocket.
Exhaust flames appear once the rocket takes off into the air. By adding exhaust flames in your drawing, it will look like the rocket is in the middle of a flight.
Step 7 – Afterwards, Add Another Layer of Flame
Draw another figure similar to the previous step enclosing the inner layer of exhaust flame we drew previously. This creates the second layer of exhaust flame.
Keep in mind that this flame should be a bit bigger than the previous one, as shown in the illustration above.
Step 8 – Now, Finalize the Appearance of the Flame
Repeat the previous step to create the third and the last layer of exhaust flame. Similar to the previous, the third layer of flame should enclose both the first and the second layer.
At this point, the exhaust flame underneath the rocket should now be complete. We’re almost done! Keep going!
Step 9 – Draw the Circular Window of the Rocket
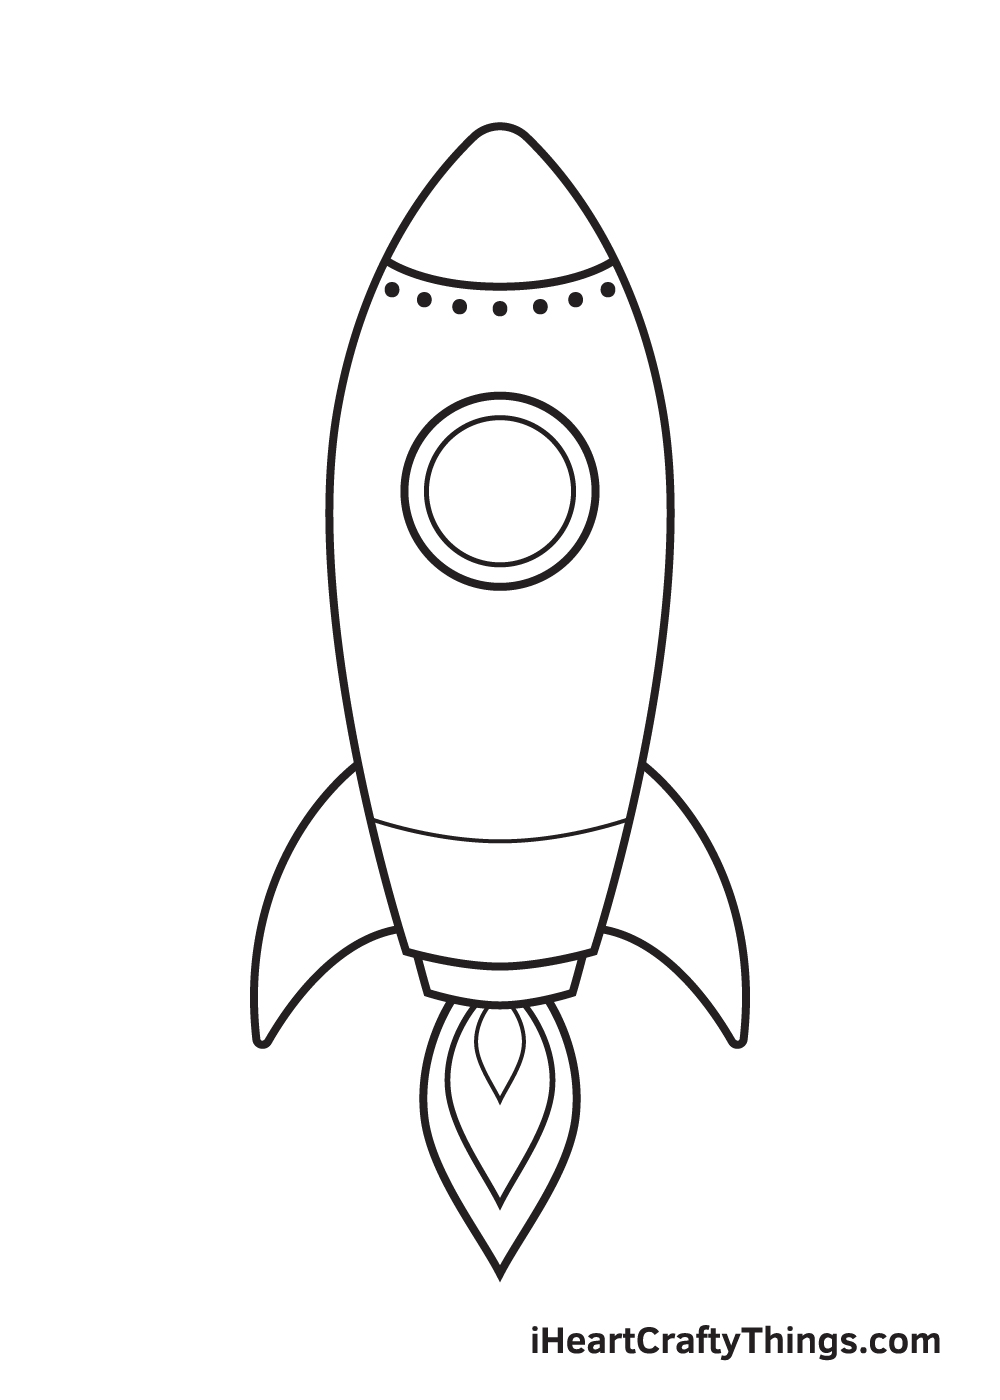
Draw a perfect circle shape with a smaller circle inside on the upper middle part of the rocket. This creates the window of the rocket.
Bear in mind that it should look like there’s a circle within another circle. Feel free to use the illustration as a guide to make sure you’re doing it right!
Now that we’ve successfully drawn a rocket, it’s finally time for the most exciting part! In this step, we’ll be choosing the colors and coloring the rocket!
This step is optional, but we strongly recommend doing so to make your artwork look vibrant and colorful!
The colors you will be using for the rocket is entirely up to you! Feel free to use any color you like!
We suggest using more than one color to create a unique, multi-colored rocket. Don’t forget to add colors on the exhaust flame too!
Have fun playing with colors and watch as the rocket ultimately comes to life!
Do this to take your rocket drawing to the next level
Blast off with some awesome tips on how to make your rocket drawing even better!
The rocket drawing we created here is done in a fun cartoon style. You could make it look really different if you changed a few details to make it more realistic!
You could look up different pictures of real rockets that have been used over the years to help you out if you wanted to do this.
Even though the cartoon style we have is really cool, it could create an interesting contrast if you were to do this.
Even if you stay with the design we created in this guide, there are plenty of awesome details and extra parts you could add. These could include a number of different ideas.
For instance, you could draw a logo onto the side of the rocket. Or, you could maybe draw some cool lasers on the side to make it look like it’s ready to take part in a space battle!
These are just a few ways you could make this rocket sketch even better, but what else can you think of?
One of the best ways to have fun adding to this drawing of a rocket ship would be by adding a background. By doing this, you could create all kinds of awesome settings if you were to add a background.
It could be a realistic setting showing the planets of our own solar system. Or, you could create a wacky and colorful alien world that the rocket is zooming over!
What kind of setting would you like to create?
You can also really take your rocket sketch to the next level by switching up the colors and art mediums that you use.
By mixing mediums such as colored pens, paints and even crafts, you can create colors that really make an impact.
It’s also always fun to try out art tools you usually don’t use as much! Don’t be afraid to experiment with your colors, as you never know what you may end up with!
Your Rocket Drawing is Complete!
We hope you had an enjoyable drawing activity with this step-by-step rocket drawing tutorial. Now that you can draw a rocket, perhaps you can draw a rocket roaming around the galaxy next?
Check out our galaxy drawing tutorial to help you with that!
Completing a rocket drawing is a huge accomplishment, so you should celebrate this milestone! Take a photo of your masterpiece and share it on various social media platforms.
And while you’re at it, make sure to like our Facebook page too! Your support means a lot to us!
We can’t wait to see your marvelous rocket drawing.