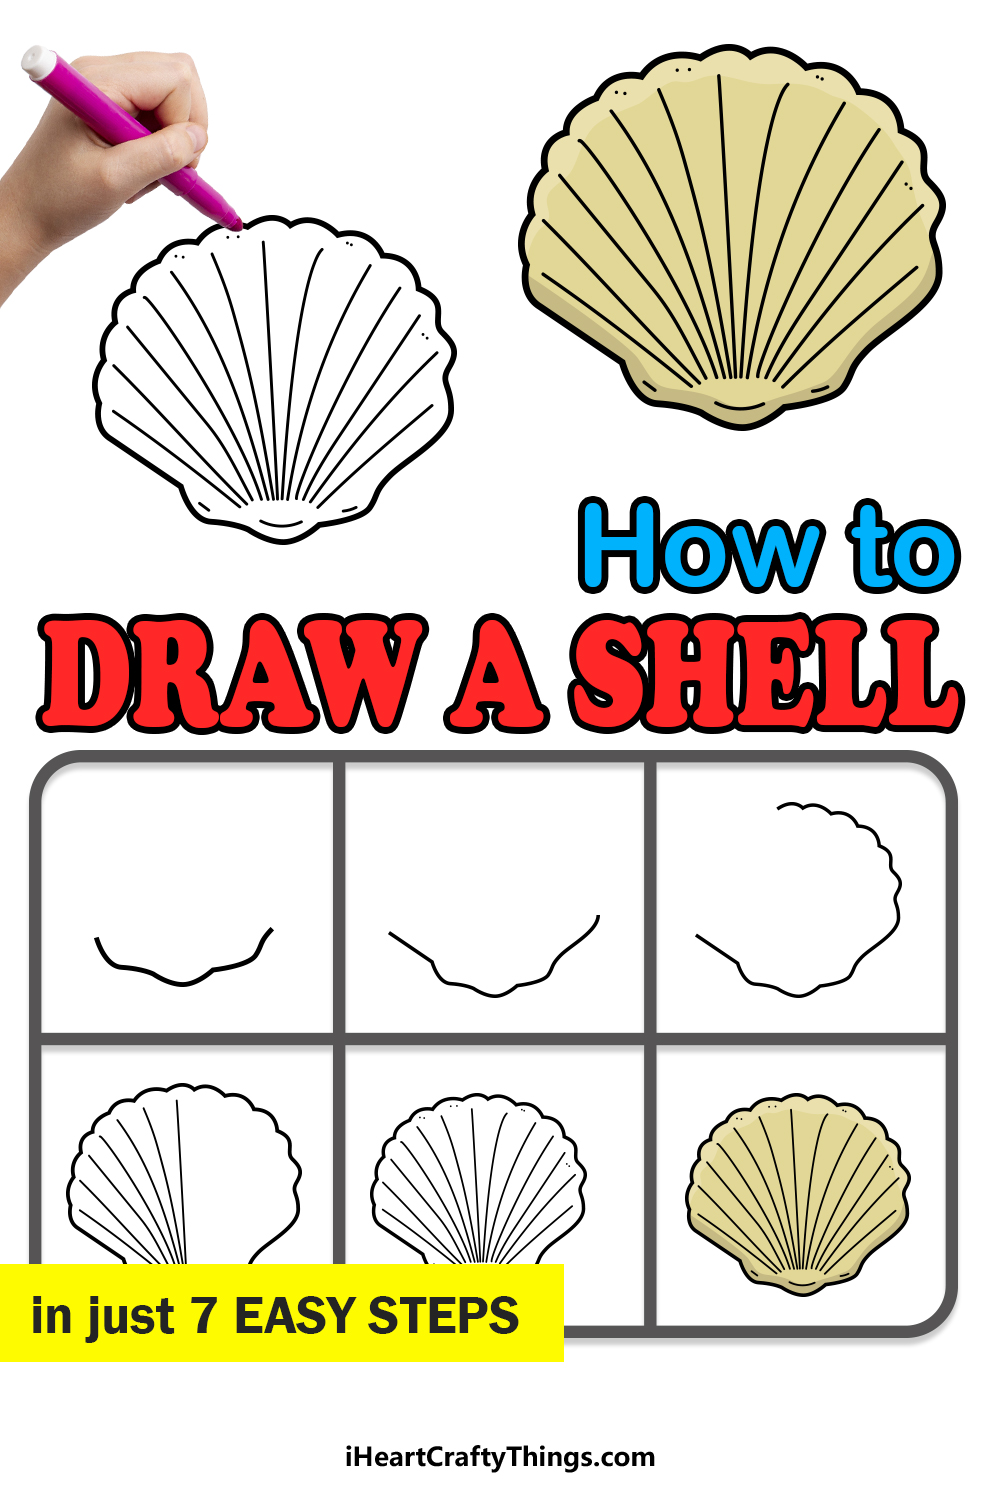
There is an incredible amount of variety to experience on the many beaches on the planet. Just walking along the sand, there is an incredible amount of various treasures to be found and collected.
One of the most common objects to find in the sand are some beautiful shells, and there is an astonishing amount of variety to just these.
Learning how to draw a shell is a great way to bring some ocean fun to your day without having to leave your house!
If that sounds like a good time to you then you are in the right place.
Our step-by-step guide on how to draw a shell will show you how fun and easy it can be!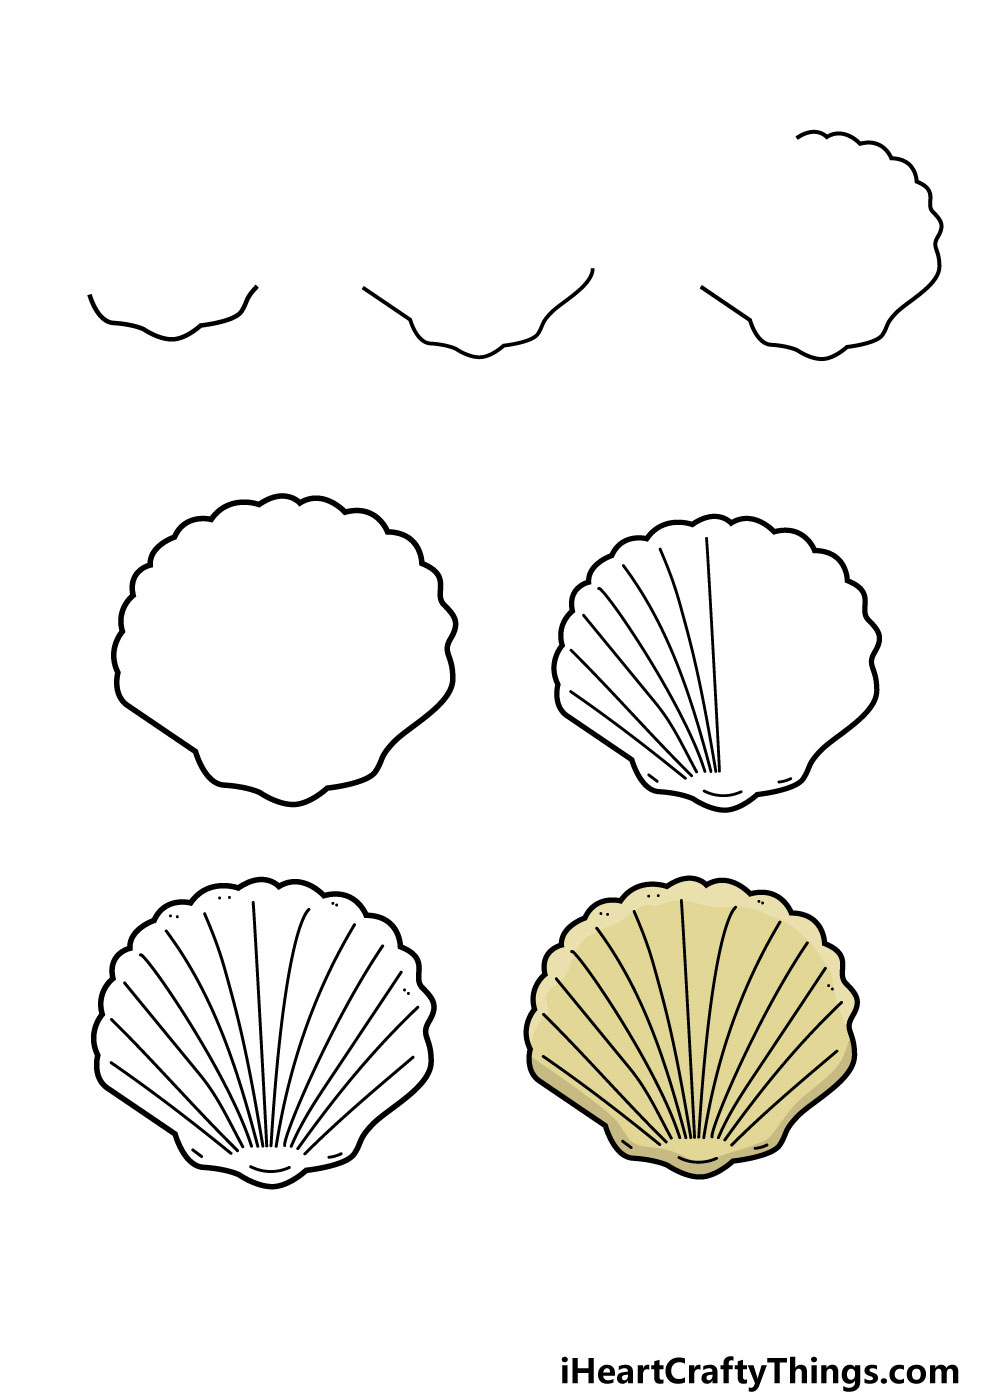
How to Draw A Shell – Let’s get Started!
Step 1
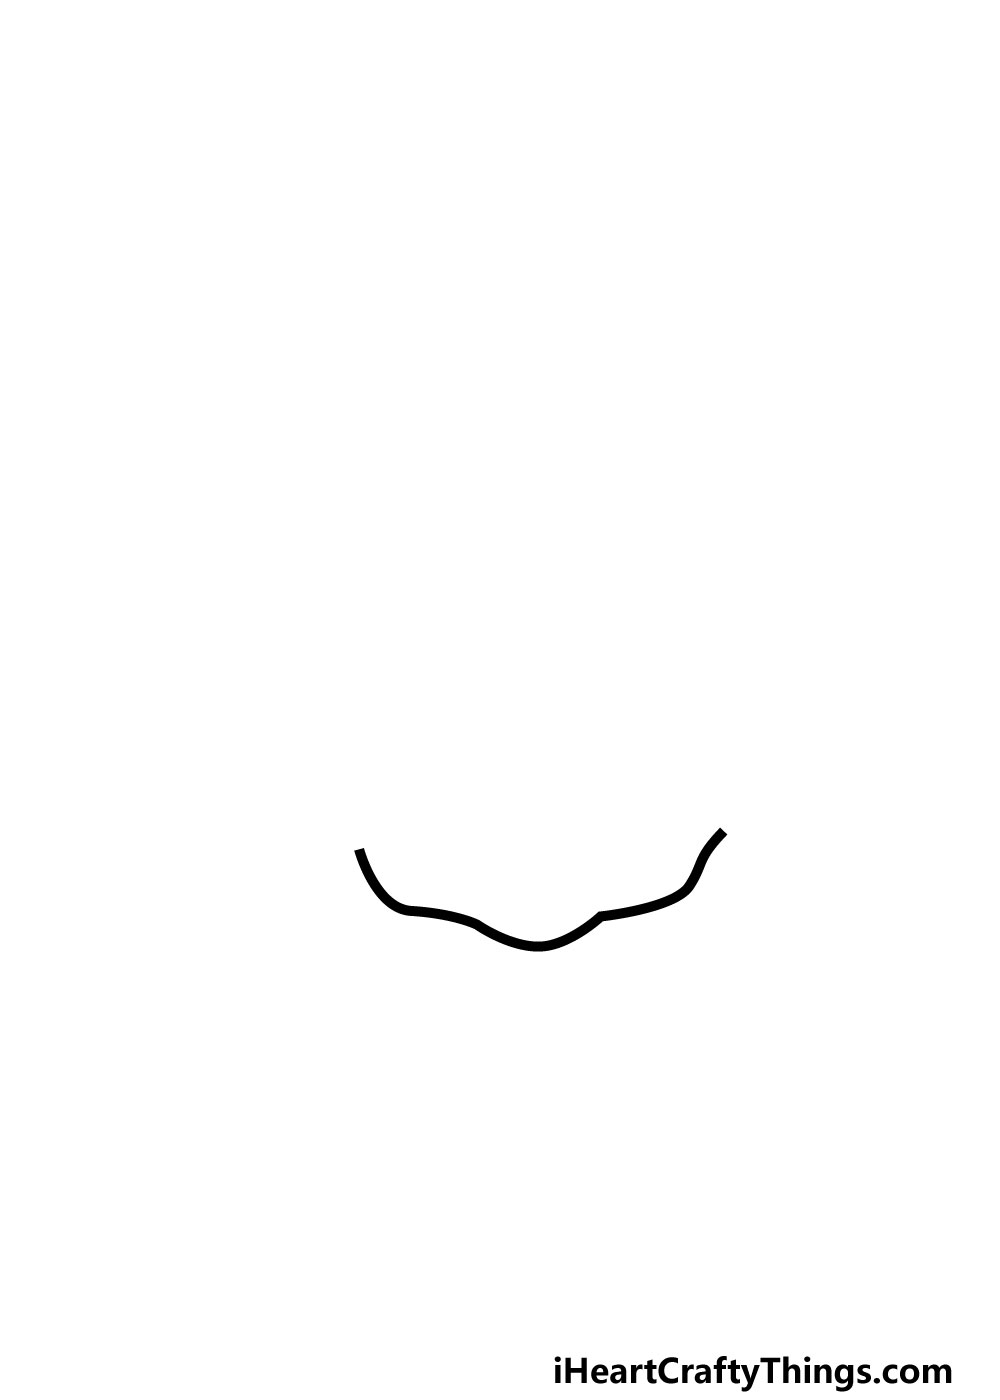
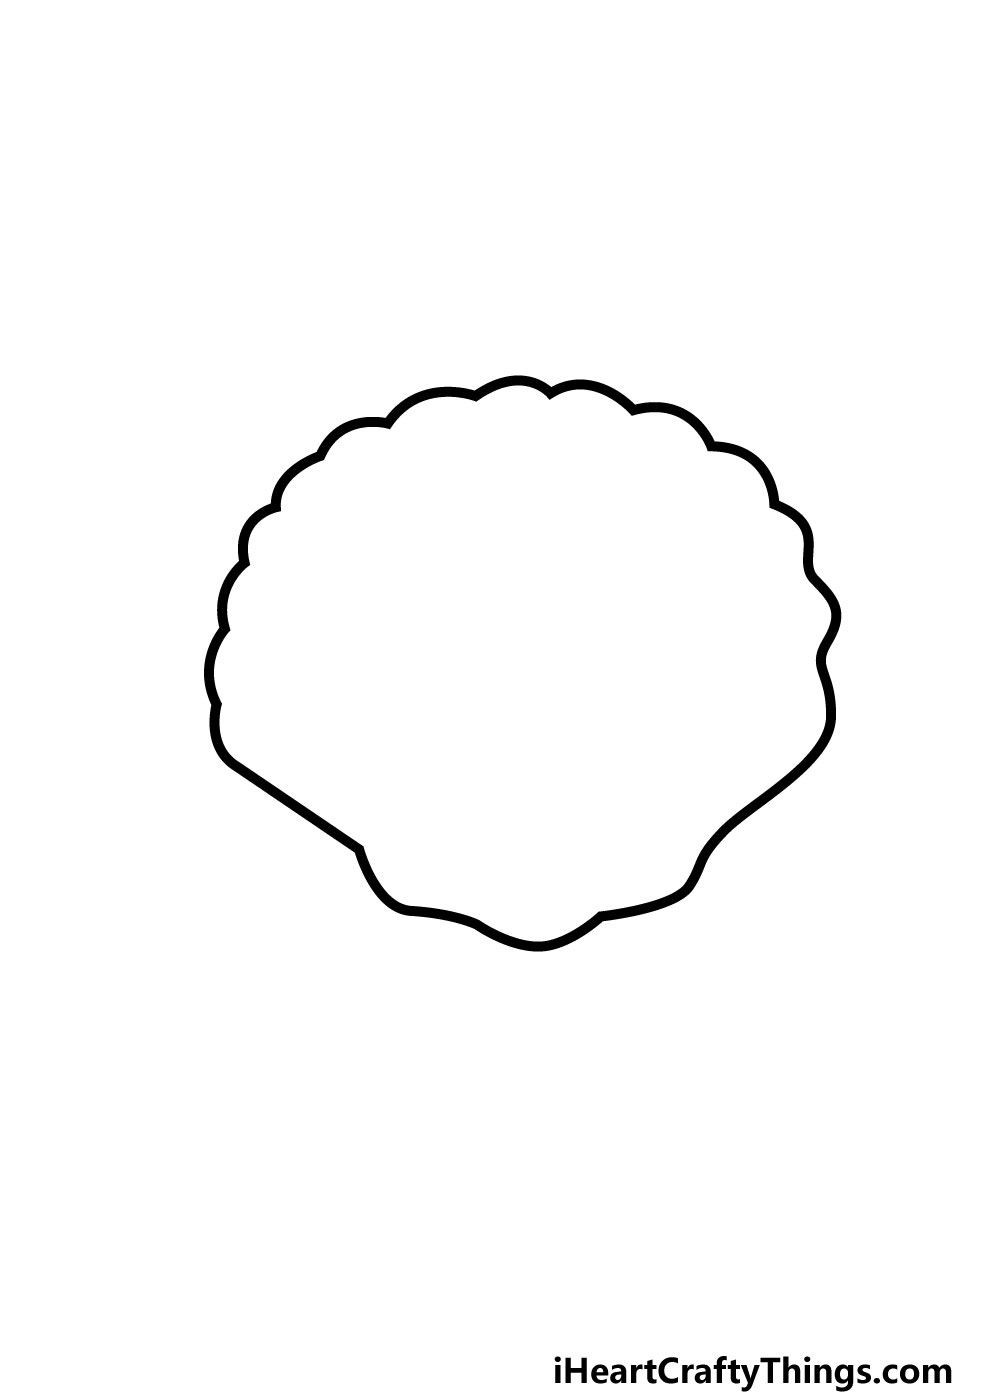
We will keep things simple for this first step of our guide on how to draw a shell. For this first part, we will be drawing the base of this shell.
This base will be drawn using a curved, bumpy line. As shown in the reference image, this line will have three small bumps to it. Once this is drawn, we will be ready to move on to step 2!
Step 2 – Draw the sides of the shell
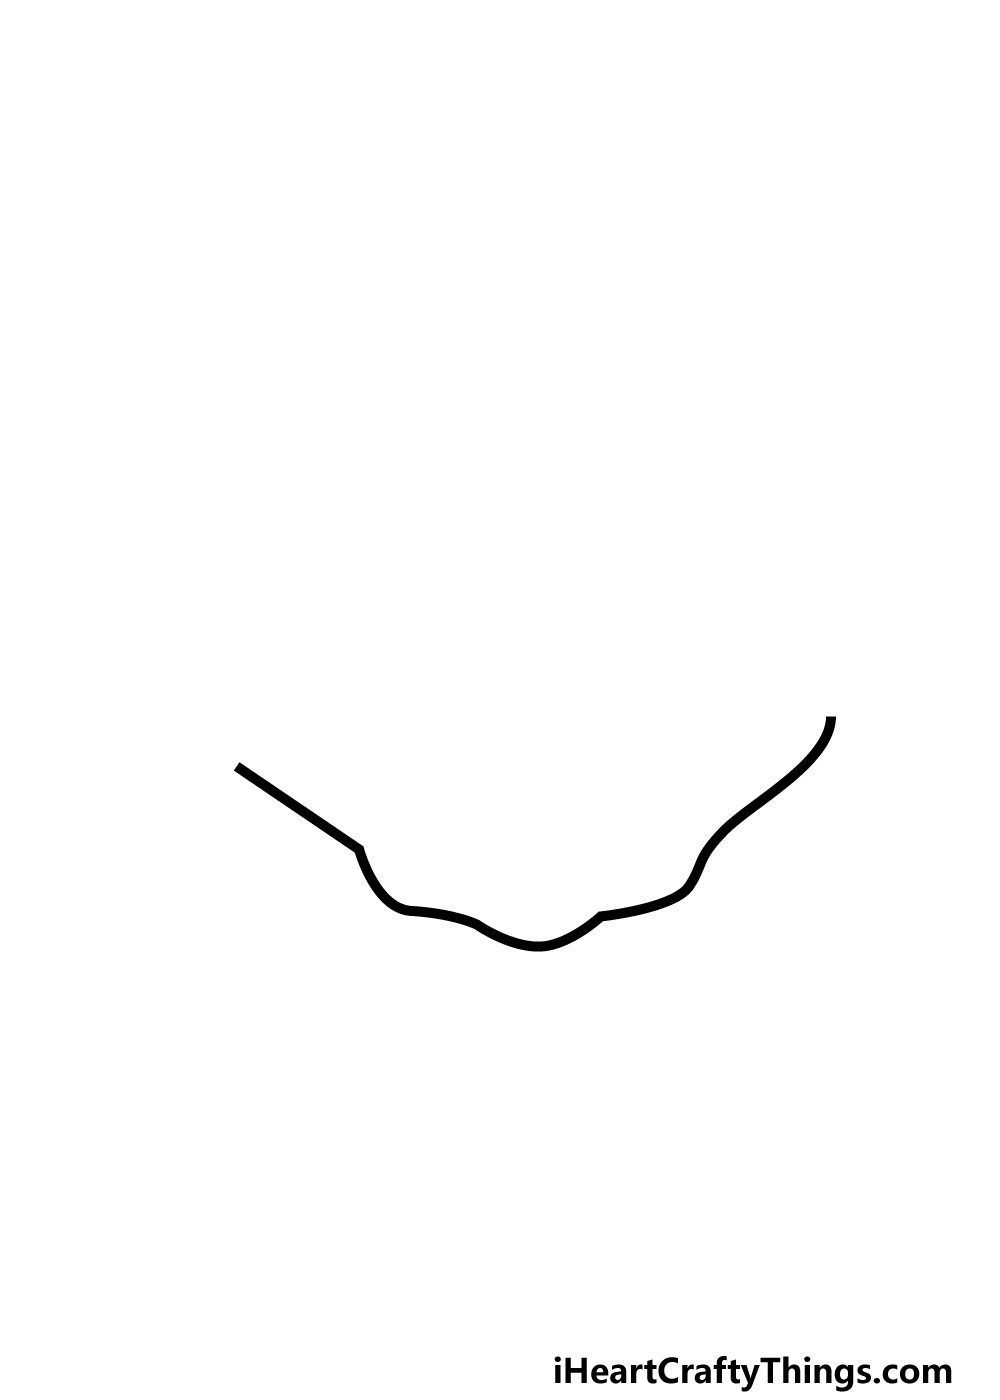
We are going to start drawing the sides of your shell drawing in this next part. To do this, we will simply extend some slightly curved lines up from the sides of the base of the shell.
These don’t have to be perfectly symmetrical, and it is actually advised to make them a bit irregular as shells are not perfectly symmetrical in nature.
Step 3 – Next, start drawing the top of the shell

Now that you have drawn the sides of this shell, we can start to add the top of it in this step of our guide on how to draw a shell.
For now, we will be drawing the right-hand side of the top of the shell, and we will extend the line there further up a bit to start this process.
The line will then curve to the left, and instead of a smooth line we will use a rather bumpy line to create this half of the top of the shell.
Once this is drawn, we can move on to step 4 of the guide.
Step 4 – Now draw the rest of the shell outline
We will be finishing off the rest of the outline for the shell drawing in this fourth step. To do this, we will be replicating what you did in the previous step and draw a bumpy line for the top of the left-hand side of the shell.
Once the outline is complete, there will just be a few more details to add before you color it in for the final step.
Step 5 – Draw some inner details for the shell

This and the next step of this guide on how to draw a shell will be all about adding some final details to it. These details will be fairly simple, yet they will also be really effective!
First, draw three small, curved lines at the base of the shell. Once you have drawn these, we will add some larger detail lines to it.
These will all start near the base of the shell, and they will extend upward as some long, curved lines.
These will form the pattern that you see in our reference image, and for now we will only be adding them to the left-hand side of the shell.
We will add the other ones along with some final details in the next part, so let’s proceed when you’re ready!
Step 6 – Now, add the final details of this shell
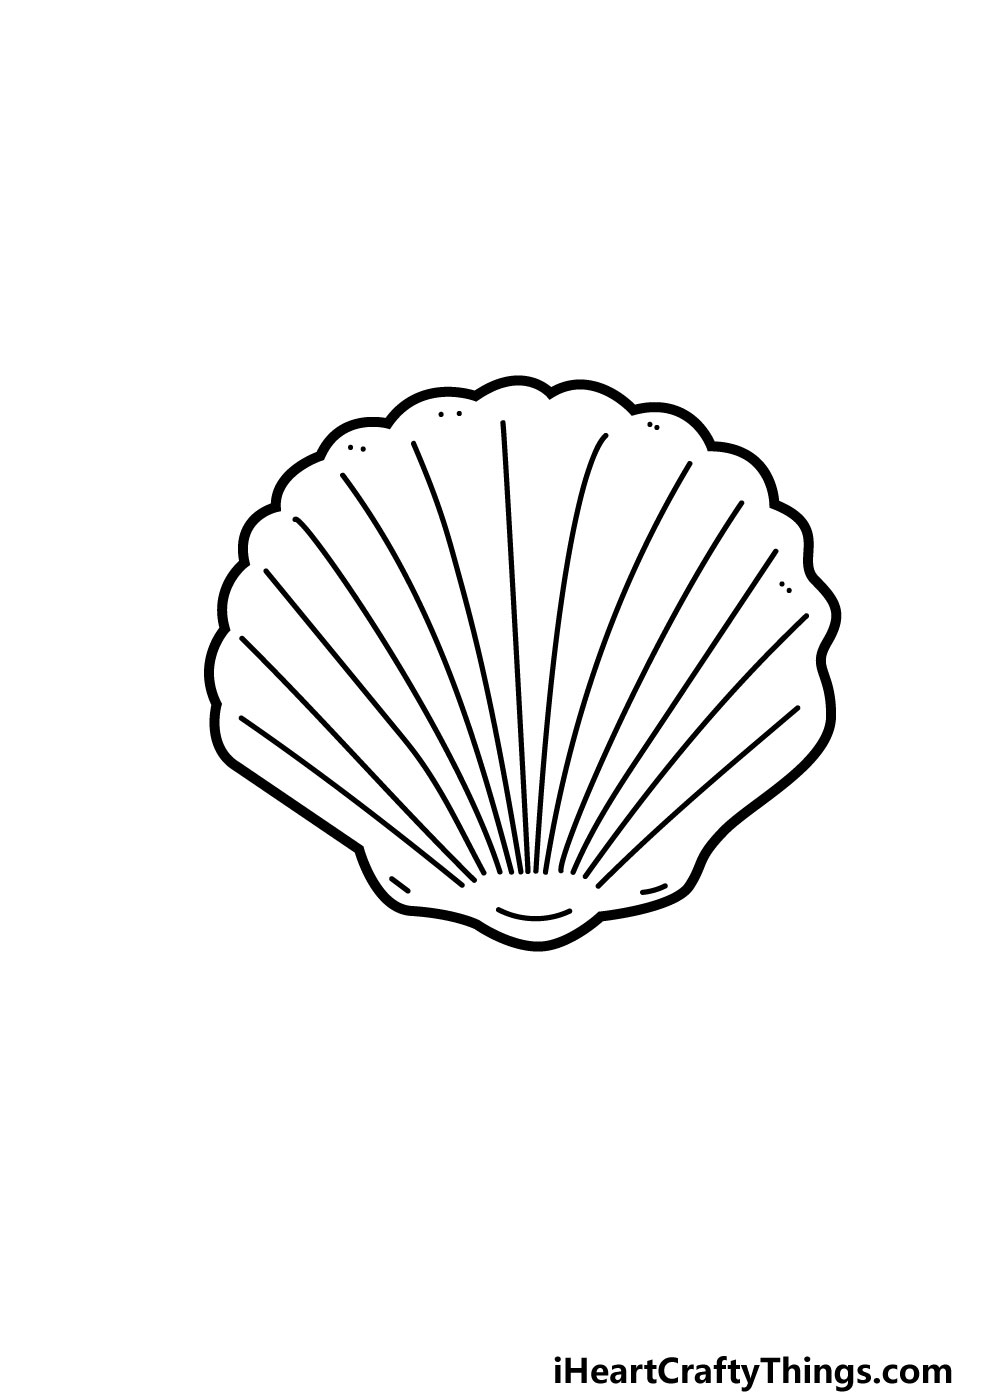
Now you are ready to add the final details for your shell drawing. In this sixth step, we will be relocating pretty much exactly what you did in the previous part, just on the other side of the shell.
This means that you will be drawing some more long line details extending up from near the base of the shell and upwards.
Once you have finished these details, you will be ready to add some more final touches of your own!
It can really finish off a picture nicely if you add a background, and one idea would be to draw this shell in the sand with some other shells.
This is just one suggestion, but what other setting can you think of to use as a background for this shell?
Step 7 – Finish off your shell drawing with some color
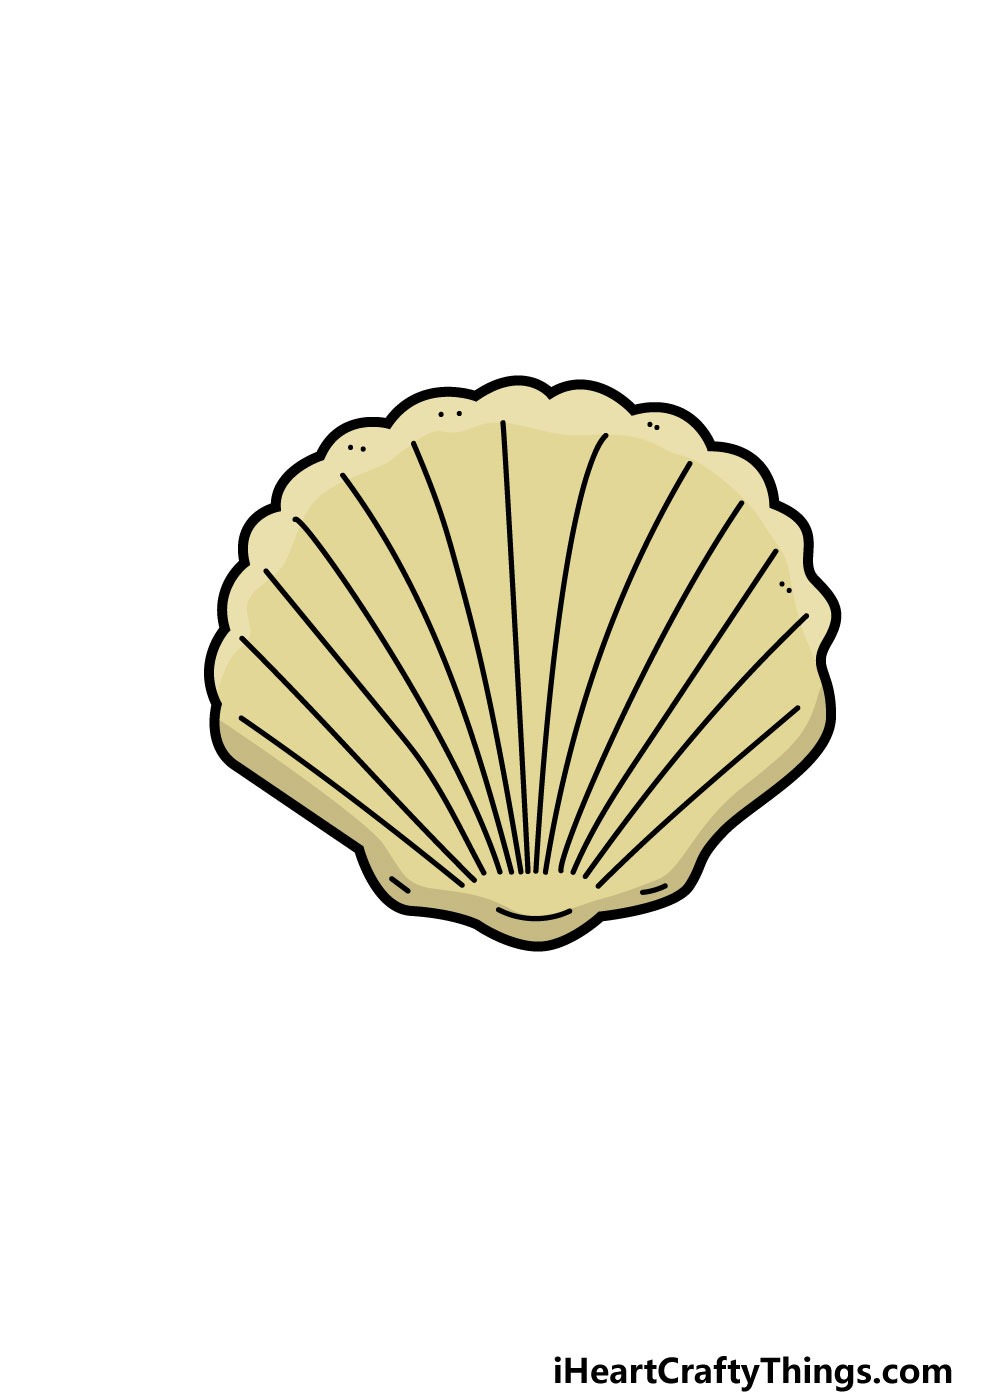
For the final step of this guide on how to draw a shell, we will be finishing it off with some amazing colors!
We kept the color a bit more muted in our example image, and we used some light brown and beige colors to finish it off.
This is just one approach that you could take, however, and you actually have a wealth of options at your disposal!
Shells can come in a huge variety of different colors, so you could use any colors that you love for it.
Some shells even have multiple colors to them, so you could use a mixture of your favorite colors to finish it off.
Once you have an idea of the colors that you would like for it, you can then have some fun playing around with your favorite art mediums to achieve the colors you would like. What will you use to finish it off?
Your Shell Drawing is Complete!
That takes care of all 7 steps of this guide on how to draw a shell, and we hope that you had a marvelous time working on it!
It’s not always feasible to head out to hunt for shells on the beach in real life, so this guide is the next best thing as it lets you create your own shell to enjoy!
What extra details, background elements or colors will you add to complete this drawing?
On our website, you can find a wealth of amazing guides to enjoy. We upload new ones frequently, so definitely keep checking in to catch them as they come out!
Please also be sure to share your amazing shell drawing on our Facebook and Pinterest pages, as we would love to see how it turned out!