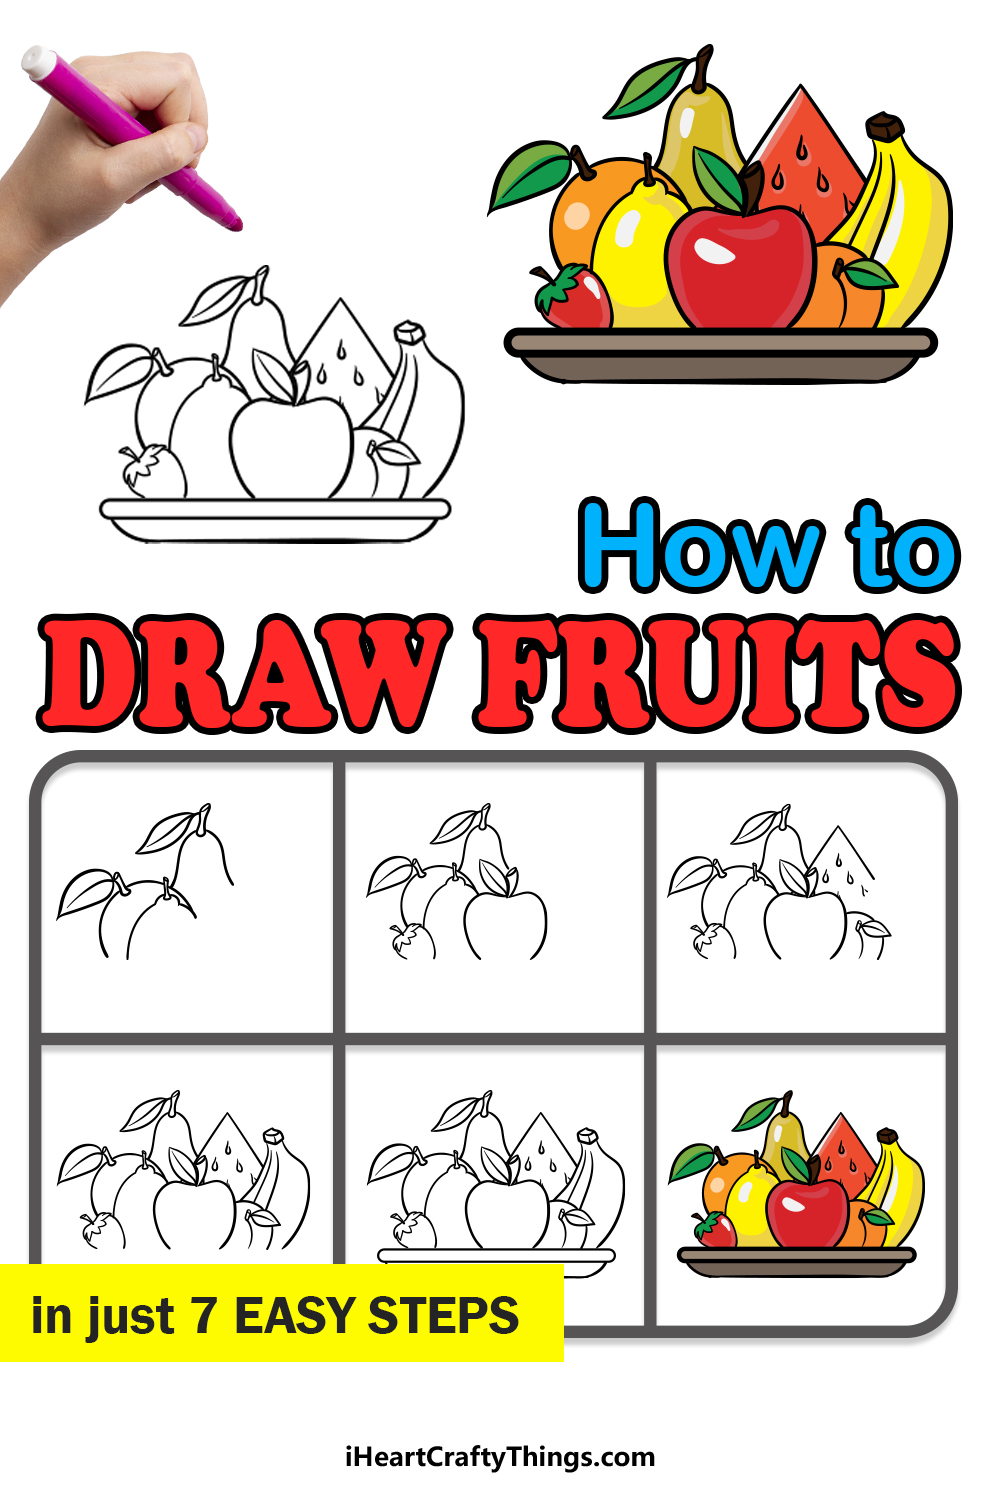
Knowing how to draw fruits is easier than ever thanks to this fun guide for kids! I will show you how to draw a tasty selection of healthy fruits in just a few steps.
Eating enough fruit every day is very important, as they have many nutrients and vitamins that our bodies need to function properly.
They also come in many shapes and sizes, and thus have been popular for artists to recreate. The format of still lives has been a mainstay of art for hundreds of years, and it’s still the case now!
Drawing fruit isn’t always easy though. This guide will change that as I show you how to draw a big selection of fruit like bananas, apples, lemons, strawberries, watermelons, peaches and oranges.
Once you have finished the drawing, you could add some other fruit and vegetables using what you have learned! Let’s do it together and create this tasty display piece.
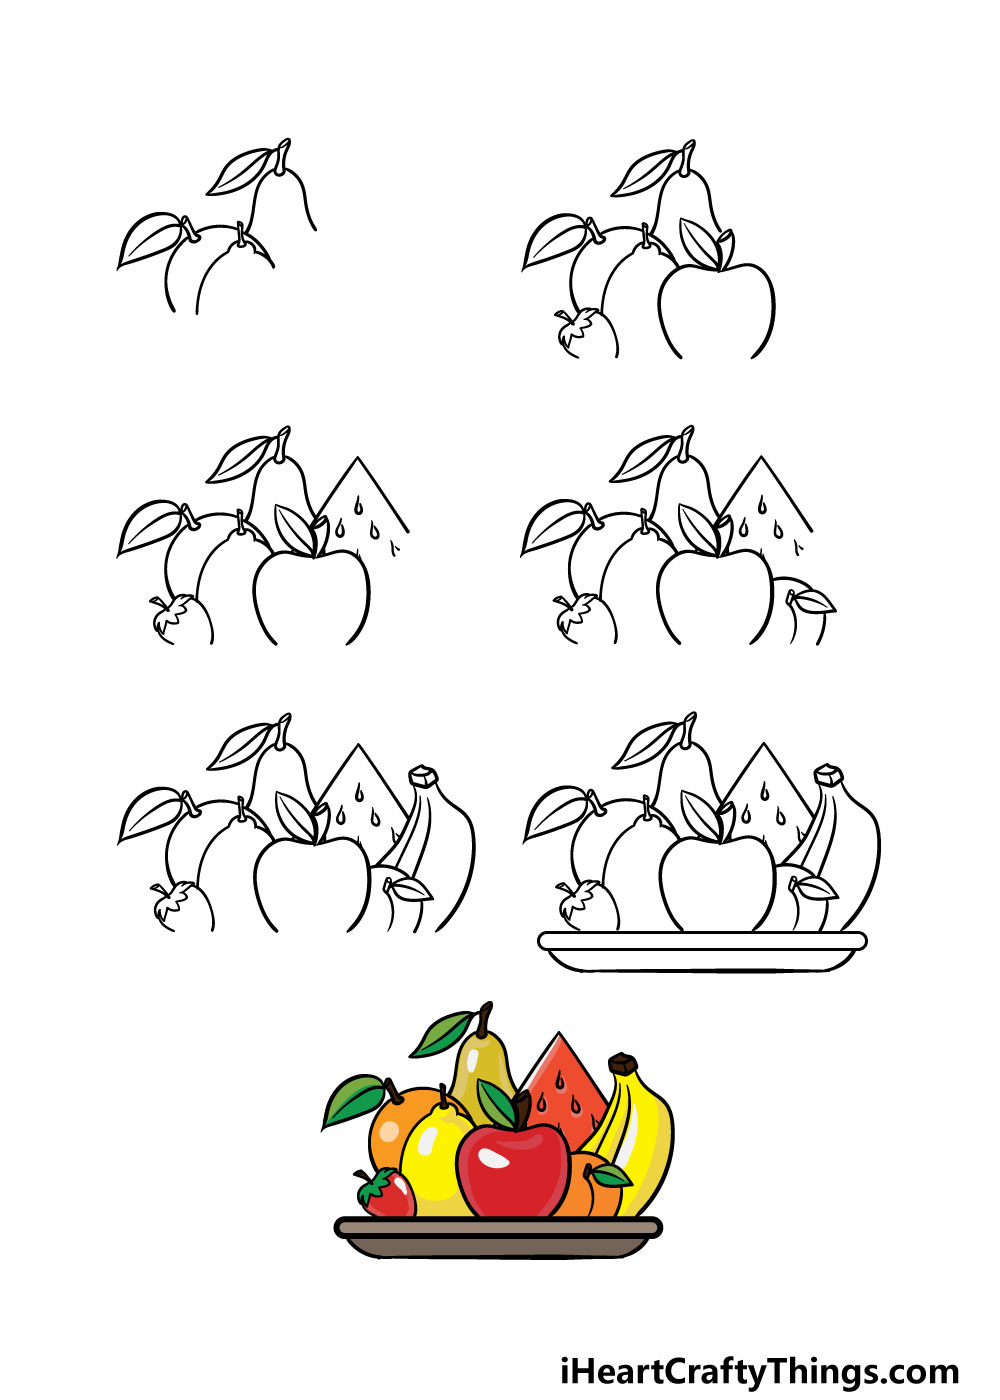
Watch These Steps To Create Your Fruit Drawing
How to Draw Fruits – Let’s get Started!
Step 1
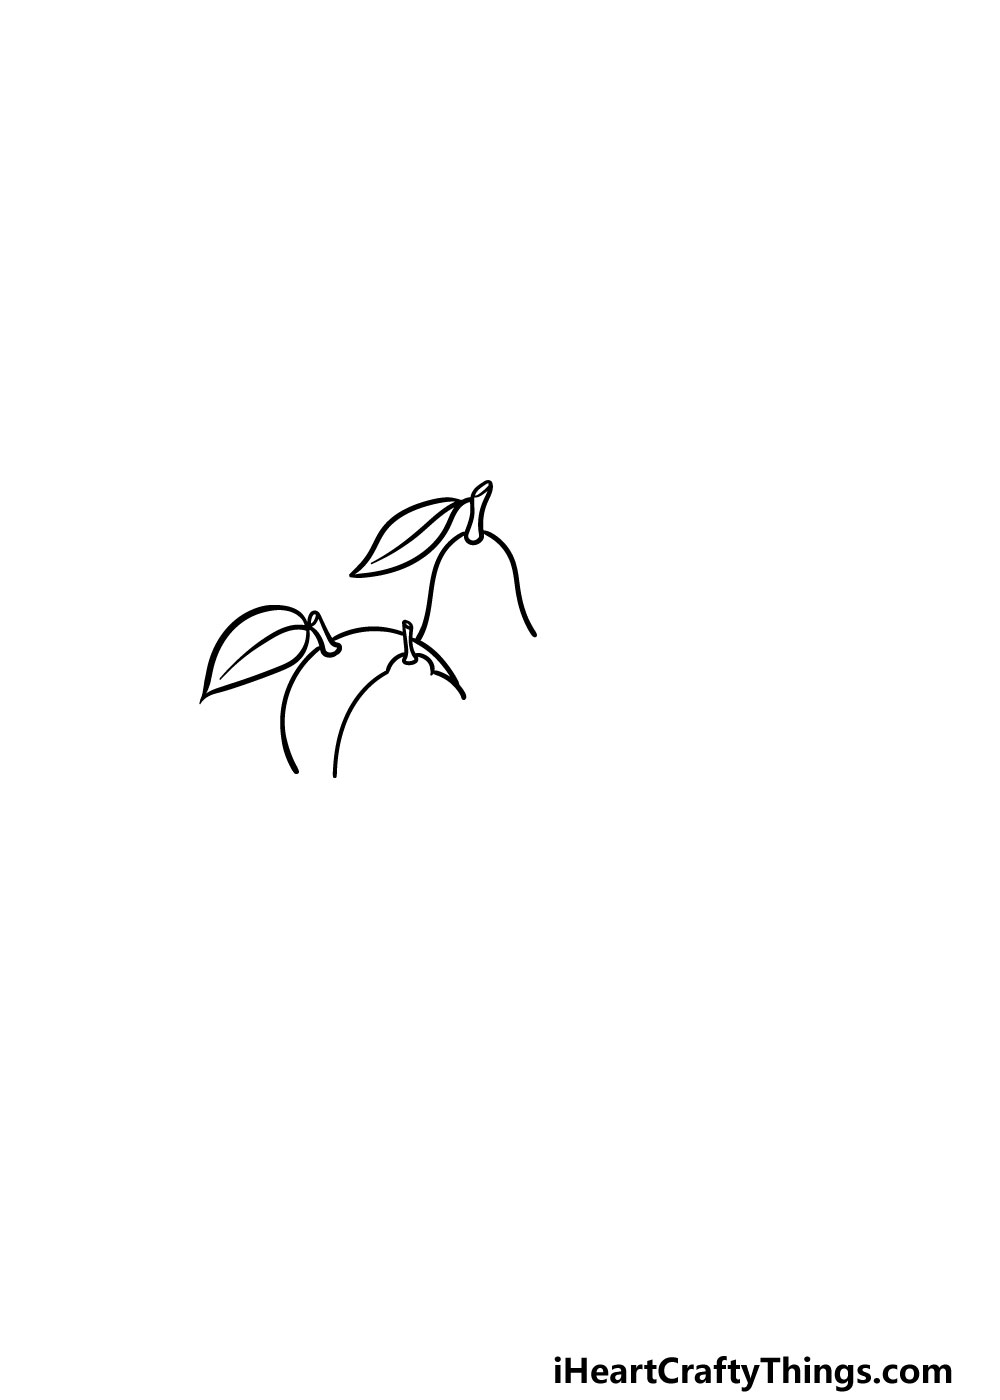
We will be drawing quite a wide array of fruit in this guide on how to draw fruits! In this first part, we will be starting with the orange, lemon and pear.
You may want to start with the lemon, as it will be the closest to us as the viewer. You will be drawing this lemon with some curved lines, and it will have a small bulge with a small bit of stalk on top.
Then, you will use more rounded lines for the orange and the pear, and these fruits will have larger stalks with a leaf on top.
We won’t be drawing the bases of the fruits for now, so you’re ready to move on!
Step 2 – Draw an apple and a strawberry
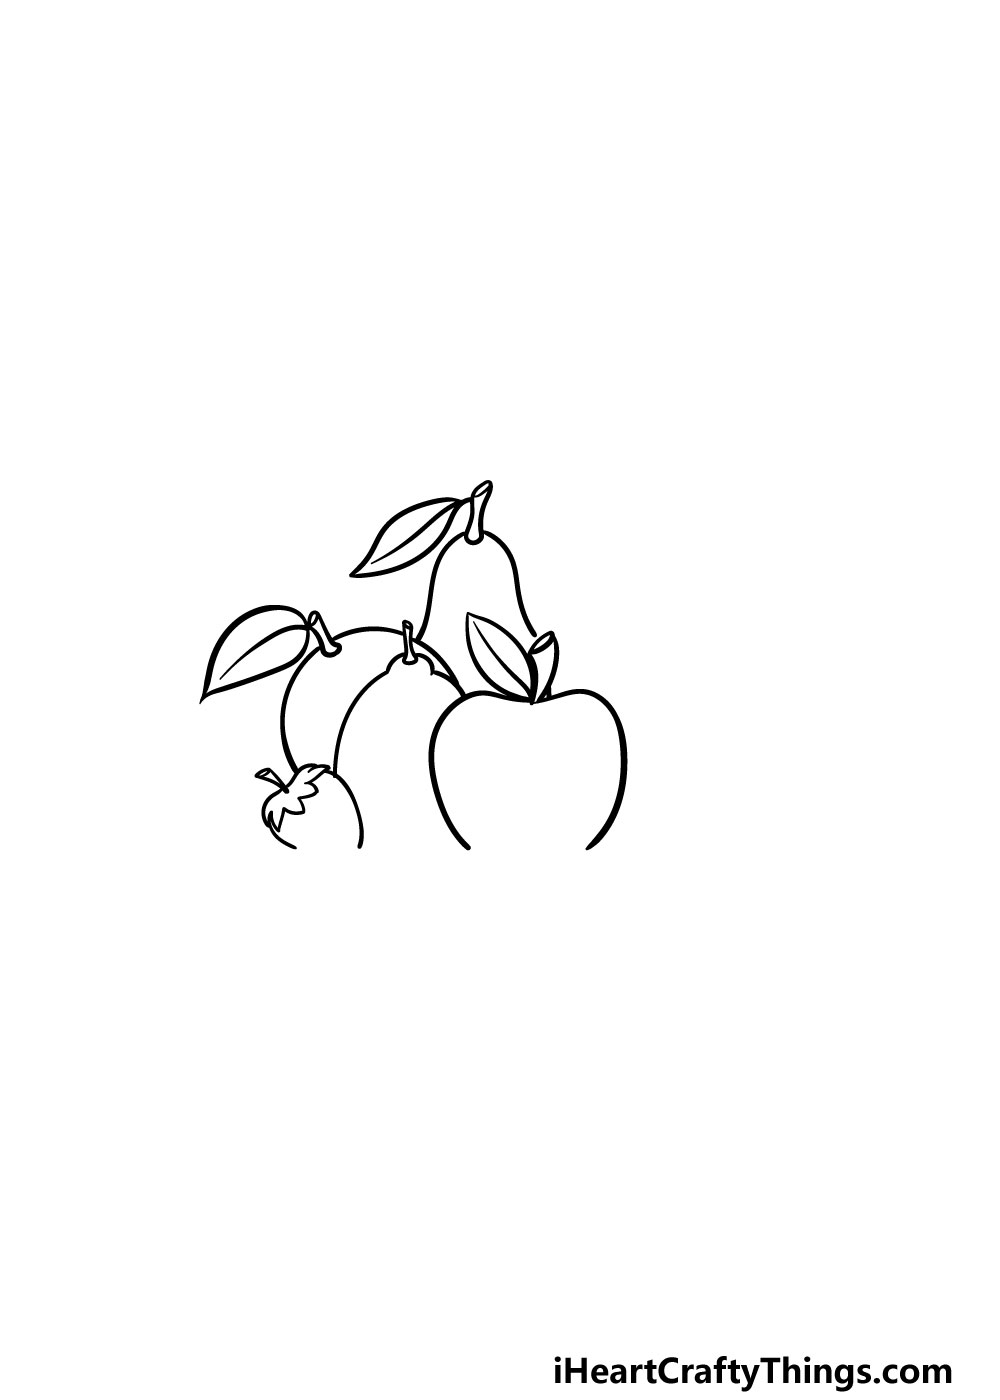
In this second part of your fruits drawing, we will be adding two more fruits. First, there will be a strawberry on the left-hand side of the bowl.
Then, there will be an apple in front of all the other fruits, as shown in the reference image. The apple will also have a large stalk with a leaf on it.
These fruits also won’t have bases to them yet, but we will be adding them soon!
Step 3 – Now, draw a watermelon for your fruits drawing
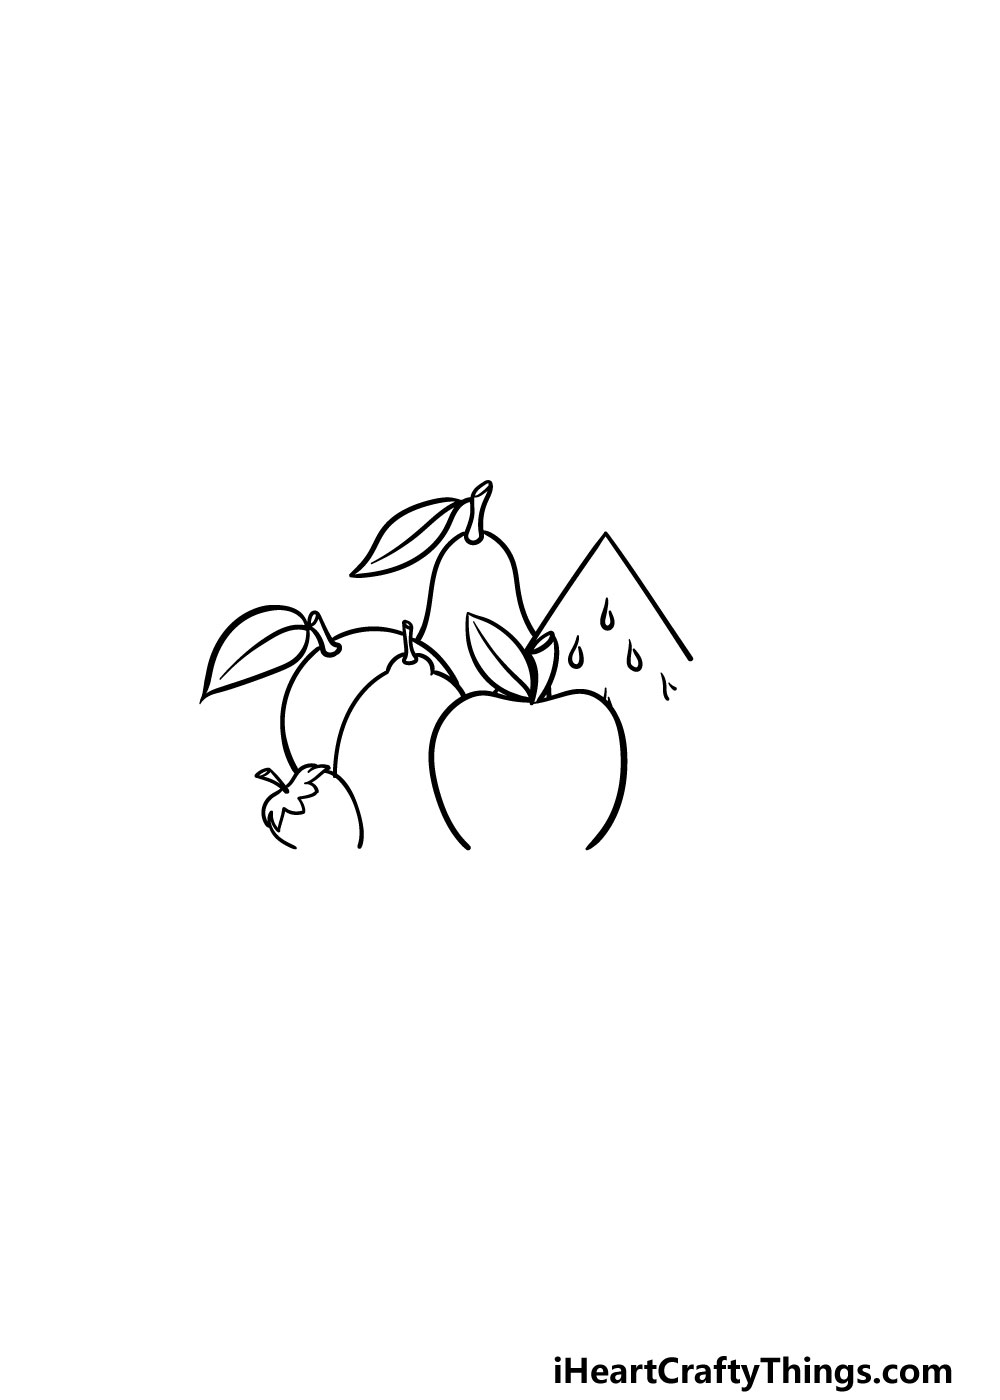
This bowl of fruits is starting to look great already! In this third step of our guide on how to draw fruits, we will be adding one more fruit.
This one will be a watermelon, which you will draw with two straight lines. Then, you can add lots of small rounded shapes inside the watermelon for the seeds poking out of it.
That’s all there is to it for this step, so it’s on to part 4!
Step 4 – Next, draw a peach for your bowl of fruit
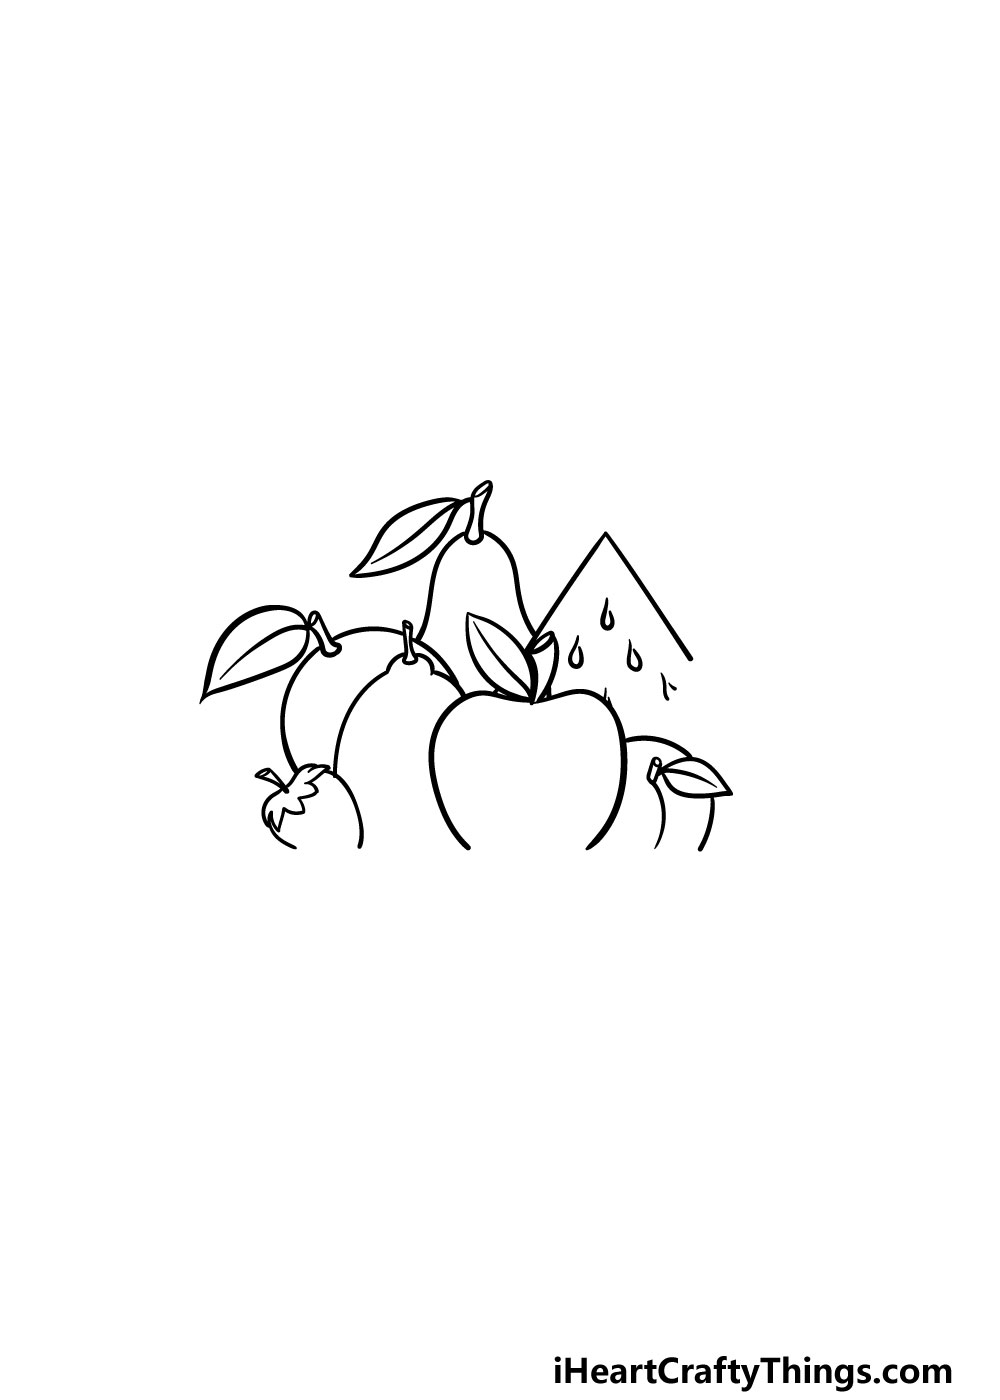
It’s time to keep building onto your bowl of fruit for this part of your fruits drawing! This time we will be drawing a peach, which you can use a round line to draw.
Then, there will be a curved line inside it along with another small stalk and leaf. That just leaves one more fruit and a few final details to add, and we will do these parts in the next few steps!
Step 5 – Now, you can draw the final fruit
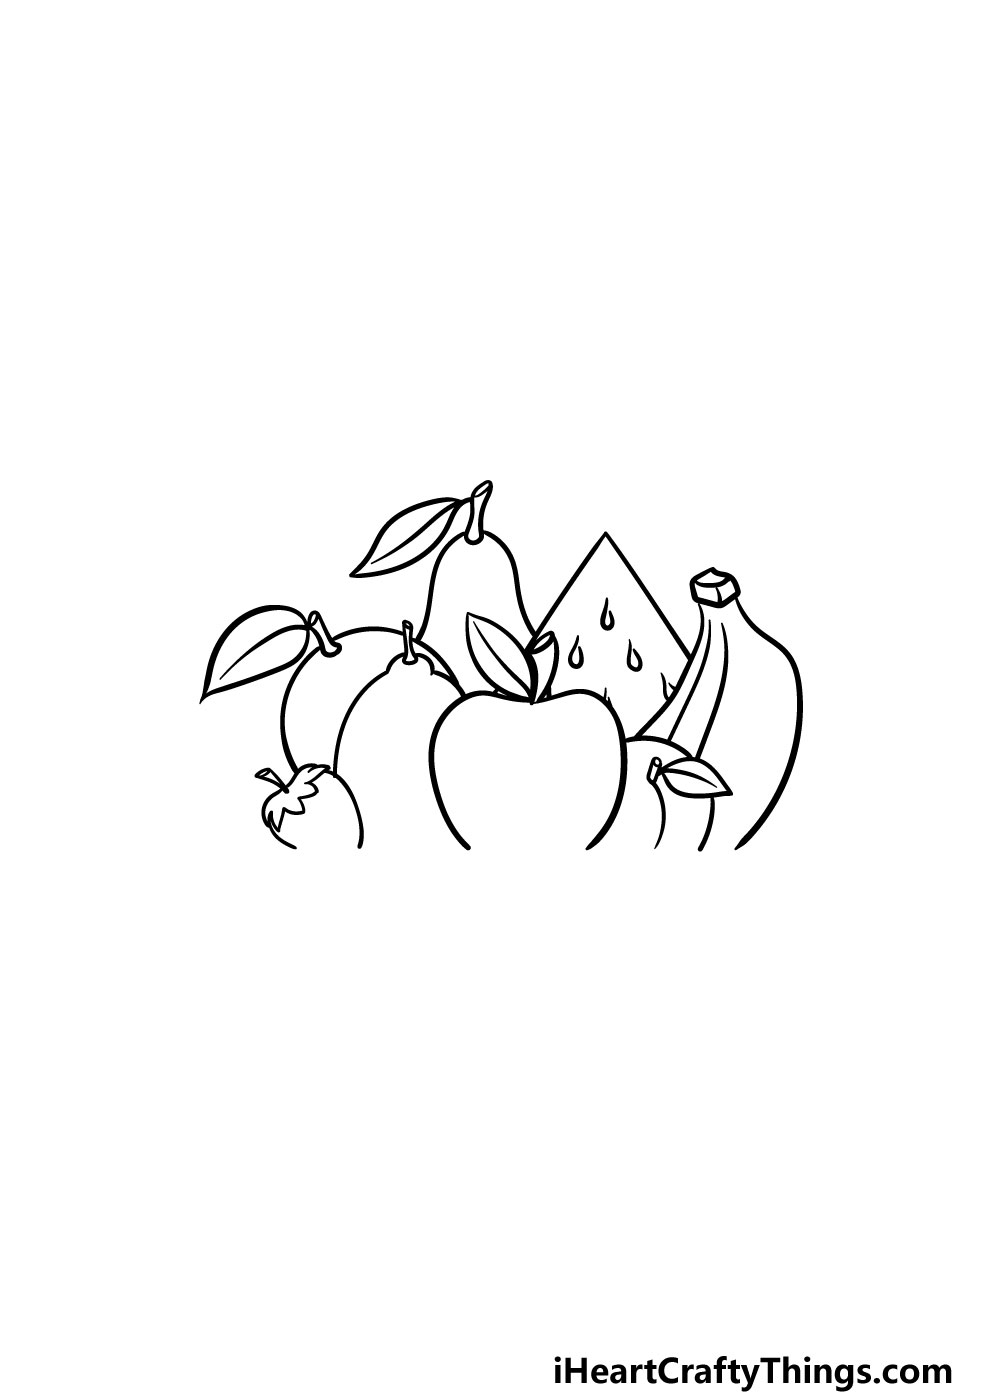
There’s just one more fruit to add in this guide on how to draw fruits! To finish it off, we will be adding some bananas to the space that’s left on the right-hand side.
To draw these, you will be using some curved lines for the bodies of the bananas with a thin stalk on top. Then, you can use a small cubed shape at the end to show where the bananas are connected.
Step 6 – Draw the final details and elements
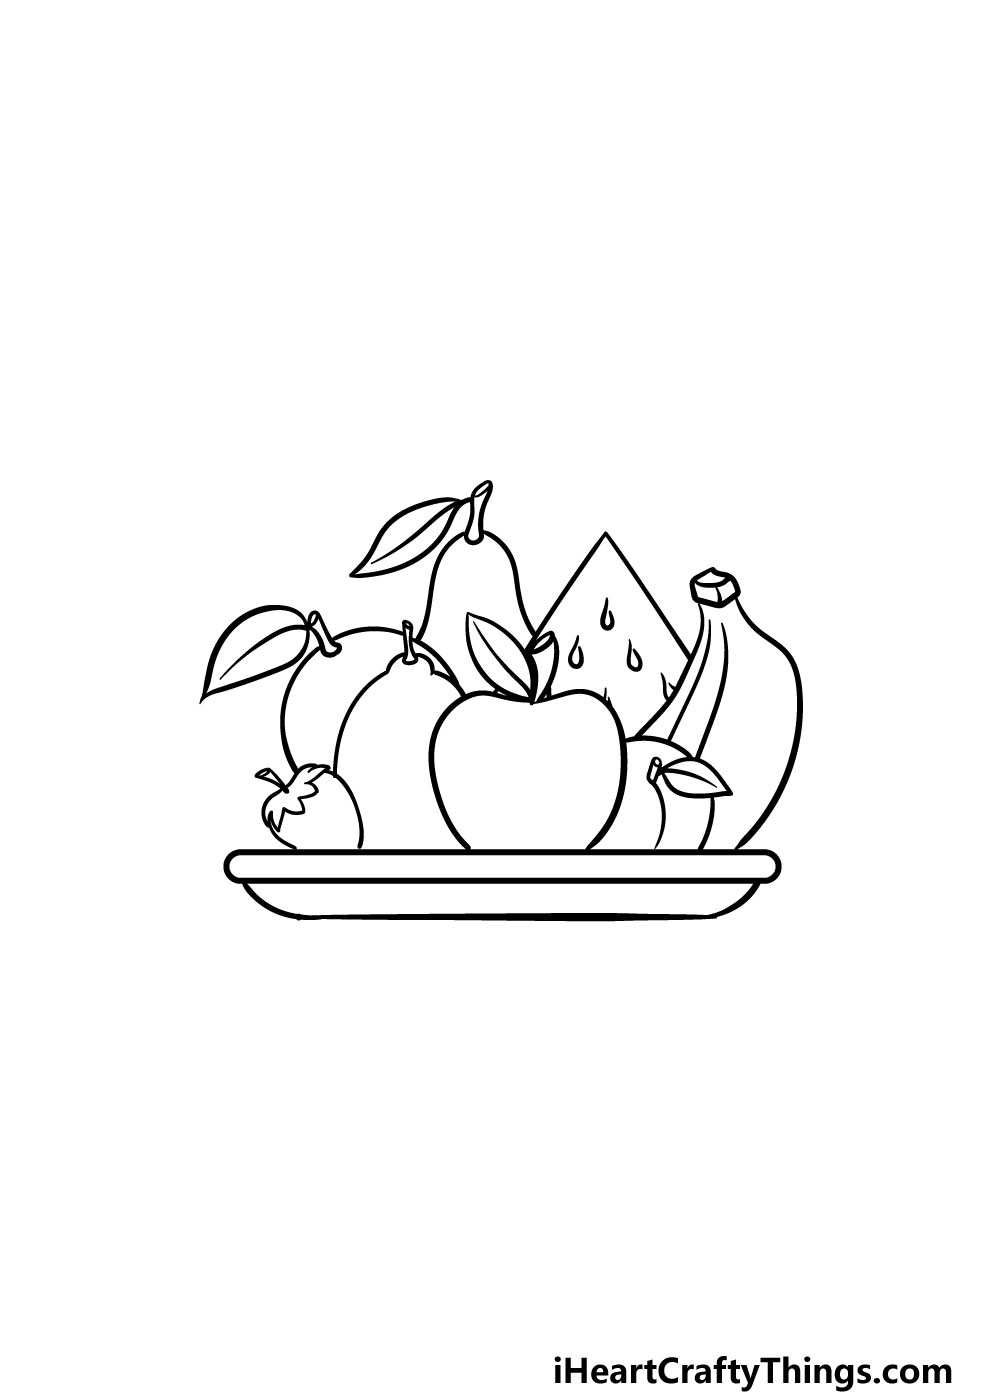
You’re almost ready to have some coloring fun with your fruits drawing! There are just a few things to add before you do this, however, so let’s take care of them now.
The main thing to add will be the plate that the fruit is sitting on. To do this, draw a thin, long shape underneath the base of the fruits.
Then, use another long, curved line underneath it for the base of the plate.
That will do it for the details in this guide, but before you move on you should feel free to add any extra details of your own!
Perhaps you could add even more fruit or other objects or create a cool background. How will you finish off the drawing before the final step?
Step 7 – Finish off your fruits drawing with some color
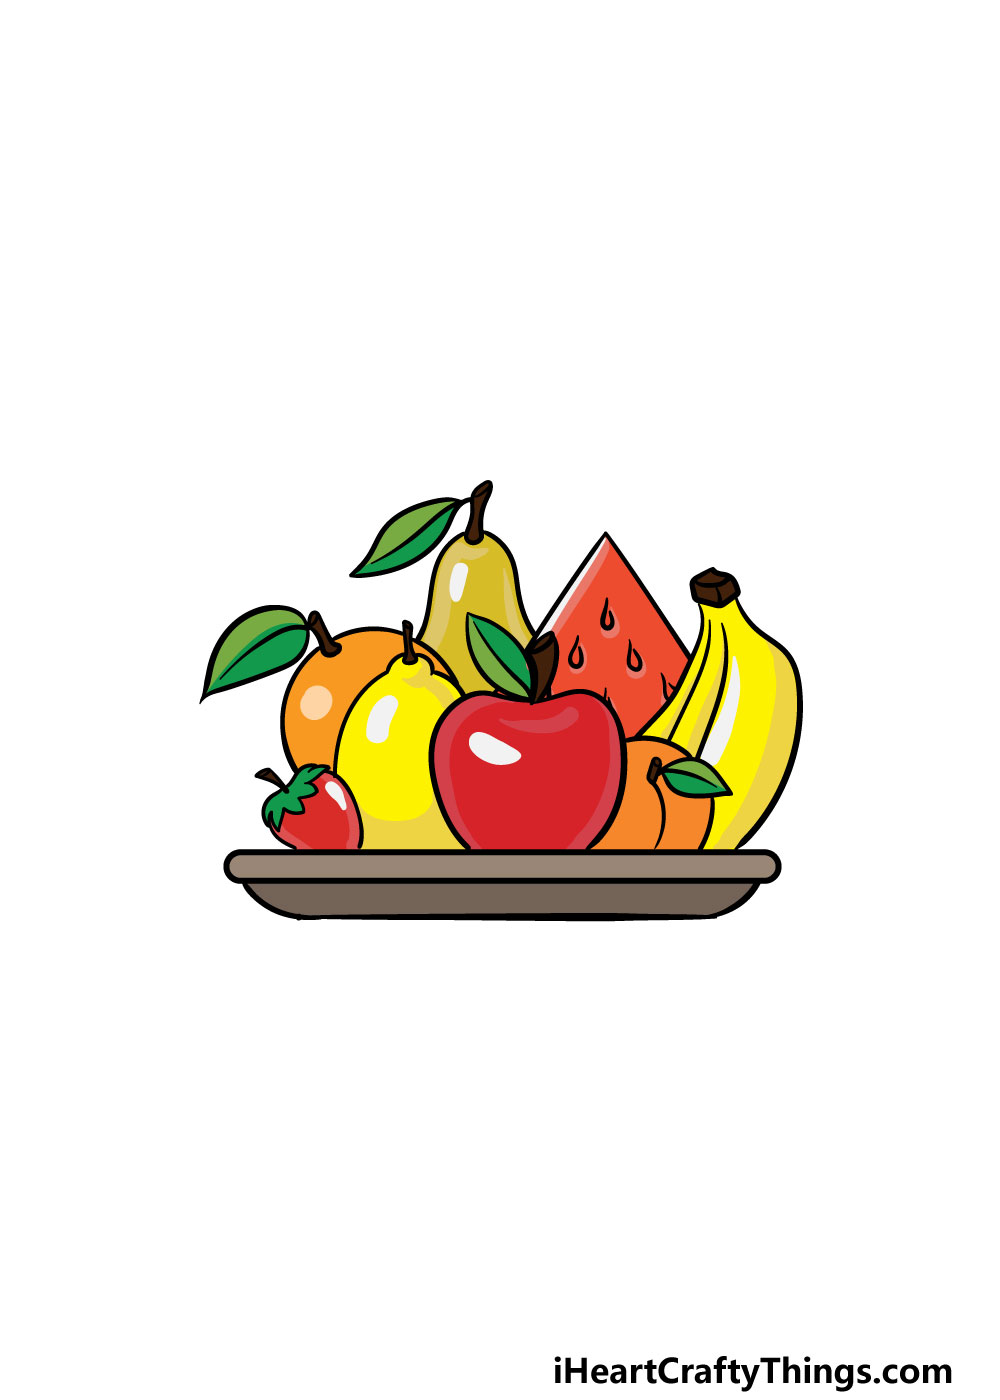
That brings you to the final step of this guide on how to draw fruits! You’ve done a great job drawing this image, so now you get to relax with some fun coloring to finish it off.
We’ve used the typical coloring for each fruit in our reference image, so that gives you a reference point as you color.
Even if you keep the colors more realistic, there are lots of ways that you can inject even more colors into this picture.
You could color some brown or green spots onto the fruits for one idea or use some subtle coloring to add some texture detail.
Additionally, if you drew any background details then you can use your favorite colors for that as well!
We mentioned that still-lives are common in art history, so you could also experiment with using mediums such as acrylic paints or watercolors to stick to that tradition!
These are just two of many mediums you could use, so how will you color in this amazing picture?
Here’s how you can make your fruits drawing even better…
Grab your favorite fruit snacks as we show you how to make this fruits drawing even better!
With this fruits sketch, we added a good variety of different kinds of fruits to make the image more dynamic. Even though we squeezed in many fruits, there are many more that could still be added!
If you have some favorite fruits that you love or think would look good here, then you should certainly add them. Whether they are big or small, each addition will bring something new to the composition.
The examples we have in this drawing of fruits looks great, but once you have added any other fruits you want you could add other food as well!
These could be anything that you think would work well with this picture. Maybe you’d want to add some vegetables or even some meat such as a roast chicken.
There are no wrong answers, and anything you think would look good would be a great idea! What are some other kinds of food you could add?
Of course, you don’t have to stick to just food while you finish off this fruits drawing. There are many other objects and characters you could add.
For instance, you could add some humans to the mix, and they could even be modeled on yourself! There could be a person standing by the fruits and about to take a bite out of one.
That’s one idea, but you could even add different objects like crockery or cutlery. What else could you add?
Portraying fruits in still life pictures is a beloved tradition in art. These still lives have been created in every medium and style imaginable, and you could use any of these for your fruits sketch!
When personalizing your creation, you could try out some unique styles, colors and art tools as you finish it. You could even get really abstract with it and create something truly unique.
Also, don’t be afraid to mix different art tools, mediums and styles together to finish with something really special.
Your Fruits Drawing is Complete!
You should be very proud of the incredible drawing you have ended up with at the close of this guide on how to draw fruits!
While still-life drawings may be common in art, that doesn’t always mean that drawing these fruits is easy when you sit down to try it.
We hope that this guide showed you that it can be not only much easier than expected but also way more fun than you thought it would be!
Now you can add your own extra details, touches and elements to really put your own spin on it!
That along with the colors and art mediums you use gives you a lot of freedom with how you can personalize this fruits drawing.
Once you’re done with this guide, you can visit our website for many more amazing guides to work through. We upload new ones all the time too, so be sure to visit often!
Once you have finished this fruits drawing, you’re welcome to share it on our Facebook and Pinterest pages so we can appreciate your artwork!
Here Is A Simple Fruit Drawing To Inspire You!
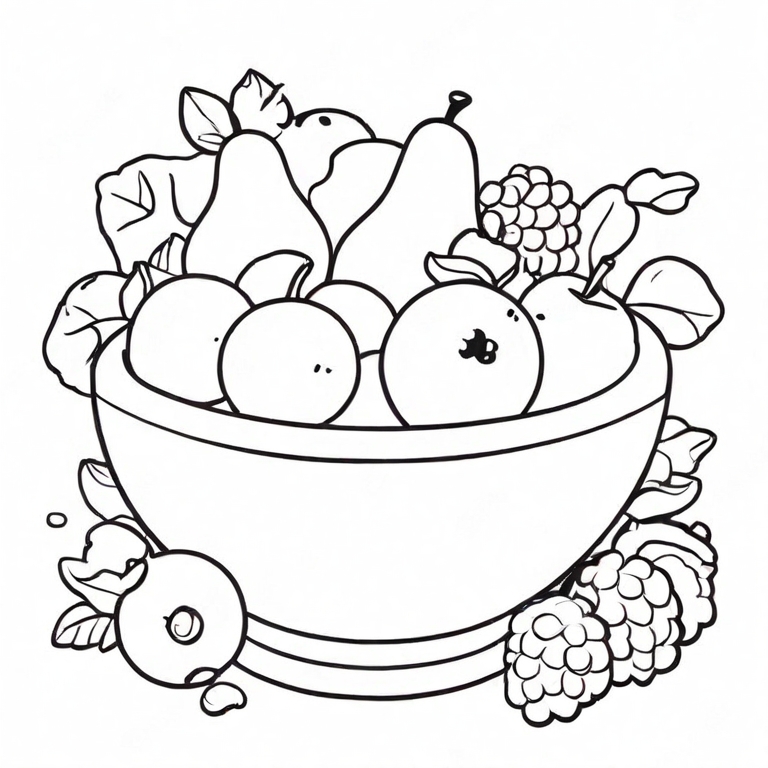
For decades, fruit has been a popular choice for artists to create, and now you can do the same with this simple fruit drawing for kids!
Our artist Amanda created this drawing to help you with your own artwork.
The reason people love to draw fruit is that there are so many different shapes, textures and colors to depict. This makes it a challenge and allows artists to use all of their skills.
Amanda drew a wide variety of fruit for this picture, and it will help to challenge your skills and your abilities. We see oranges, pears, apples and many others that you can try to replicate.
When you create your own version, you can also add other fruits and types of food that didn’t appear in the drawing. What are some fruits you could add to the still life?
