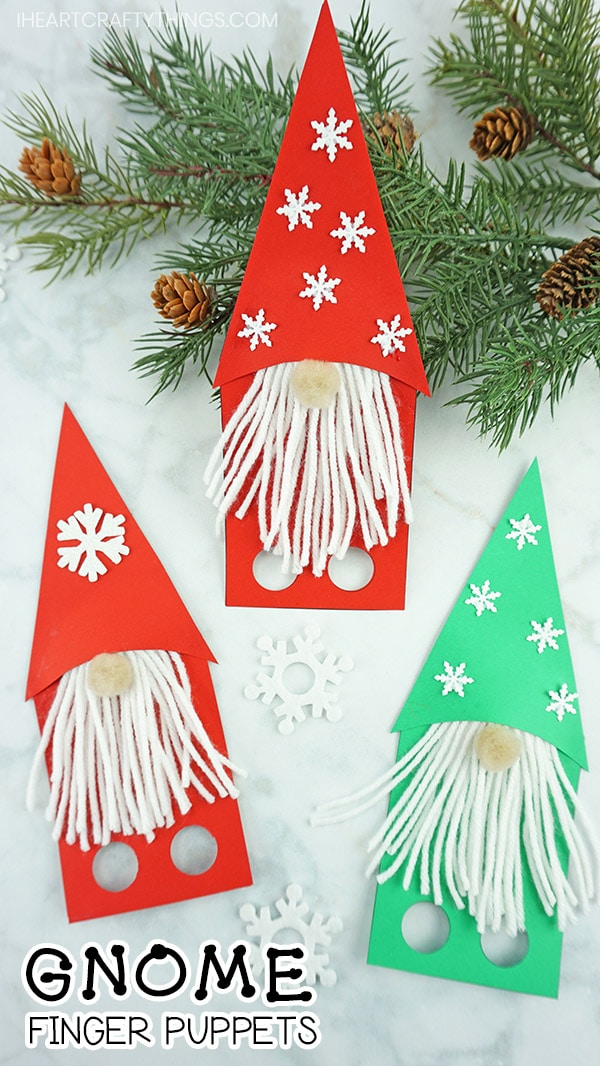
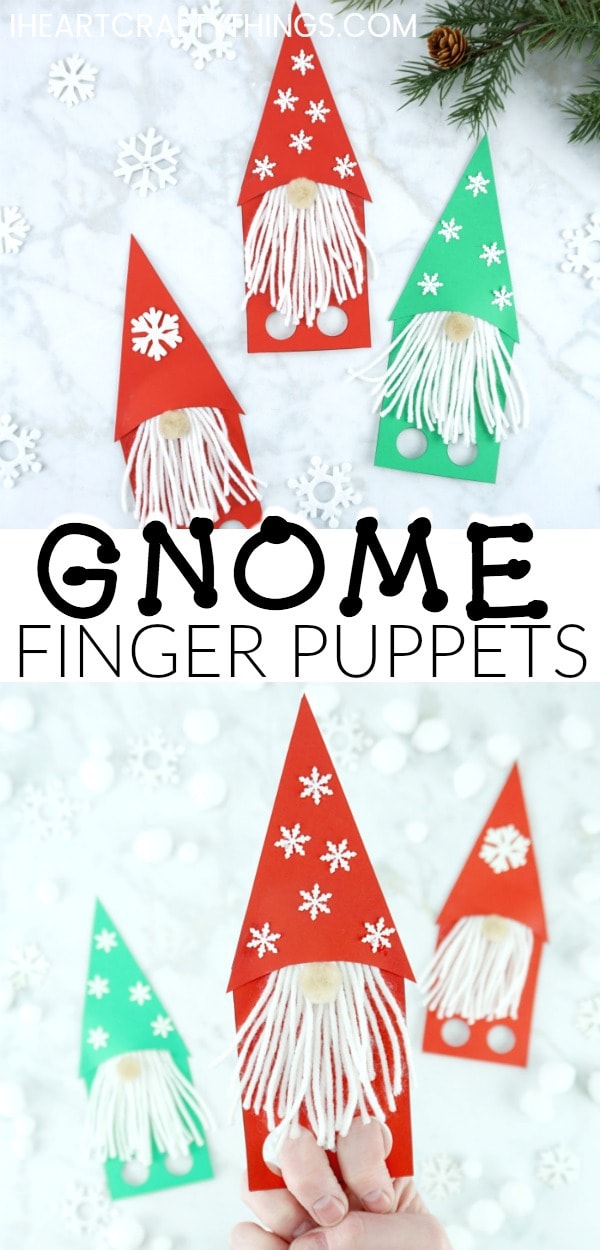
Are you a fan of adorable little gnomes? If so, you are going to love these darling Christmas gnome finger puppets. In this post learn how to make this awesome Gnome Craft with our helpful template, step-by-step tutorial and video.
My favorite thing about this craft is that you can make them any time of the year. For winter or Christmas, add snowflake details to the hat, or other festive decorations. If it’s summer, turn them into cute garden gnomes by switching up the colors and removing the decorations on the hat.
Supplies:
- Gnome Craft Template <—- Get the TEMPLATE HERE
- red cardstock or green cardstock
- white yarn
- small tan pom-pom
- 3/4-inch circle punch
- snowflake punch (optional)
- snowflake stickers (optional)
- scissors
- Glue Dots
- Glue Stick
Instructions:
1. Print out craft template and cut out pieces
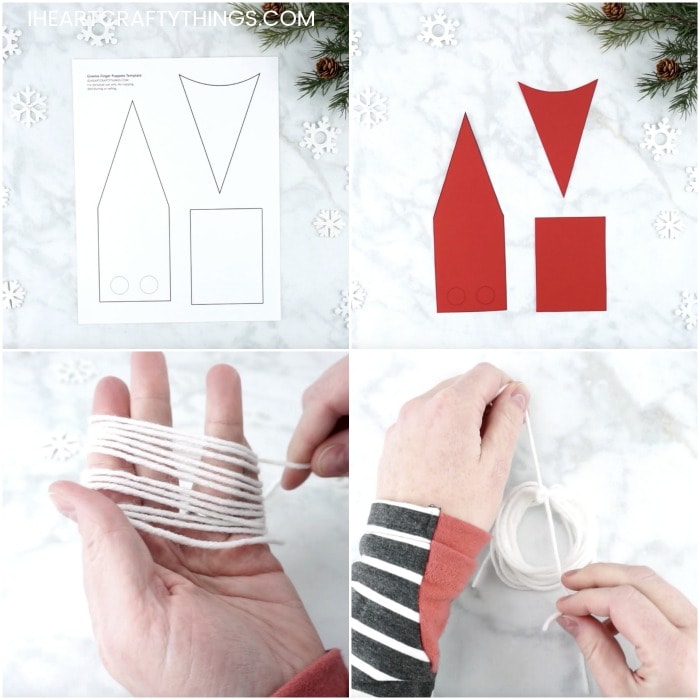
Begin by downloading and printing out the gnome craft template. You can print the template on white paper and use it to trace the pieces on colored cardstock or print the template directly on red or green cardstock. Cut out the pieces of the template.
2. Create gnome beard
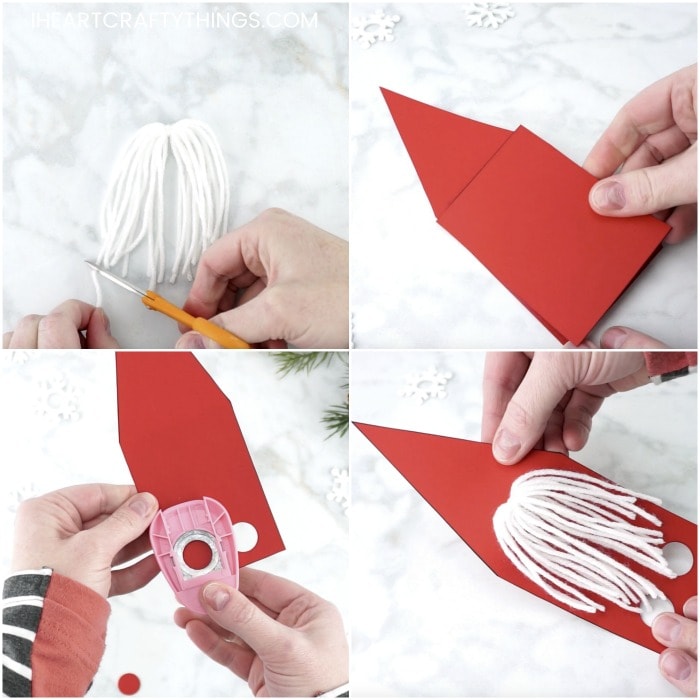
To make the gnome beard, wrap a strand of white yarn around four of your fingers in a line about 12 times. If a child is doing this I recommend wrapping the yarn around all five of their fingers. Carefully remove the yarn from your hand.
Grab a smaller strand of white yarn and tie it around the circle of white yarn, tying a knot. Use your scissors to cut the circle of white yarn in half, making sure to keep the knot in the middle.
3. Shape the beard
Trim the strands of the gnome beard to cut down any longer pieces and to shape the beard how you want.
4. Glue rectangle piece onto the back of larger template piece
Gather your gnome craft template pieces. Add glue to the bottom back of the larger template piece and glue the separate rectangle piece on the back. This helps thicken the finger puppet to add stability to it.
5. Punch out finger holes
Use a 3/4-inch circle punch to punch out the finger holes on the front of the gnome craft template. Larger fingers might need a 1-inch circle punch.
6. Attach beard to the gnome template
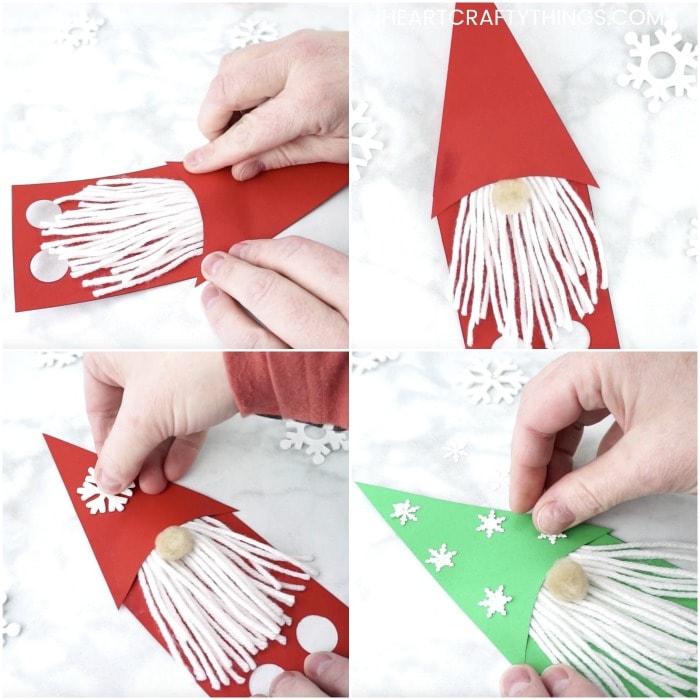
Place a Glue Dot on the back of the gnome beard directly behind the knot in the beard. Attach the beard to the gnome template. Make sure the top of the beard is high enough to cover the knot of the beard.
7. Glue gnome hat
Glue the gnome hat at the top of the gnome template covering the top of the beard.
8. Add nose
Add a Glue Dot on the back of your tan pom-pom and attach it to your gnome craft, directly beneath the gnome hat.

9. Decorate hat with snowflakes
Decorate the hat of your gnome craft with snowflakes to make him festive for the Christmas season. You can use either snowflake felt stickers or cut out snowflakes with a snowflake punch and glue them onto your gnome hat.
Now it’s time to play with your Gnome Craft
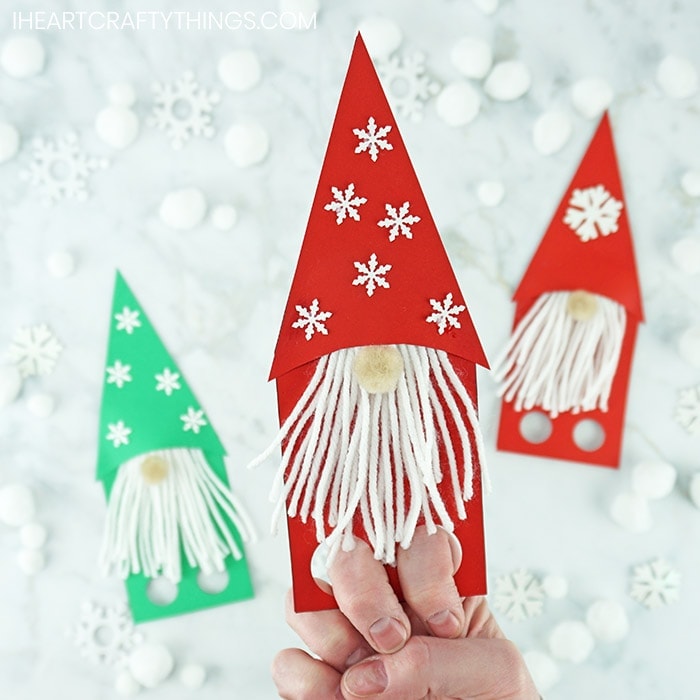
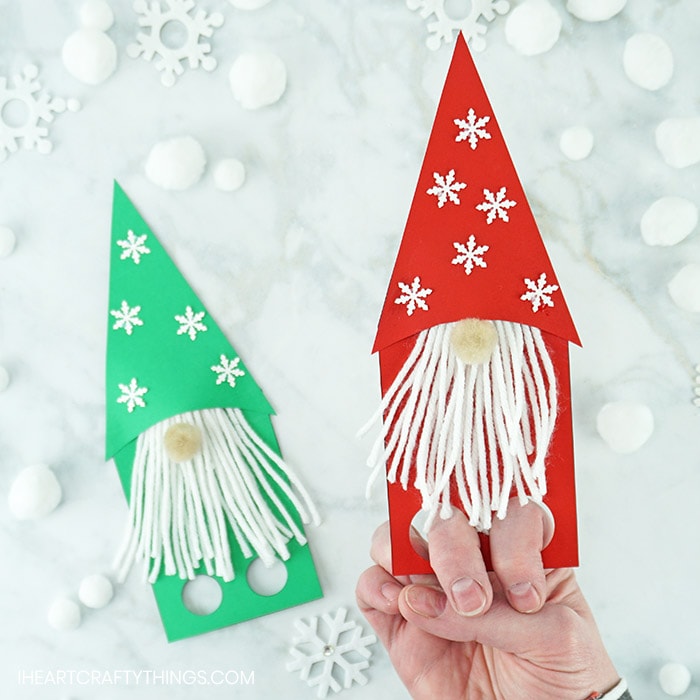
To play with your gnome finger puppets, place two of your fingers inside the holes at the bottom of your gnome. Move your fingers around and watch as your gnome walks, dances and prances around. You can set up a play area for your gnome finger puppets with different sized white pom-poms and snowflakes laying around for your gnomes to walk and dance around like they are playing in the winter snow.
Video Tutorial: How to Make Gnome Craft Finger Puppets
Watch the video below to be guided through each step of this Gnome Craft.
