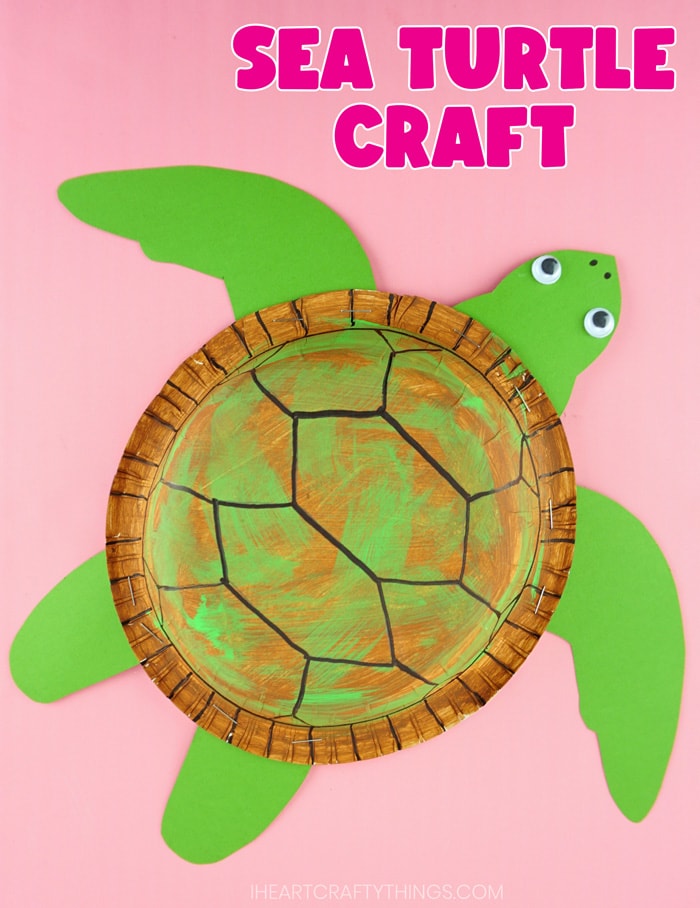
Download our template and follow our easy instructions to make a fun paper bowl sea turtle craft with your kids!
We love sea turtles at my house! In fact, any time we see an educational video or documentary about ocean animals, we anxiously sit in wait, hoping to catch a glimpse of baby sea turtles.
I find the life cycle of sea turtles fascinating. Especially how their Momma comes back to the place she was born to lay her eggs. They are such amazing creatures!
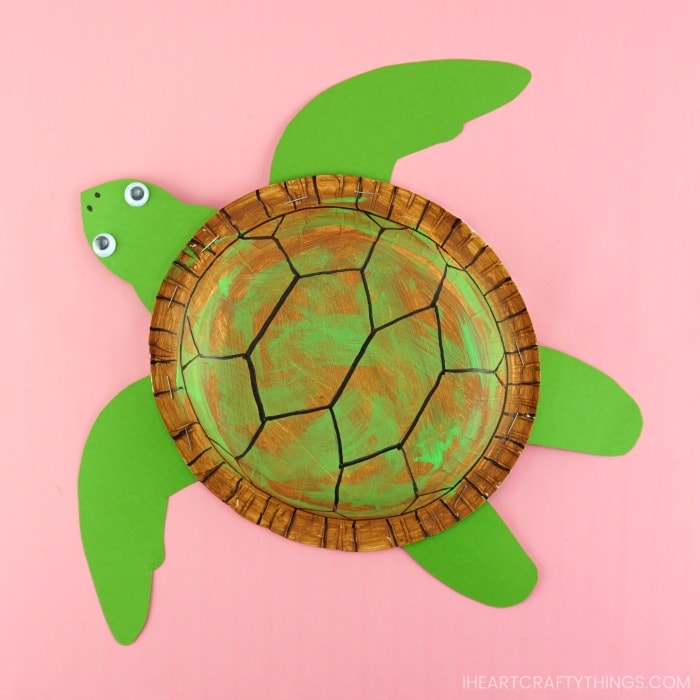
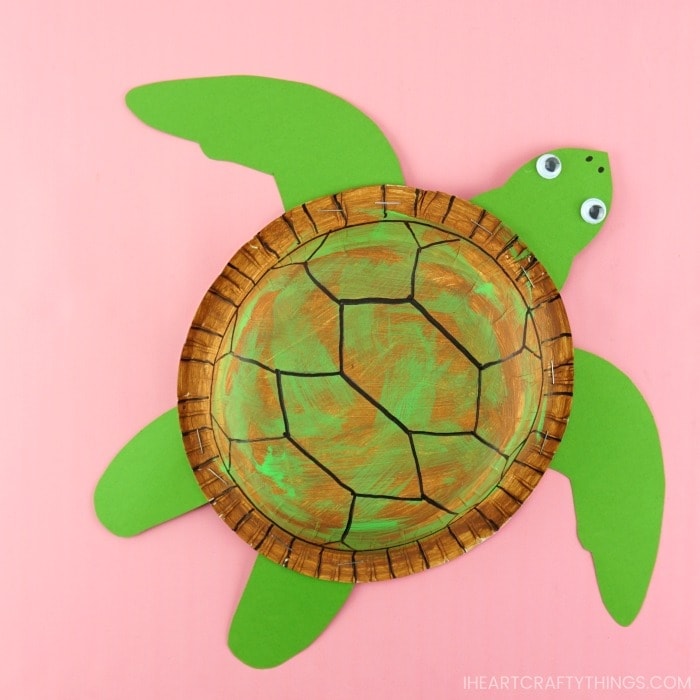
This turtle craft is fun and easy to make with preschoolers and kids of all ages, after you learn all about sea turtles together. Using a paper bowl as the turtle shell gives the craft a fun 3D effect that kids will love!
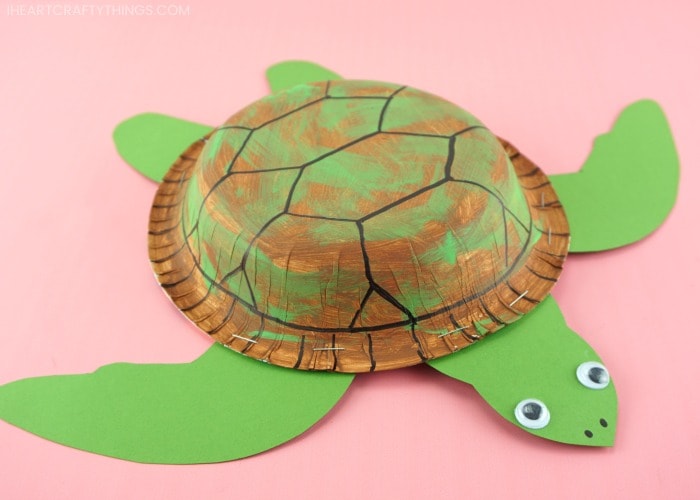
Easy Sea Turtle Craft for Kids
Whether you’re looking for a fun preschool craft to add to your ocean theme or you’re looking for some fun, new summer activities for kids, this sea turtle craft is perfect!
Read our easy step-by-step instructions below for how to make your own sea turtle craft. Make sure to watch our video tutorial inside this post before you get started too.
Supplies needed to make this adorable sea turtle
This post contains affiliate links to the products mentioned. Read our disclosure policy for more information.
- sea turtle craft template <—– Get the Template Here
- 20 oz. paper bowl
- paper plate (to use as a paint palette)
- brown paint
- green paint
- sponge paintbrushes
- green cardstock paper
- black marker
- pencil
- googly eyes
- stapler
- scissors
Instructions for how to make your own sea turtle kid craft
1. Paint the Bottom of the Bowl
Pour some brown paint on a paper plate. Use a sponge paintbrush to paint the bottom of a 20 oz. paper bowl.
2. Give some Green Color to the Shell
After the brown paint has had several minutes to start to dry, pour some green paint on your paper plate. Dab a sponge brush into the green paint lightly and then carefully add some splotches of the green paint around the brown paint to add some green color to your sea turtle shell. Set aside your painted paper bowl sea turtle shell to dry completely.
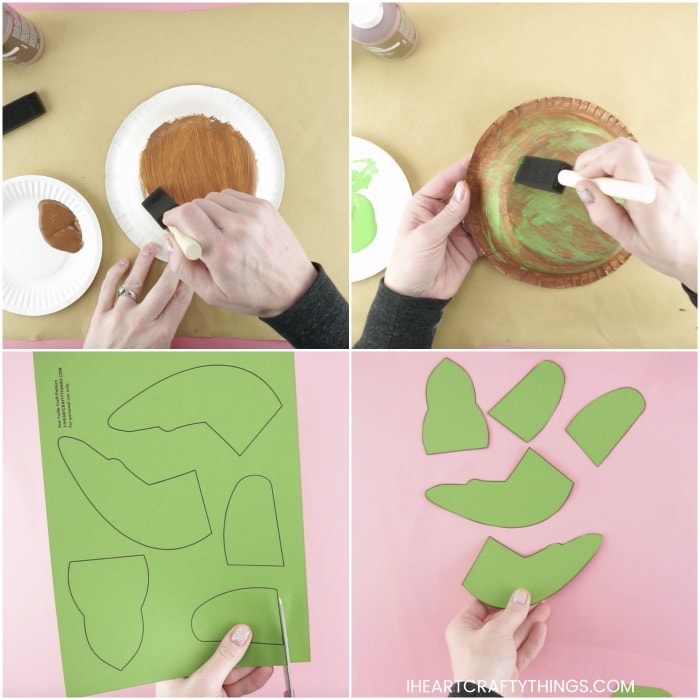
Note: You don’t need very much green paint on your sponge brush at all. In fact, it might be helpful to practice dabbing the brush on the open areas of your paper plate palette until you’ve reached the desired consistency before applying it to your paper bowl.
3. Cut Out Pieces from the Template
While your painted paper bowl is drying, download and print out the sea turtle craft template on green cardstock paper. Cut out each of the pieces of the template.
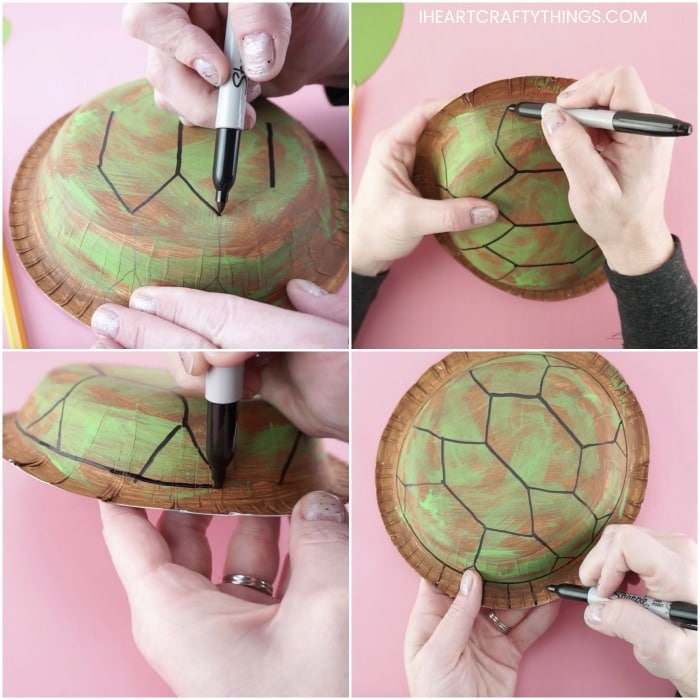
4. Draw the Turtle Shell Shapes
When your turtle shell is finished drying, use a pencil to lightly draw out turtle shell shapes on the paper bowl. You don’t have to use a pencil but it is super handy for you to take your time and get the design exactly how you want before making it permanent.
It might be helpful to look at some images of sea turtles on Google to help guide you as you create your design. Or it’s also fun for younger kids to use their creativity to make any shapes they want.
5. Highlight the Lines with a Marker
When you are satisfied with your pencil drawn turtle shell design, use a black marker to trace each of the pencil lines. We also added a solid line around the bottom perimeter of the paper bowl and then added lines on the outside perimeter of the paper bowl.
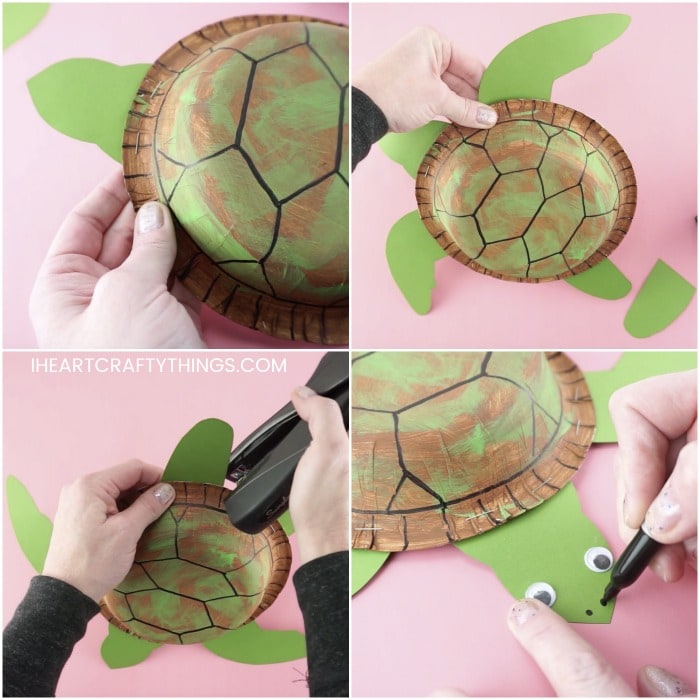
6. Attach the Head, Arms and Legs to the Shell
Use a stapler or glue gun to attach the head at the top of your paper bowl turtle shell. Then attach each of the arms and legs onto your sea turtle craft.
7. Add the Eyes and Face Features to Your Craft
Add two googly eyes on your sea turtle face. Then use your black marker to draw two small nostrils at the end of the sea turtle face.
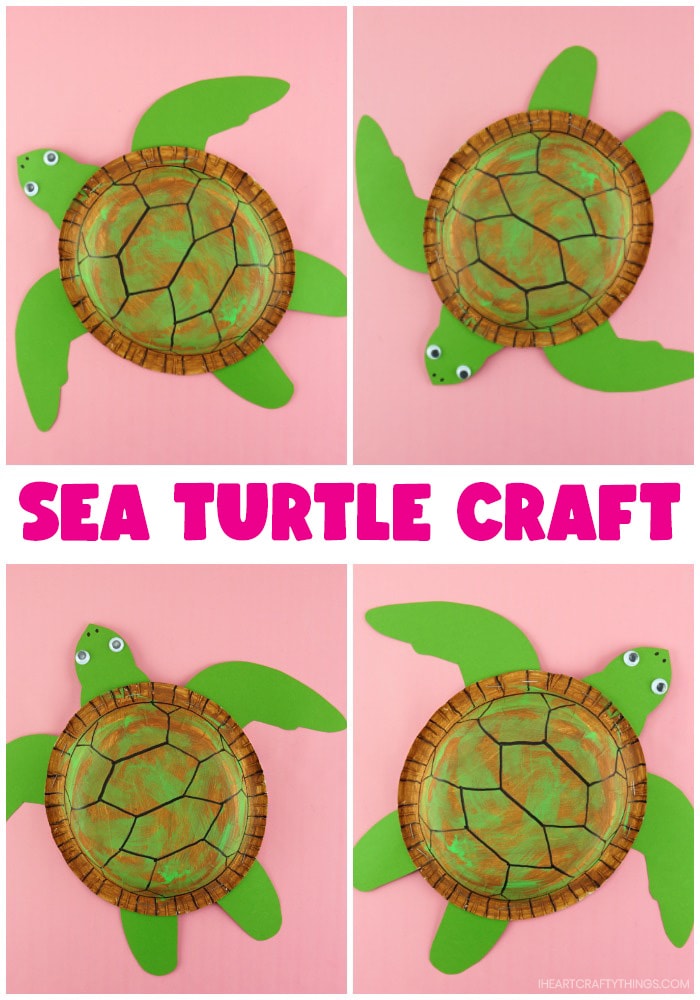
Your easy sea turtle craft is complete! Kids can now move around their paper bowl to watch as their adorable turtle crafts swim and dance around.
