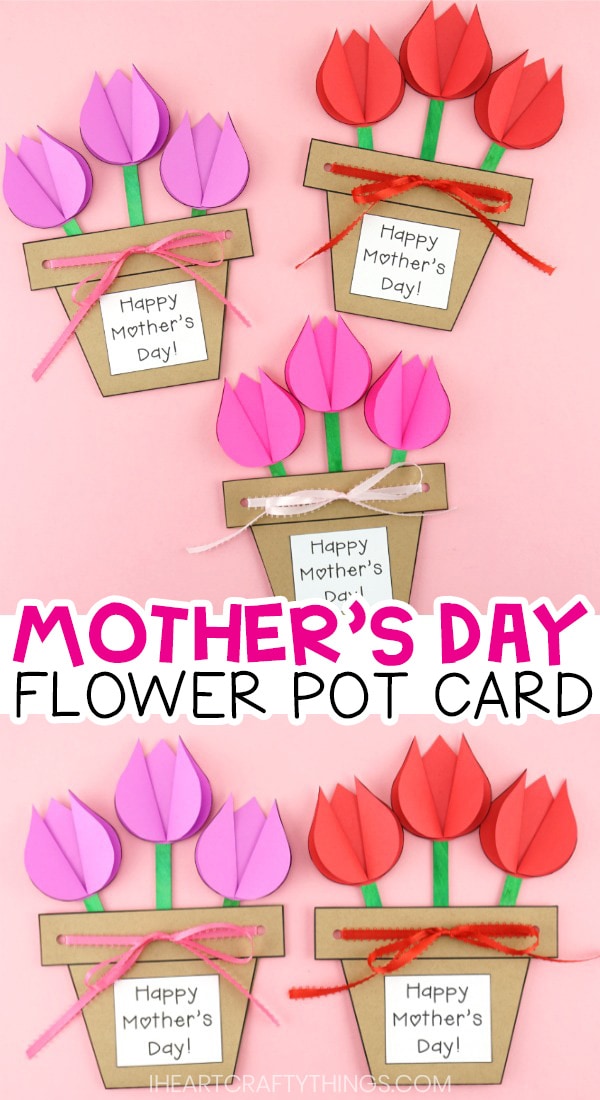
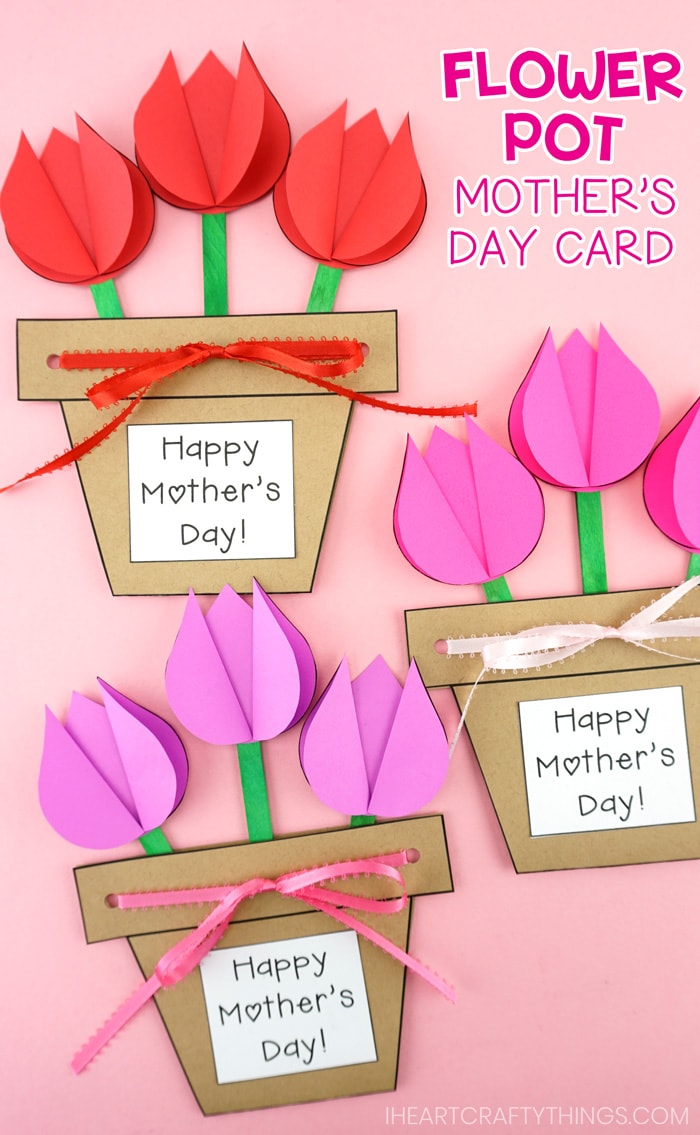
If you’re looking for a gorgeous Mother’s Day gift for kids to make this year, this Mother’s Day flower pot craft can’t be topped. Our template makes the flower pot an easy kids craft to make and mom or Grandma will adore the special message hidden inside the pot when she opens it up on her special day.
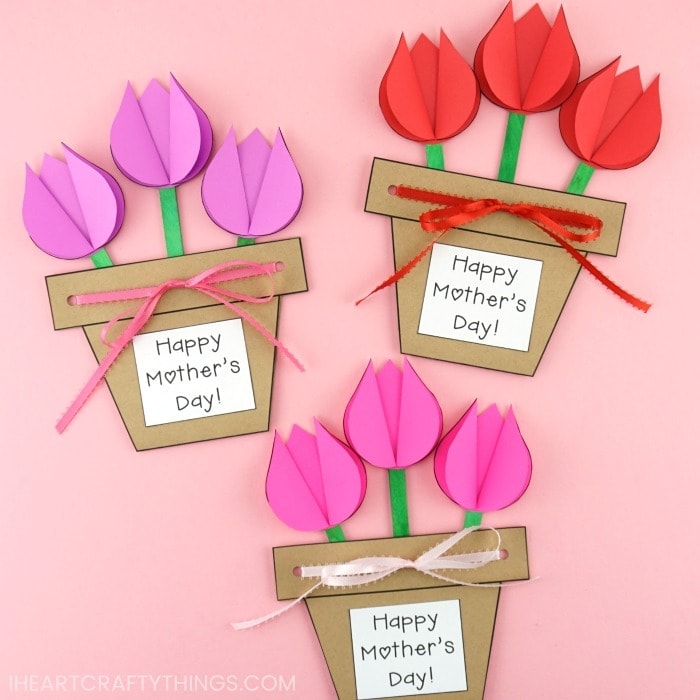
Mother’s Day is the perfect day let mom put up her feet, relax and spoil her a bit with her favorite things. While freshly cut flowers are gorgeous, it’s so sad when they start to wither away.
That’s one reason I love making flower crafts for Mother’s Day. They are a colorful and beautiful way for mom to enjoy the flowers as long as she wants without having to throw them out.
Grab our template and your craft supplies and get ready for an afternoon of fun creating this colorful flower pot craft for a homemade Mother’s Day gift. The simplicity of the craft makes it perfect for home, school or Sunday school.
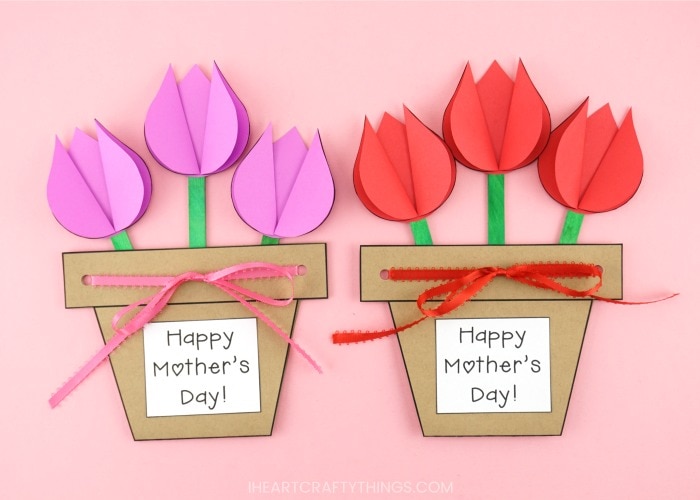
Supplies needed for Flower Pot Craft:
- flower pot craft template <—- Purchase in our shop
- Kraft paper cardstock paper -8.5” x 11” (or color of choice)
- Red, purple or pink paper (or cardstock) 8.5” x 11”
- White cardstock 8.5” x 11”
- Green craft sticks
- Elmer’s extra strength glue stick (or Tacky Glue)
- 3/8″ Ribbon -Find different colors at Michael’s.
- Hole punch
- Scissors
- Markers
How to Make a Mother’s Day Flower Pot Craft
1. Download and print the flower pot craft template
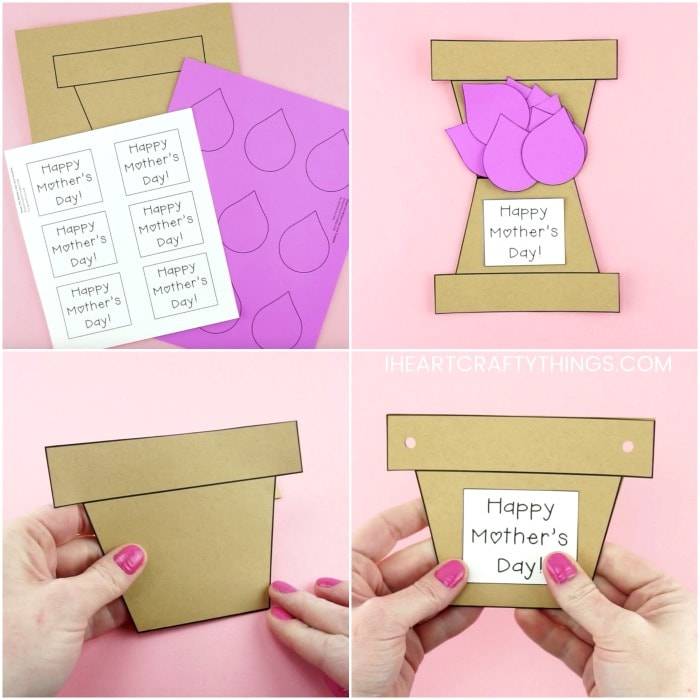
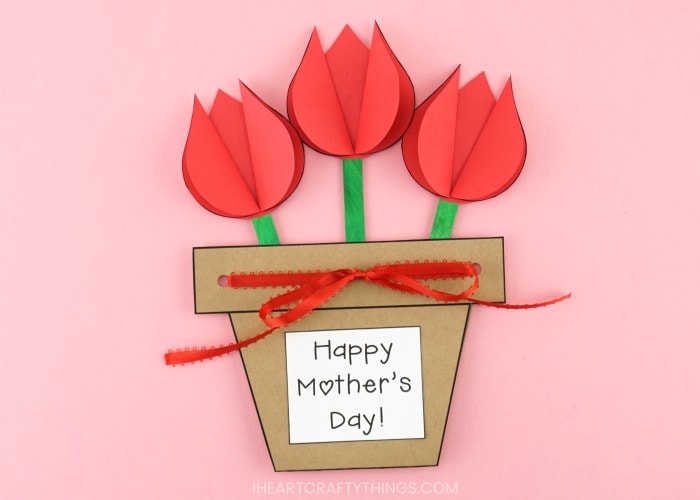
Purchase and download the flower pot craft template. Print out the flower pot page of the template on brown kraft cardstock. Print out the flower petal page of the template on red, purple or pink paper. Finally, print out the Mother’s Day card tag page on white cardstock.
2. Cut out the template pieces
Cut out each of the pieces of the template. Note: Each child will only need one Mother’s Day tag for their card.
3. Fold the flower pot to create your card
Fold the flower pot template in half along the line between the two pots to create your card.
4. Attach the Mother’s Day tag to the front
Glue the Happy Mother’s Day tag on the front of the flower pot card.
5. Punch holes in the flower pot rim for ribbon
Use a hole punch to punch a hole on each side of the flower pot rim to add your ribbon in a later step.
6. Prepare your flower petals
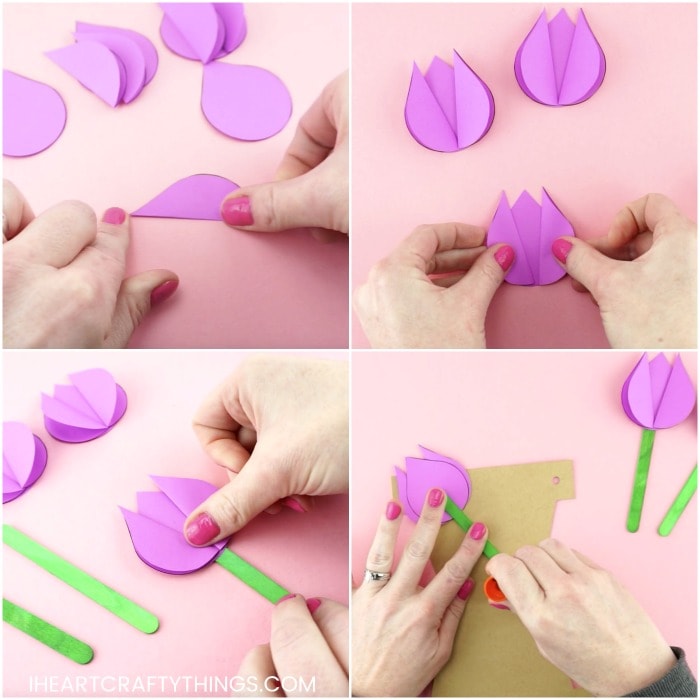
Gather your flower petals from the template. Fold six of the flower petals in half and leave three unfolded.
7. Assemble your tulip flowers
Add glue on the sides of one of your unfolded flower petals and glue two folded petals on the flower with the folds facing towards each other. Repeat this step to make two more tulip flowers.
8. Attach the tulip flowers to green craft sticks
Add glue at the top of your green craft sticks and attach the tulip flowers to them.
NOTE: If you don’t want to purchase pre-painted green craft sticks, simply paint wood craft sticks with green paint.
9. Glue the flower stems inside the card
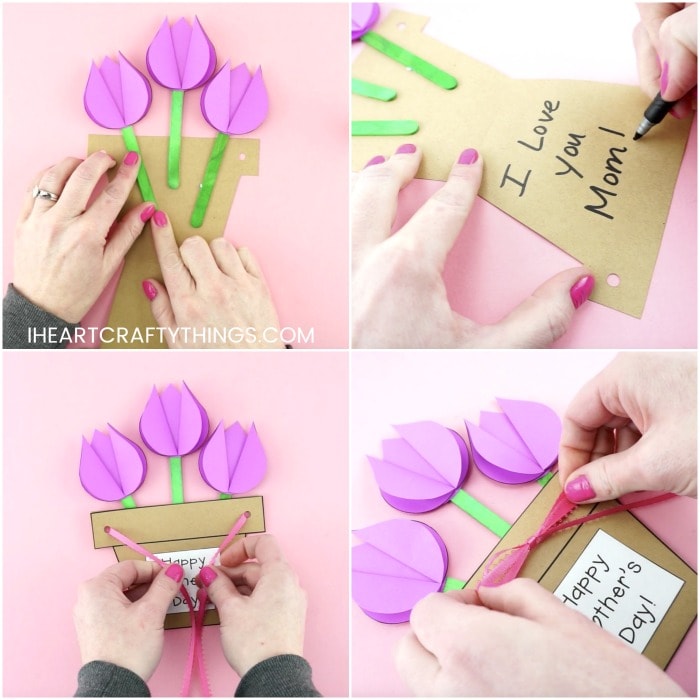
Open up your flower pot card. Add glue to the back of the green craft sticks and glue them at the top of the card so the stems are down inside the flower pot.
10. Write a personalized message on the card
Use a marker to write a personalized message on the bottom of the flower pot card.
11. Thread ribbon through the holes and tie a bow
Close the flower pot card. Cut off a section of ribbon about 26-inches long. Thread the ribbon through the two holes at the top of the flower pot and tie it closed with a bow on the front of the flower pot card.
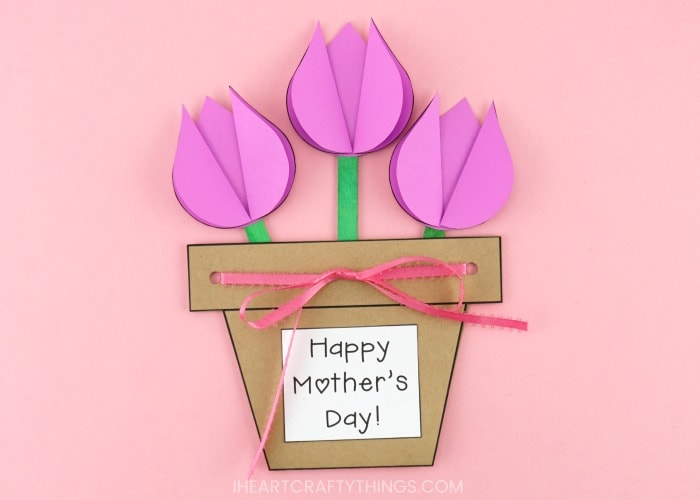
Your Mother s Day flower pot craft is complete. When you give Mom or Grandma her card, have her untie the ribbon and open it up to reveal the message on the inside of the card.
Video Tutorial: How to Make a Mother’s Day Flower Pot Craft
Watch the video below for a step by step guide on how to make this simple flower pot craft with our template.
