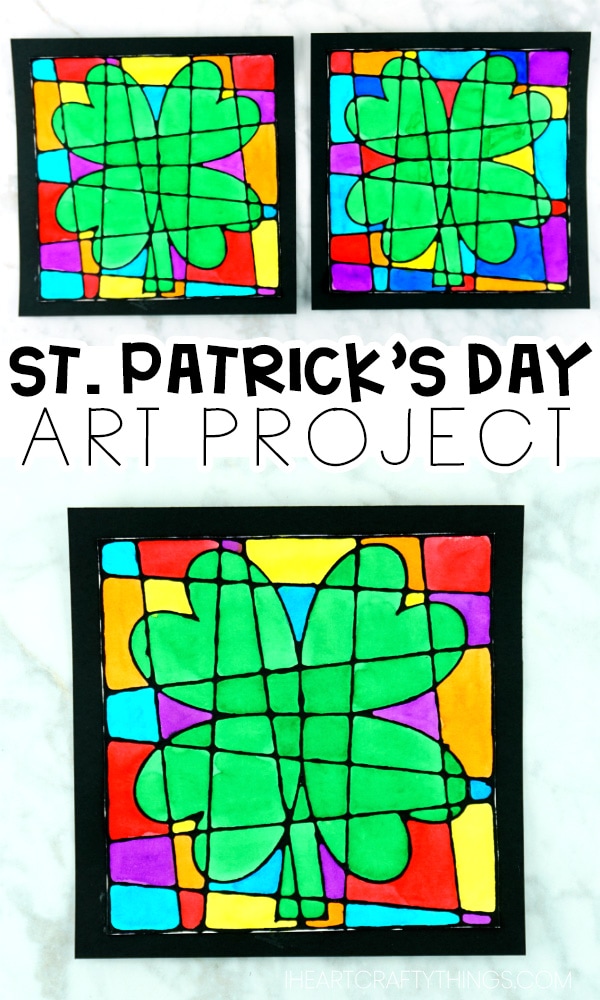
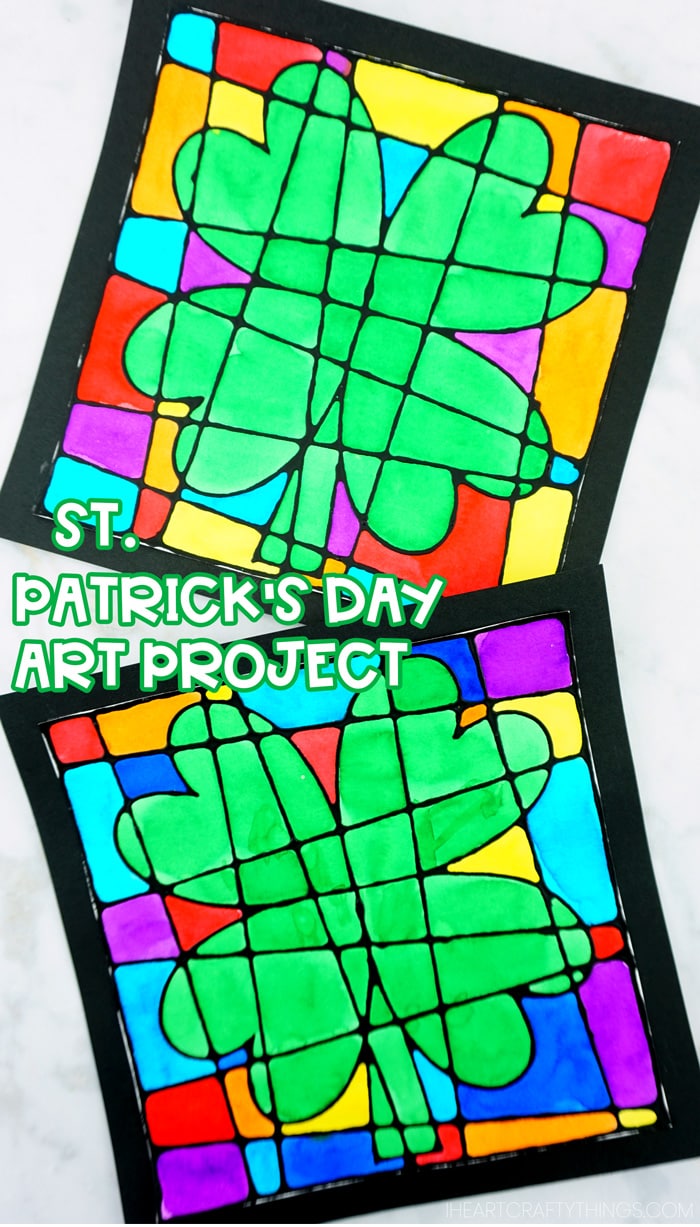
Looking for a gorgeous last minute St. Patrick’s Day art project for kids to make this year? If so, you are going to adore our four leaf clover artwork we are sharing today.
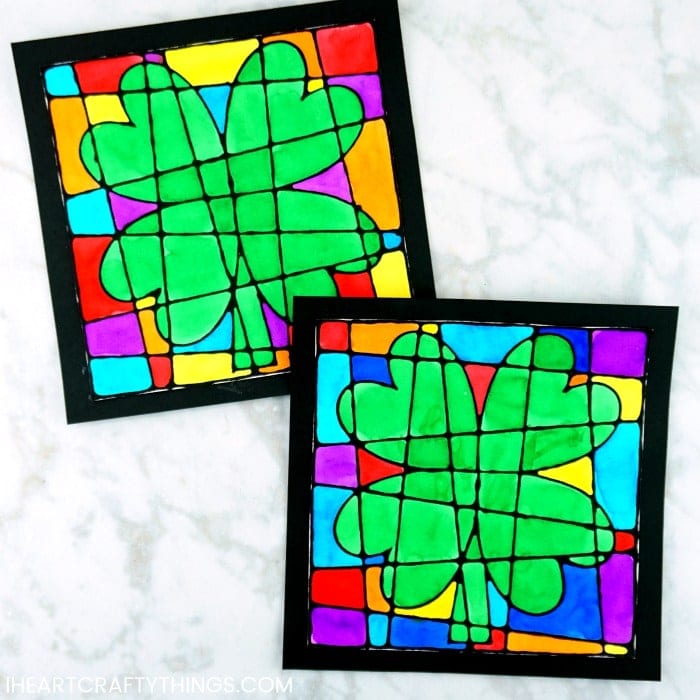
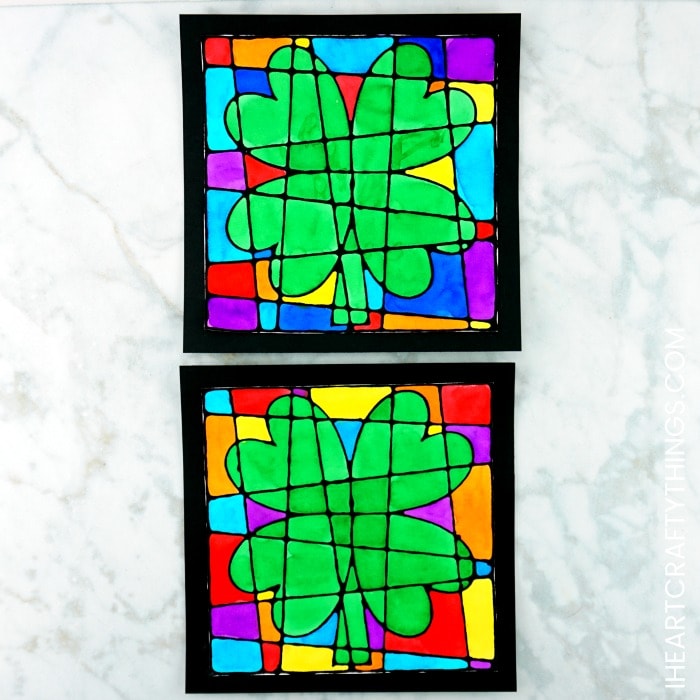
You’ll notice the lines added on the clover template help add some extra dimension to this beautiful art project. The bright watercolors mixed against the black glue lines gives the St. Patrick’s Day art a faux stained glass appearance. Kids are sure to delight in creating this gorgeous art project for St. Patrick’s Day.
How to Make this St. Patrick’s Day Art Project for Kids
This post contains affiliate links to the products mentioned.
Supplies for Four Leaf Clover Art Project:
- Art Project Template <—- Purchase in our Shop.
- mixed media paper
- Elmer’s school glue
- black acrylic paint
- stick for stirring
- watercolors (We prefer and love liquid watercolors!)
- paintbrush
- black cardstock or construction paper
- paper cutter
- scissors
- extra strength glue stick
Instructions for St. Patrick’s Day Art Project:
1. Mix black glue with acrylic paint and school glue
Start by mixing together your black glue. To do this, squeeze a generous amount of black acrylic paint into a bottle of Elmer’s School Glue. Use a wooden skewer or the end of a paintbrush to stir and mix the black paint into the school glue until it is thoroughly incorporated and the glue is black.
When making our black glue we like to start by adding 1 tbsp. of black paint into a regular size glue Elmer’s school glue bottle and then mix it together. We then add more black paint, a little at a time, if it doesn’t appear to be black enough.
Note: If you are making this art project in a classroom setting, I have had teachers comment it is easier to empty the glue bottles into a larger container to mix together the black glue and then use a funnel to add it back into the individual bottles.
2. Download and print the four leaf clover template on mixed media paper
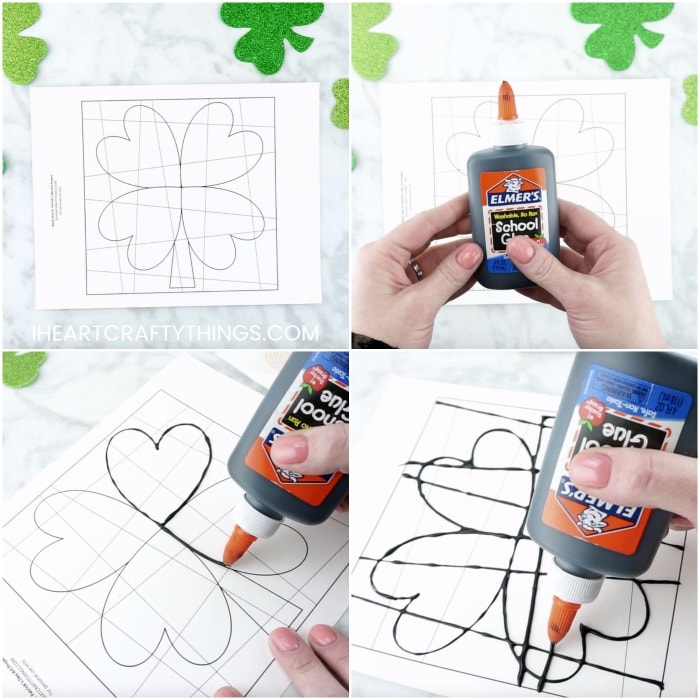
Purchase the four leaf clover template from our shop. Download the template and print it off on mixed media paper.
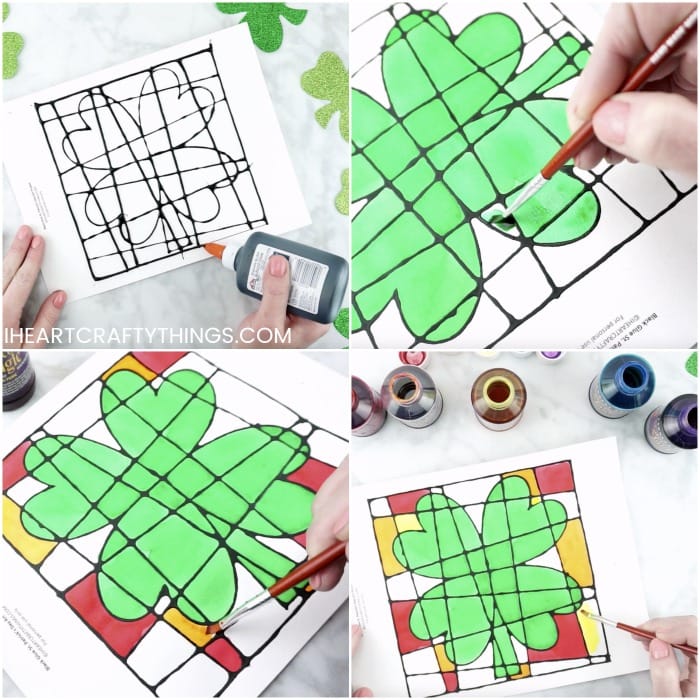
3. Test the black glue flow and trace the clover template
Before you begin tracing the clover with your black glue, test out the glue first on a napkin or separate piece of paper. Create some lines to experiment with the flow and spread of glue. Once you’re happy with the way the glue flows, use a steady hand to trace the lines of your clover template with your black glue.
Helpful Hint for Black Glue Art Tracing
I found it easiest to trace the outline of the four leaf clover first on the template. Then trace the lines across the clover in one direction, then the next direction. Finally, trace the outside border of the template.
You’ll notice we have a few variations of the St. Patrick’s Art project template when you purchase it from our shop. To accommodate younger children making this art project, we have a simple four leaf clover without the lines running through the template.
This is a great template for preschoolers or children who are new to black glue art projects. You can also use this template for elementary age children and allow them to use a ruler to add their own lines running across their artwork. This is a great way for children to personalize their own art projects.
4. Let the black glue dry overnight
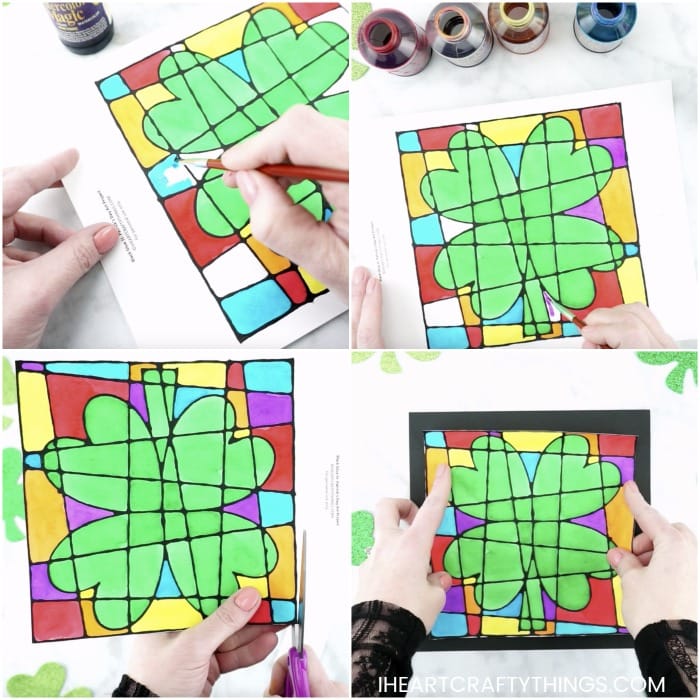
Leave the black glue to dry overnight. This step is a MUST because if you paint your picture prior to the black glue drying your watercolors will mix with the black paint leaving you with a mess.
5. Paint the clover with watercolors
Once the black glue is completely dry, paint your four leave clover template with watercolors.
6. Cut out a black background for your art project
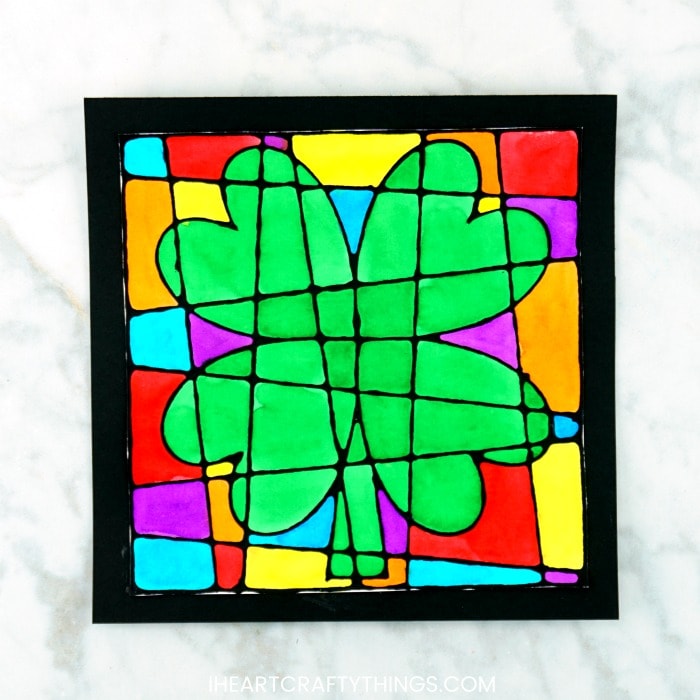
Cut out a black background backing for your St. Patrick’s Day Art Project out of black construction paper or cardstock that is 8.5-inches by 8.5-inches square.
7. Glue the clover onto the black background paper
When your watercolors are dry, cut out the four leaf clover along the border of the template. Use a glue stick to add glue to the back of the template and glue it onto your black background paper.
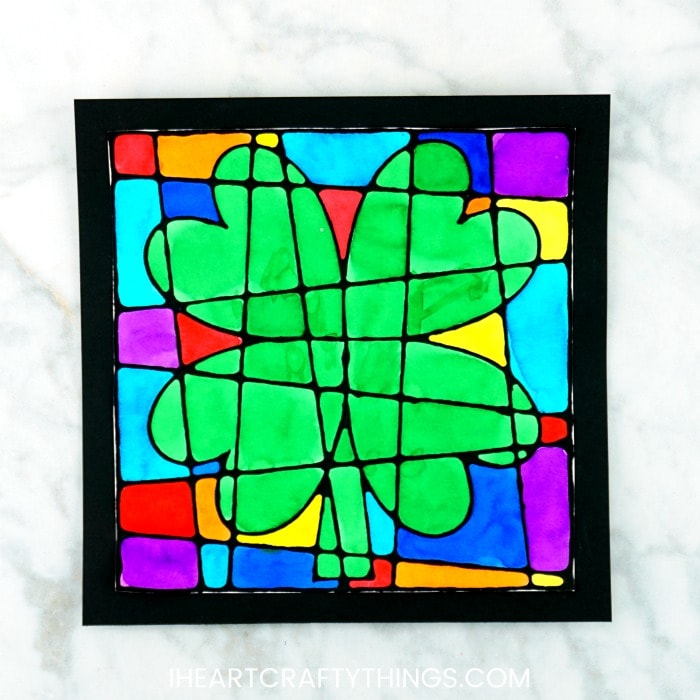
As you can see the end results are absolutely stunning. The black glue mixed with the colorful watercolors gives off a stained glass appearance to the art project.
Hang this gorgeous stained glass art project up on display on a bulletin board outside the classroom or at home as a festive St. Patrick’s Day decoration for the holiday.
Video Tutorial: How to Make a Four Leaf Clover Black Glue Art Project
Watch the video below to be guided through each step of our St. Patrick’s Day art project. Find more St. Patrick’s Day art projects and easy arts and crafts ideas by browsing the categories at the top menu bar of our website.
