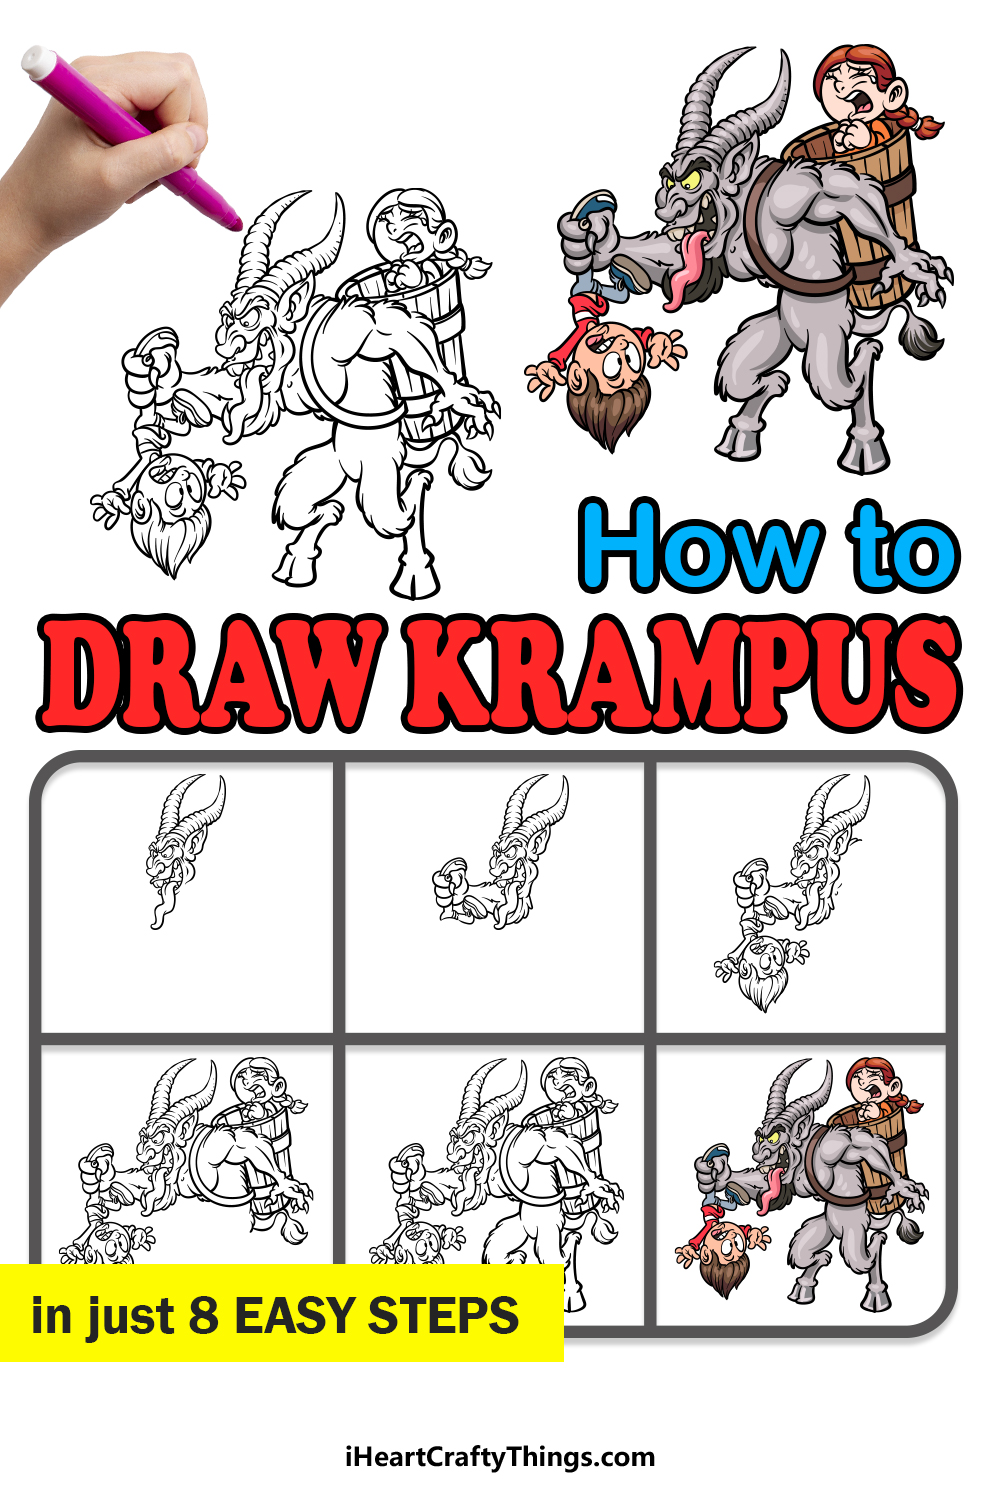
When it comes to Christmas time, there are tons of different traditions and aspects associated with the festive season.
Santa is one of these recognizable aspects, and for many children, the deal is simple. If you behave throughout the year then Santa will swing by with some gifts.
While Santa is well known around the world, a lesser-known figure is his counterpart Krampus. This much less cheerful character takes care of all the bad kids by dispensing coal instead of treats.
Learning how to draw Krampus is a great way to enjoy festive cheer with a darker edge.
This tutorial in front of you will show you how to recreate a cool representation of this sinister character.
Please enjoy our step-by-step guide on how to draw Krampus in just 6 easy steps.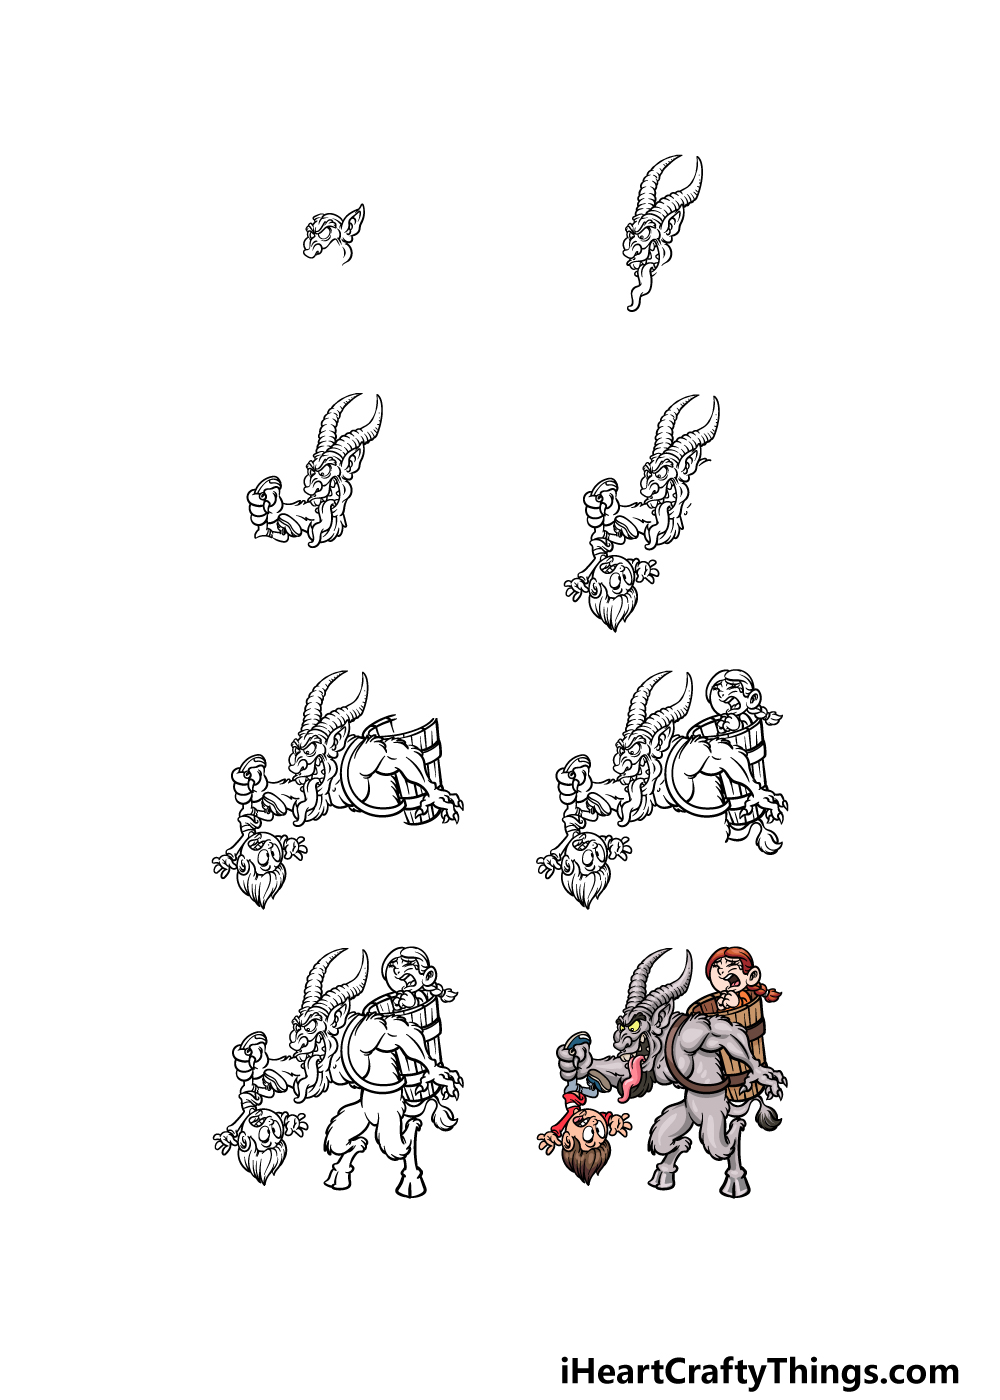
How to Draw Krampus – Let’s get Started!
Step 1

Krampus takes on many forms depending on the cultures depicting him, but his most common appearance has him as a monstrous horned figure.
This is the interpretation that we will be taking on in this guide on how to draw Krampus.
We will start with his face, and you can begin with some rounded shapes for his eyes and then some sharply curved eyebrows over them.
Then, we will be using lots of curved lines to add a detailed face around the eyes. We will also draw some large pointy ears that have some inner details inside of them.
Then, we will be able to move on to step 2 of the guide.
Step 2 – Next, draw his horns and more facial features
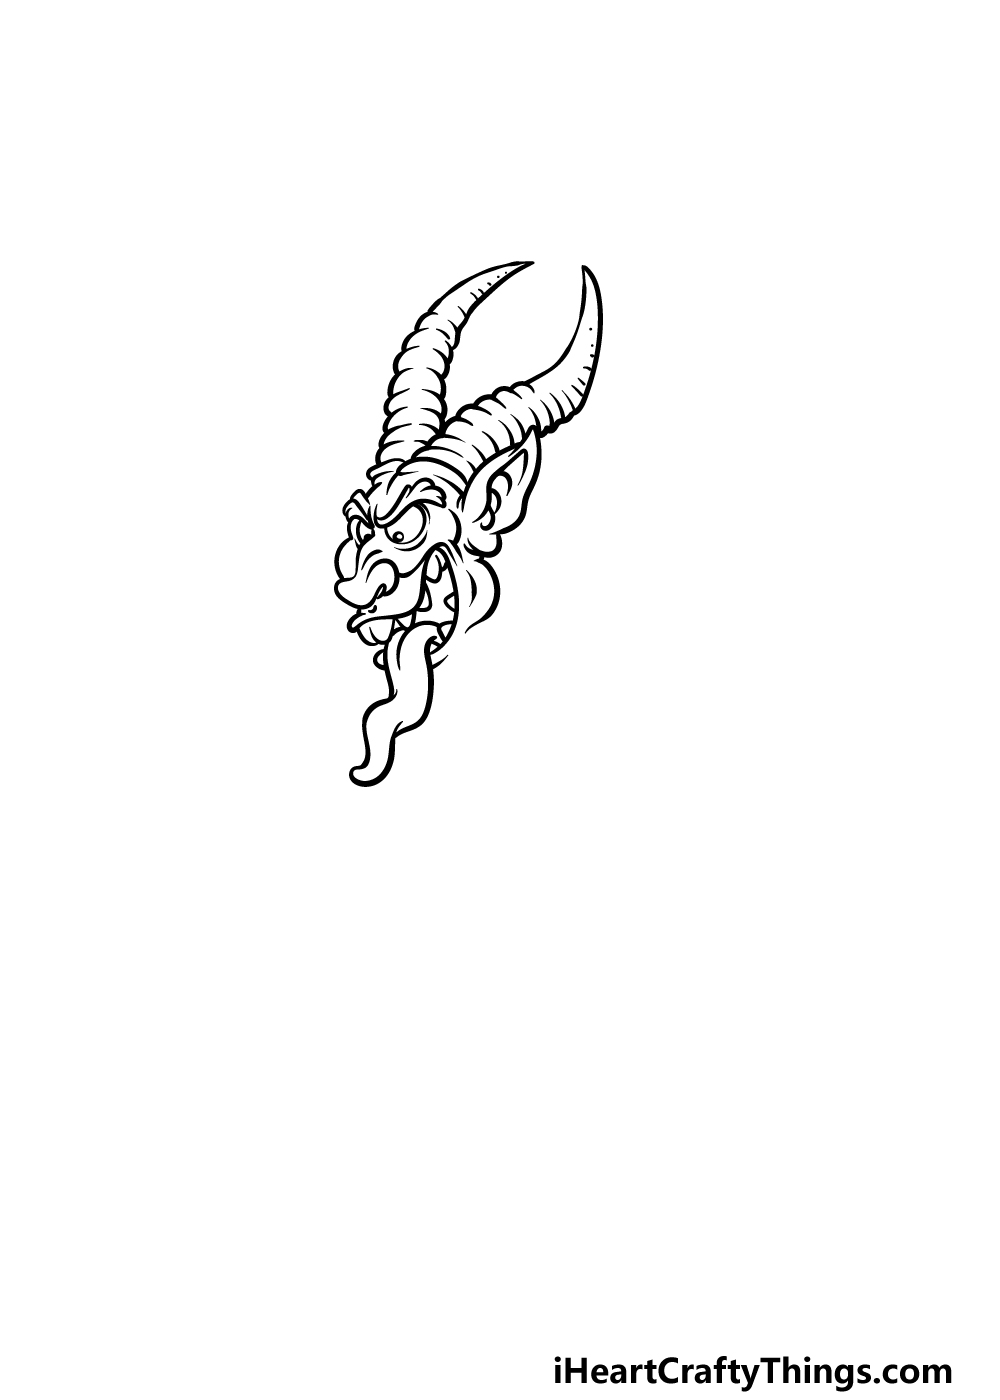
This second step of your Krampus drawing will see you adding not only his famous horns but also some more facial features.
For the horns, we will be using lots of curved lines to create many flat, rounded sections that connect to one another to form the horns as a whole.
They are quite tall and curved, as shown in our reference image.
Then, we will be adding some details to his eyes and face, and you can finish off this step by drawing his long curvy tongue dropping down from his mouth.
Step 3 – Now, draw his first arm
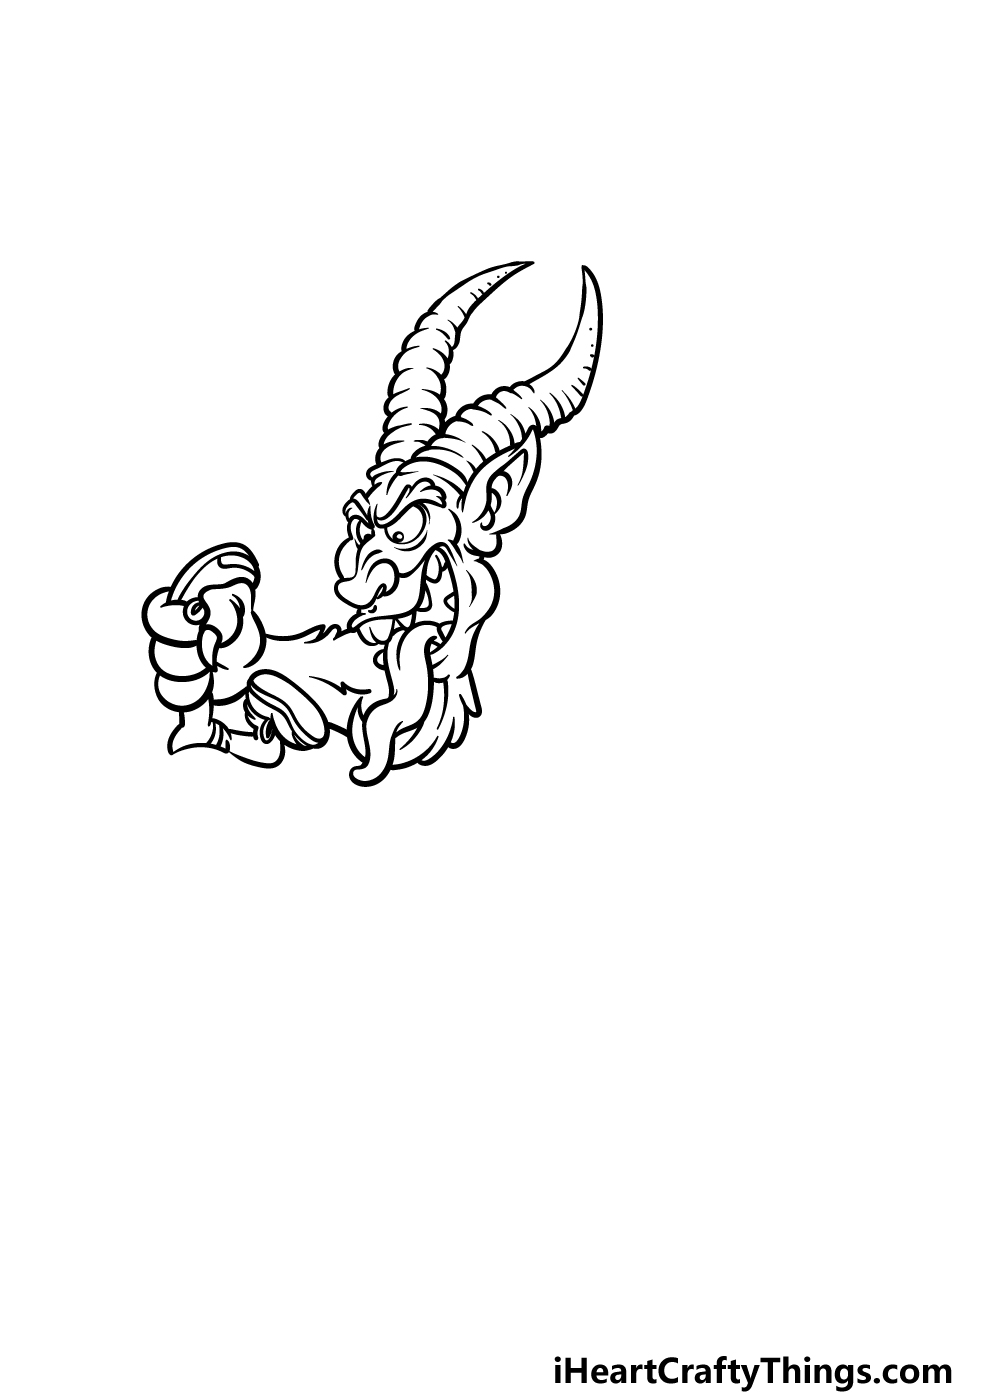
Moving away from the face for a bit, we will now be drawing his first arm in this step of our guide on how to draw Krampus.
His arms are quite large, thick and hairy, so to represent this we will be using some bumpy lines.
This arm will be extending out to the left, and it will be clutching the legs of an unfortunate child that we will be drawing soon.
Once you have drawn this arm, we can move on to the fourth step of the guide!
Step 4 – Next, draw the first child
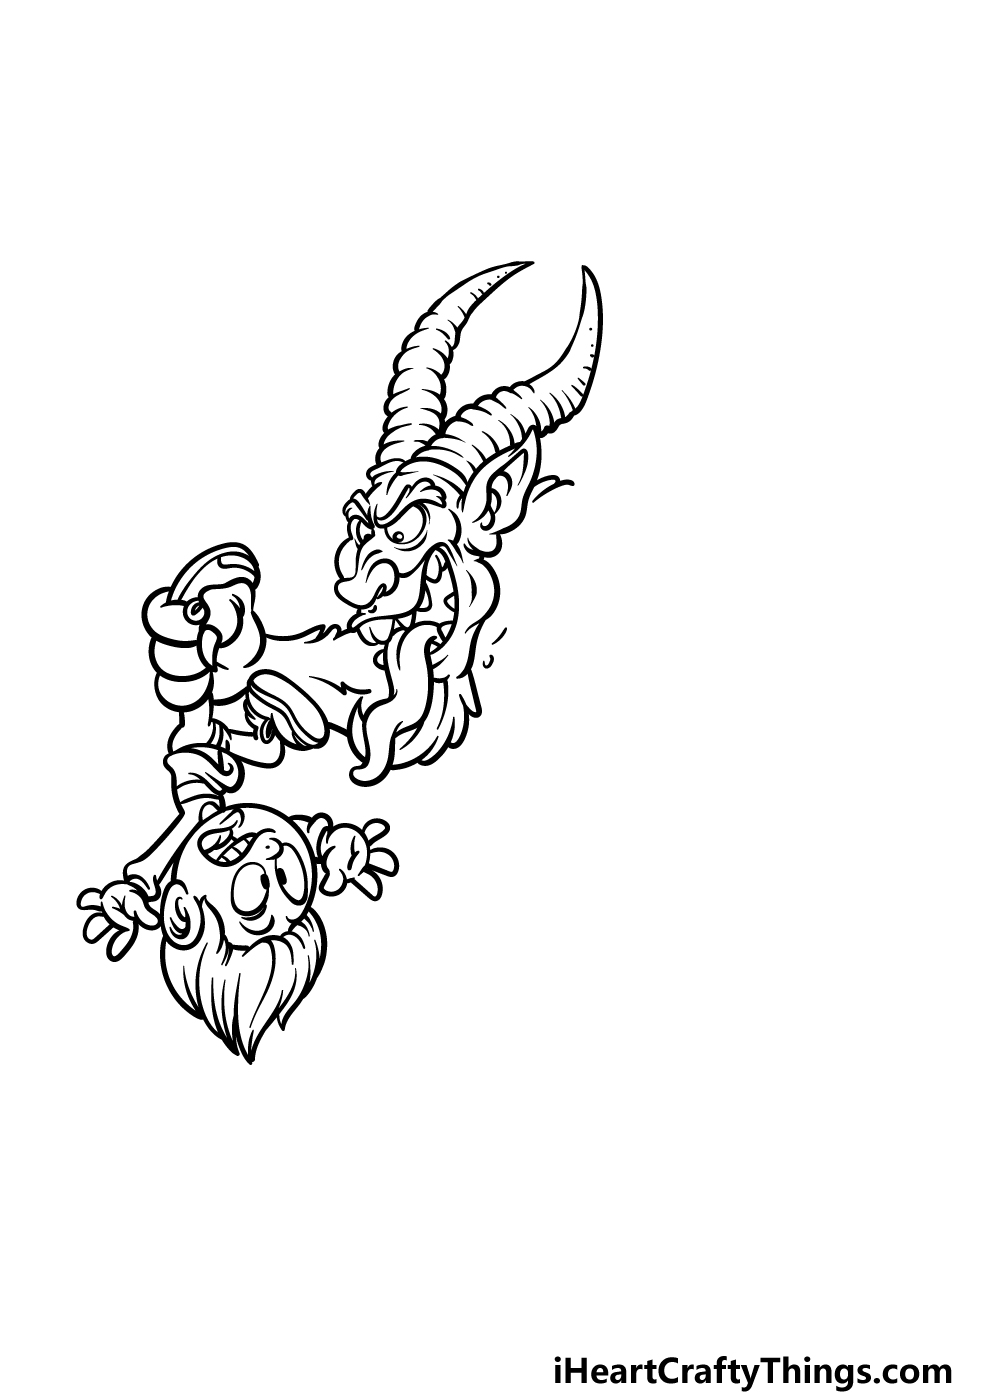
In the previous part of this Krampus drawing, we drew the legs of the child that Krampus is holding up, and in this one we shall finish drawing him.
He’s hanging upside down, so to make things easier on yourself you may want to flip your page upside down and do the same for the image we provided.
When this kid is drawn, you can flip everything back to the way they were and we can continue.
Step 5 – Now, draw the big barrel on his back
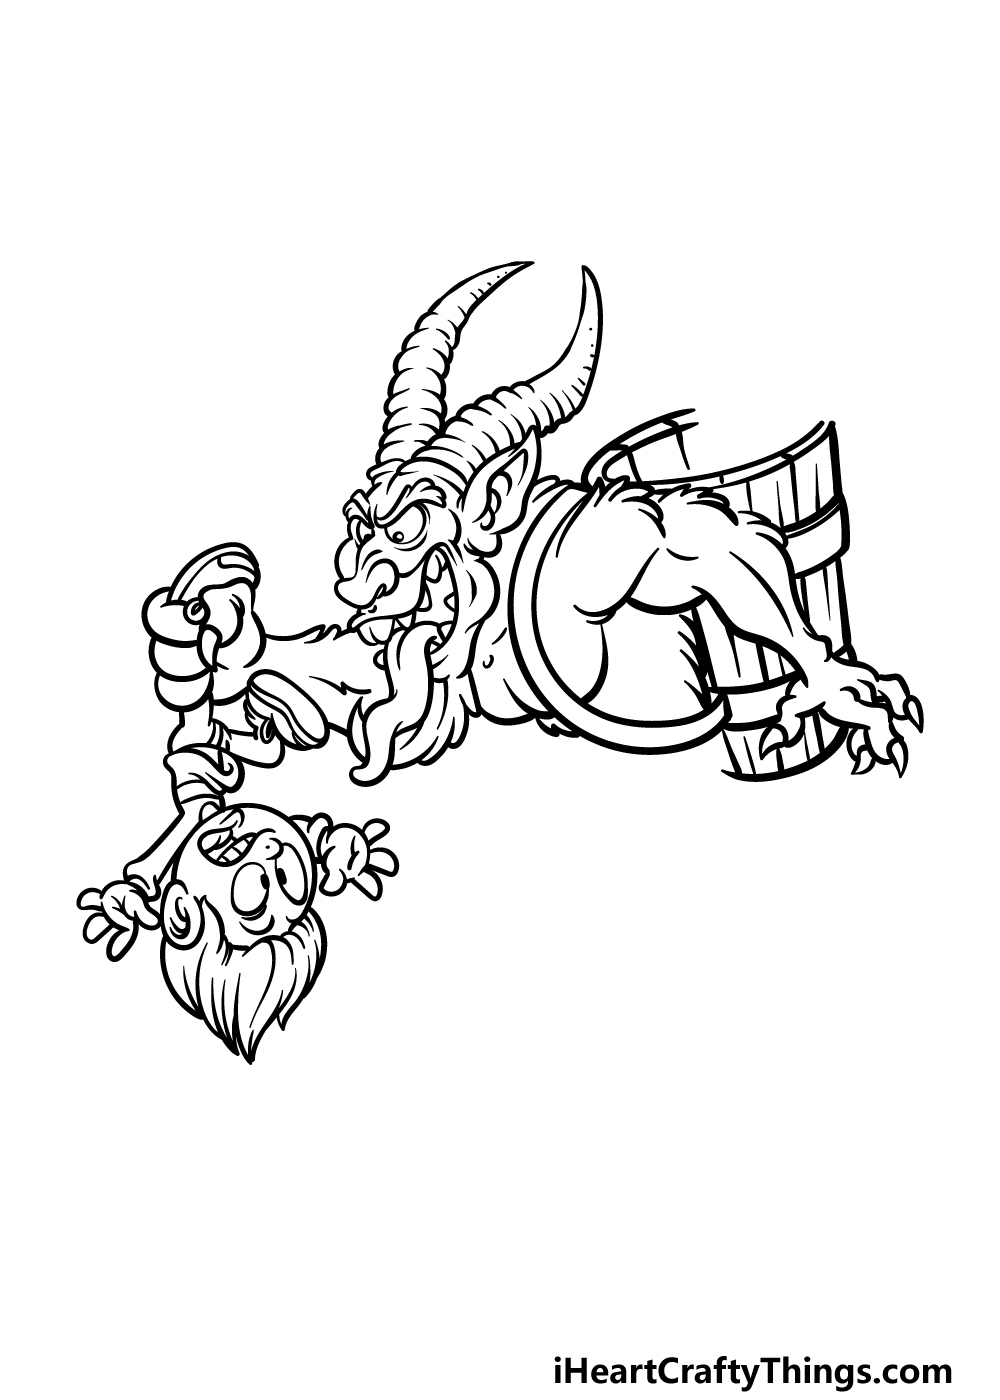
For the fifth part of this guide on how to draw Krampus, we will be depicting the barrel on his back. You can start this by drawing some curved lines for the straps holding it there.
You can then draw the barrel itself, and this will be composed of many thin wooden parts connecting to one another with a metal band holding them together near the middle.
You can also draw his other arm in this step before you move on.
Step 6 – Next, draw the second child
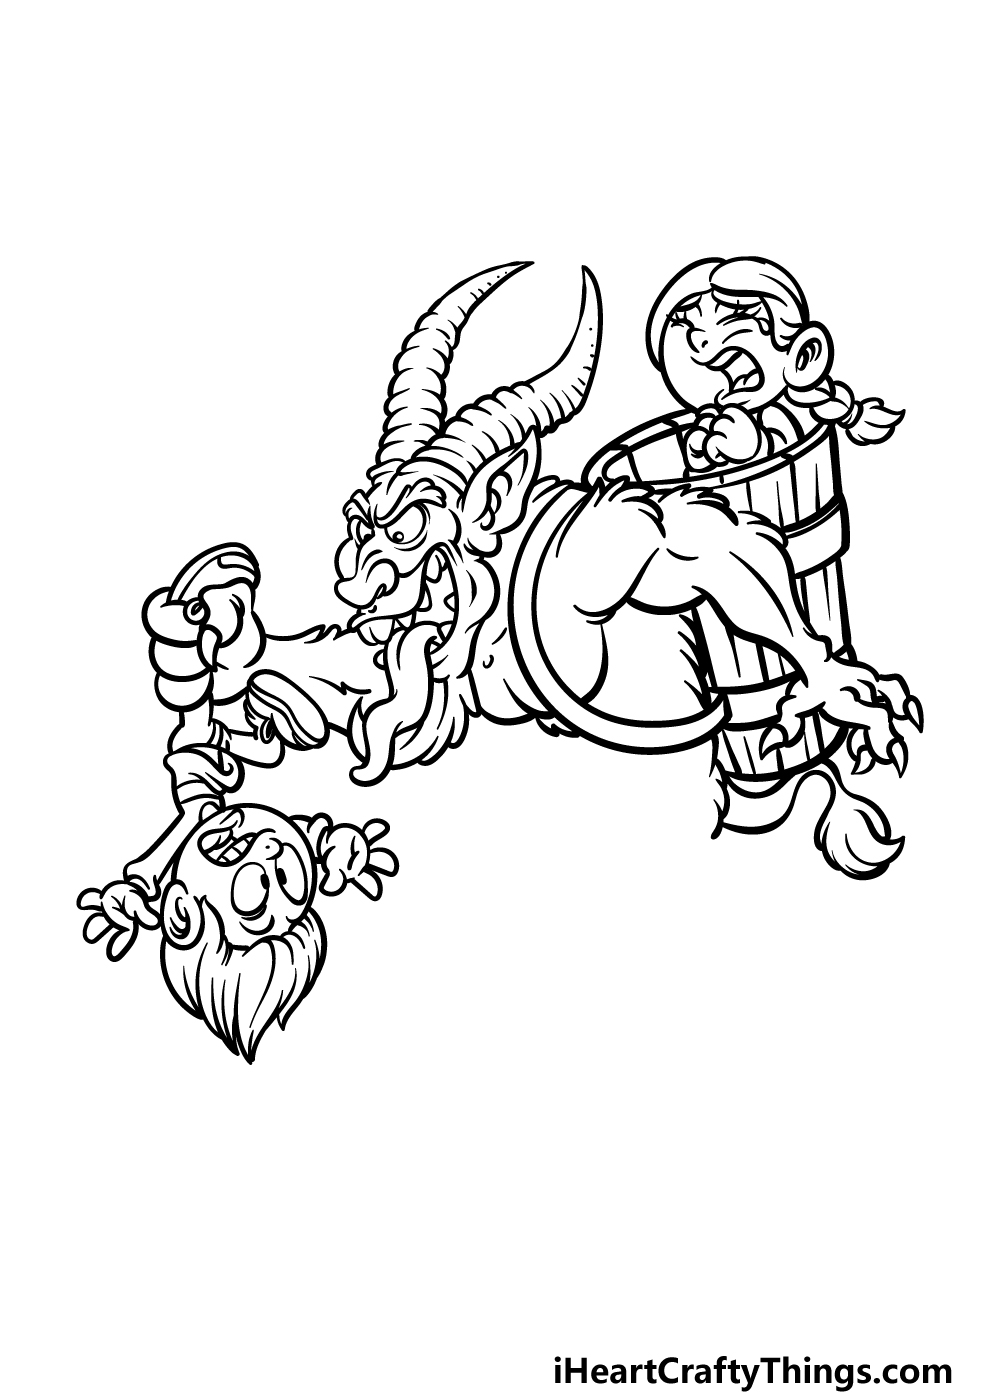
There will be another unfortunate victim added to the Krampus drawing in this next step!
This next child will be a little girl sitting inside of the barrel on his back, and she’s certainly not looking happy to be there!
Luckily, she’s the right way up this time, so there’s no need to flip the page this time. Be sure to also draw his twisty tail, and then we can proceed to the final details and elements in the next step.
Step 7 – Draw his legs

Before you get to the final step of this guide on how to draw Krampus, we have a few final elements to draw.
In this part, we will be adding his legs, and they will look rather goat-like. Use lots of smaller curved lines to make them look hairy like you did for his arms.
Then, draw some rounded hooves to the ends of them to finish off.
Will you draw a background for this drawing before you add some color?
Step 8 – Now finish it off with some color

You’re now ready to finish off this Krampus drawing with some colors! For Krampus himself, we used a variety of different greys for his fur.
The barrel and strap are colored in browns, and then we used some brighter colors for the clothes of the children.
These colors are just a few that you could use for your own drawing, but you should go ahead and use any other colors that you would love for it!
What colors and art mediums do you think would best suit this image?
Here’s how you can make your Krampus drawing even better…
Make this Krampus sketch even more terrifying with these fun tips!
In this drawing of Krampus that we created, there are two unfortunate kids being terrorized by the mythical beast. The designs of these characters are really cool, but you could personalize it a bit!
One fun touch would be to model the two kids on people you know. You could even use yourself and maybe a friend or sibling!
That would be a way to add a great personal touch to this image that would make it even more intense.
We love the design of Krampus in this image, but he has been shown in many interpretations throughout media. If you wanted to make this drawing more unique, you could change elements of his design.
You could get inspiration from books, movies or other forms of media that Krampus has been featured in. If you’re feeling extra creative, then you could come up with a brand new design of your own for this famous monster!
This beast is one of many famous mythical monsters of folklore. If you want to make your Krampus drawing even scarier, you could add some more legendary monsters to the scene.
Some examples would be a yeti or maybe Bigfoot. You could even go for some ghosts or aliens to give the picture a spooky feeling. These are a few ideas, but there are so many more you could add!
If you add more characters such as these, what sort of scene do you think you would create around them?
Finally, you could finish it all up by drawing a background for your Krampus sketch.
The legend of Krampus takes place around Christmas, so you could draw a Christmas-themed background with decorations and maybe a tree.
Such a cheerful setting would create an ironic twist for this scary image! If you added other characters, then maybe you could use a background that creates a bit of a story around the scene.
What are some background settings you could go for?
Your Krampus Drawing is Complete!
You have reached the end of this guide on how to draw Krampus, and we hope that you enjoyed recreating this darker Christmas character!
There were a lot of details included in this picture, but by breaking it down into smaller steps we hope that it was made easier for you to depict them.
Now you can take over and show off what you can do by adding your own details, elements and ideas. How will you finish off this image?
You can also expect many more awesome drawing guides like this one on our website. We have a huge selection with more on the way soon, so be sure to keep checking in!
We would be thrilled to see how you finished up this Krampus drawing, so please remember to share your finished artwork on our Facebook and Pinterest pages.