You’re sure to find this guide on how to draw a candle very illuminating! Discover the simplest way to draw some lovely candle designs.
Candles have been helping us to see in the dark for thousands of years. They have become less necessary these days, but they can be incredibly useful if you need to have some light in a power outage or similar situation.
Candles also have symbolic meaning as a sign of enlightenment, and so there are many reasons why you may want to draw one.
In this guide, I will show you the best way to make a very detailed candle that you can use in your own art with some additional details and background elements.
.
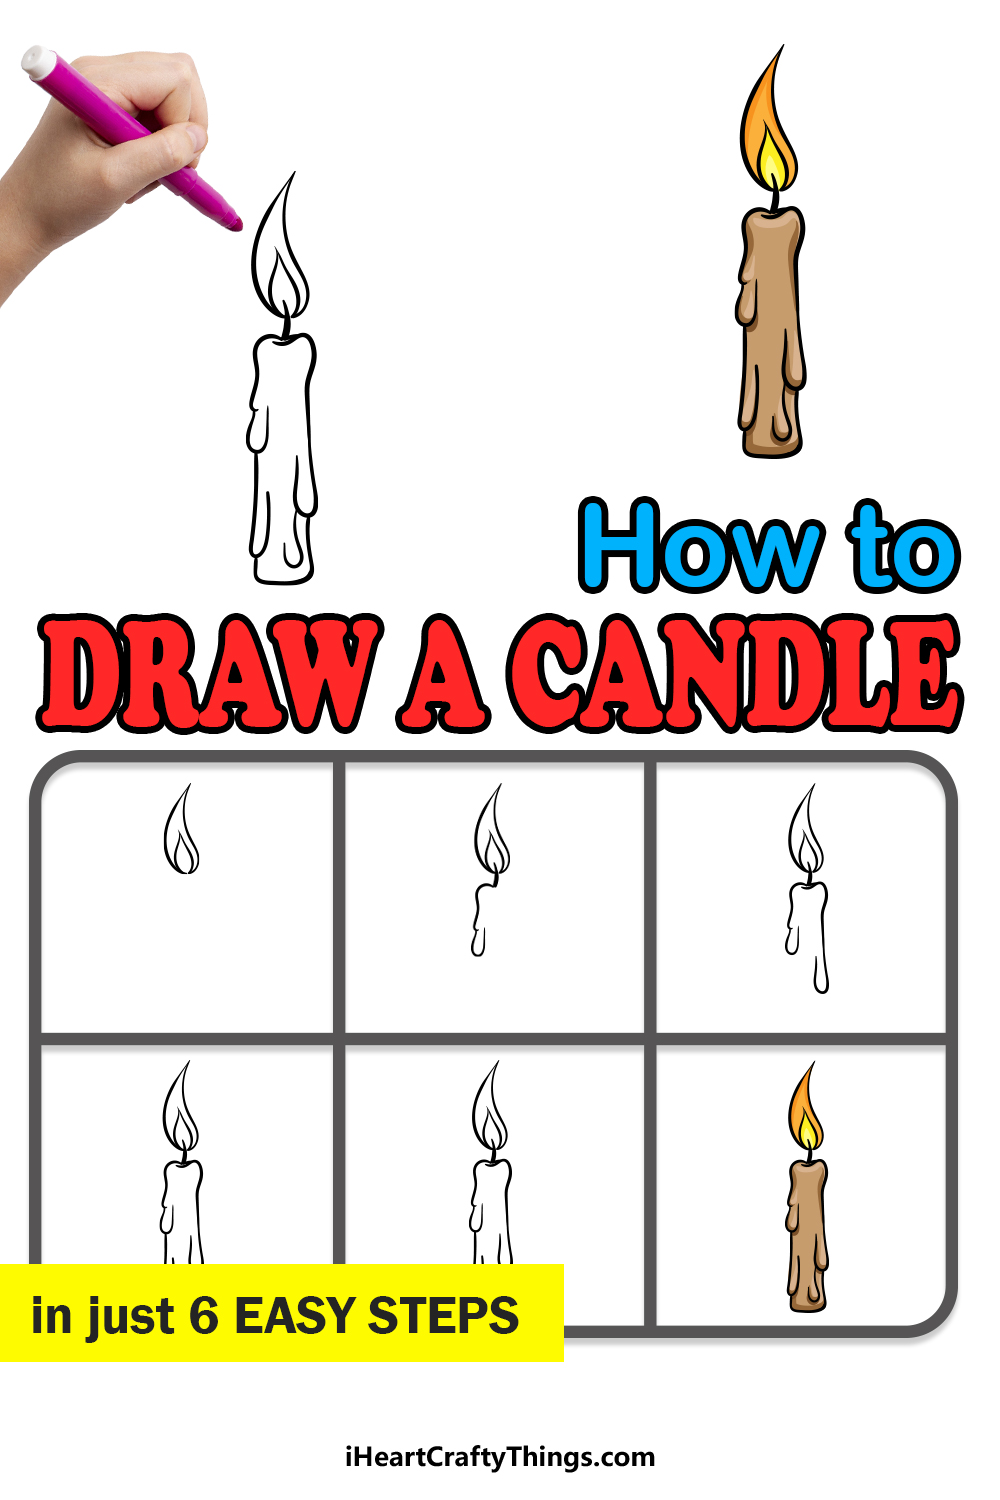
Discover How To Make Your Candle Drawing
How to Draw A Candle – Let’s Get Started!
Step 1
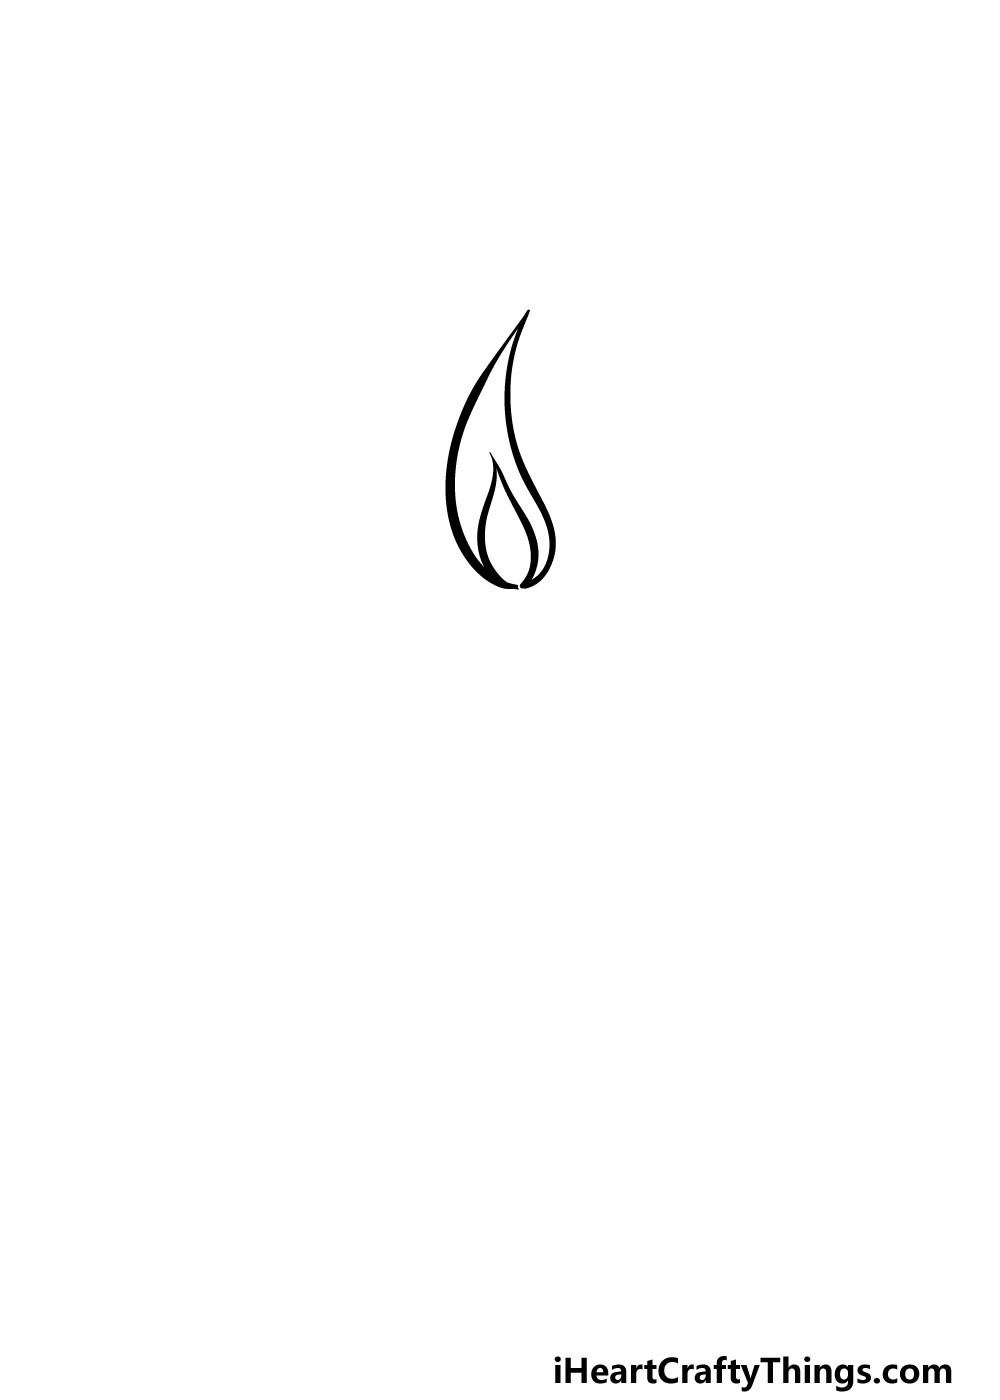
This very first step of our guide on how to draw a candle will begin with the flame of the candle. This flame will be drawn with a pointy shape within another one.
To draw this, you can start with the outer shape that has a round base that gets thinner as it goes up.
It eventually culminates in a sharp point that curves to the right. Finally, add another similar shape inside of the outline.
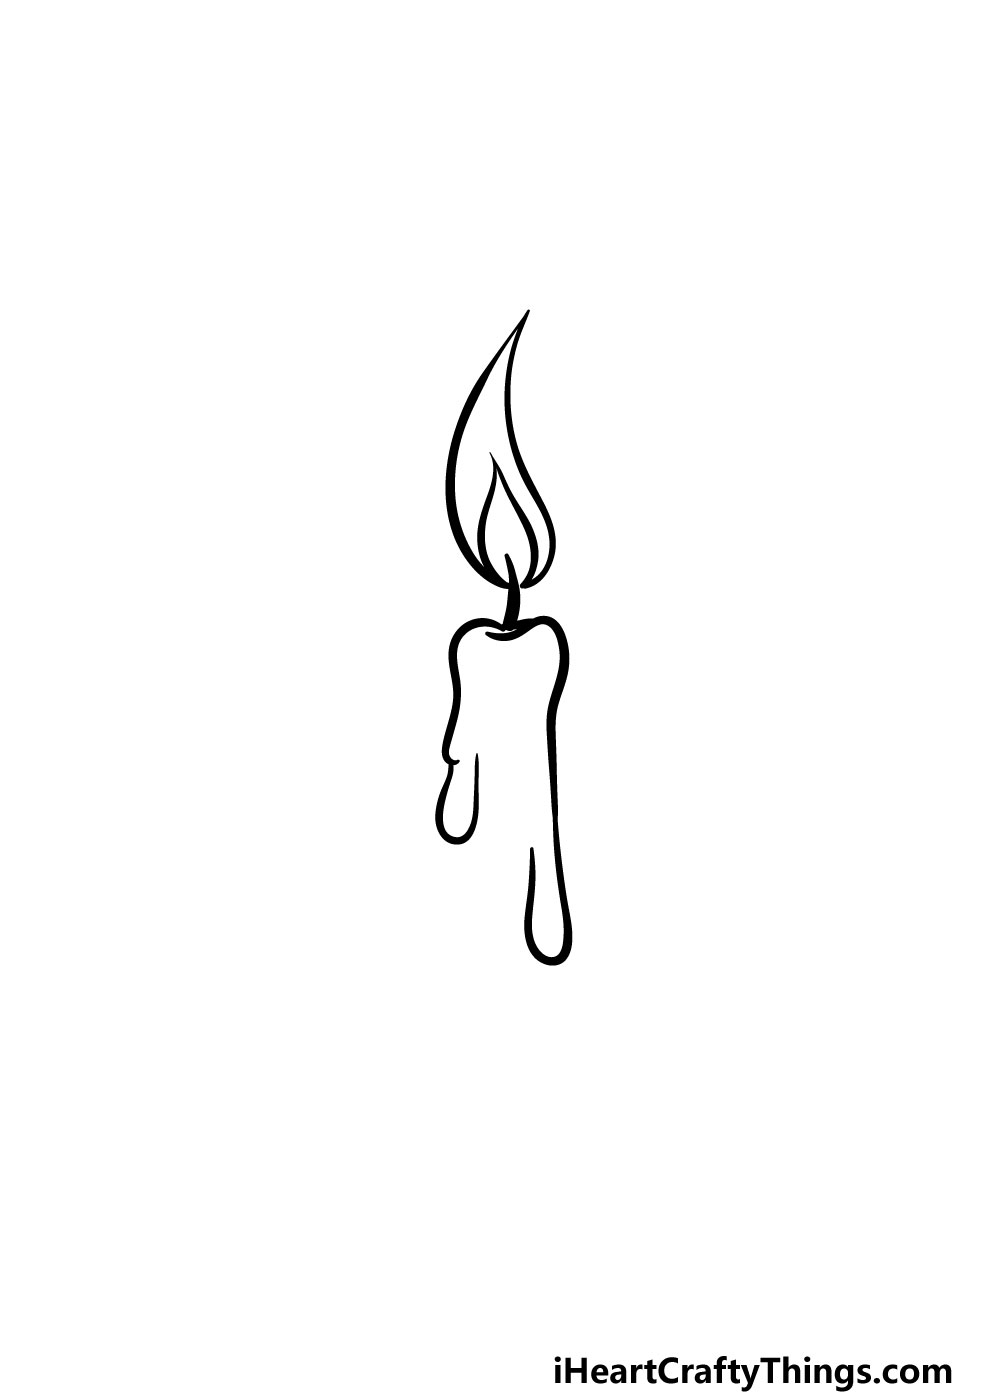
Step 2 – Next, draw the wick and top of the melting candle
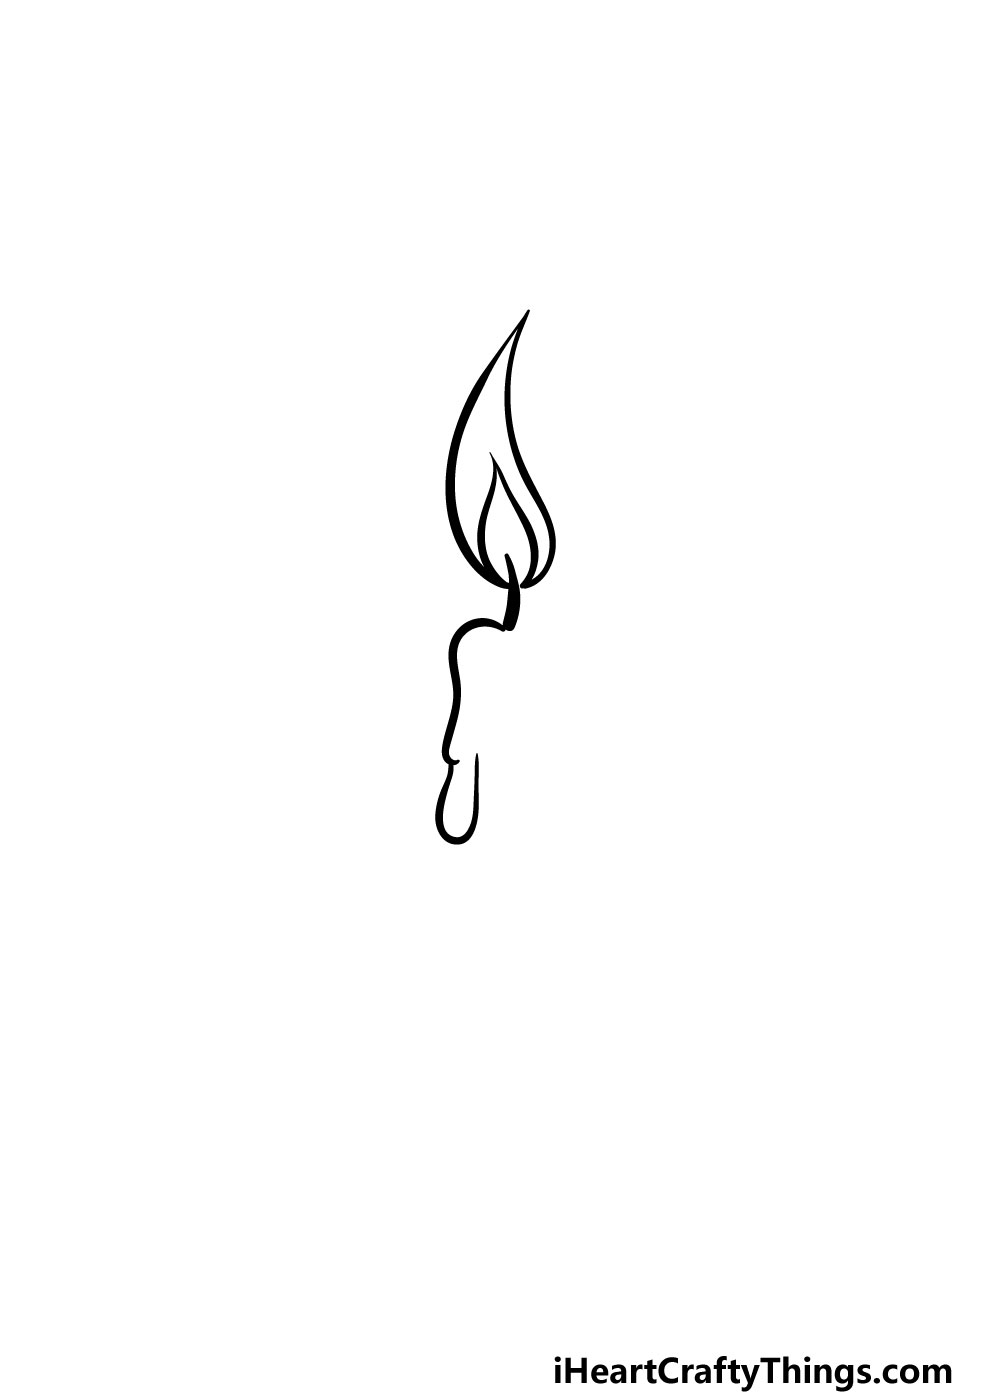
Now that you have the flame of your candle drawn, you can start to draw the candle itself. To draw the wick of your candle drawing, simply add a thin line coming down from the center of the flame.
Then, you can use some curved lines for the top of the candle. One of these lines will loop up a bit to show that wax is dripping down.
It may sound confusing, but when you refer to the reference image it will become clear!
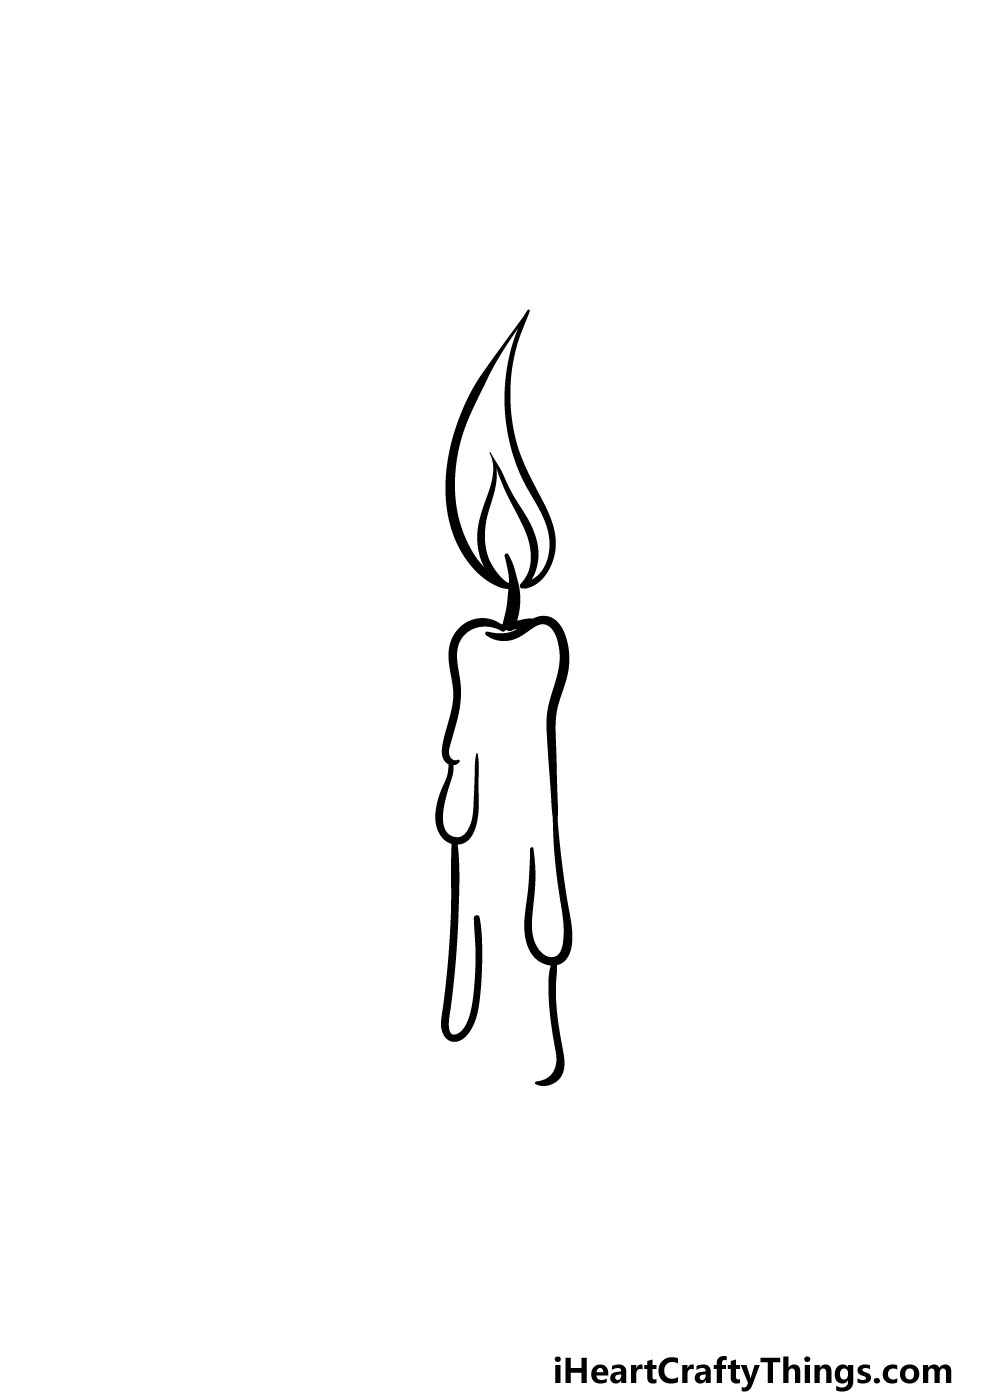
Step 3 – Now, continue drawing the top of the candle
We will continue drawing the candle with wax dripping down in this step of our guide on how to draw a candle.
This time, you will be drawing the right-hand side of the candle that will also be dripping down. This will look very similar to the left-hand side, except the drip here will be longer and extend lower down.
That’s all there is to it for this step, and now you’re ready for the next step!
Step 4 – Next, draw some more of the left side of the candle
Your candle drawing is really starting to take shape! We will keep that momentum going with this next step.
Here you can add another extension to the left-hand side of the candle, adding another drip as you do. With that drawn, we have just a few more details before you start on the colors for your candle!
Step 5 – Now, you can finish off the final details of your candle drawing
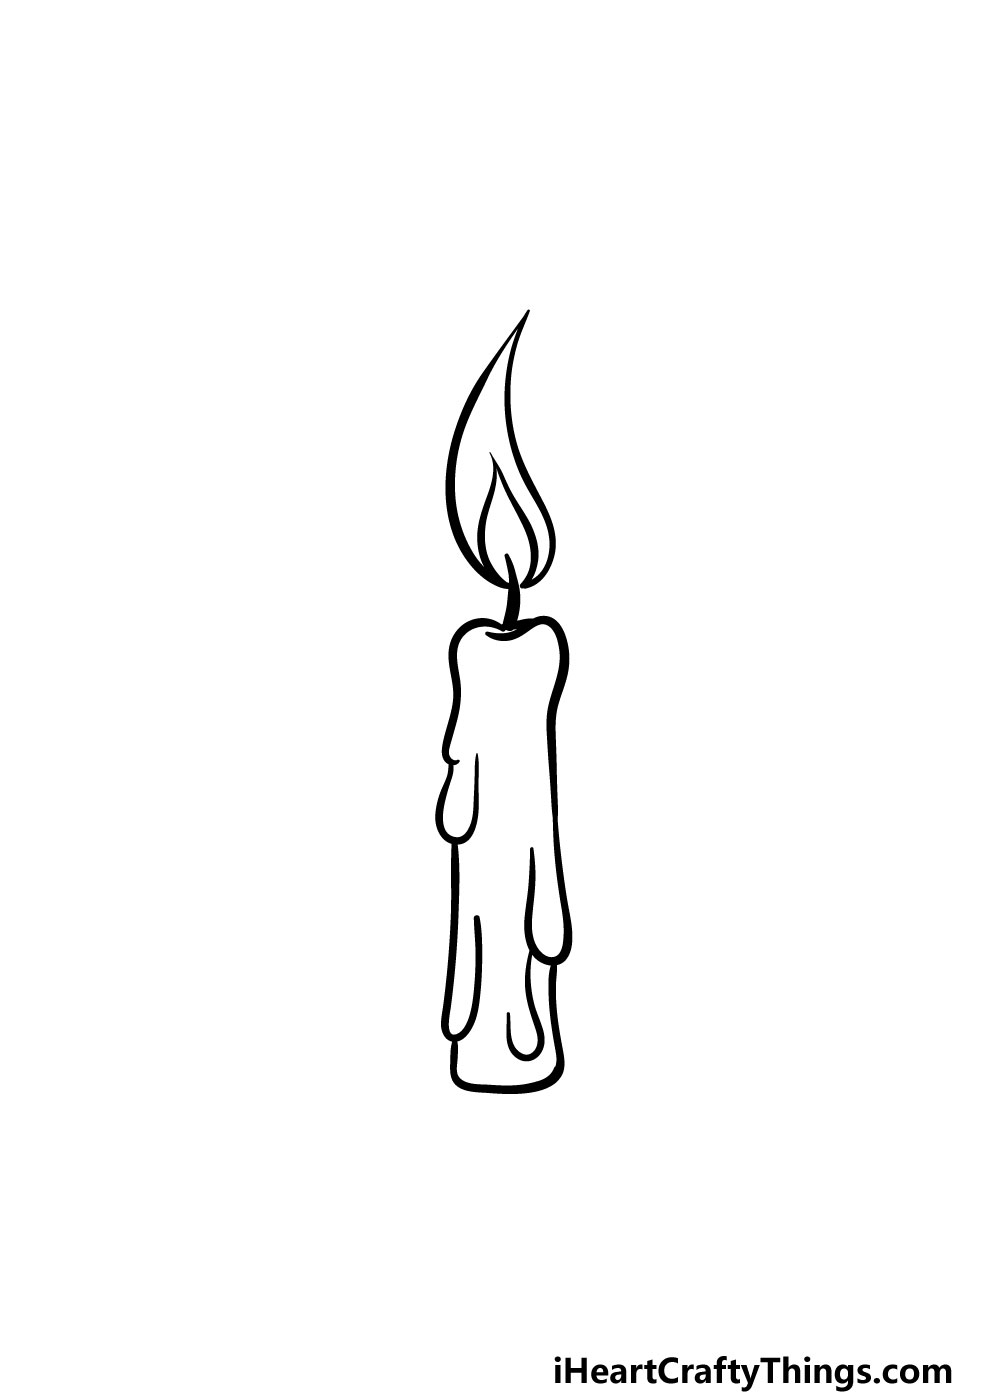
This step of our guide on how to draw a candle will see you finishing off the final details before adding some color to it in the final step.
To do this, the main aspect will be the base of the candle. You can also add some more curved lines for more drips on the candle while you’re at it as well.
That will do it for the details in this guide, but you don’t have to stop here! You could also add some details of your own to really finish off this image.
Perhaps you could draw a base for the candle to be sitting on. This could be a plate or an elaborate candleholder.
You coulda also draw a background for the image or add some elements and extra details of your own. Candles can also come in a wide variety of shapes, sizes and designs, so that gives you some options as well.
How will you finish off this image before you color it in?
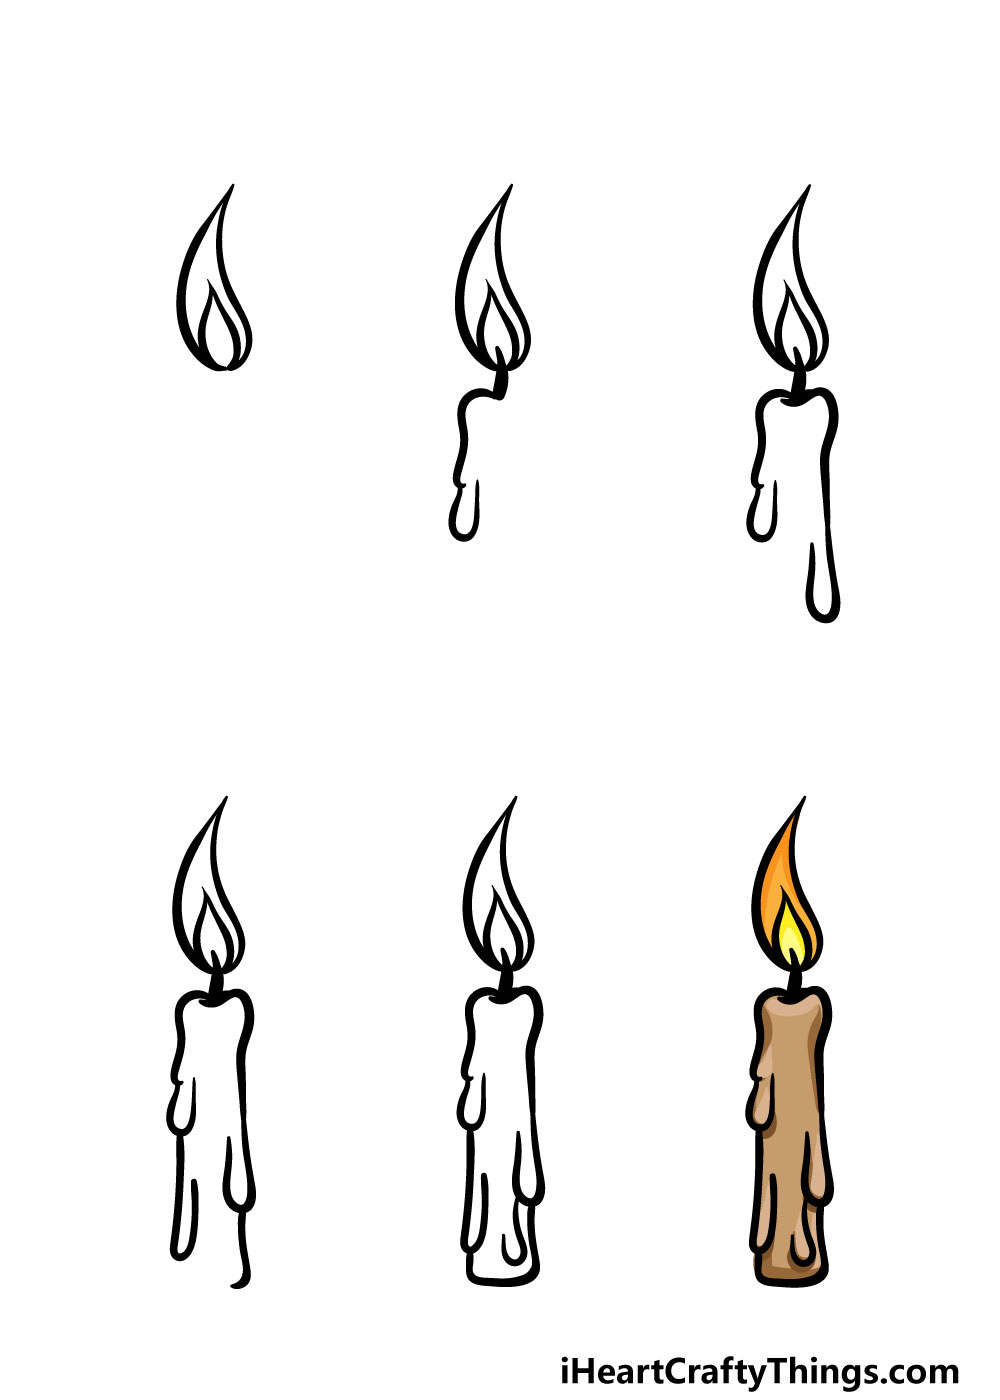
Step 6 – Finish off your candle drawing with some color
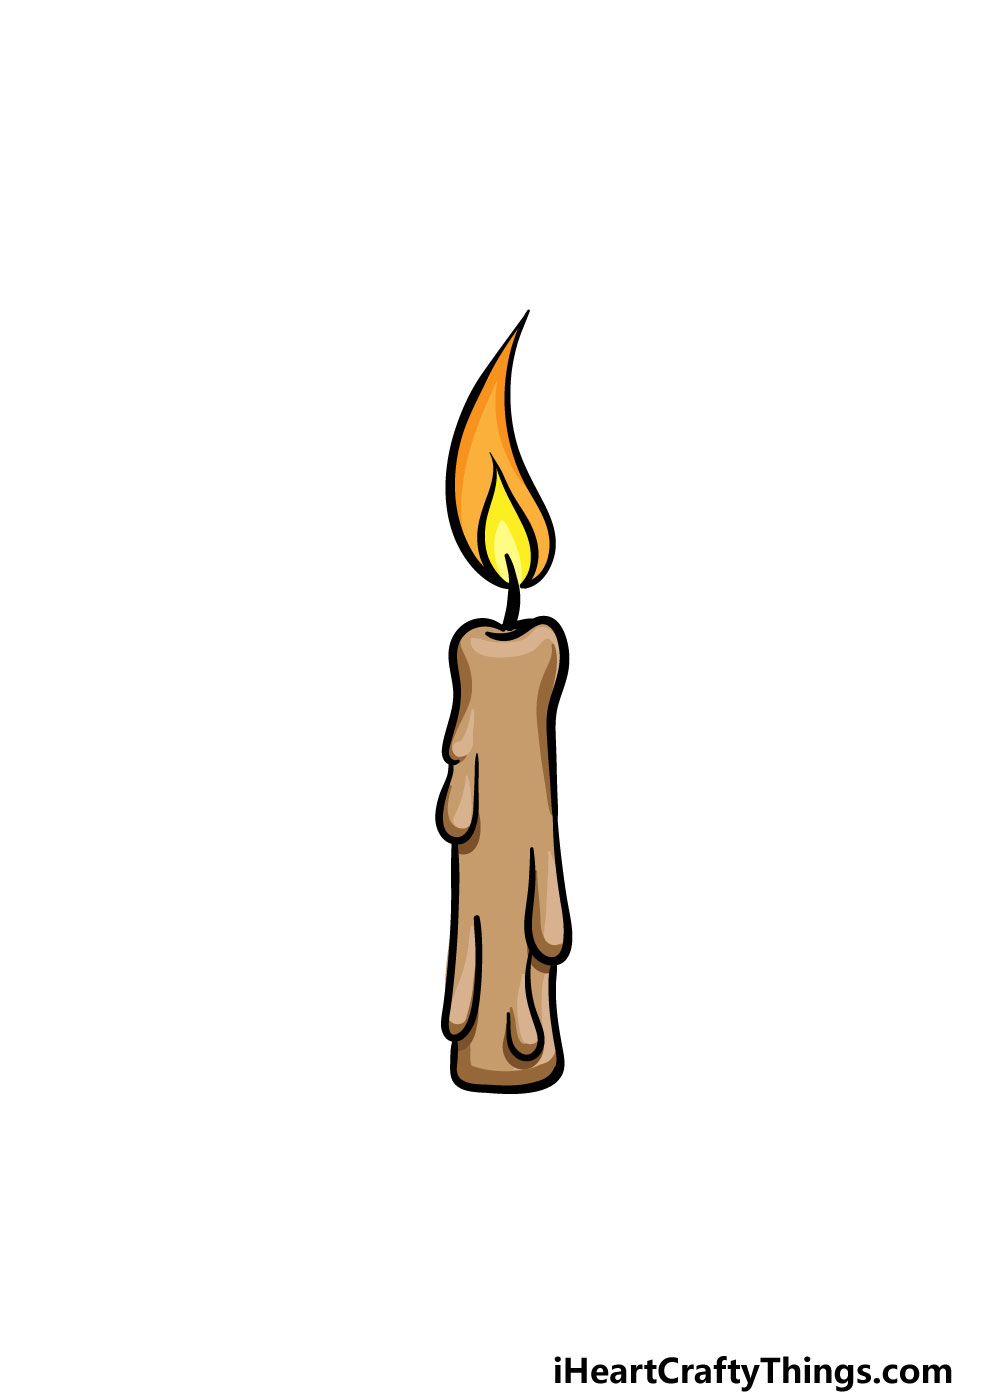
For this sixth and final step of your candle drawing, you can have some fun adding some amazing colors to it!
For our reference image, we used some more muted browns for the candle itself while using some yellow and orange for the flame.
These are just suggestions, however, and you should feel free to use any colors that you may love!
As we mentioned, candles come in many variations and the same is true for colors. They can come in pretty much any color you can imagine, so that gives you a lot of freedom for how you can color it in.
Don’t forget that you can get even more color variation by filling in the background or other details you may have added! Then, the only thing remaining is to choose which mediums you will use to finish it off.
You could use ones like acrylic paints, colored pens or markers for brighter colors. On the other hand, watercolors or colored pencils would be great for more muted colors.
What colors and mediums will you use to finish off your amazing candle drawing?
3 More tips to make your candle drawing easy!
Make your easy to draw candle even easier with these bright tips and tricks!
For this candle drawing, we made the outline quite bumpy to make it look like it is melting. This looks really cool, but it will also make the drawing a bit more difficult to draw.
You could remove some of these bumpy melting details to make it a bit easier on yourself. One way you could do this would be by making the candle unlit.
By doing this, you would be able to have a pristine, smooth outline. This is just one example of how you can make it so much easier to do without making the design of the candle any worse.
When creating a drawing, the more the focus is on the subject the more people will pay attention to it. You can mitigate this a bit by making the candle not be the main focus of the drawing.
One way you could do this would be by making a larger scene that the candle is a part of. Maybe it could be on a table creating light as someone works on a parchment.
This is just one idea, but it’s an example of how you could make this drawing of a candle be less of a focus for the scene. It would also allow you to make it quite small, so it won’t be a big detail to draw.
Lastly, the best way to make this candle sketch so much easier would be by using a real candle to help you. Your parents may have some candles already, but if not they can be bought cheaply at many stores.
They come in many shapes and sizes, but you can definitely find ones that look similar to the one in our example. Once you have a candle in hand, you can then use it as a model as you draw.
Also, it would allow you to draw the candle at different angles and at different stages of its burning. You may be surprised how much it can help!
Your Candle Drawing is Complete!
That brings you to the end of this guide on how to draw a candle! As with any drawing that you accomplish, you should be very proud of reaching this point in the guide!
Drawing can be made so much easier and more fun when you break it down into smaller, more manageable steps, so that is what we tried to do for you in this guide.
Now that you have completed this guide, you can also take it even further with your own details and touches.
We mentioned a few ideas such as drawing a base, background or extra details. You can also personalize the drawing by adding your favorite colors and art mediums. Be sure to really let your creativity flow and see what you come up with!
Once you’re finished with this guide, you can have more drawing fun on our website! We already have some amazing guides for you to enjoy there, but the good news is that we upload new ones constantly. Be sure to visit us often to never miss out!
We would also love to see your completed candle drawing when it’s ready! You can let us take a look by sharing your artwork on our Facebook and Pinterest pages. We can’t wait to see your incredibly creative drawing!