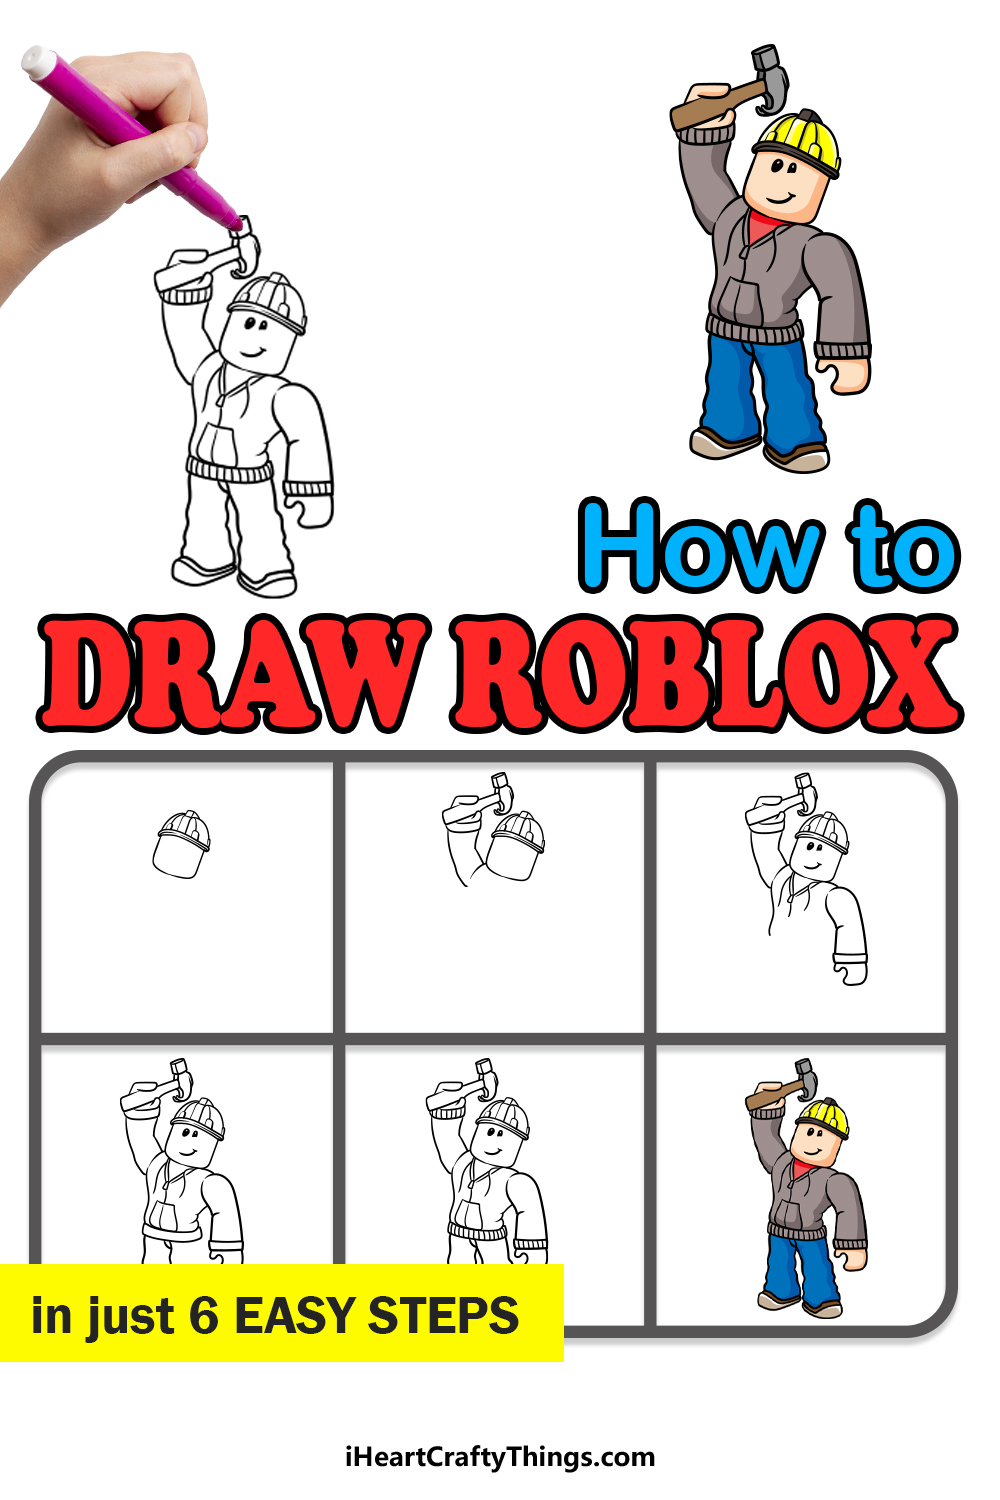
Video game fans will love this guide on how to draw Roblox! Keep reading to see how you can design some incredible Roblox characters.
Roblox is a game that came out in 2006, and since then it has enjoyed immense popularity with kids around the world. It allows users to make their own game worlds for other players to enjoy, and it’s a great creative outlet for gamers.
The characters are simple yet expressive, and there is a lot you can do to customize your avatar. This guide will show you how to draw a standard Roblox character.
Once you have finished the guide, you could even make some changes to design your very own variation and imagine a character you would like to use in the game.
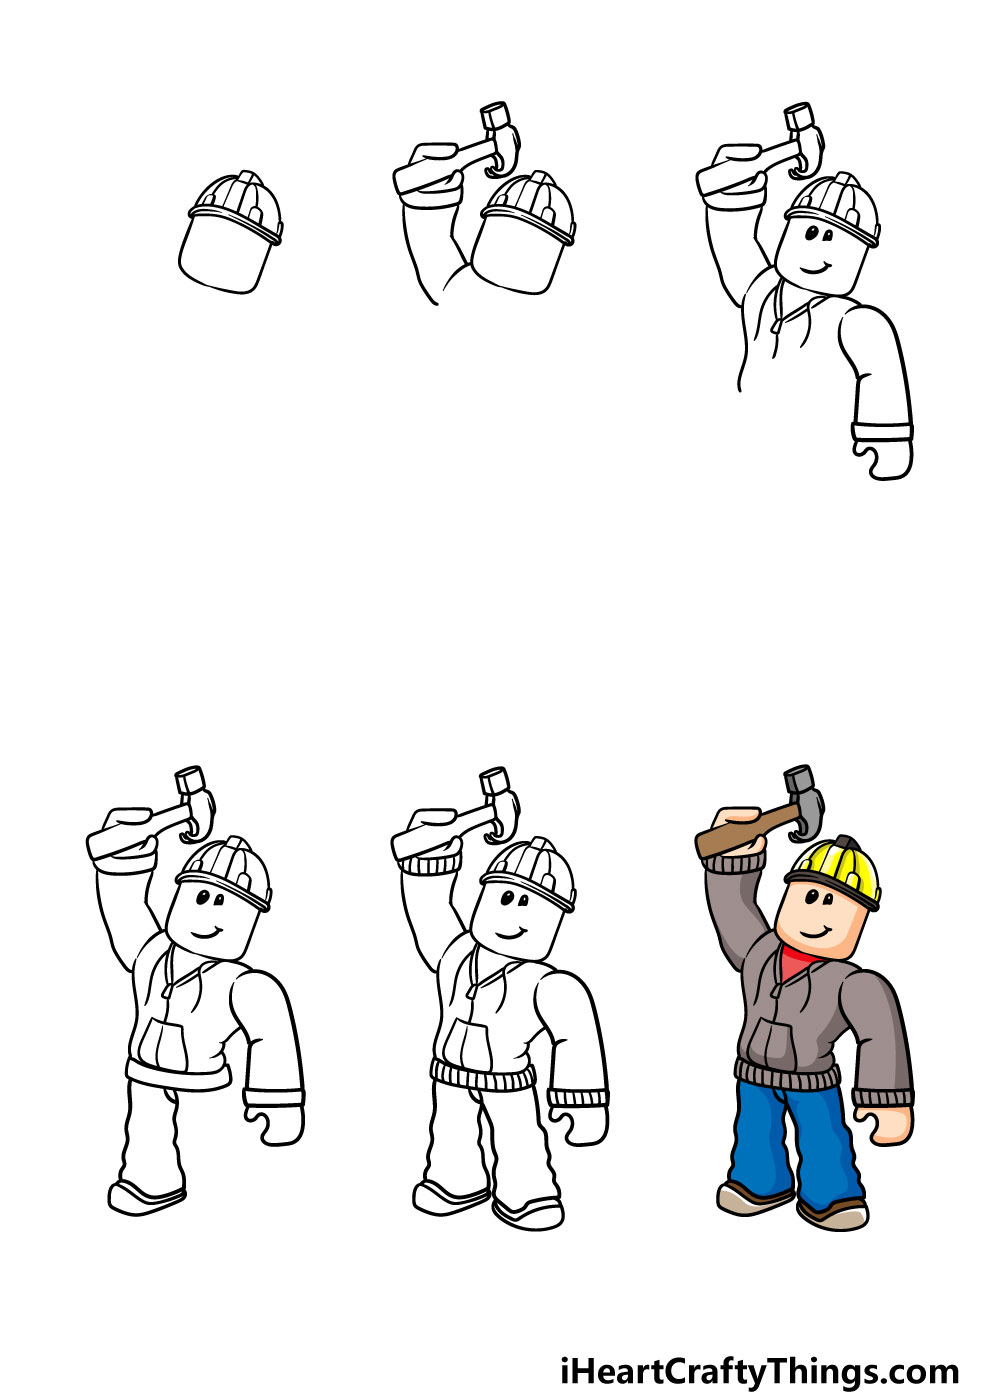
Learn How To Make Your Roblox Drawing By Watching This
How to Draw Roblox – Let’s get Started!
Step 1
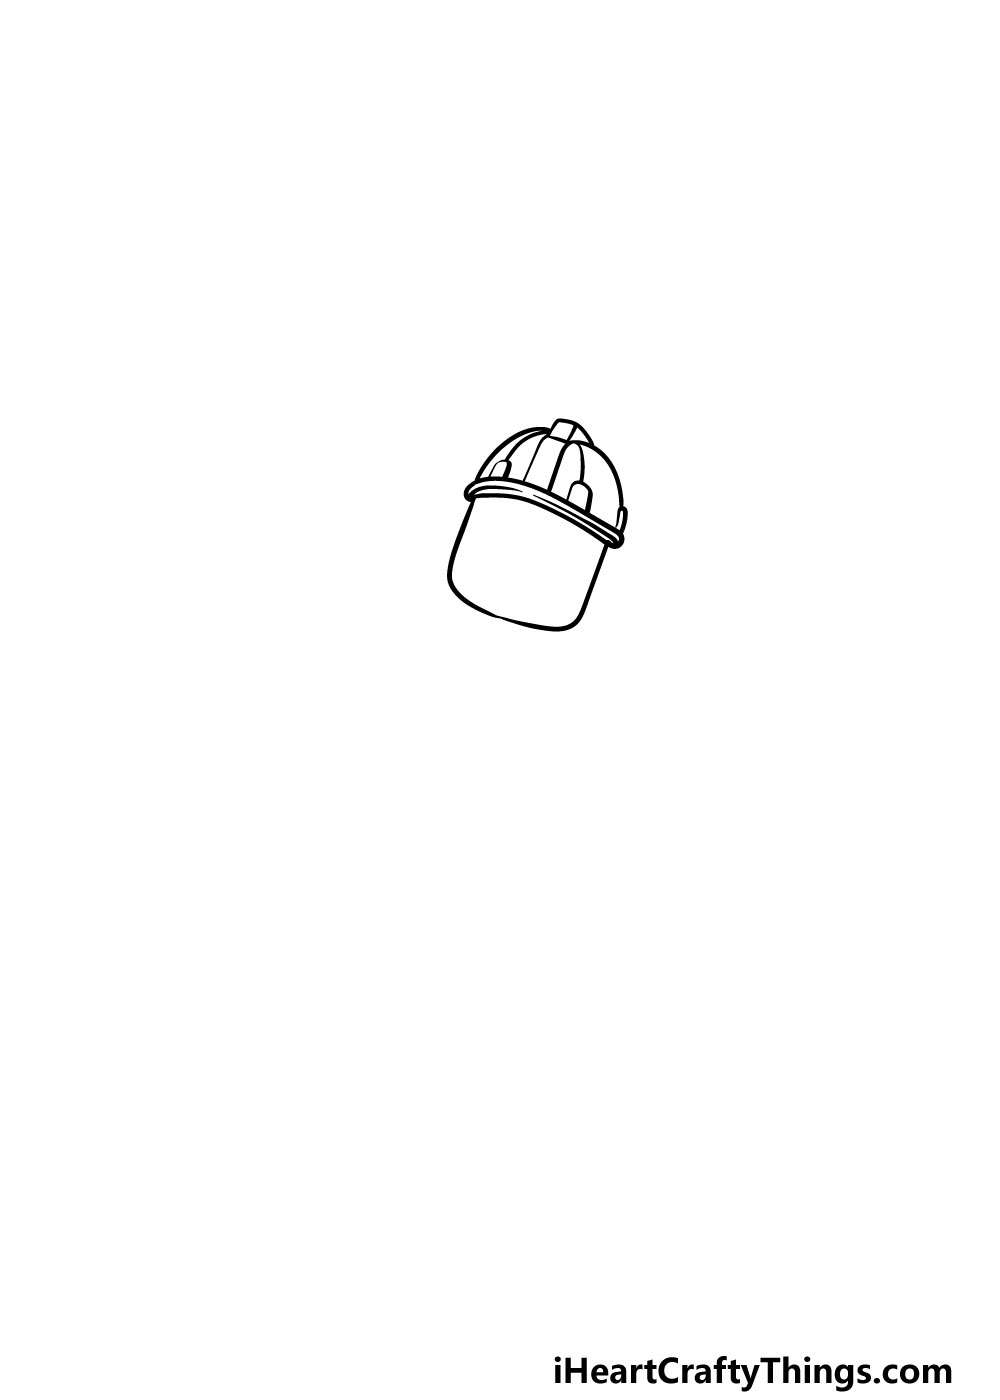
The character that we will be drawing in this guide on how to draw Roblox will be a construction worker.
Once you have mastered this guide, you could always do more drawings where you change up some of the details to make your own characters!
For now, we will be starting with the head. The head will be drawn as a slightly rounded square shape.
Then, you can draw the hard hat that he is wearing. This will be drawn with lots of curved lines, and it will have some smaller details that you can see in our reference image.
Once you’re happy with how it looks then you’re ready for the next step!
Step 2 – Draw the first arm for the character
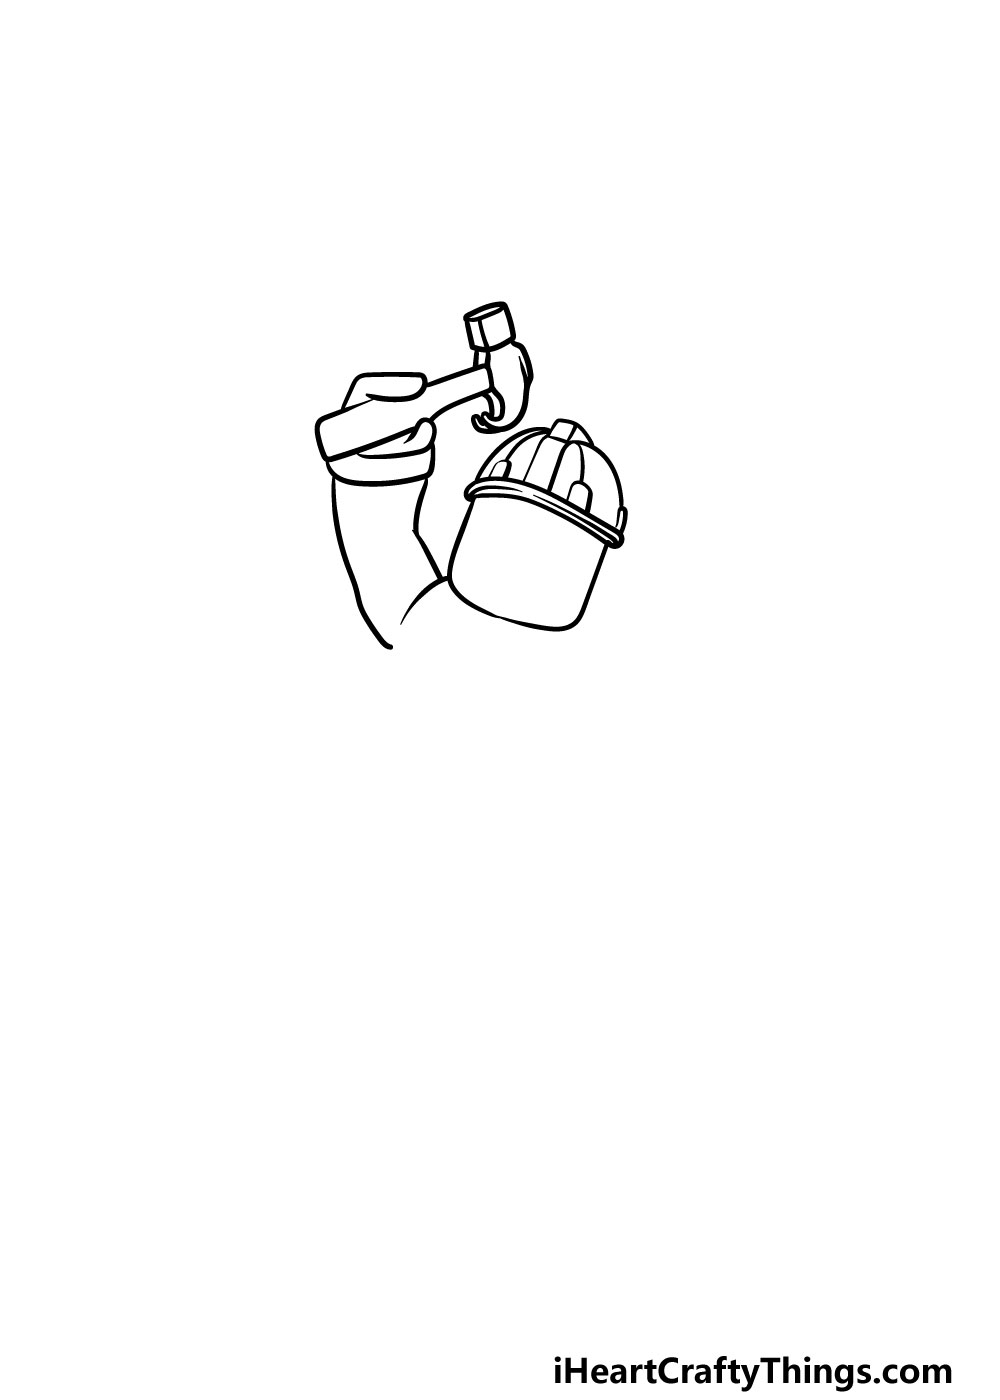
In this second part of your Roblox drawing you will be drawing the first arm for the character. As we mentioned previously, this character will be a construction worker.
For that reason, he will be brandishing a hammer in this hand. The shoulder will be connected very closely to his head with only a very small line for the shoulder. Then, you can use some more curved lines for the arm extending up.
Finally, you can draw his simple hand holding the hammer, as shown in the reference image. That’s all there is to it for this part, so let’s proceed!
Step 3 – Now, finish off the face and another arm
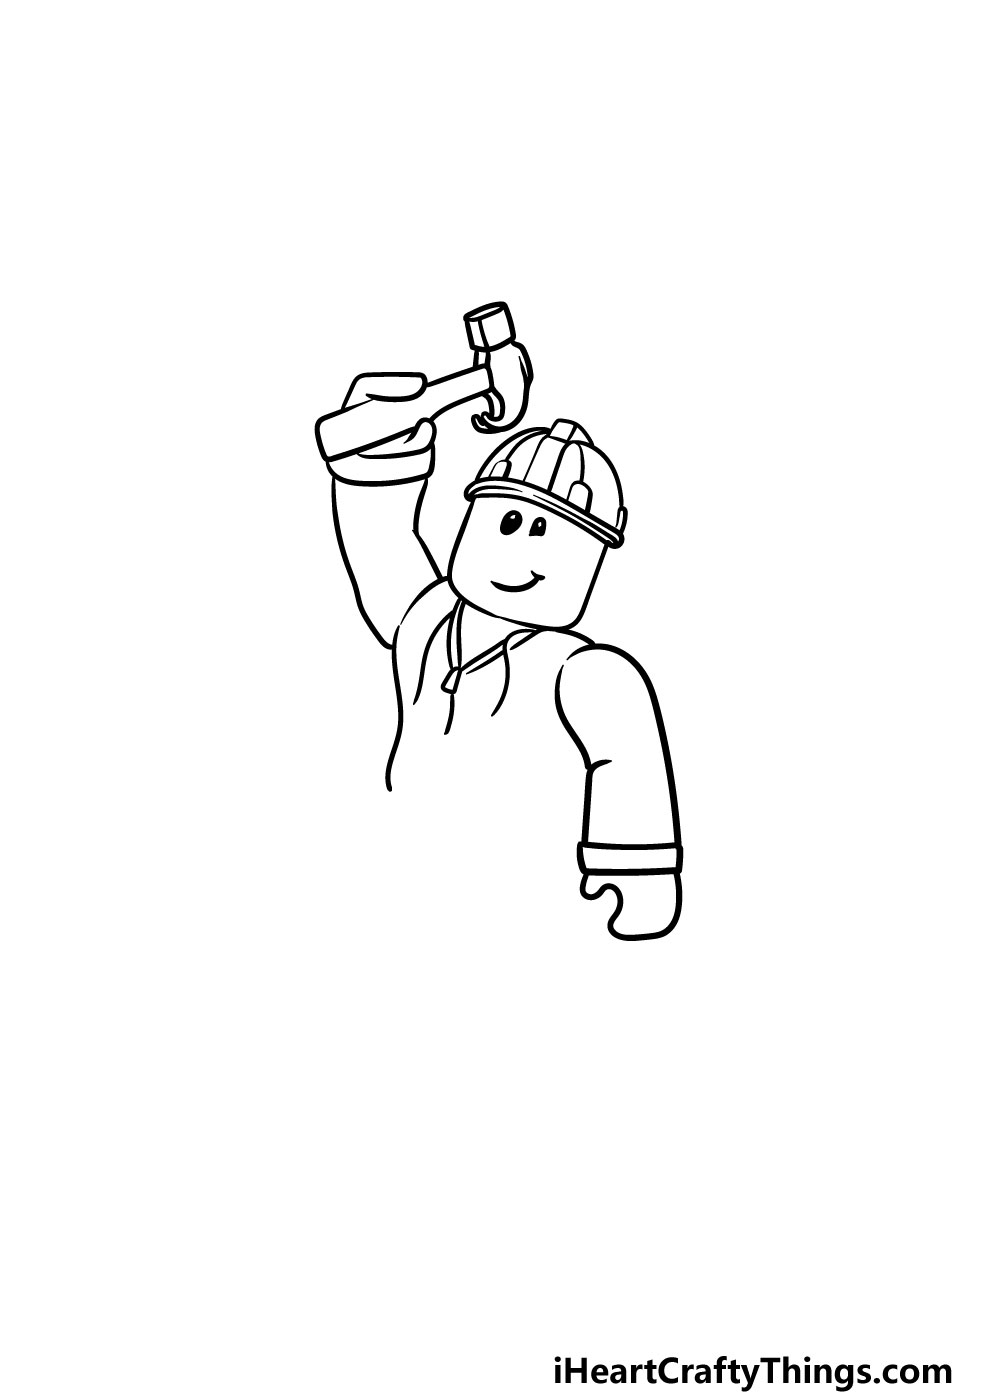
Roblox characters have a simple yet distinctive look to their faces, so that’s what we will be adding in this step of our guide on how to draw Roblox.
To draw the eyes, simply use two small, solid black ovals with a white dot in each one. Then you can create a smiling mouth by using a simple curved line.
Once you have finished the face, we will be drawing the start of his chest by using some simple lines. He’s wearing a jacket in this image, so you can also draw the strings hanging down on his chest.
Finally, use more curved lines to have his other arm at his side. This arm will look quite similar to the first one that you drew, however this one won’t be holding anything like the other one was.
Step 4 – Next, draw the rest of his chest and first leg
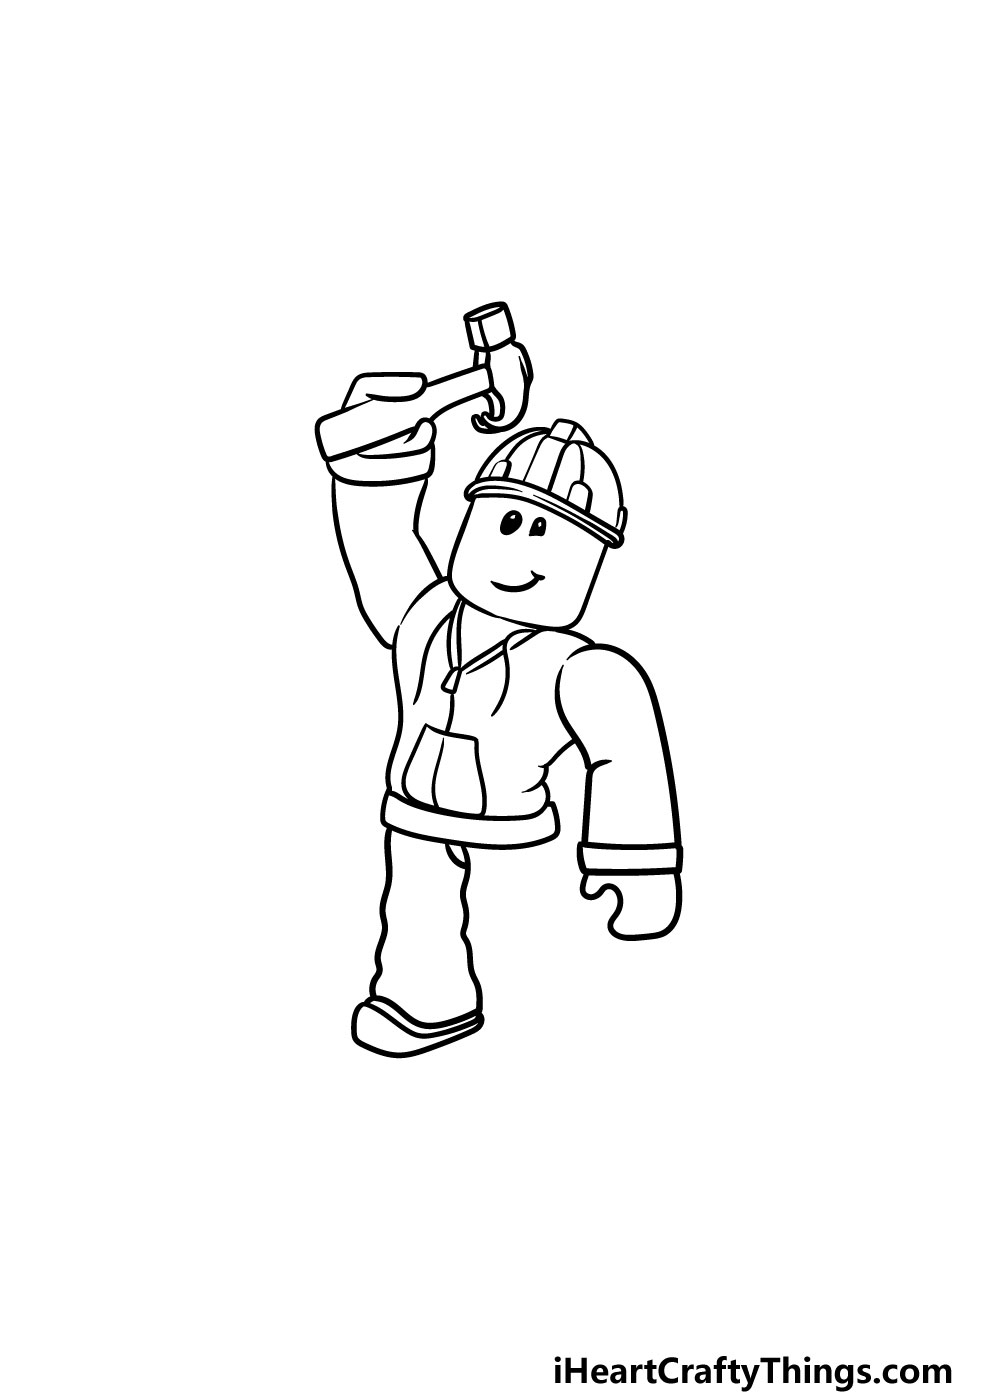
We will be finishing off his chest and begin his first leg in this part of your Roblox drawing. First, use some simple lines to finish off the outline of his chest and waist. Then, you can add some pockets knot the stomach of his jacket.
Finally, you will be drawing his first leg, which you will draw with some slightly wavy lines. Then, you can finish off with his shoe at the bottom of his pants leg.
Step 5 – Now, you can finish off the other leg and final details
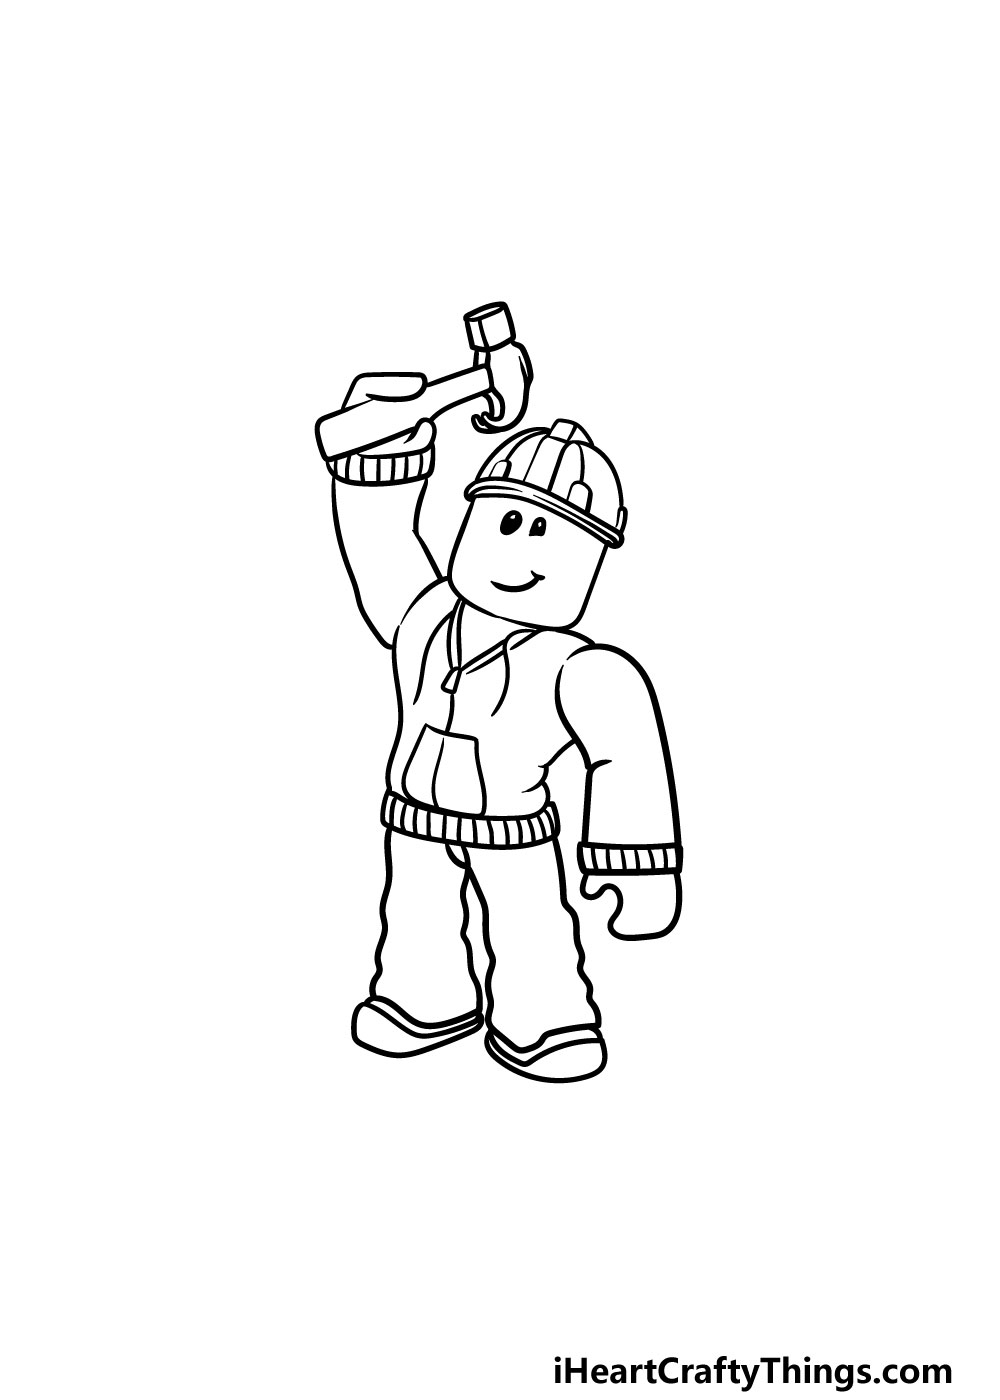
You will be coloring in your picture soon, but first we have a few final details to add in this step of our guide on how to draw Roblox. The first thing to add will be the other leg. This one will look very similar to the one that you already drew, so you should have no problems with this!
Then, once you have that leg you can add some final details. The main ones in our guide are adding some lines to the rims of his sleeves and end of his jacket for more texture. That will do it for the details in our guide, but before you move on you should feel free to add any of your own!
Perhaps you could draw a background to replicate the look of your favorite Roblox game or level. As we mentioned at the start of the guide, you could also change up the details to create your own Roblox character. How will you finish off this image before the final step?
Step 6 – Finish off your Roblox drawing with some color
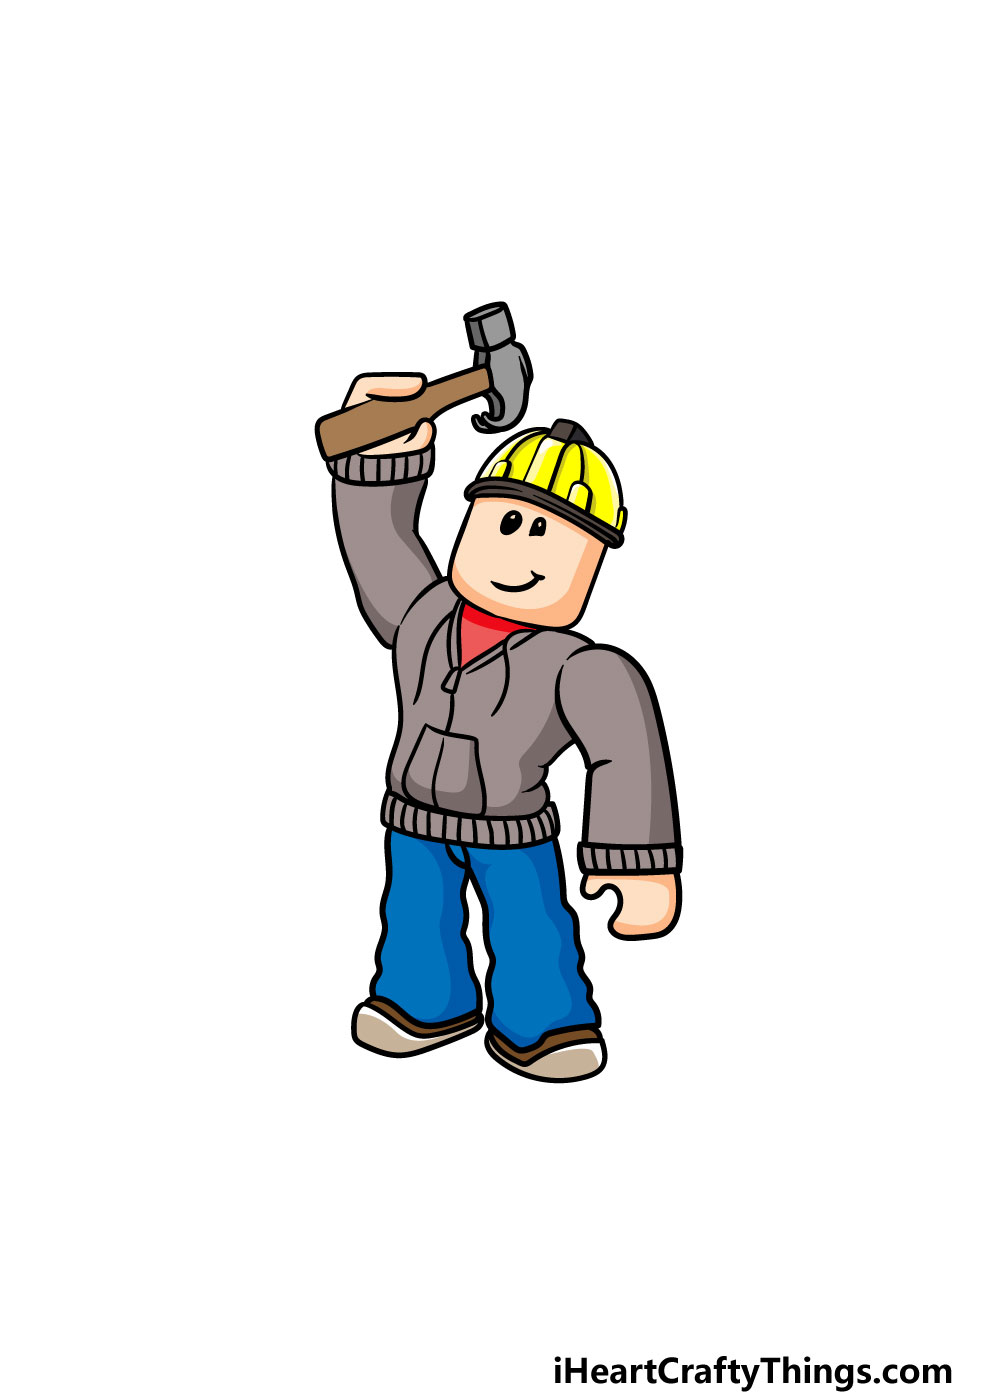
Now that you have finished creating this Roblox drawing, you can bring it to life using some amazing colors and art mediums! We showed you just one way that you can go about coloring it in, but this is a step where you can really let your creativity flow!
Roblox is full of lots of colorful and wacky-looking characters, so that gives you a lot of freedom with how you can color it in.
You can also have fun using your favorite art mediums to experiment and achieve the colors that you want. We can’t wait to see what colors and mediums you choose to finish it off!
Here’s how you can make your Roblox drawing even better…
Make some memorable characters as we make your Roblox sketch even better!
The game of Roblox is all about getting creative to have fun, and you can do that with this Roblox drawing! In this image, we created a construction worker character.
If you wanted to create a different type of character, you could easily do so by changing a few details.
Maybe he could be a soldier or a doctor, as these are examples of ones that would be easy to turn him into.
What other identities could you create for this character?
If you like the design we already have in this drawing of Roblox but also want to create new looks, you could add more characters. Roblox is also about playing online with others, so more than one character would make sense!
You can take what you learned in the guide and the change details and poses. That way, it will be easy to create some unique characters!
What kinds of poses and scenarios would you like to create?
Next, you could also enhance this Roblox sketch by adding accessories and objects. There are many weird and wonderful weapons and tools you can use in the game, so you can really get creative!
If you wanted to do this, you could use examples from the game or create some of your own. It’s up to you, and you should feel free to explore any ideas you have!
What are some weapons and items you would like to add to the image?
Finally, you can finish it all off by drawing a background. In Roblox, players get to be the game designers as they make their own levels.
This would be another example where you could replicate a favorite level from the game or make your own. Either approach would work, and you can add some of your own ideas and elements either way.
Do you have some ideas for the backgrounds you could use for this Roblox drawing? We can’t wait to see what you create!
Your Roblox Drawing is Complete!
You’ve made it this far, and that means that you have successfully finished this guide on how to draw Roblox!
We hope that this guide helped to make drawing this Roblox character not only much easier but also a lot of fun. If you take it slow and try your best then you’ll definitely be able to master this drawing in no time!
Once you finish this guide the fun doesn’t have to stop, either. You could change up the details in order to have this character in a different situation or setting.
You could also get very creative and change the details to create your own custom character from the games!
We have many other awesome drawing guides on our website for you to enjoy! We upload new ones all the time as well, so be sure to visit us often.
Once your Roblox drawing is complete, we would love to take a look! You can show us your artwork by sharing it on our Facebook and Pinterest pages for us to enjoy.