Scissors are an object that we take for granted every time we use them. They seem simple, but their simplicity is due to an incredible design that lets them effortlessly fulfill their purpose.
This design can also be more difficult than one may expect when it comes to learning how to draw scissors!
It can be made so much easier when you know what to do, however, so you’ll want to read all the ay to the end of this tutorial!
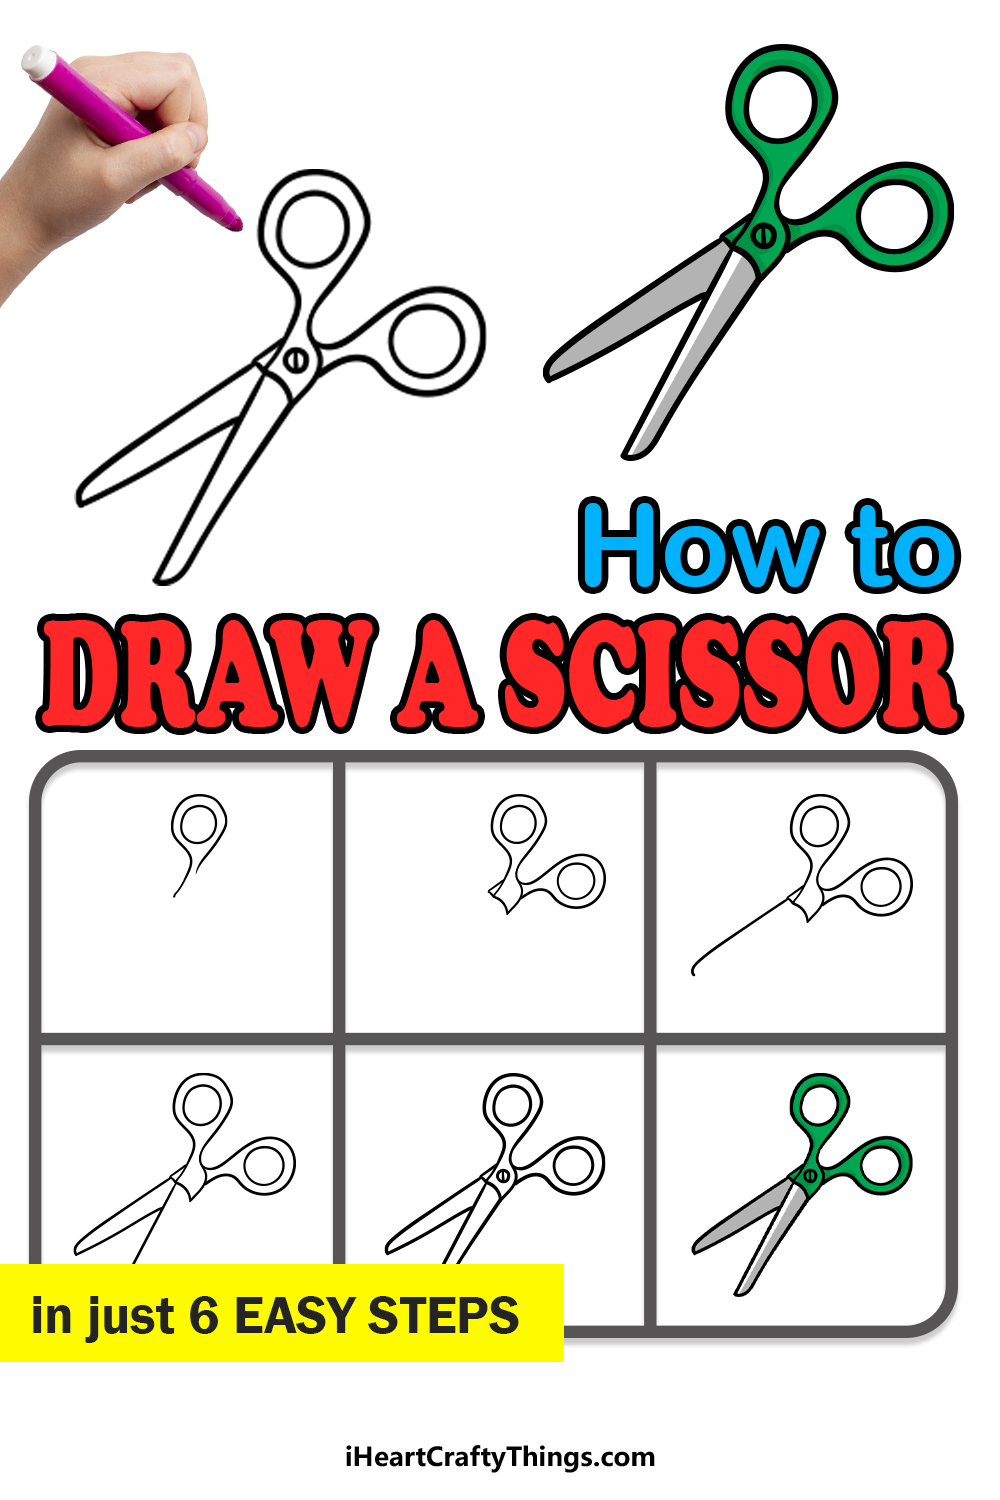
This step-by-step guide on how to draw scissors will show you how easy and fun it can be to draw this useful tool.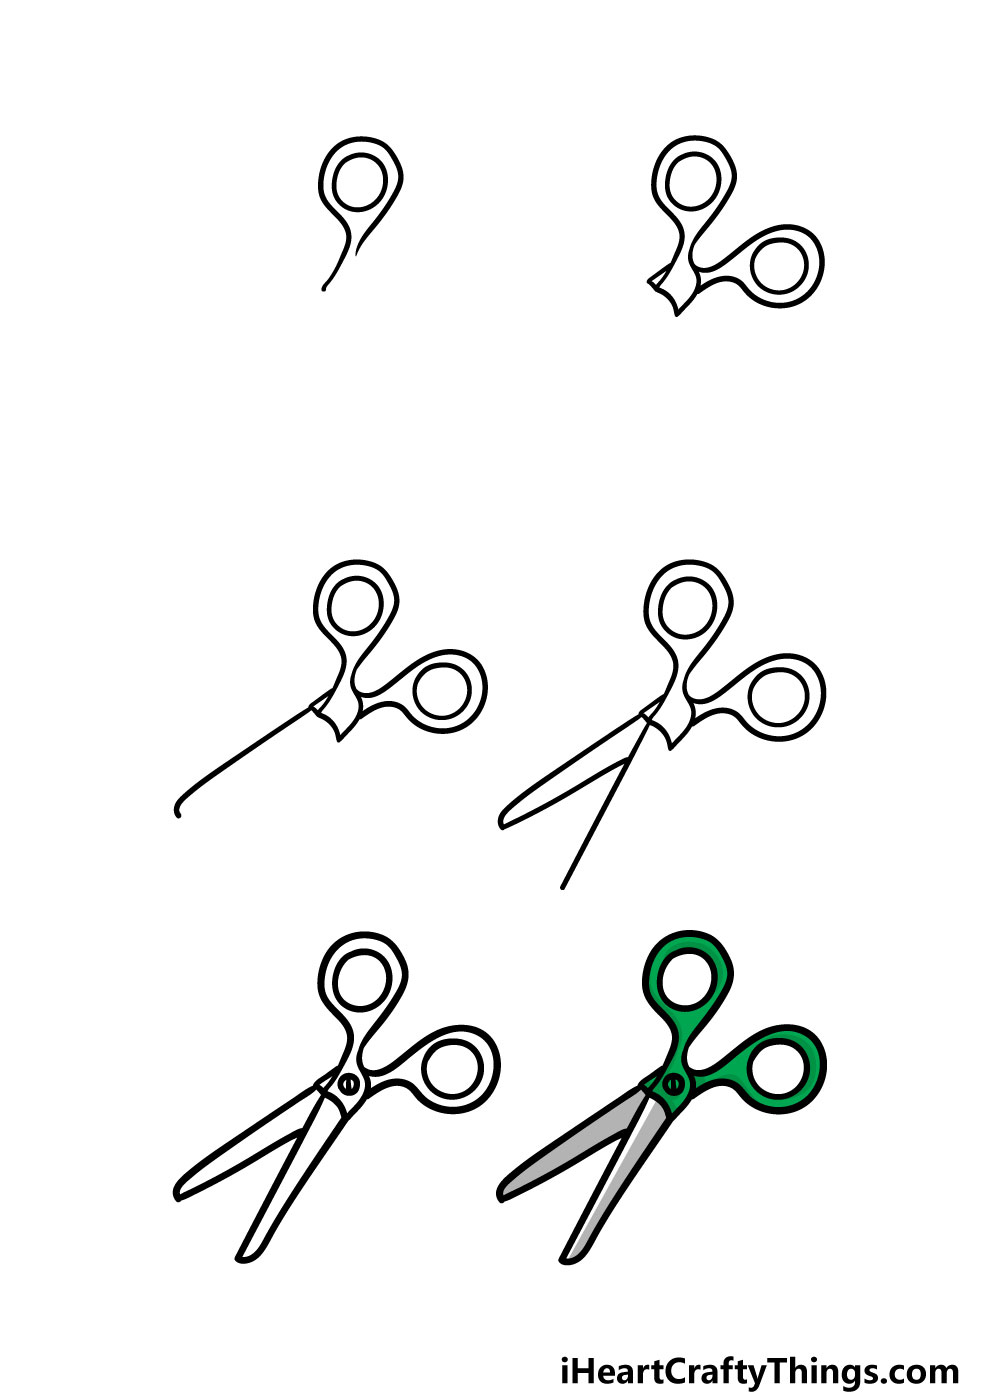
How to Draw Scissors – Let’s get Started!
Step 1
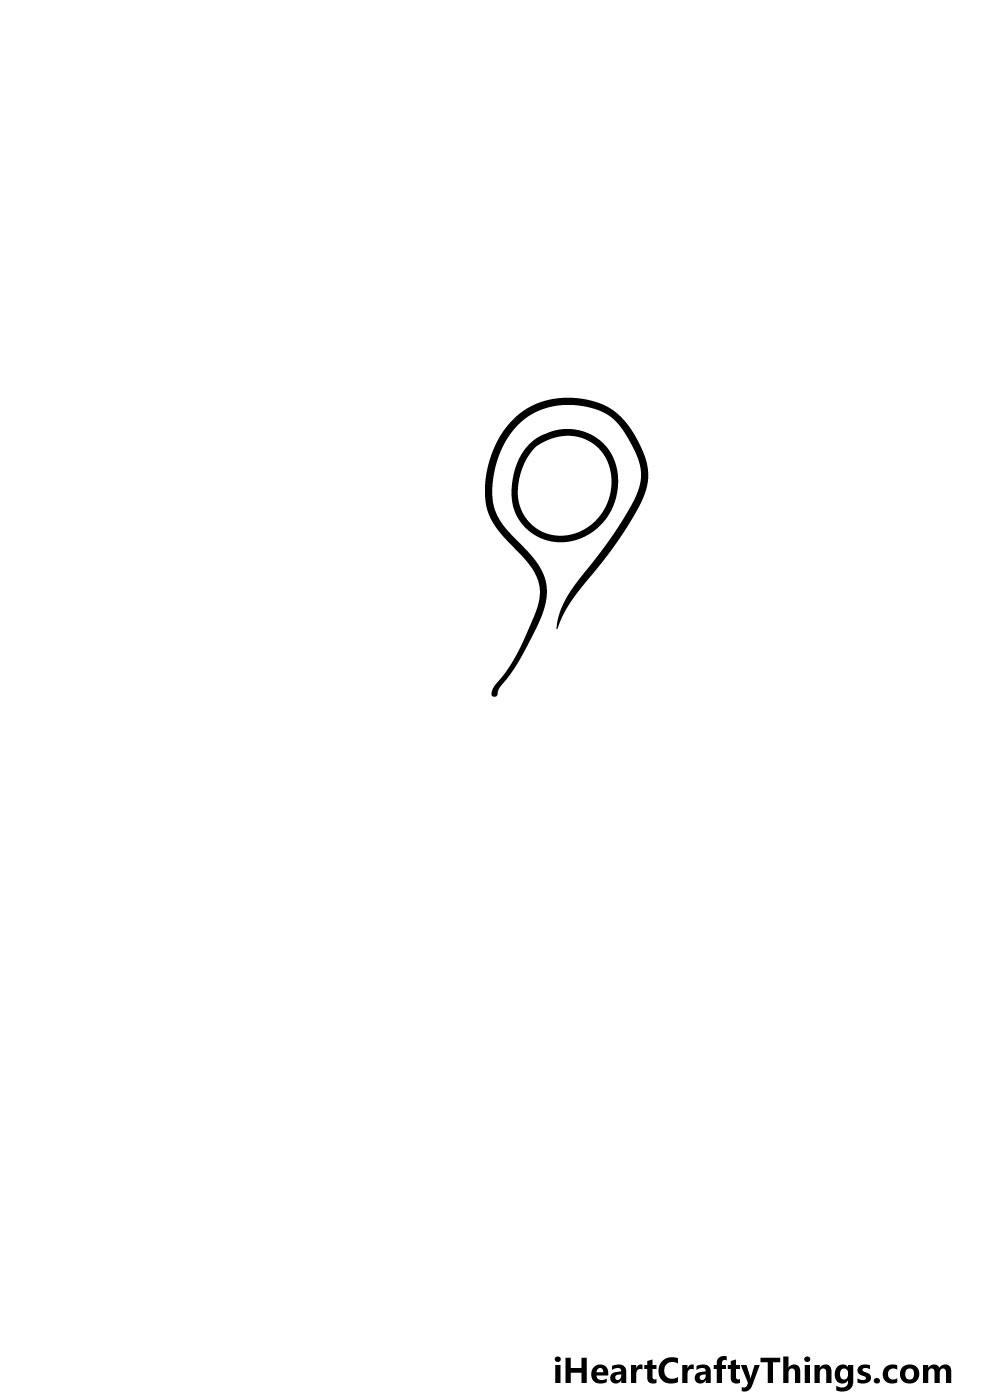
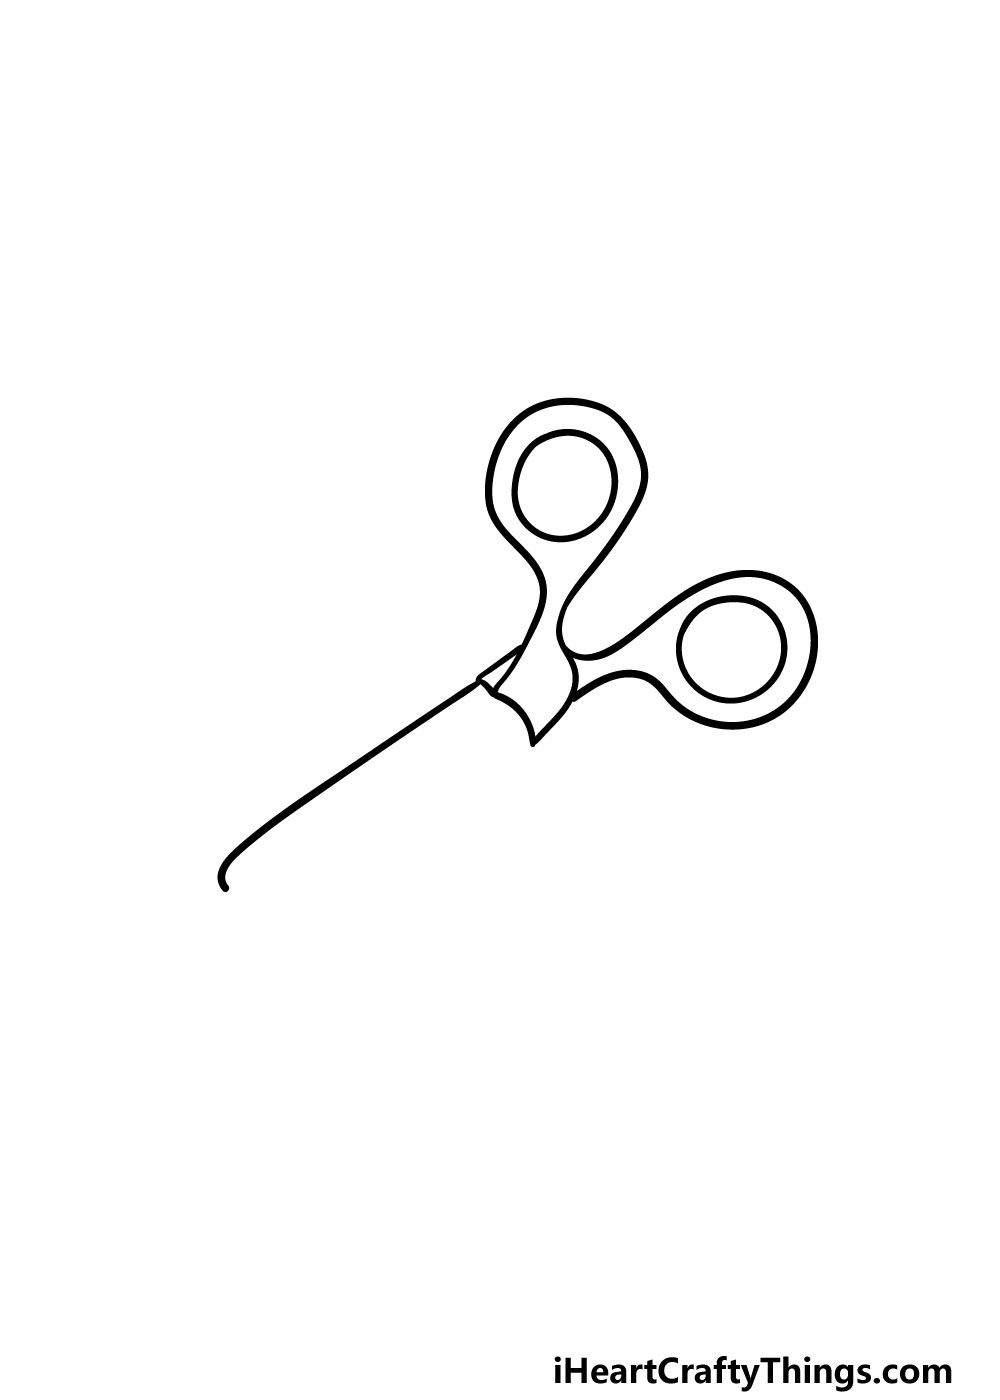
For this first step of our guide on how to draw scissors, we will begin with the rounded handle of the scissors.
You can start this with a simple circle that will form the hole in the handle. Then, draw a thin outline around this hole for the outer line of this handle.
Then, these outlines will extend down in straight lines, as shown in the reference image.
We will be building on to these aspects in the next few steps, so let’s proceed!
Step 2 – Draw the next parts of the handle
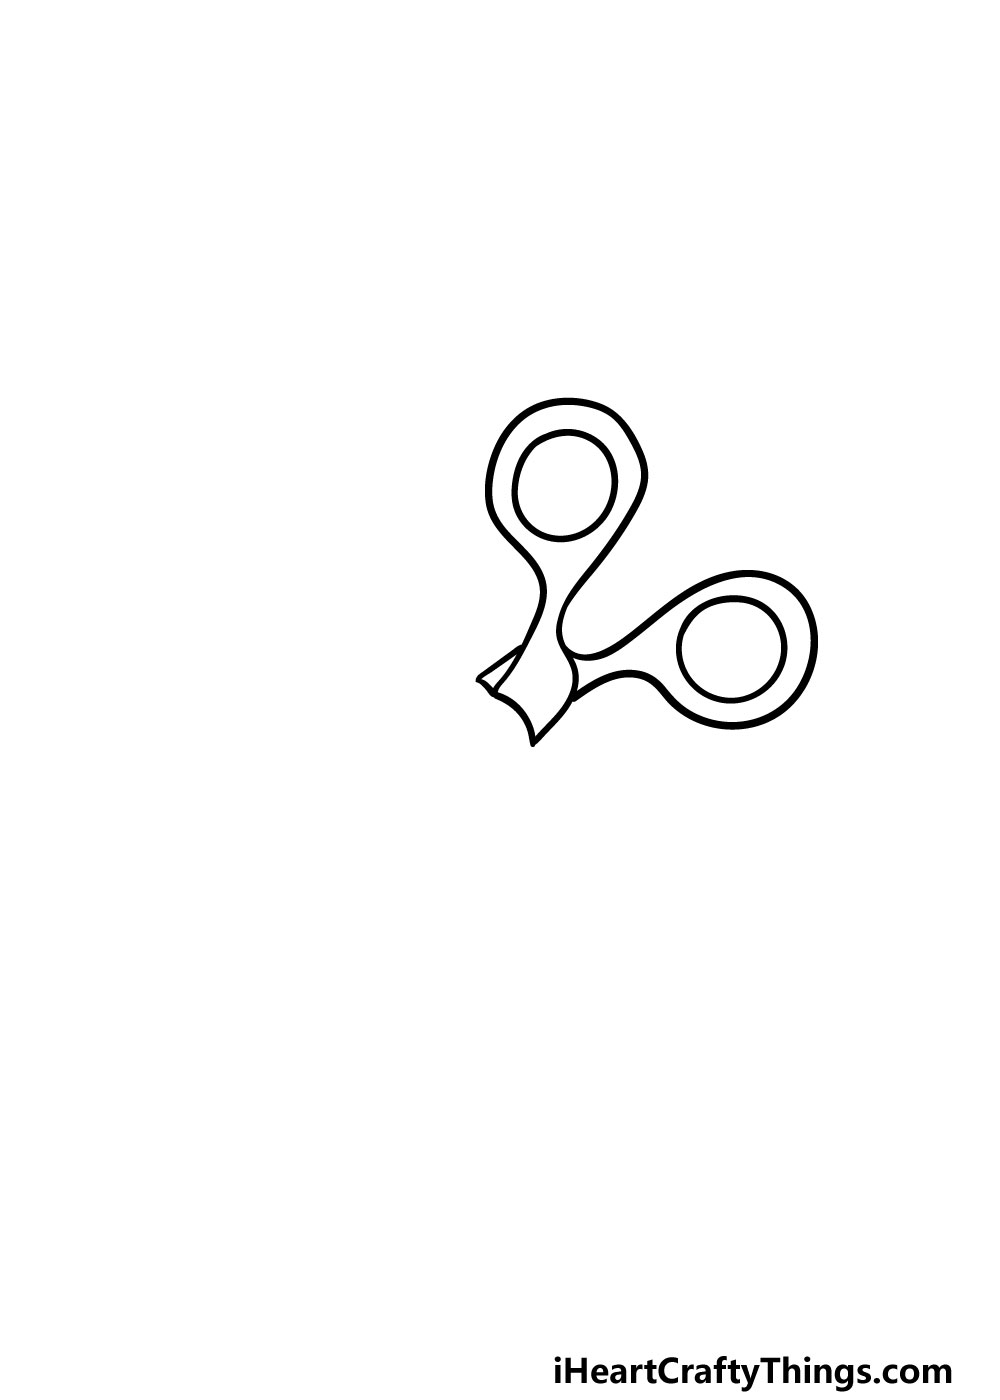
This part of your scissors drawing will be all about finishing off the handles. Before you draw the second handle, you can finish off the first one that you started in the first step.
You can extend the straight lines that you started in the previous step into the rounded shape that the screw would be attached to holding the handles together. We will be drawing that very screw a little bit later on in this guide.
Once you have the first handle drawn, you can then add the second one! This handle will look quite similar to the first one, so you can recreate the first step with just some minor differences.
That’s all there is to it for this step, so next we will start on the blades of the scissors.
Step 3 – Now, start the first blade of the scissors
A pair of scissors wouldn’t be very useful without blades to cut with, so we will start to add that aspect in this step of our guide on how to draw scissors.
This particular step will be quite a simple one, but it’s also a very important one! To start the outline of the blade, simply extend a line down from the handle.
This line will be very straight, so you could use a ruler for most of it if you want to make it a bit easier.
If you do this, just be sure to add a small curve to the end of this line. We will continue drawing this blade in the next parts of this guide.
Step 4 – Next, continue drawing the blades
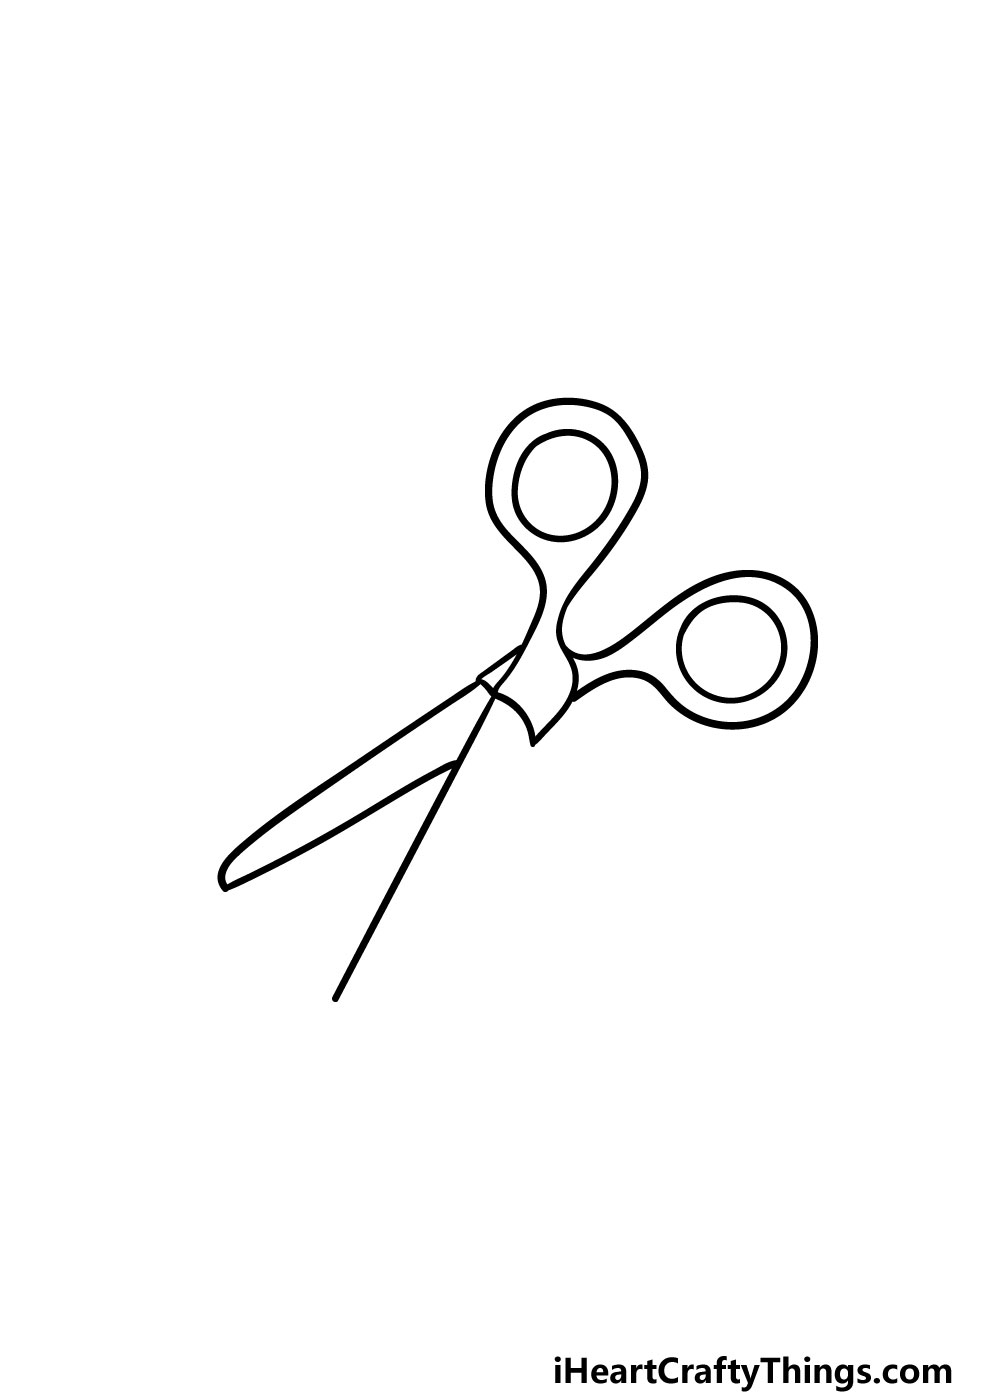
This fourth part of your scissors drawing will be all about drawing some more of the blades. First, extend another straight line from the curve at the end of the first blade inward until it reaches the place where the blades connect.
Then, you can use your ruler to extend another straight line from the other handle of the scissors.
Once you have that second blade started, it’s just a matter of adding some final details and touches before we finish off this guide.
Step 5 – Now, you can finish off the final elements and details
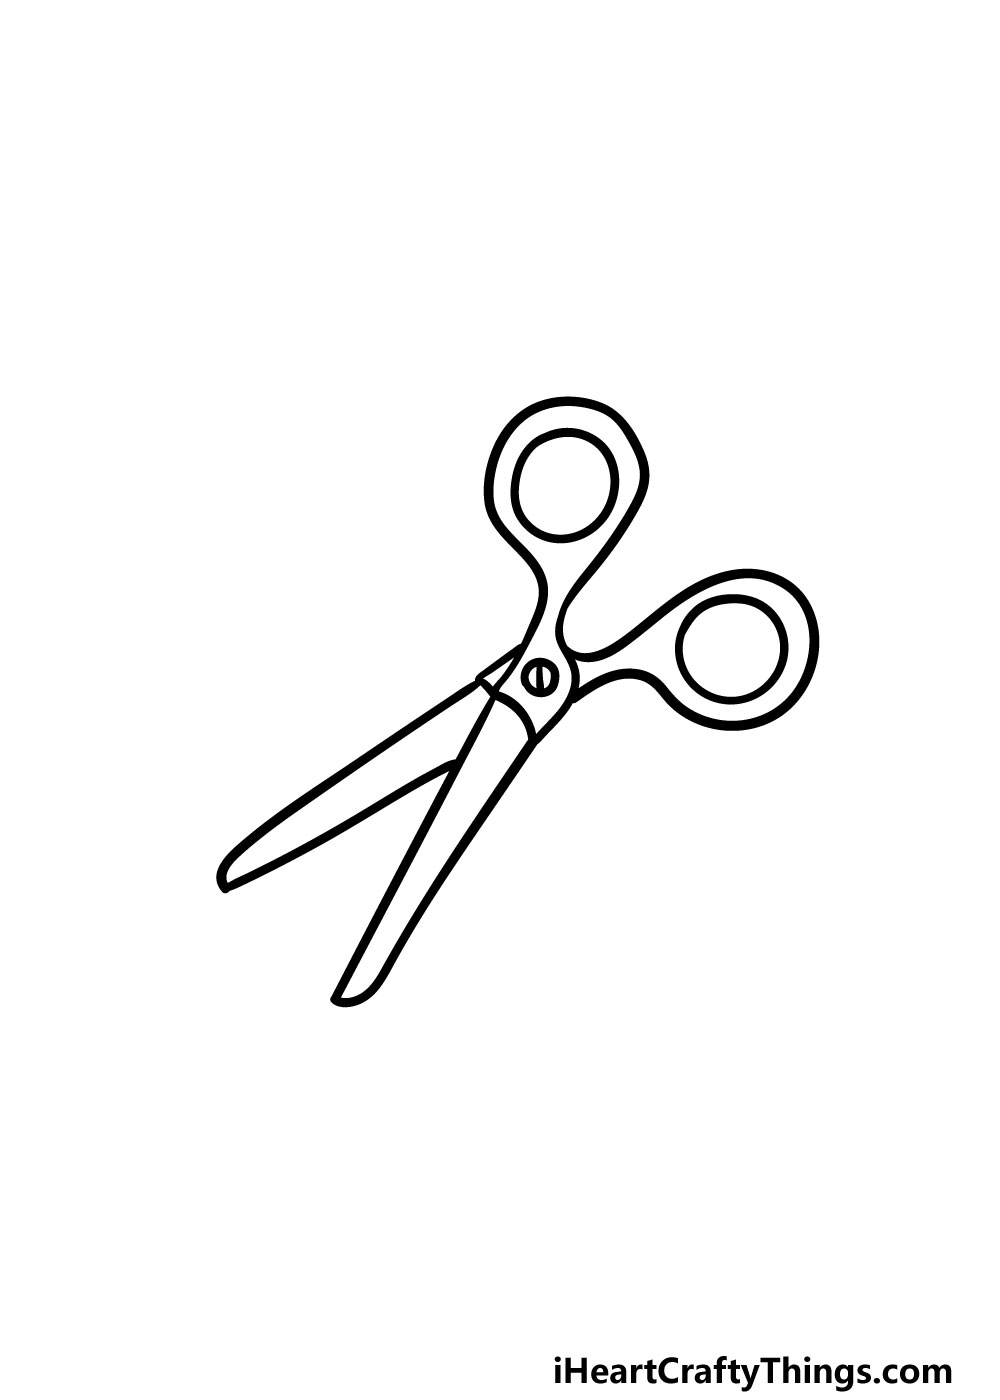
As we mentioned in the previous step of this guide on how to draw scissors, this fifth part will be all about adding some final touches and elements to finish it off.
You will need to add one more straight line to the second blade and extend the other side back to the handle, as shown in the reference image.
Then, the final bit will be to draw a small circle where the two handles are joined. That will form that connecting screw that we mentioned in one of the earliest steps. Finally, draw a straight line across the center of this screw.
That will finish off the final details of this guide, but before you move on to the final step, you should feel free to add any extra details that you may want!
You could draw some patterned paper or material that these scissors may be cutting. You could also draw some pattern details or little stickers onto the scissors themselves.
What extra details can you think of to finish off this scissors drawing?
Step 6 – Finish off your scissors drawing with some color
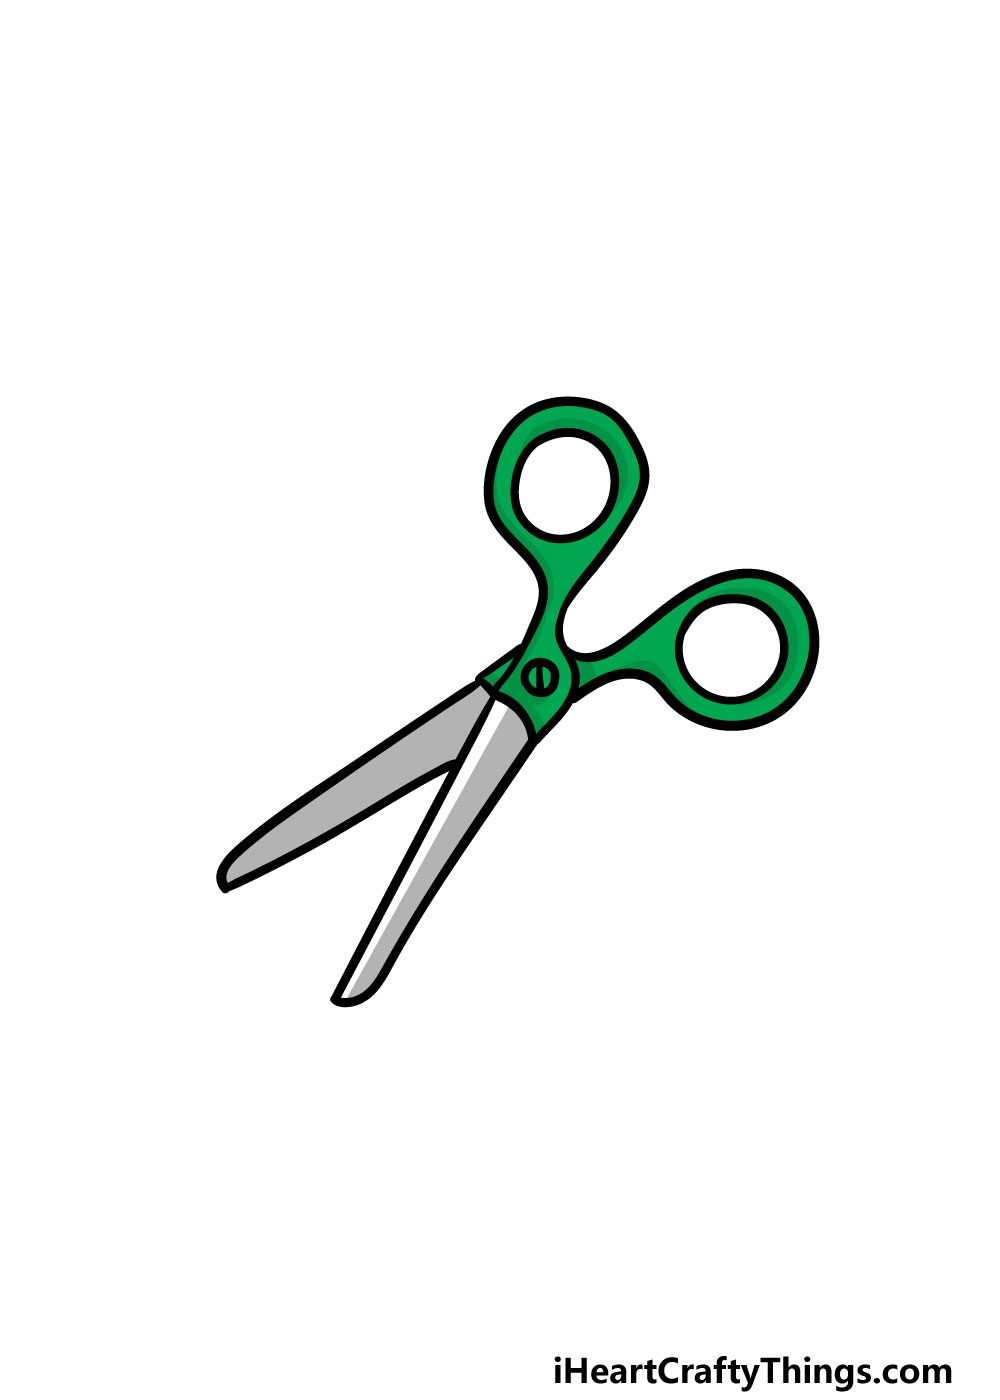
That brings you to the final step of this scissors drawing you have worked so hard on! This is the part where you can have some fun bringing some amazing colors to your image, and it’s also a step where you can get really creative with it.
For our reference image, we used a nice green for the handles with some greys for the blades.
This is just one option out of many that you could go for, and you should feel free to use any colors that you love for this drawing!
If you drew any background elements or extra details then you can add some great colors for those too. What colors and art mediums will you use to bring this scissors drawing to life?
Do this to take your scissors drawing to the next level
Here are 4 fun and easy tips for making your scissors sketch look even better!
Scissors can come in many different variations even though they all perform essentially the same function. Once you have completed the design of this scissors drawing, you could also create some of these designs!
If you have some pairs of scissors around the house then you can use them as models as you draw other scissors models. It can be fun to show them all compared to one another!
There are so many to choose from, so what scissors variations would you like to create for this drawing?
While the function of scissors is pretty simple, they can be used to cut all kinds of materials. You could show what some of these materials are by having this drawing of scissors cutting them!
If you were to do this, it could be anything from hair to paper or maybe even some fun crafts. It’s up to you, and you could portray all sorts of materials.
Drawing these materials would also allow you to add different colors to the image!
Speaking of coloring this scissors sketch, you may also want to use some crafts. Here’s a fun idea to try!
Draw an outline for a piece of paper or cardboard that the scissors can be cutting. Then, use a real piece of paper or cardboard and then cut it in the shape of that outline.
Stick it over the outline, and then it will look like the scissors are cutting through a real piece of paper or cardboard! What other fun craft ideas could you use for this page?
Once you have decided whether to use some crafts on this scissors drawing, you can then finish off the colors with traditional art mediums. We went with a green color scheme for these scissors, but you could use any colors you like!
Colored pens and markers would be perfect for some brighter colors, but you could use any mediums you like!
Your Scissors Drawing is Complete!
We really hope that this guide on how to draw scissors made taking on this new drawing easier and also lots of fun!
We designed this guide to make this drawing much simpler to take on while also giving you some freedom to get creative and add your own touches.
Now that you have completed this guide, be sure to get creative with it and add some of your own touches!
We mentioned a few ideas such as drawing a background, showing what the scissors are cutting and experimenting with colors and art mediums. What else can you think of to put your own spin on it?
This is just one of many incredible drawing guides that we have available on our website! We upload new guides covering a wide variety of subjects so be sure to visit us often to never miss out!
We would really love to see your creative scissors drawing once it’s done! We hope that you will show us by sharing it on our Facebook and Pinterest pages.