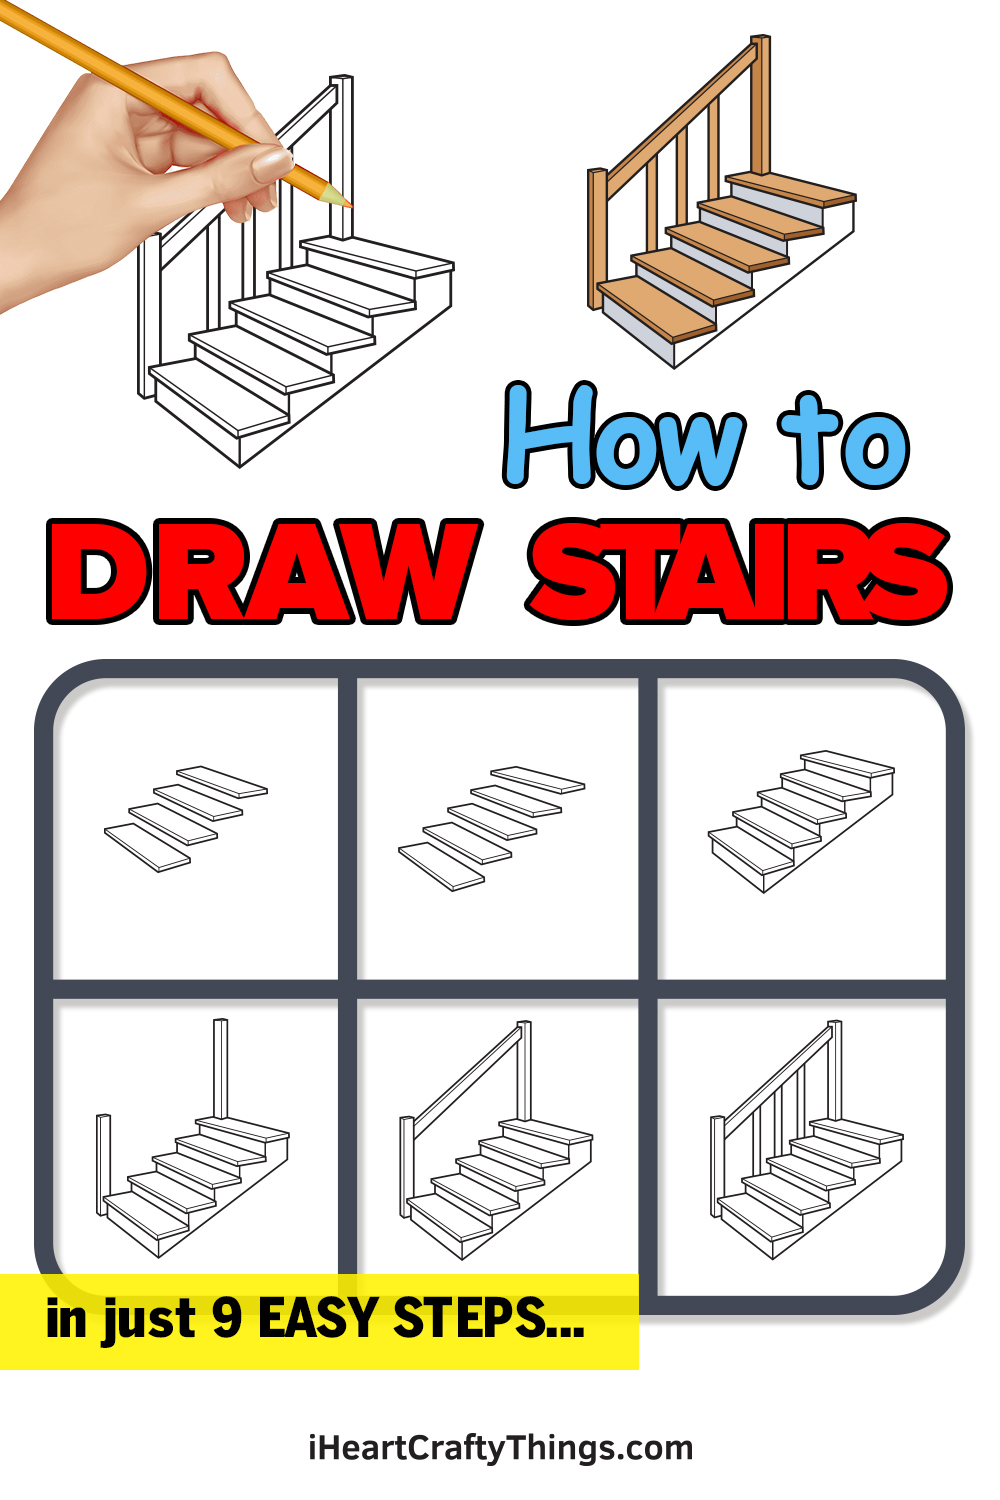
It’s time to learn how to draw stairs by following this guide for kids! This deceptively difficult drawing will be much easier when you follow these steps.
Steps are something that we take for granted every day. Almost everyone has to walk up or down stairs at some point in the day, and it’s so natural that you may not think about it.
When you draw interior settings, you may need to draw stairs and it’s at that point that you may discover that drawing this common architectural feature is harder than you think!
This guide aims to eliminate all of the difficulty. I will take you through each and every step so you can see the easiest way to do it. Then, you could draw around the design to make some indoor scenes of your own.
Watch And See How To Make Your Stairs Drawing
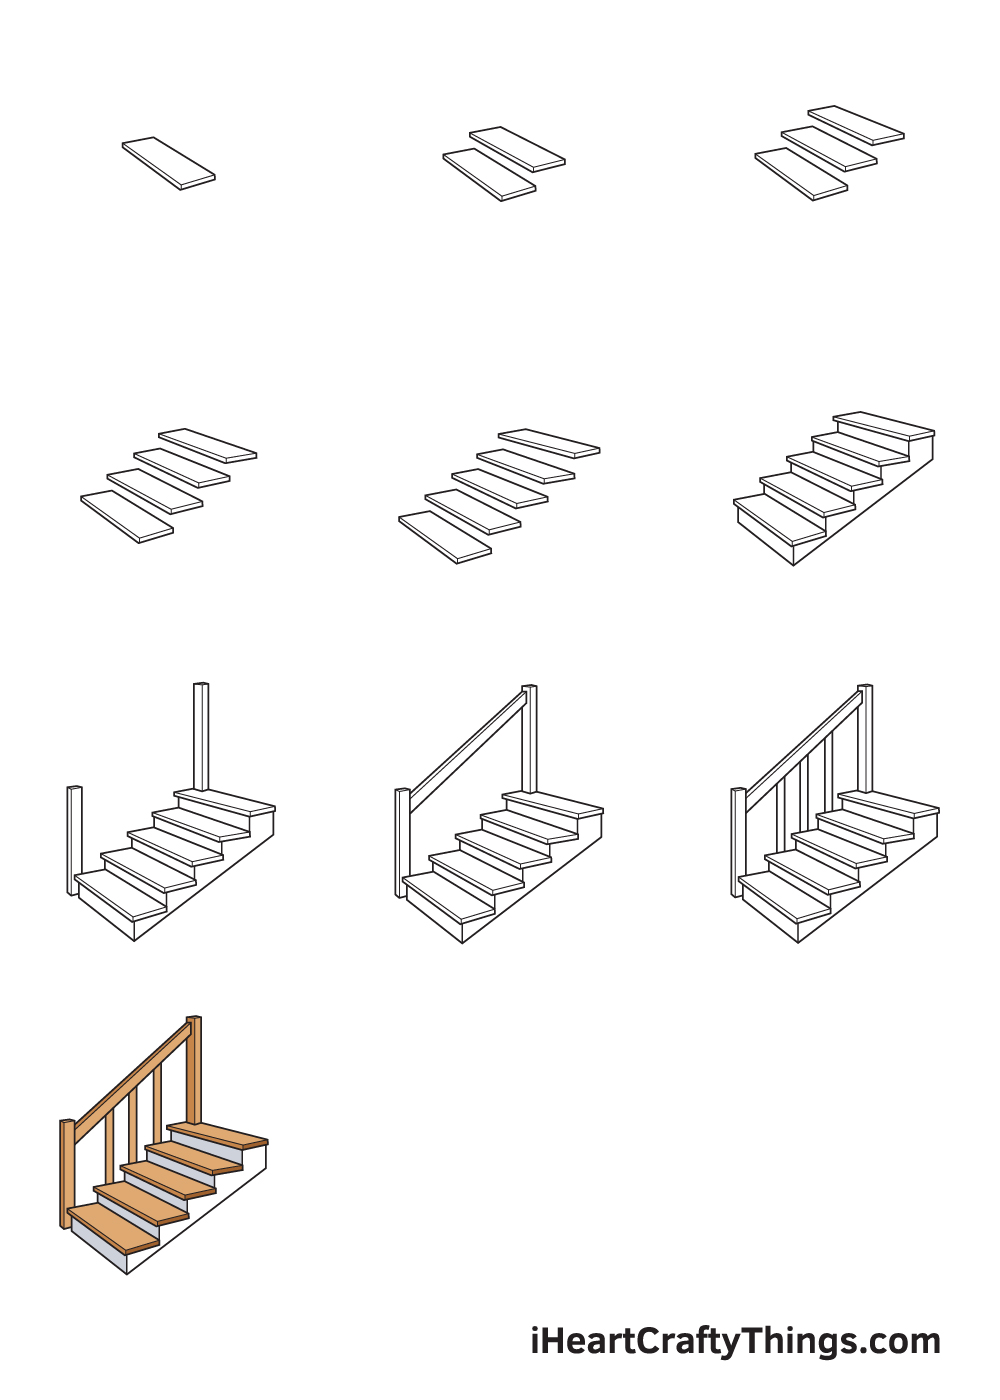
How to Draw Stairs – Let’s get started!
Step 1
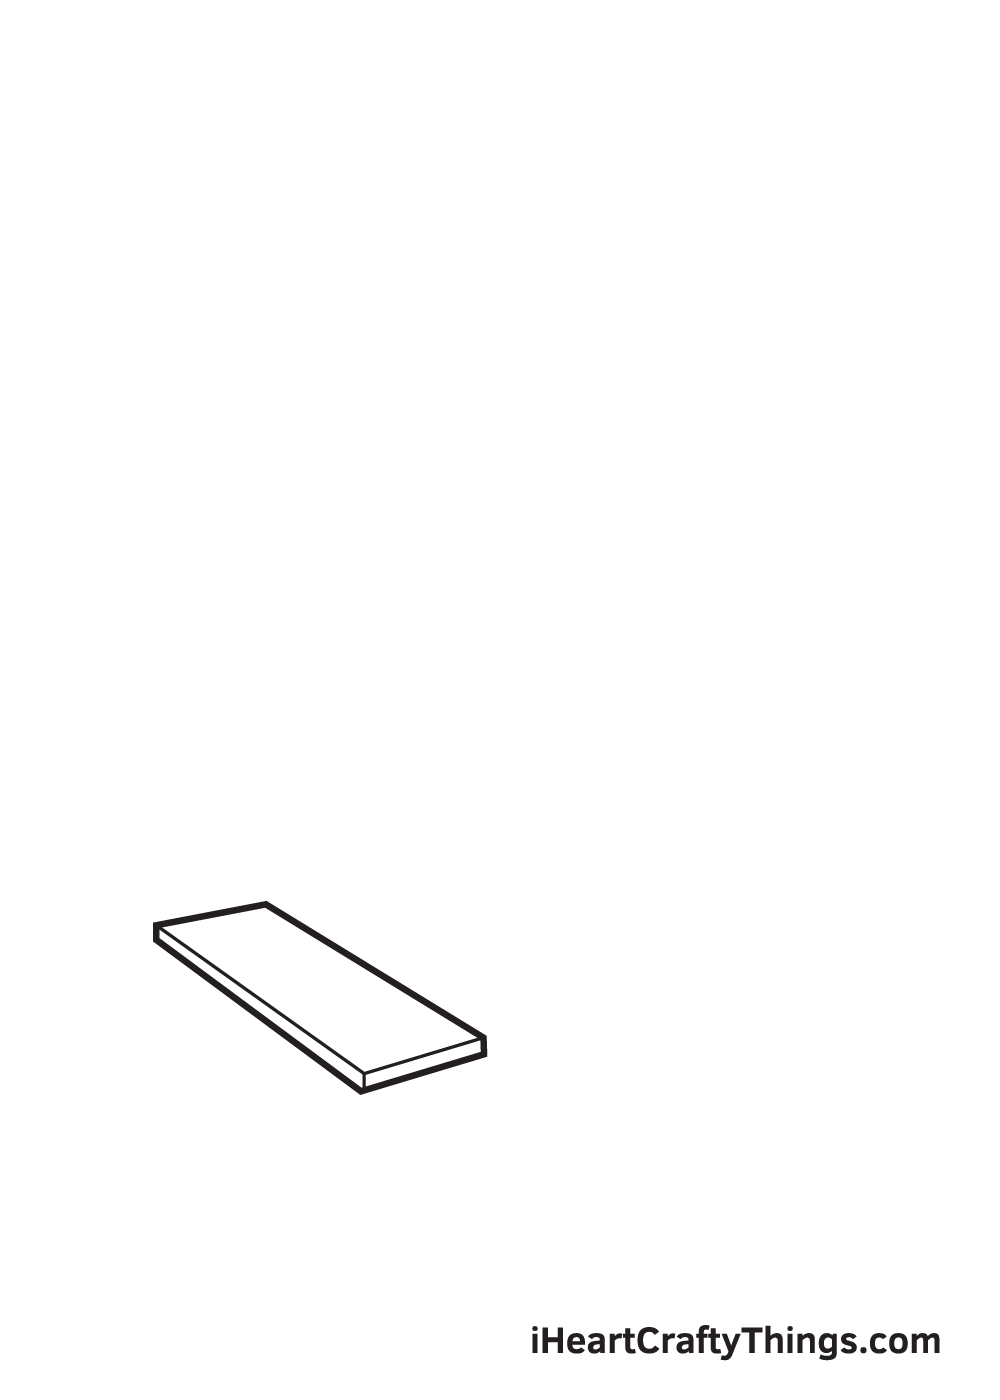
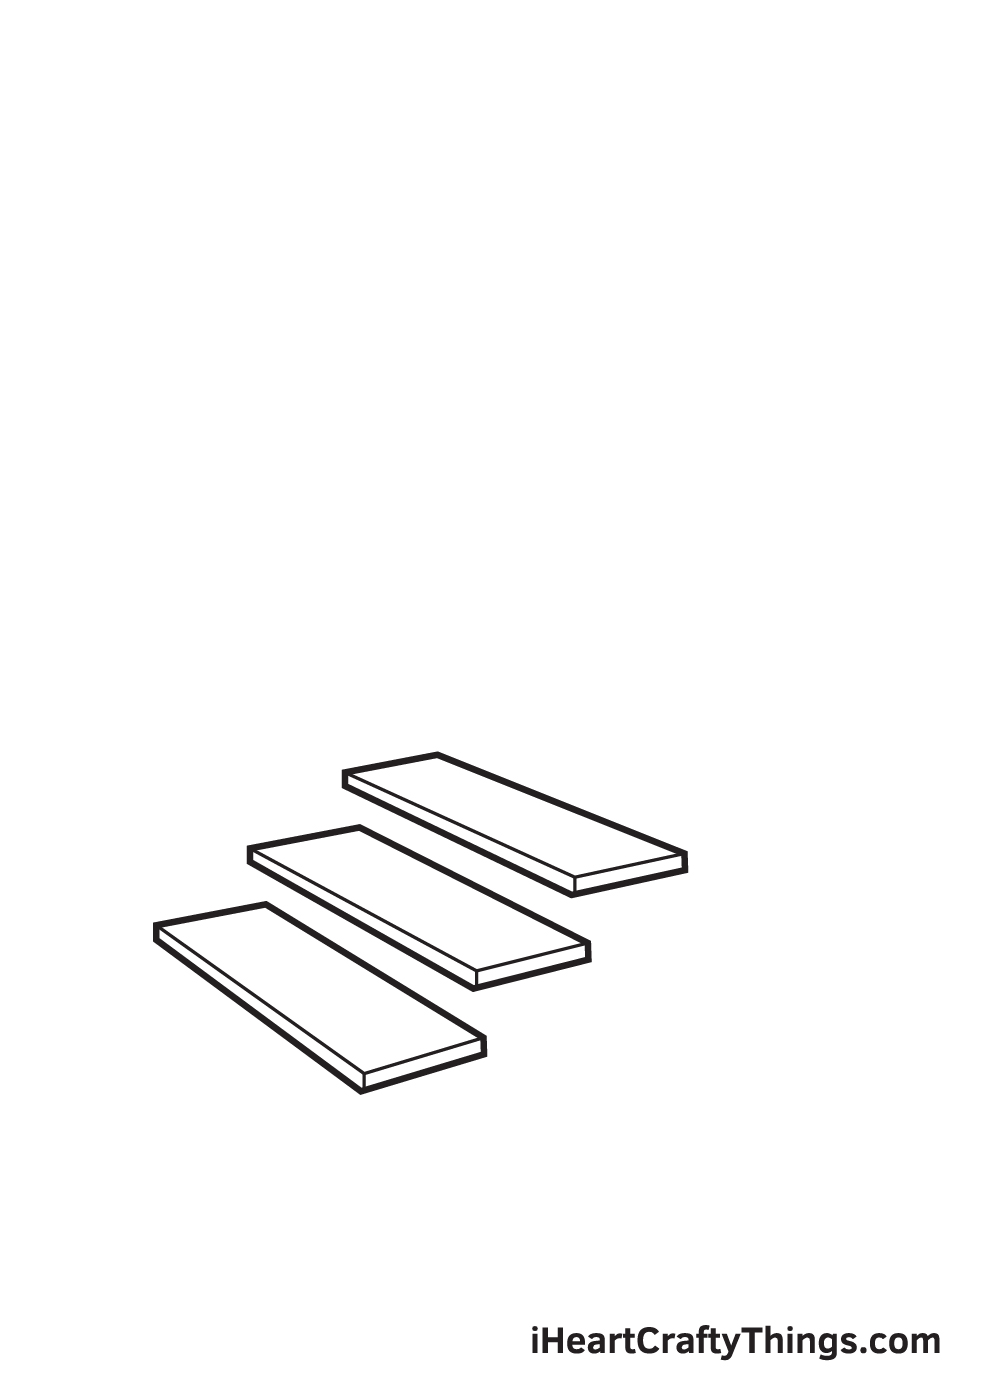
We’ll be drawing the stairs from the ground up, meaning we’ll begin from the lowest tread then work our way upwards to the highest tread.
Start by drawing a diagonal parallelogram shape on the lower left side of your paper. This forms the first tread of the stairs.
Don’t forget to add a line on the bottom and on the right side edge of the step. This adds a dimension on the treads to make it appear 3D and realistic.
Remember to keep doing this on all the treads you will be drawing in the following steps.
Step 2 – Draw the First Two Treads of the Stairs
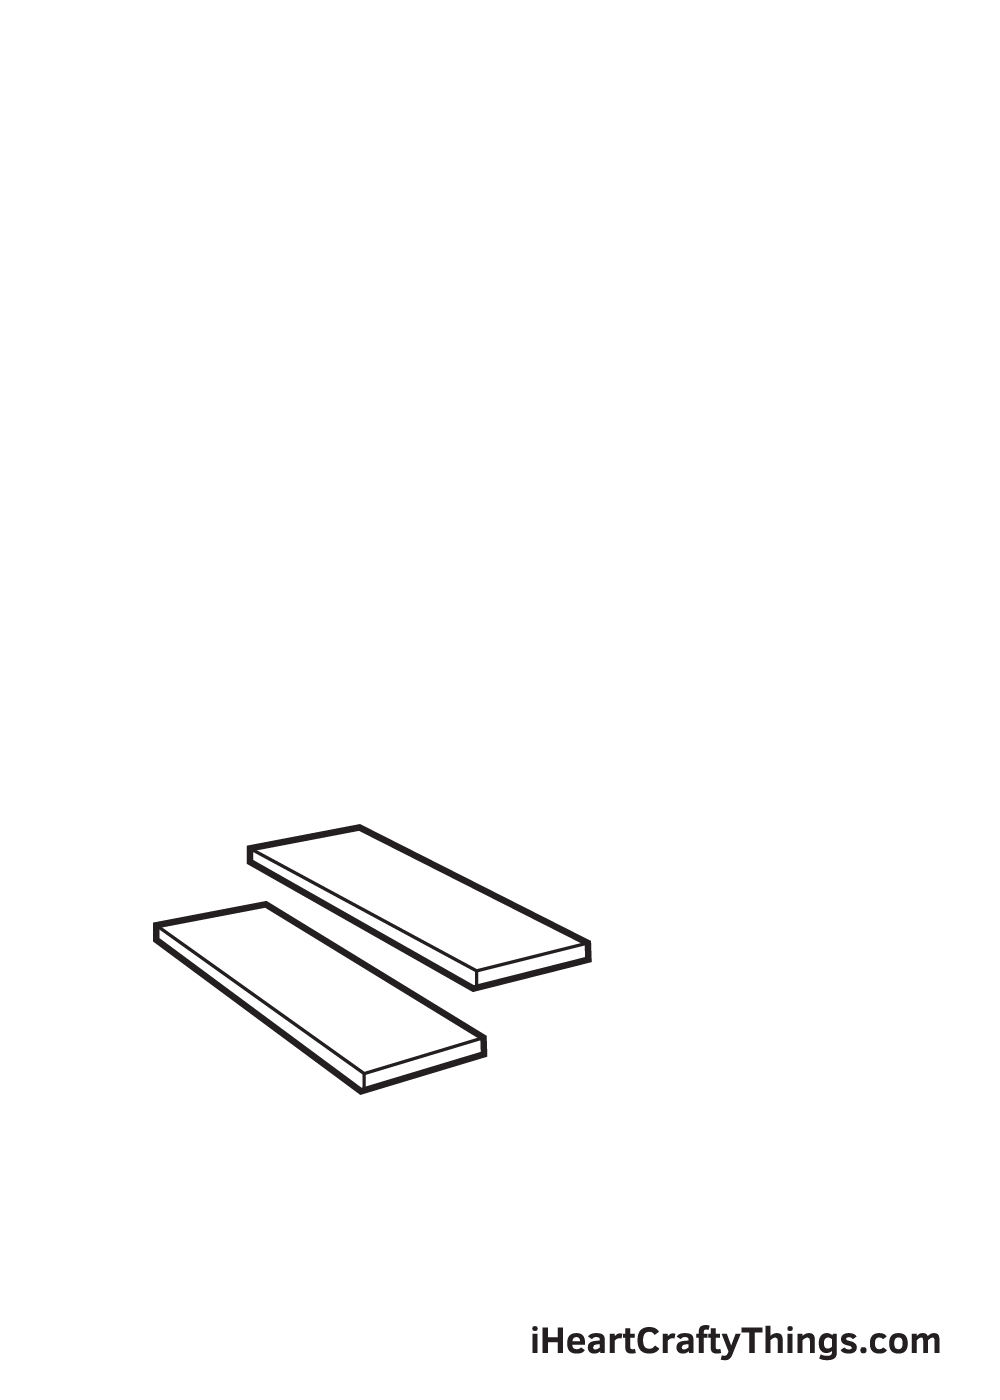
Draw another tread one step higher than the first one we drew in the previous step. Keep in mind that this tread should not be directly above the first tread, but it should be slightly on the right side.
After finishing this step, the stairs should now have two treads starting from the ground.
Step 3 – Next, Draw the Third Tread of the Stairs
Repeat the previous step to create the third tread one step higher from the second tread. Now, the stairs have three steps. We’re almost there—keep going!
Keep in mind that all treads should have a similar shape and size. The only difference should be the spot where they are positioned.
Step 4 – Then, Add Another Tread on the Stairs
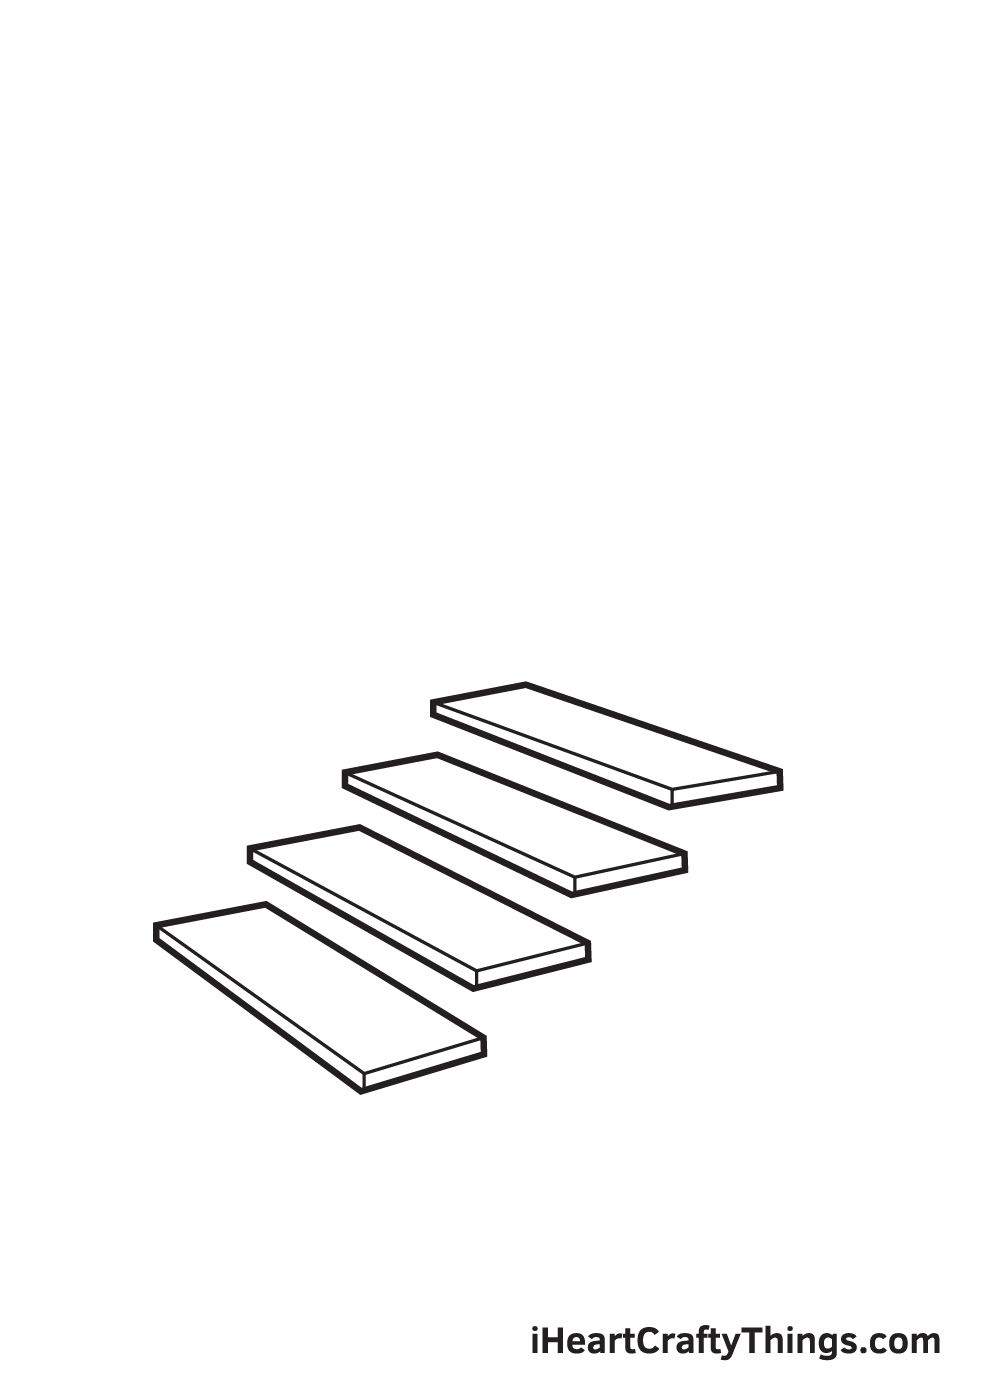
Draw another diagonal parallelogram shape one step higher from the third tread.
This creates the fourth tread of the stairs. Now, we’re only missing one tread to complete the steps of the stairs.
Step 5 – Structure the Fifth and the Last Tread
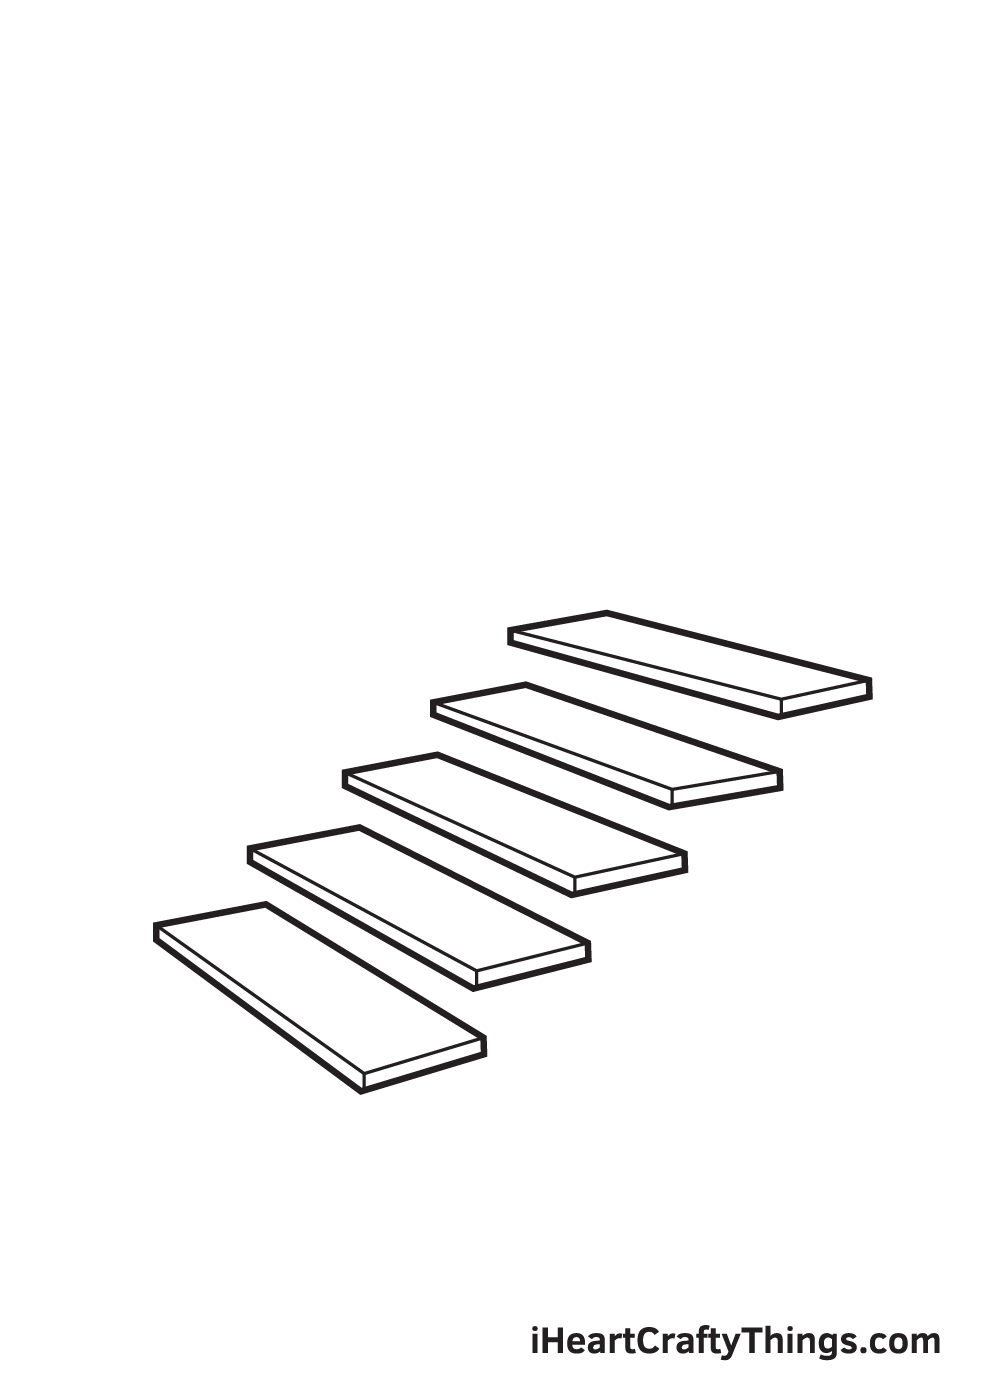
Repeat the previous step to form the highest tread in the stairs. At this point, you should now have a total of five treads in the stairs.
Remember, the steps should be forming an upward diagonal heading to the right side.
Make sure that all treads have thin lines on their bottom and right edge. This adds a three-dimensional effect on the stairs, as mentioned in the previous steps.
Step 6 – Afterwards, Draw the Stairs’ Stringer
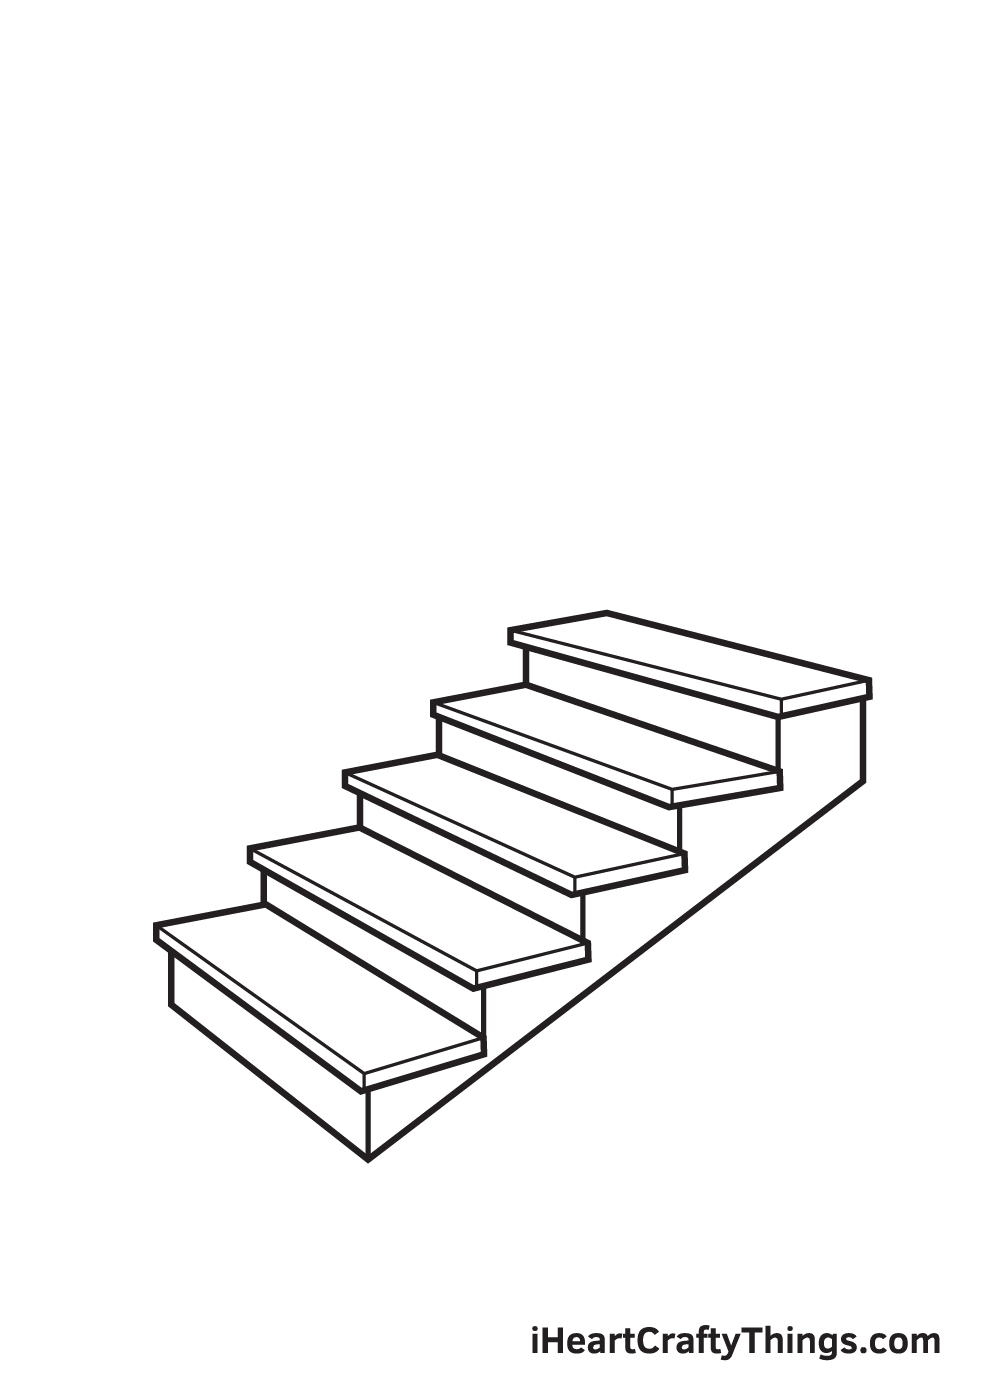
Draw a diagonal shape right underneath the flight of stairs. This forms the stringer, which serves as the foundation of the steps.
Afterwards, draw vertical lines on the corner edges of each tread. This connects all the steps together, magnifying the structure of the stairs.
Step 7 – Create the Central Pole of the Stairs
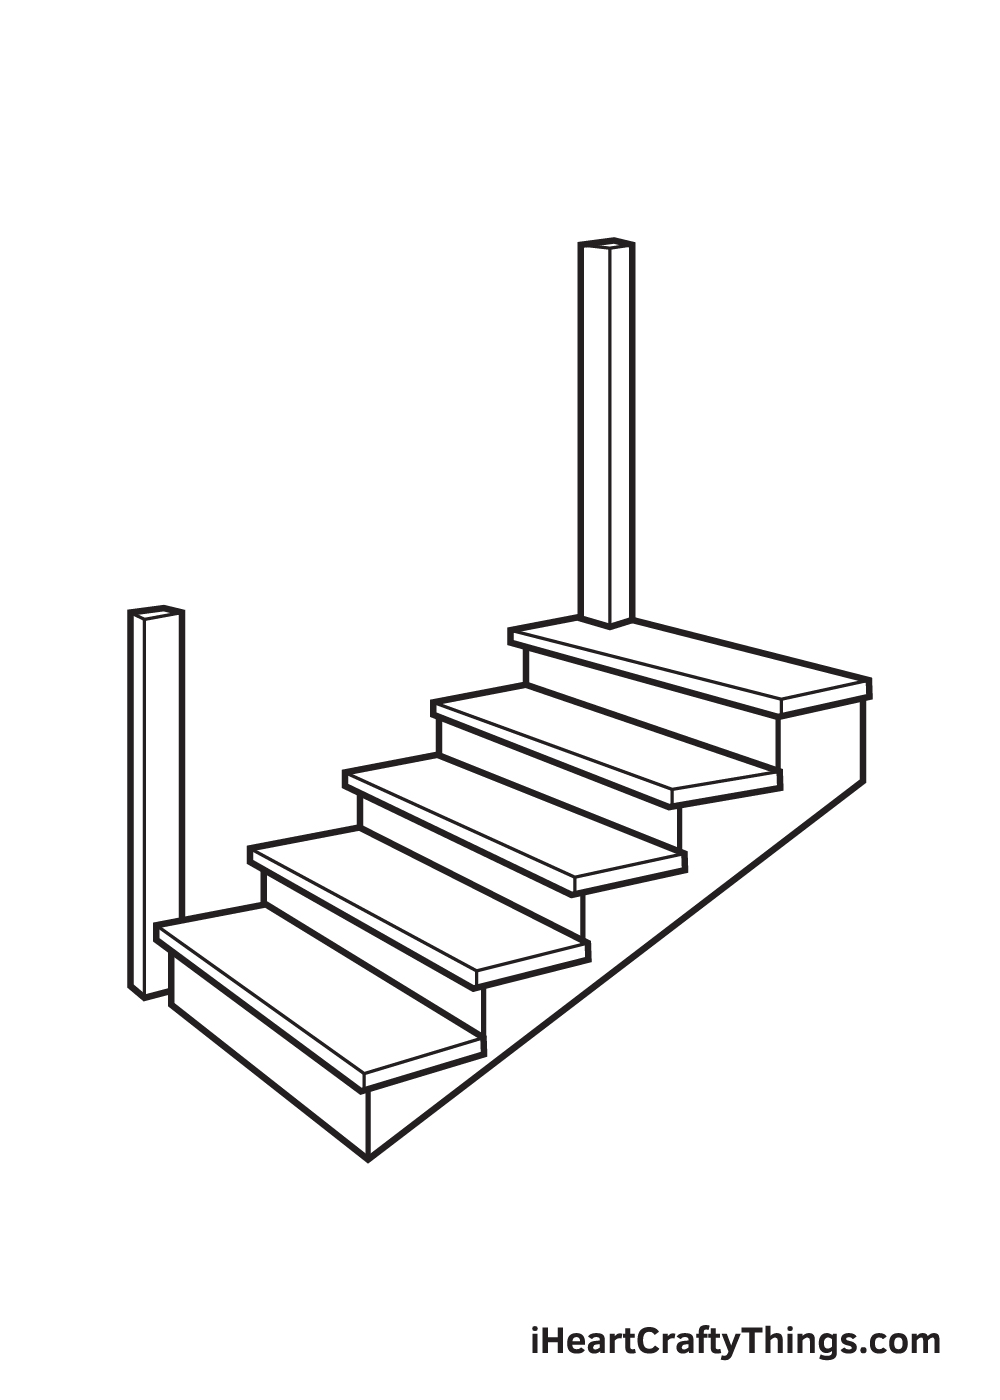
Draw a pole beside the lowest tread and another one atop the highest tread. This creates the central pole or the support column, which serves as the central supporting pillar of the stairs.
Keep in mind that the central poles should be about an inch and a half tall. Also, don’t forget to add lines down the length of the poles to create dimensions!
Step 8 – Next, Draw the Hand Rail for Support
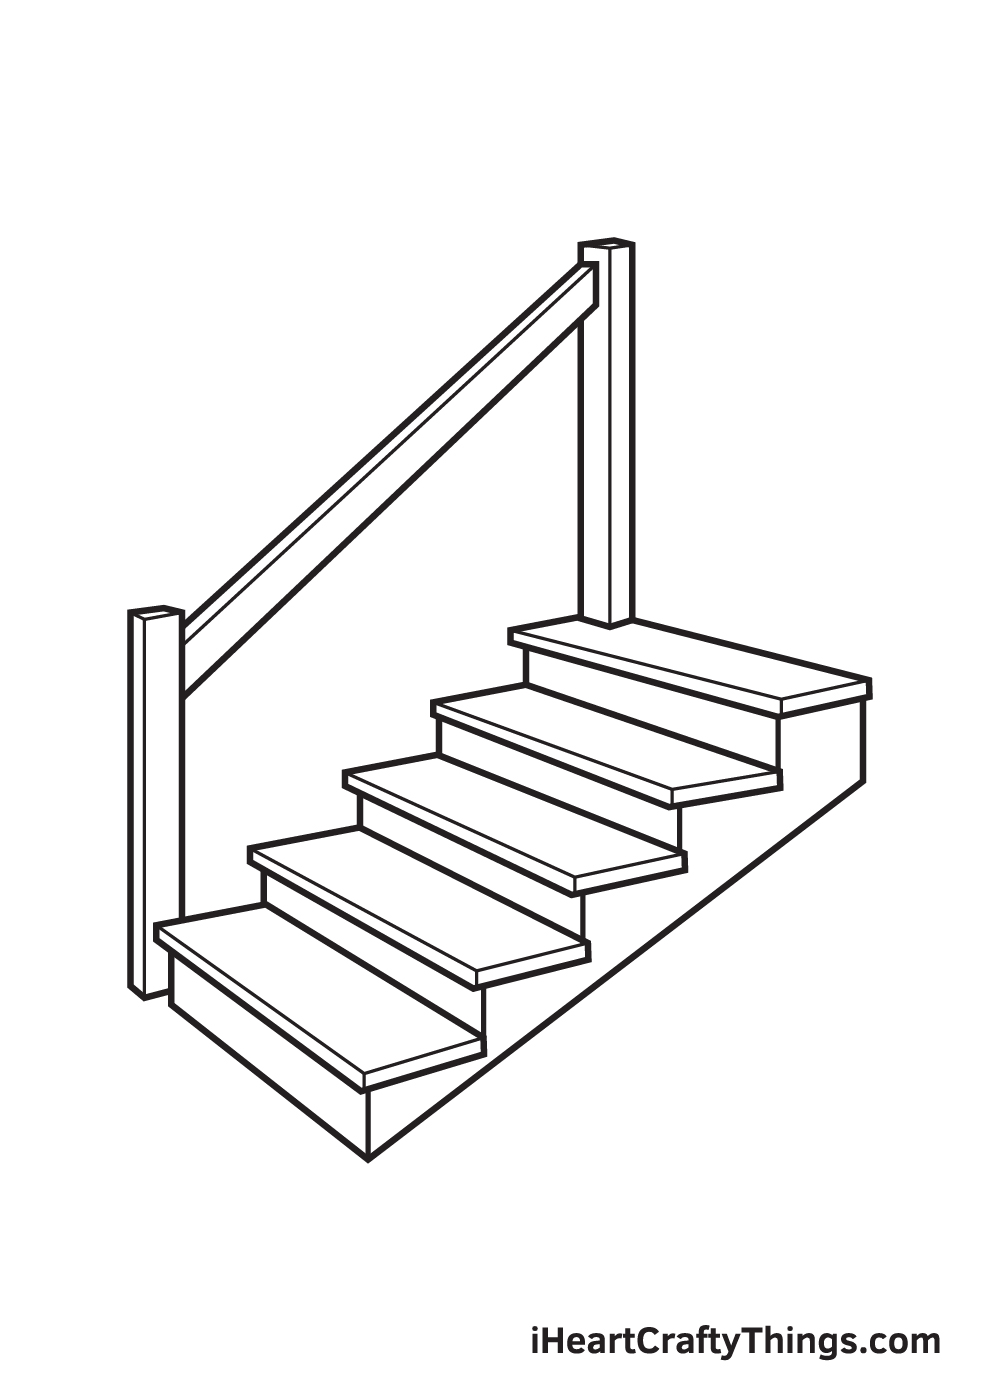
Draw an upward diagonal shape attached to the top part of both central poles. This creates the hand rail, which is what people usually hold on to for support when walking up and down the stairs.
Make sure to add a thin line across the length of the hand rail near its upper edge. Similar to the other parts of the stairs, this creates a three-dimensional effect.
Step 9 – Add the Balusters in Between the Newels
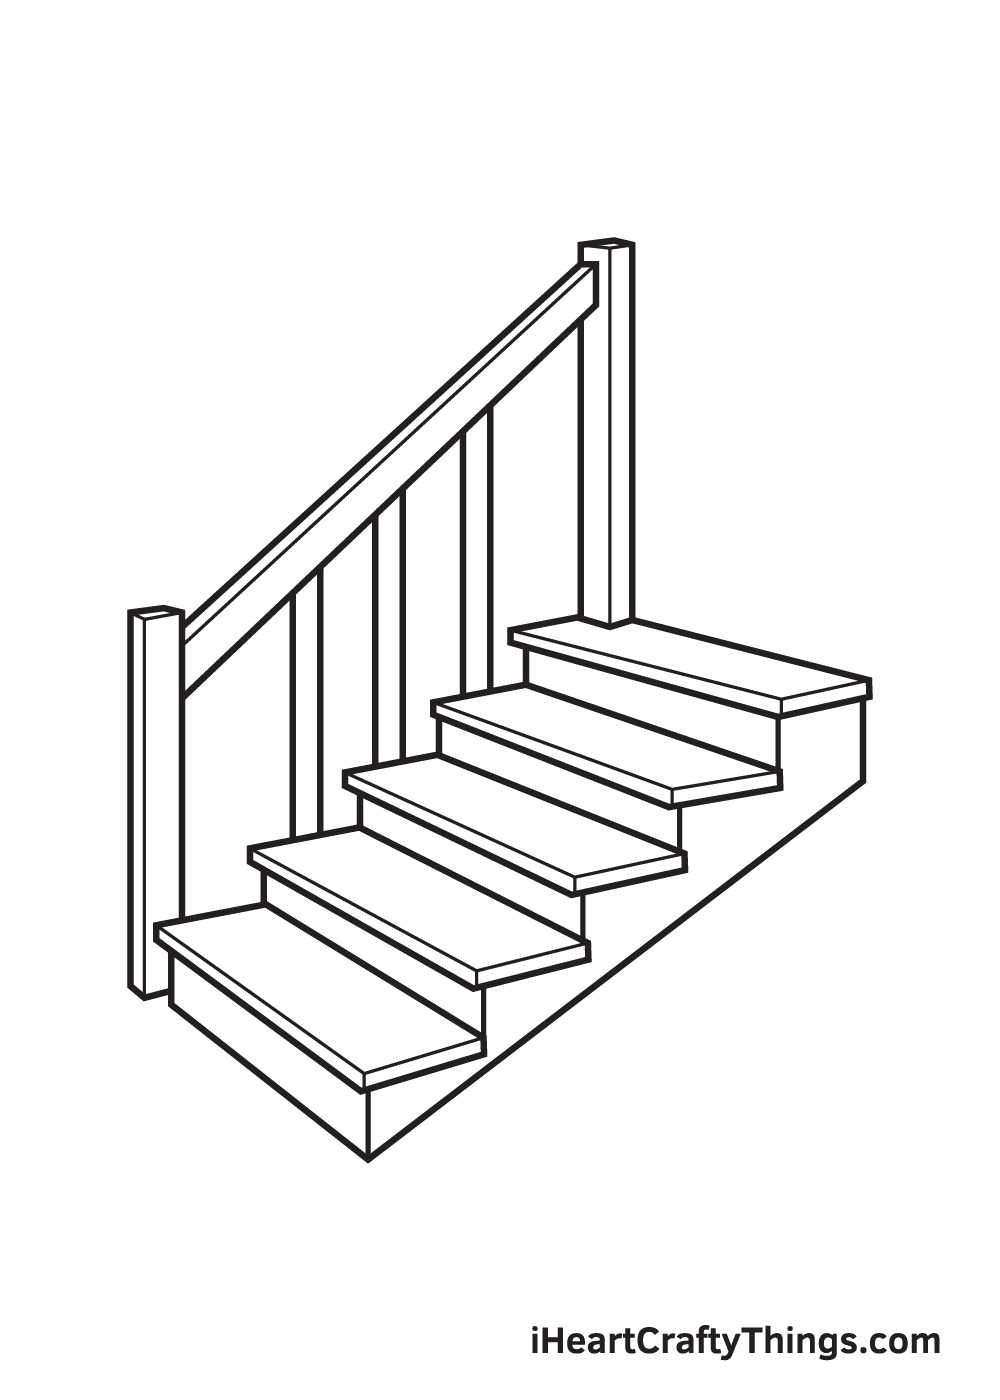
Draw three more poles in between the lower and upper central poles we drew previously in the seventh step. This creates the balusters, which serve as an additional support for the handrail.
Bear in mind that the balusters are thinner than the central poles.
There you have it—we have successfully drawn stairs! Now, it’s finally time for the most exciting part, which is choosing the colors and coloring the stairs!
This is your opportunity to showcase your artistic skills, especially your ability to mix and match various colors.
Stairs exist in a wide range of colors, mainly because it can easily be painted with any color depending on the homeowner’s preference.
Feel free to use any color you like! We suggest using a different color for the handrails and the poles to make the stairs vibrant and colorful!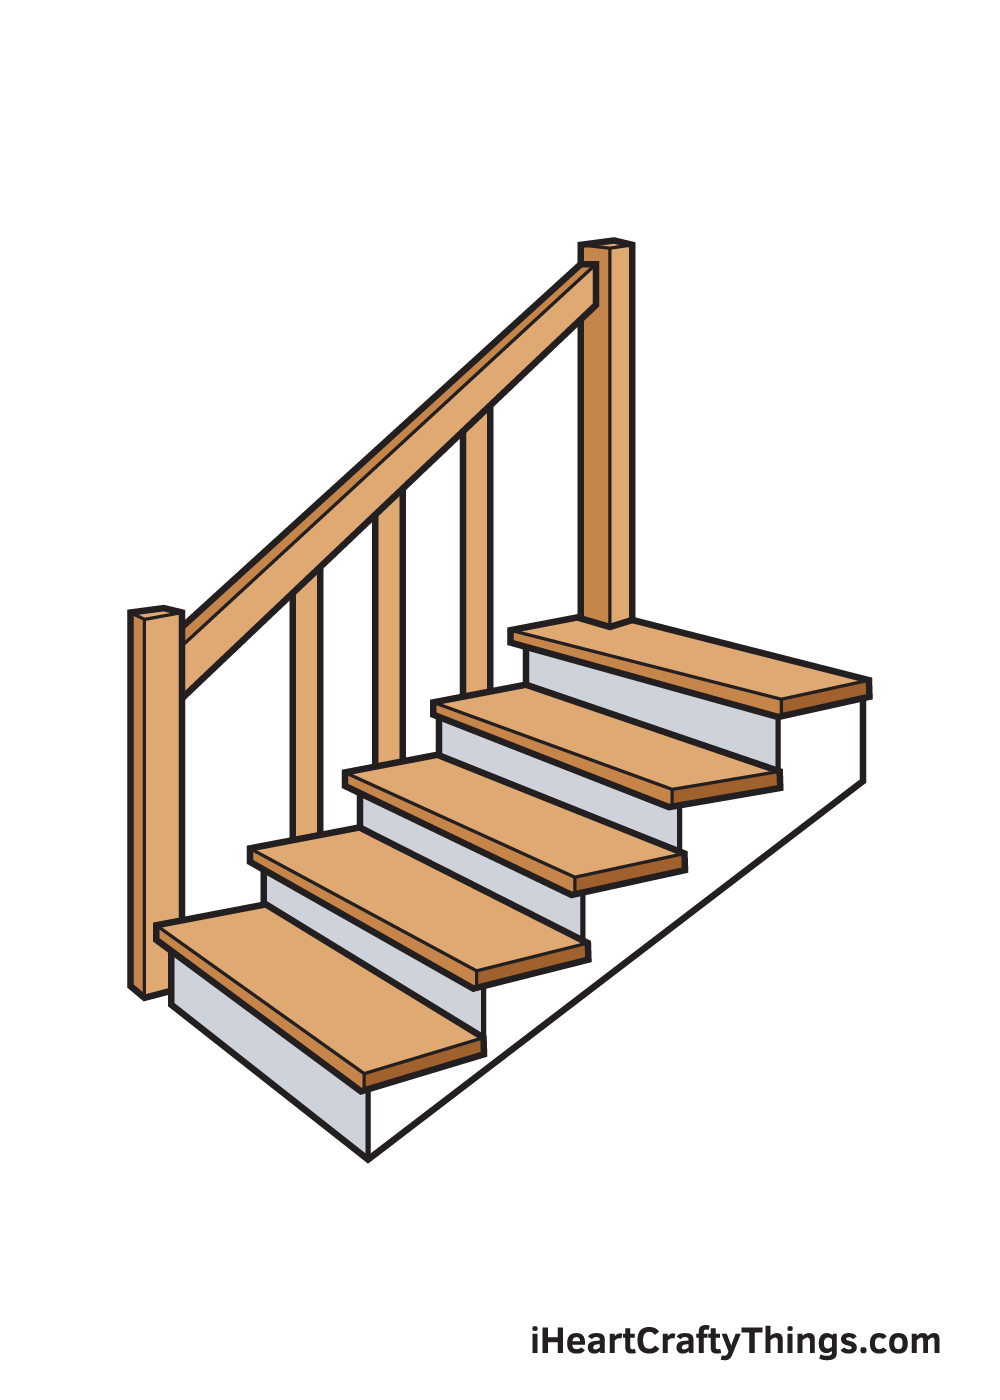
3 More tips to make your stairs drawing easy!
Take the steps you need to find out how to make these easy to draw stairs even easier!
We added a lot of great details and elements to this stairs drawing, but you could simplify things if it’s proving difficult. For example, we added a thin base at the top of each individual stair.
This looks great, but it can make things more complicated while you’re still learning. You could remove these bases and maybe have the stairs covered with carpet instead.
If you like the look of these details, then you can always create a version that does have these bases once you have the hang of it.
If there are any other details you’re struggling with, don’t be afraid to simplify them!
Another approach to take with your drawing of stairs would be to use more preparation lines. You’ll need a pencil for this tip along with your ruler.
With these tools ready, draw a zigzagged line for the side of the stairs. Try your best to make the length of these fairly equal, as you’ll see in the guide.
Then you can build up the details and start incorporating your pen lines. Simply erase the pencil lines once the ink is dry and no one will ever know you used those pencil lines.
This means you can do as much planning as you need in order to end up with an even more incredible drawing!
Finally, you can make your stairs sketch even easier by looking at the real thing. If you have stairs leading anywhere in your house, then you’re good to go!
If not, there are bound to be some in your neighborhood, school or other places you go often. When you have found your stairs model, you can then take some pictures at different angles.
These will help you as you draw your stairs, even if you end up making them in a different style to the ones you used in real life.
Using real stairs to help you will also allow you to create this drawing from different angles.
Your Stairs Drawing is Complete!
Hopefully, you have fun drawing stairs with the help of this step-by-step drawing tutorials. Now that you can draw the stairs, perhaps you can draw an interior of a house with a staircase next?
The possibilities are endless once you’ve learned how to draw the stairs.
Don’t forget to show off your masterpiece once you’re drawing and coloring the stairs! Take a picture of your artwork and post it on our Facebook page and Pinterest.
Don’t be embarrassed to share your drawing, we’re sure it looks impressive!
We can’t wait to see your realistic stairs drawing!