


Letters are an essential part of many artworks, and drawing is no exception. What better way to make the letters in your drawing more creative by adding dimensions?
With 3D letters, anything you write in your drawing will look ten times more aesthetically pleasing!
Fortunately, we have created a step-by-step tutorial on how to draw 3D letters, summarized in 9 quick and easy steps.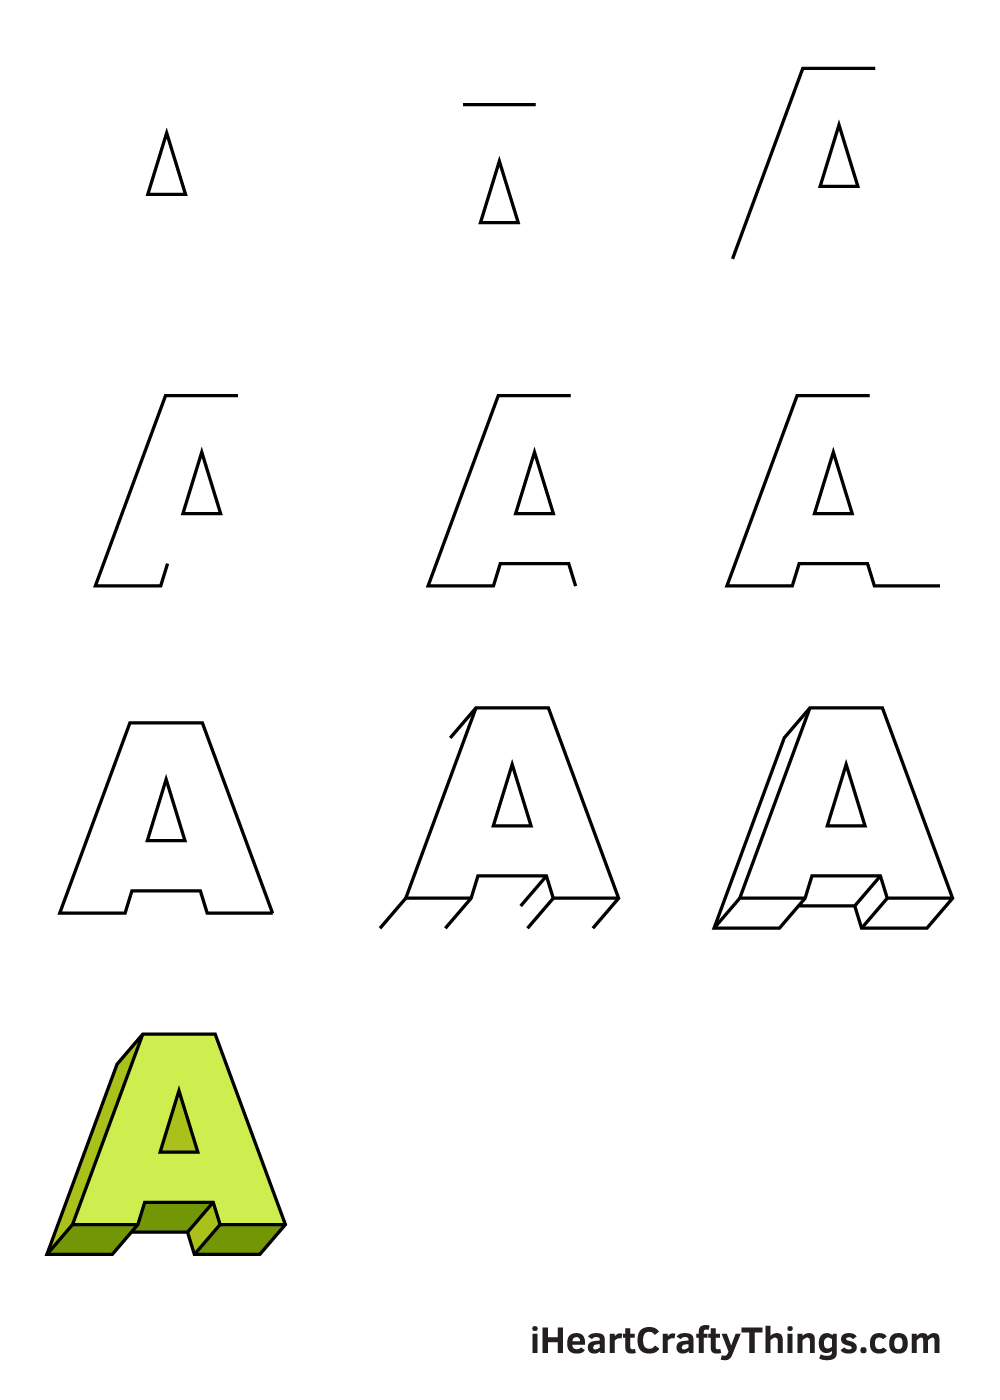
What’s more, each instruction comes with an illustration, making the whole process a lot easier for you to follow.
In this guide, we will be drawing a three-dimensional letter A. So, go ahead and prepare a piece of paper and a pencil and let’s start drawing. Don’t forget to grab your favorite coloring materials too!
Have fun and use your artistic skills!
How to Draw 3D Letters – Let’s get started!
Step 1
Start by drawing a triangular shape. This figure outlines the middle of the letter A.
Keep in mind that the triangle figure should not be in the very middle, rather it should be slightly on the right side of the center. This ensures that there’s sufficient space for the dimensions of the letter.
Remember, the size of your 3D letter depends on the size of the triangle. The bigger the triangle shape is, the bigger the letter A will be.
The 3D letter primarily consists of straight lines. So, you may need to use a ruler to help you draw straight lines quickly and easily.
Step 2 – Create the Top Part of the Letter A
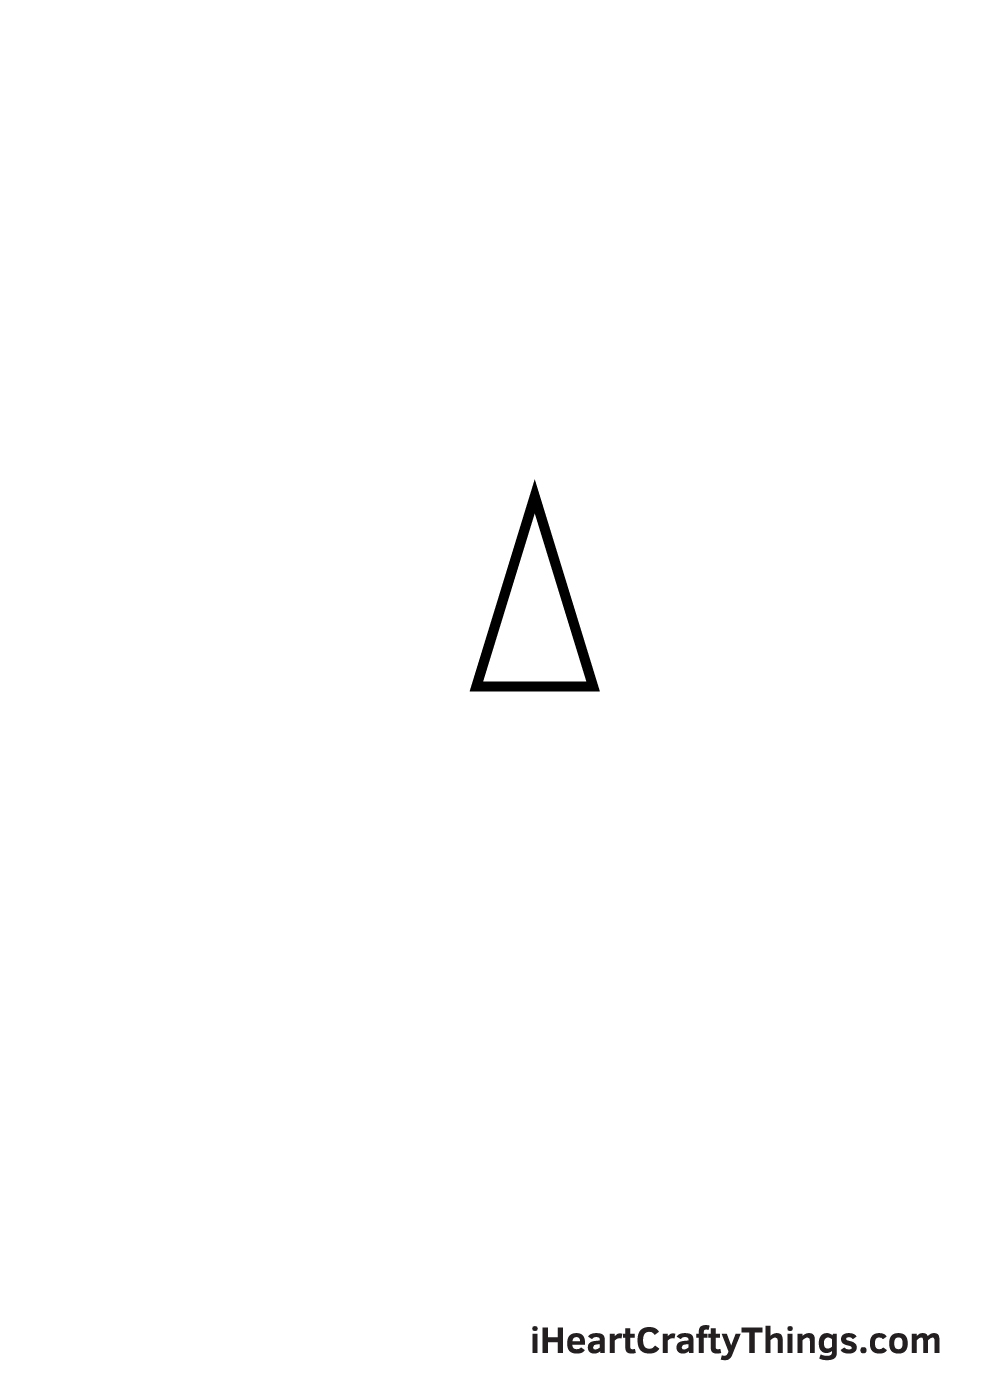
Draw a horizontal line above the triangle that we drew previously. This outlines the topmost part of the letter A.
Bear in mind that there should be a gap between the horizontal line and the triangle figure.
Step 3 – Draw the Letter A’s Left Diagonal Line
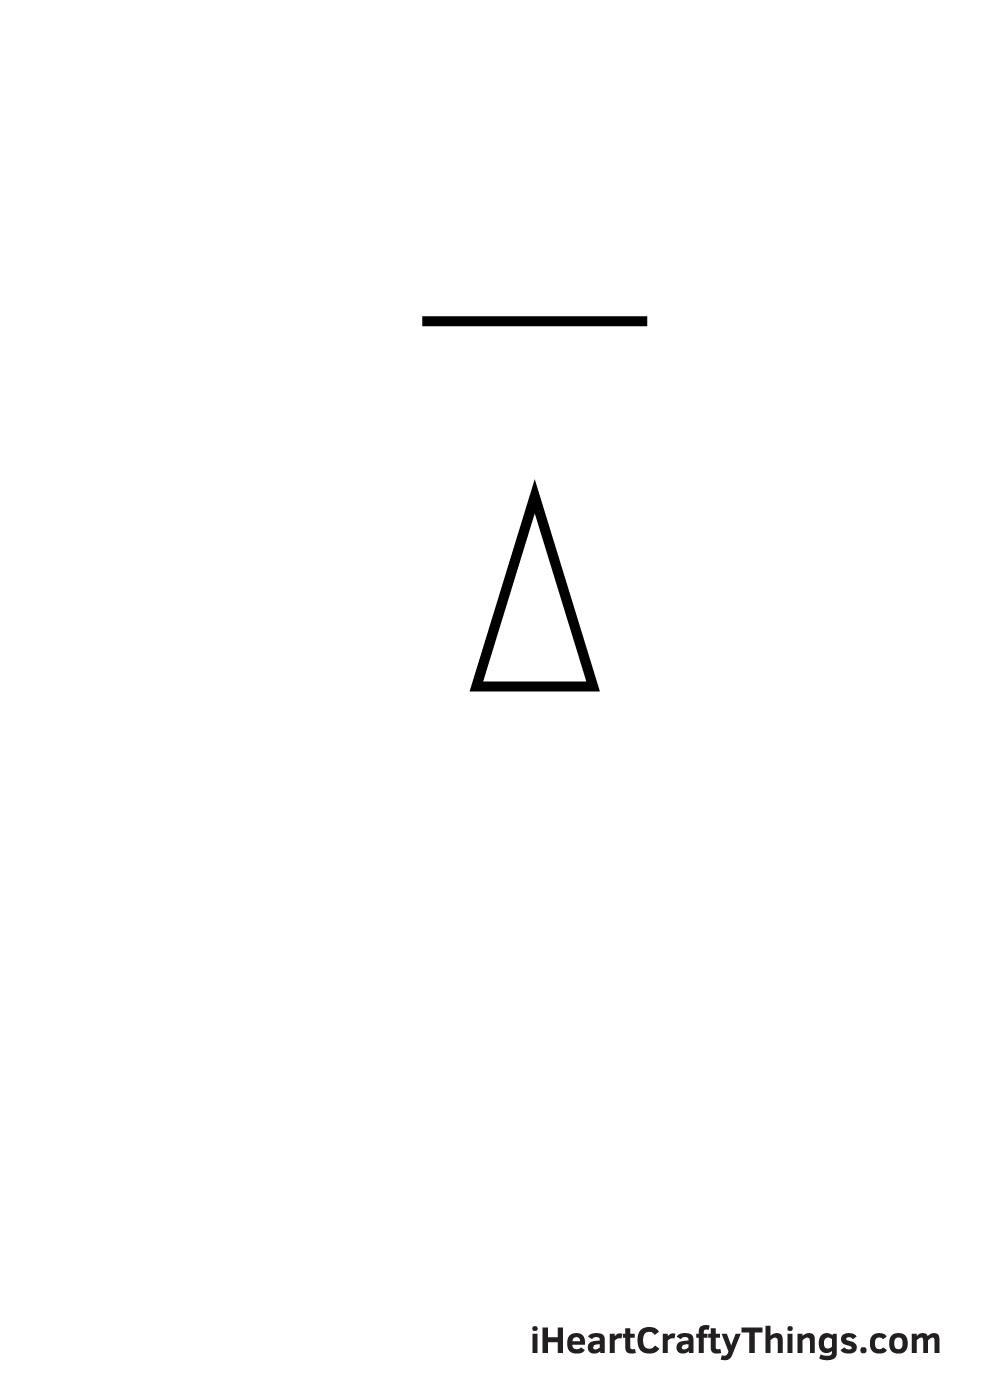
Starting from the left endpoint of the horizontal line, draw a downward diagonal line heading further to the left.
This forms the edge of the letter A on the left side.
Step 4 – Complete the Left Side of the Letter A
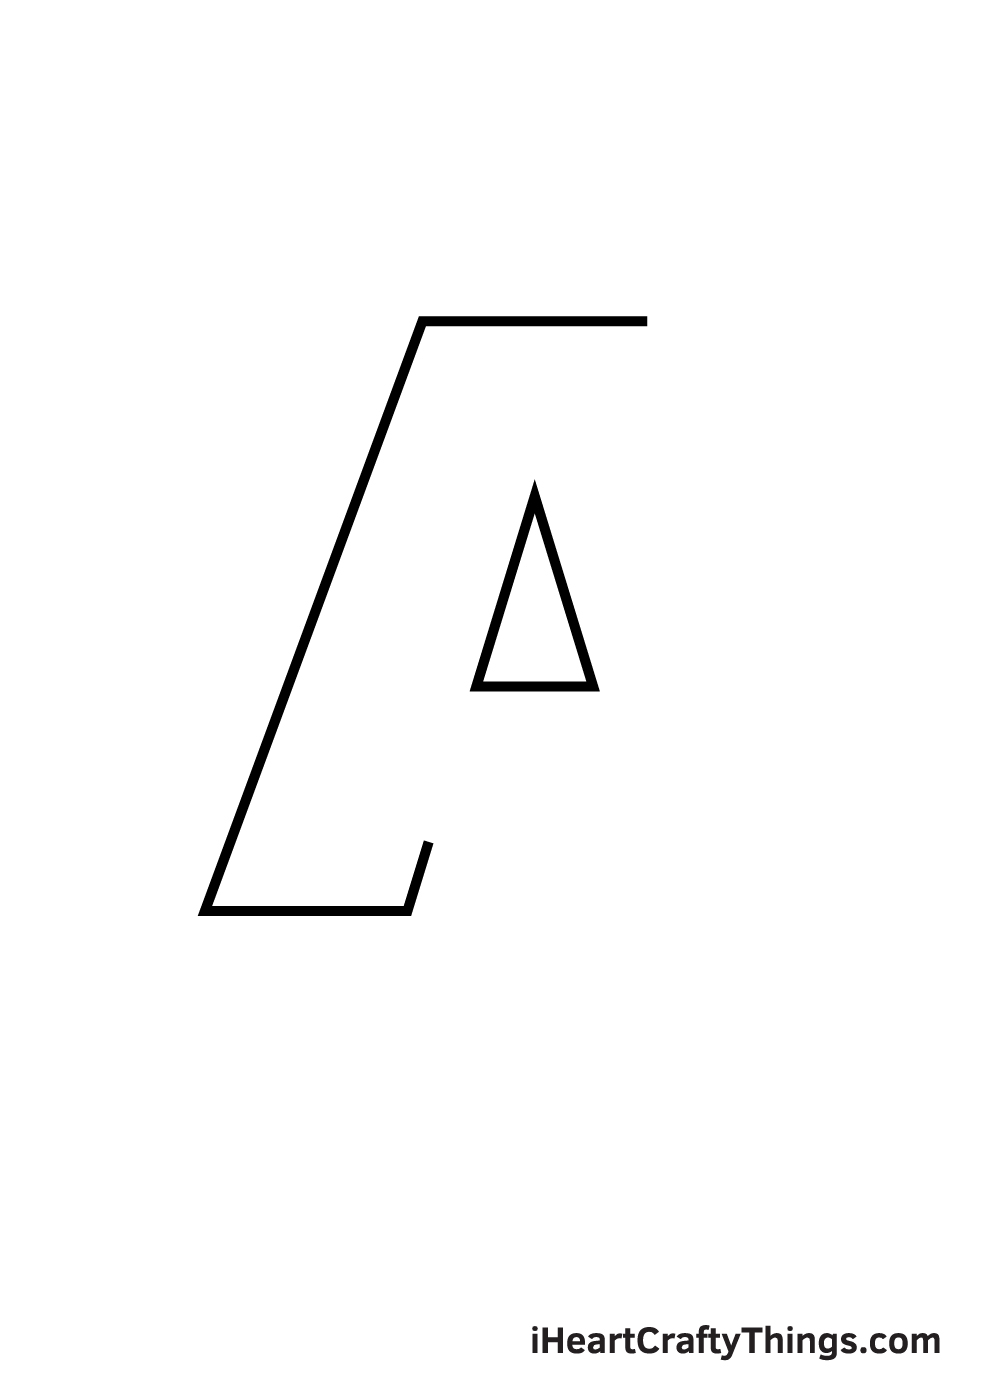
Draw a short horizontal line heading to the right beginning from the bottom endpoint of the diagonal line that we drew previously.
Afterwards, draw a short upward diagonal line slightly tilted to the right side.
After finishing this step, half of the letter A should not be complete, as shown in the illustration above.
Step 5 – Next, Draw the Bottom Middle Line
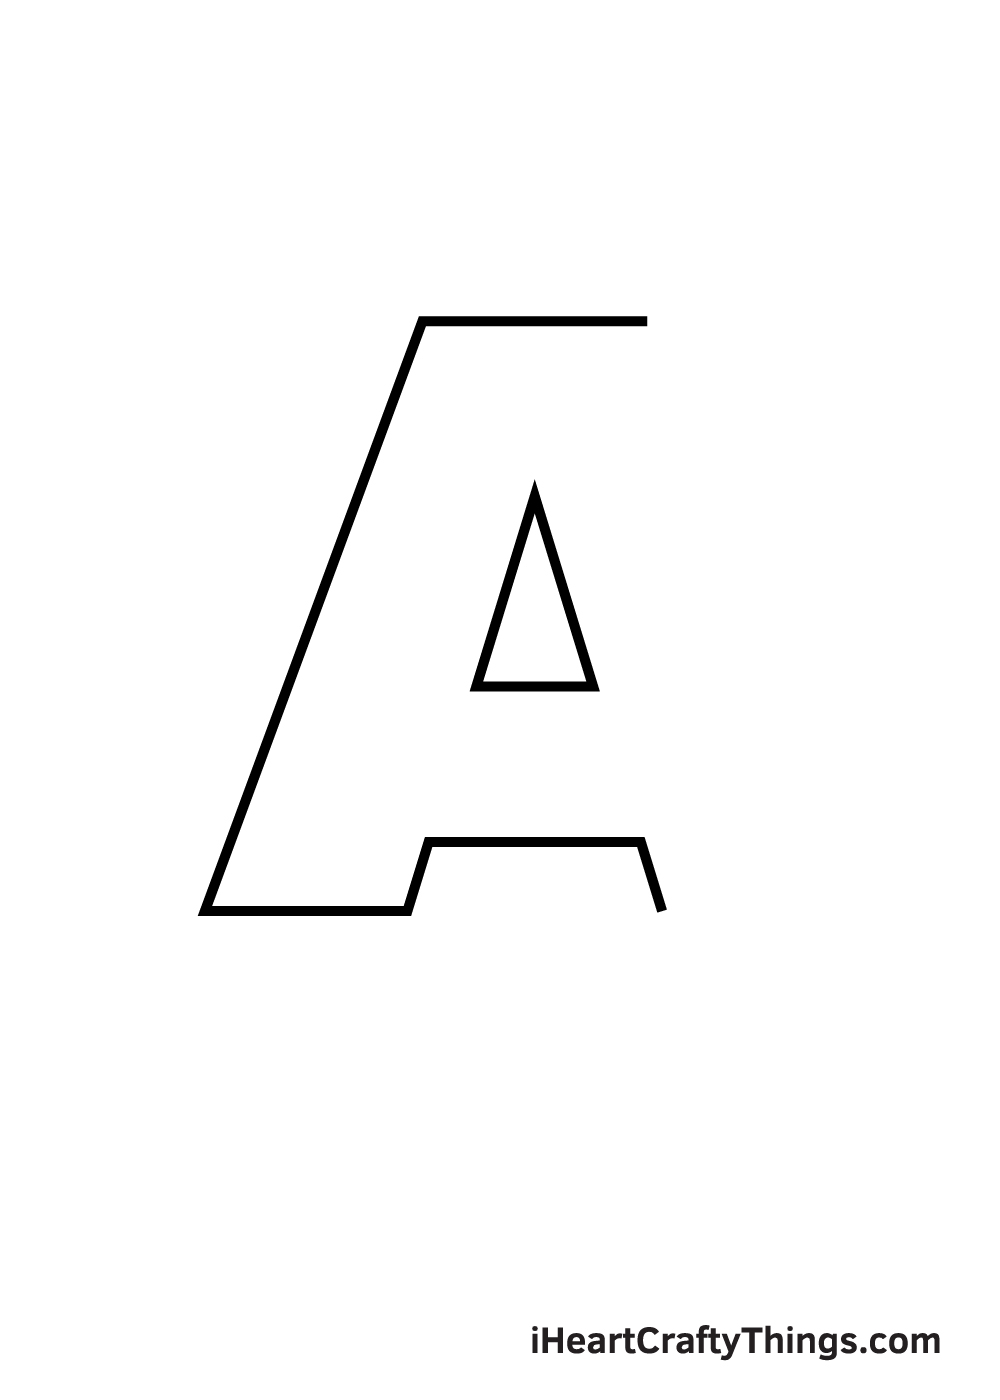
From the top endpoint of the most recent line we drew, draw a horizontal line. This creates the middle line at the bottom of the letter A. This is also the line that connects letter A’s both “legs”.
Afterwards, draw a downward diagonal line slightly tilted towards the right beginning from the right endpoint of the horizontal line we drew just now.
Step 6 – Then, Draw the Right Side Bottom Line
Draw a horizontal line from the bottom endpoint of the diagonal line we drew previously. This forms the bottom line of the right leg of the letter A.
Keep in mind that this line should have a similar length to the line on the opposite side, which we drew previously in the fourth step.
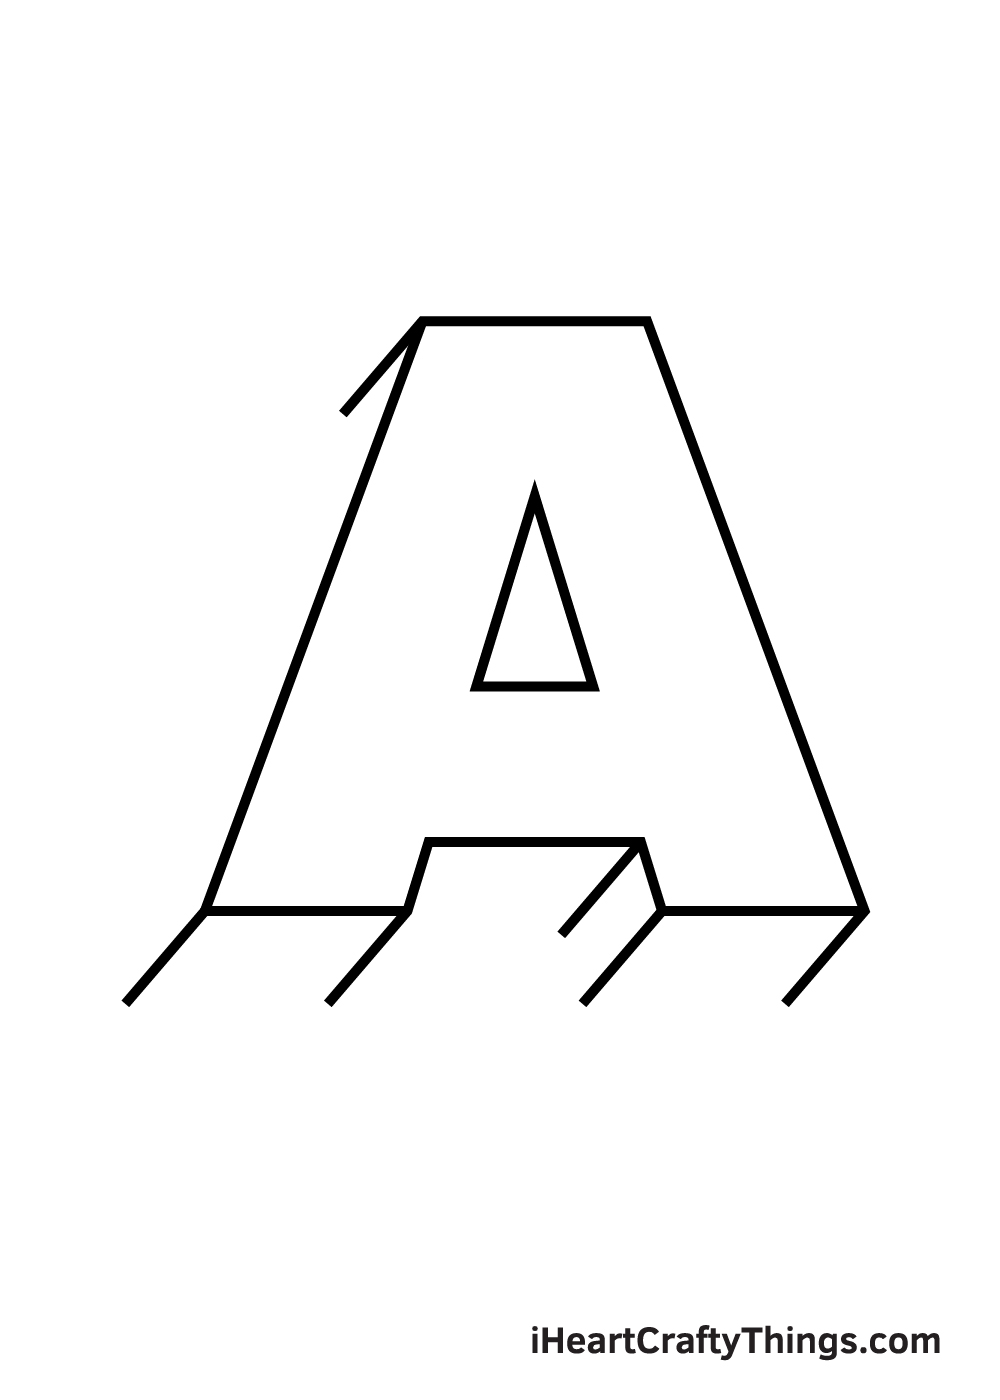
Step 7 – Finalize the Structure of the Letter A
Complete the form of the letter A by drawing a diagonal line, connecting both endpoints of the horizontal line at the top and at the bottom.
At this point, the letter A should now be fully formed. And as you can see in the illustration, the letter A is off-center and situated slightly on the right side.
Don’t worry about this! This leaves enough space for the dimensions of the letter A.
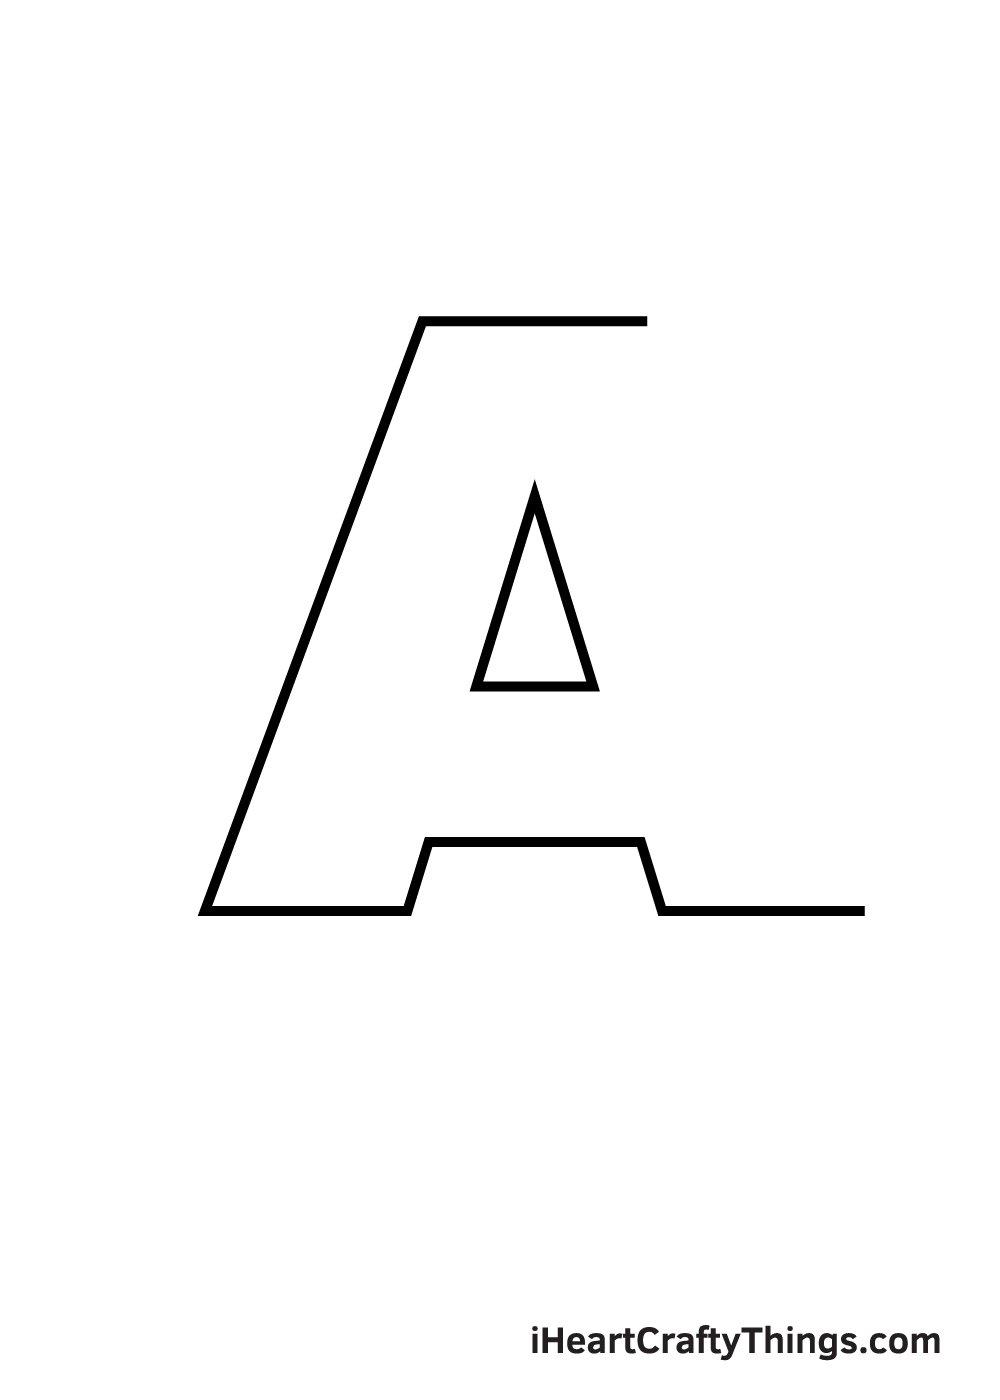
Step 8 – Draw the Dimensions of the Letter A
After completing the structure of the letter A, we will now be working on the dimensions in this step.
Proceed by drawing downward diagonal lines at the topmost part and both bottom parts of the letter.
Keep in mind that all diagonal lines should be leaning towards the left side, as shown in the illustration above.
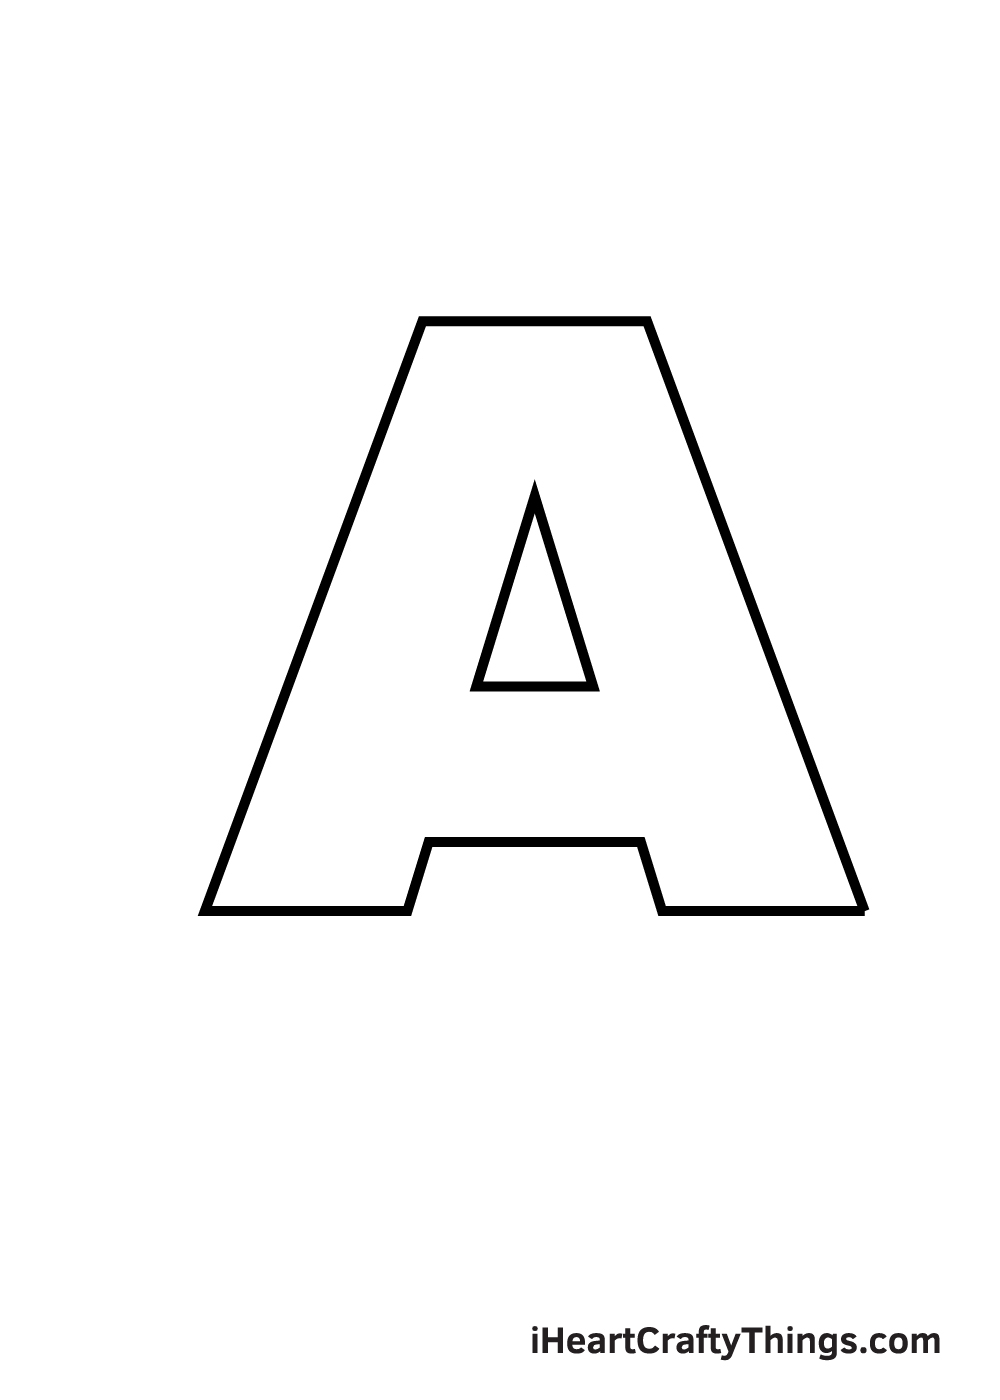
Step 9 – Make the Letter A Three-Dimensional
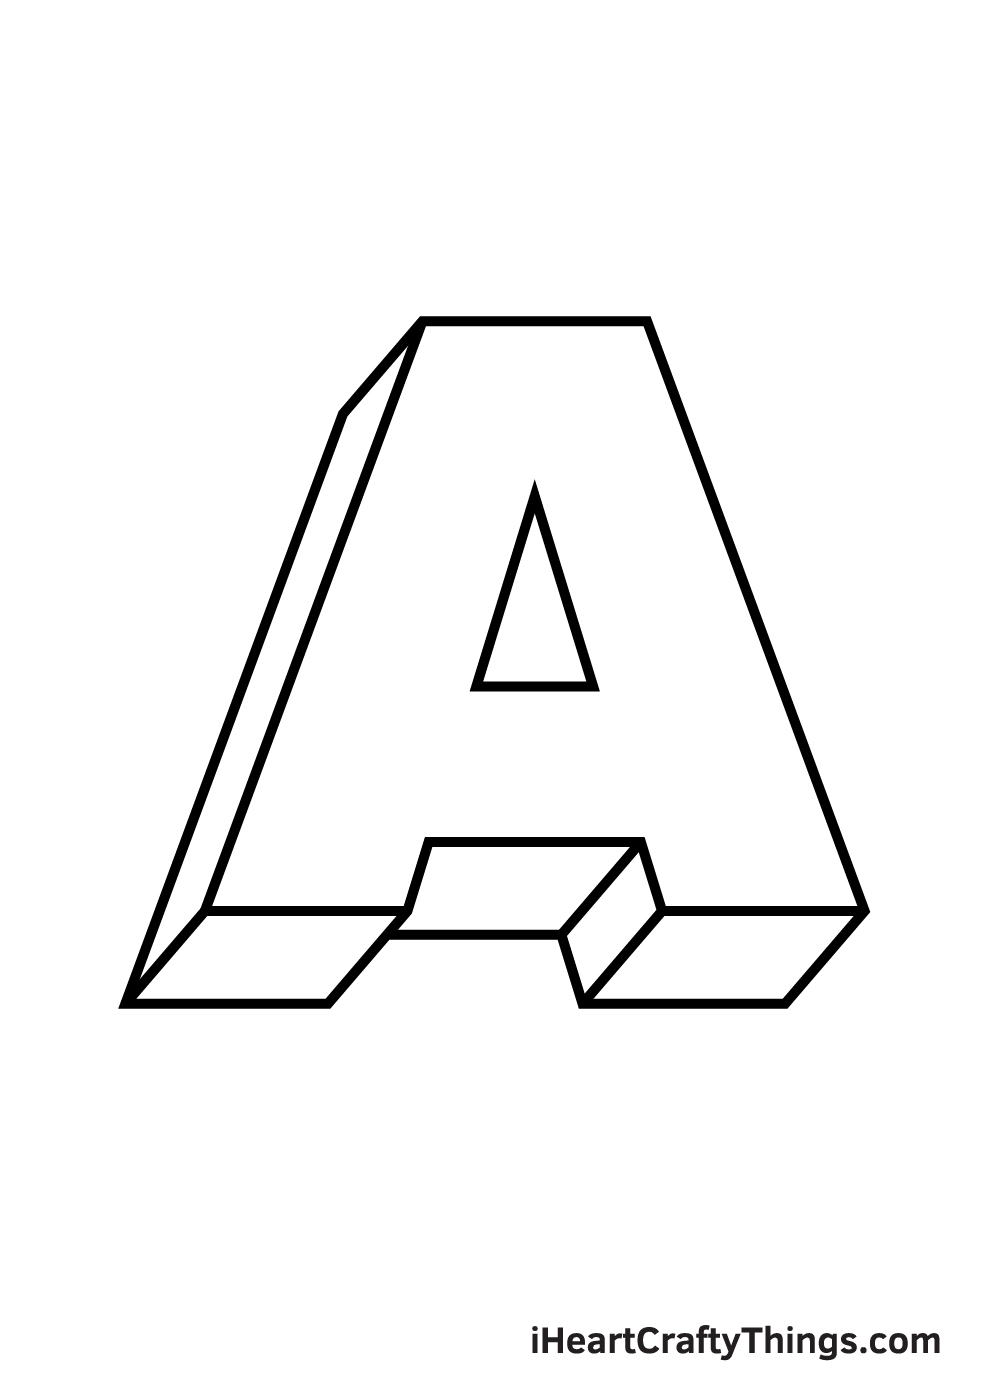
Finalize the dimensions by closing off the figures. Continue by drawing a diagonal line closing off the dimensions on the left side of the letter A.
Afterwards, draw vertical lines to fill in the blank spaces at the bottom of the letter.
At this point, the dimensions of the letter A is finished. Thus, your three-dimensional letter A is now complete.
Now that we’ve successfully drawn a three-dimensional letter A, it’s finally time for the most exciting part. In this final step, we’ll be choosing the colors and coloring our drawing.
This step is optional but we recommend doing so to make your artwork colorful.
The colors you will be using for your drawing is entirely up to you. Feel free to use any colors you like! You can even use more than one color to make the 3D letter multi-colored!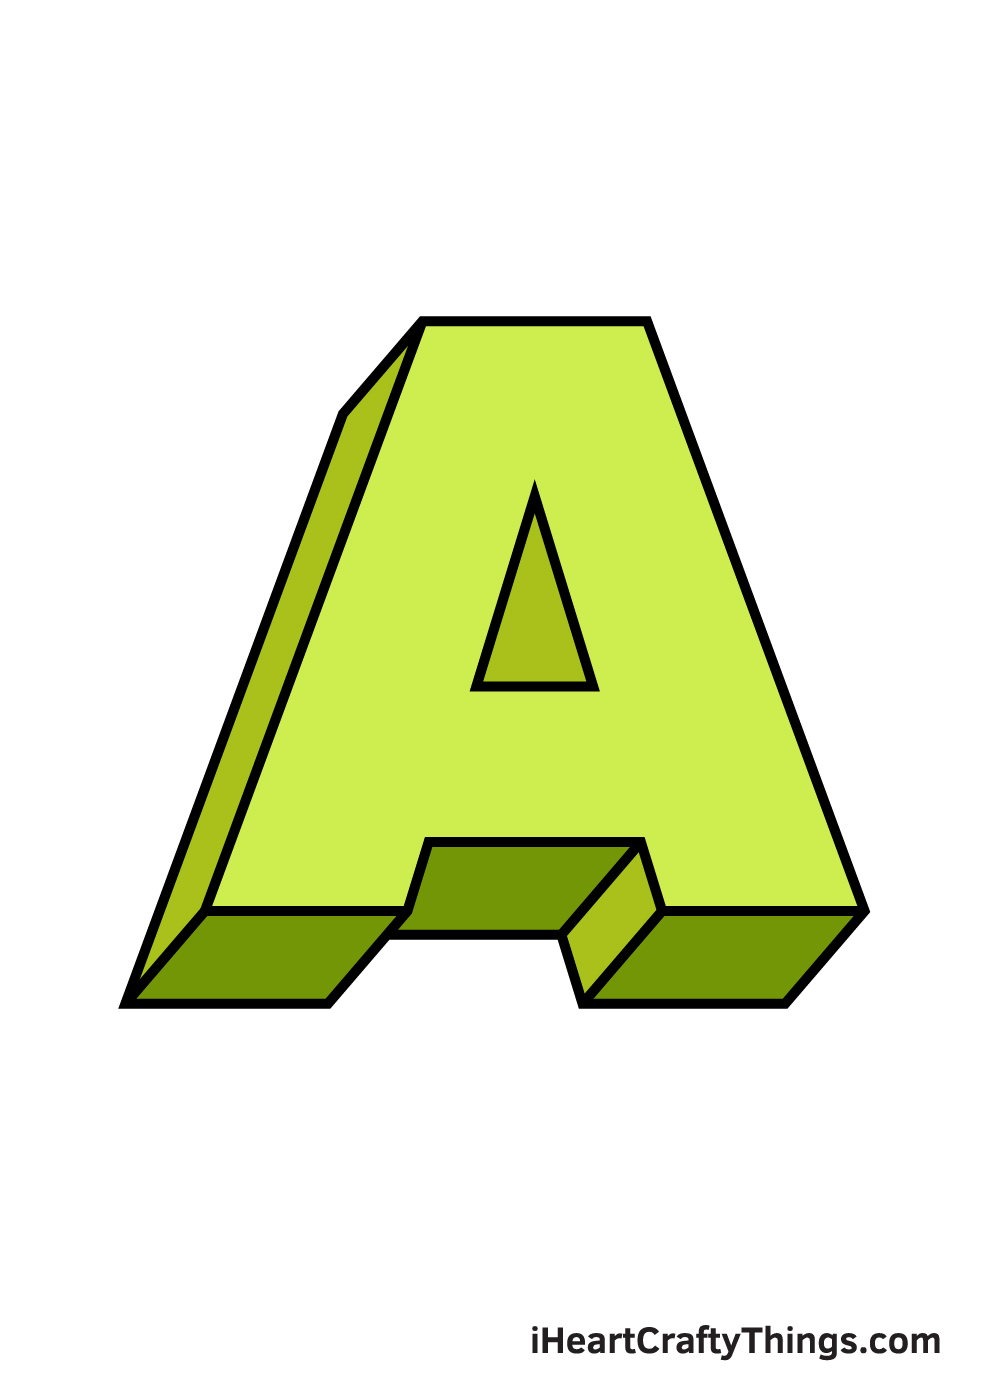
3 More tips to make your 3D letters drawing easy!
Make this 3D letters drawing as easy as ABC with these fun tips!
You can make these easy to draw 3D letters even easier by practicing the letter you’re drawing in 2D first. In this guide, we drew the letter A, so you can get out your ruler to draw it in 2D.
Simply draw the front surface of the letter as it appears in our example. Keep drawing this until you have the hang of it, and then you can focus on practicing the other depth elements.
This tip will work for any letters you want to draw in this style! As long as you take it slowly and focus on drawing the front side of the letters you will find the depth elements much easier.
If you find yourself having a hard time with this 3D letters drawing, you could try out some simpler letters before doing this one. There are quite a few that would probably be much easier to do.
For example, you could do a letter O instead, as that would involve just a few circles and rounded lines. You could even do a small o and use a drawing compass to make it round.
Another good example would be a T, as that would be quite simple with your ruler. What are some other letters or numbers that you could use that might be easier?
Finally, you can make some more guidelines for yourself by using your pencil. This can be done no matter what you’re using to make this 3D letters sketch.
Let’s say you’re drawing the A in our guide. Use your pencil and a ruler to draw the letter A as you normally would.
Once you have that guide, drawing the final lines of the surface of the 3D letter will be much easier. Then, you can focus on adding the 3D depth details to finish it off.
If there are other ways that using your pencil could help, then you should definitely go for it. Don’t forget to erase the pencil when you’re done!
Your 3D Letters Drawing is Complete!
We hope you enjoy this step-by-step 3D letters drawing. Which letter would you like to learn how to draw next? Connect with us and let us know!
We’ll do our best to create a drawing tutorial for it. We always strive to deliver our readers’ requests.
Once you’ve finished drawing and coloring the 3D letter, don’t forget to show off your masterpiece!
Take a picture of your artwork and share it on various social media platforms. While you’re at it, make sure to like our Facebook page too!
We’re looking forward to seeing your 3D letter drawing!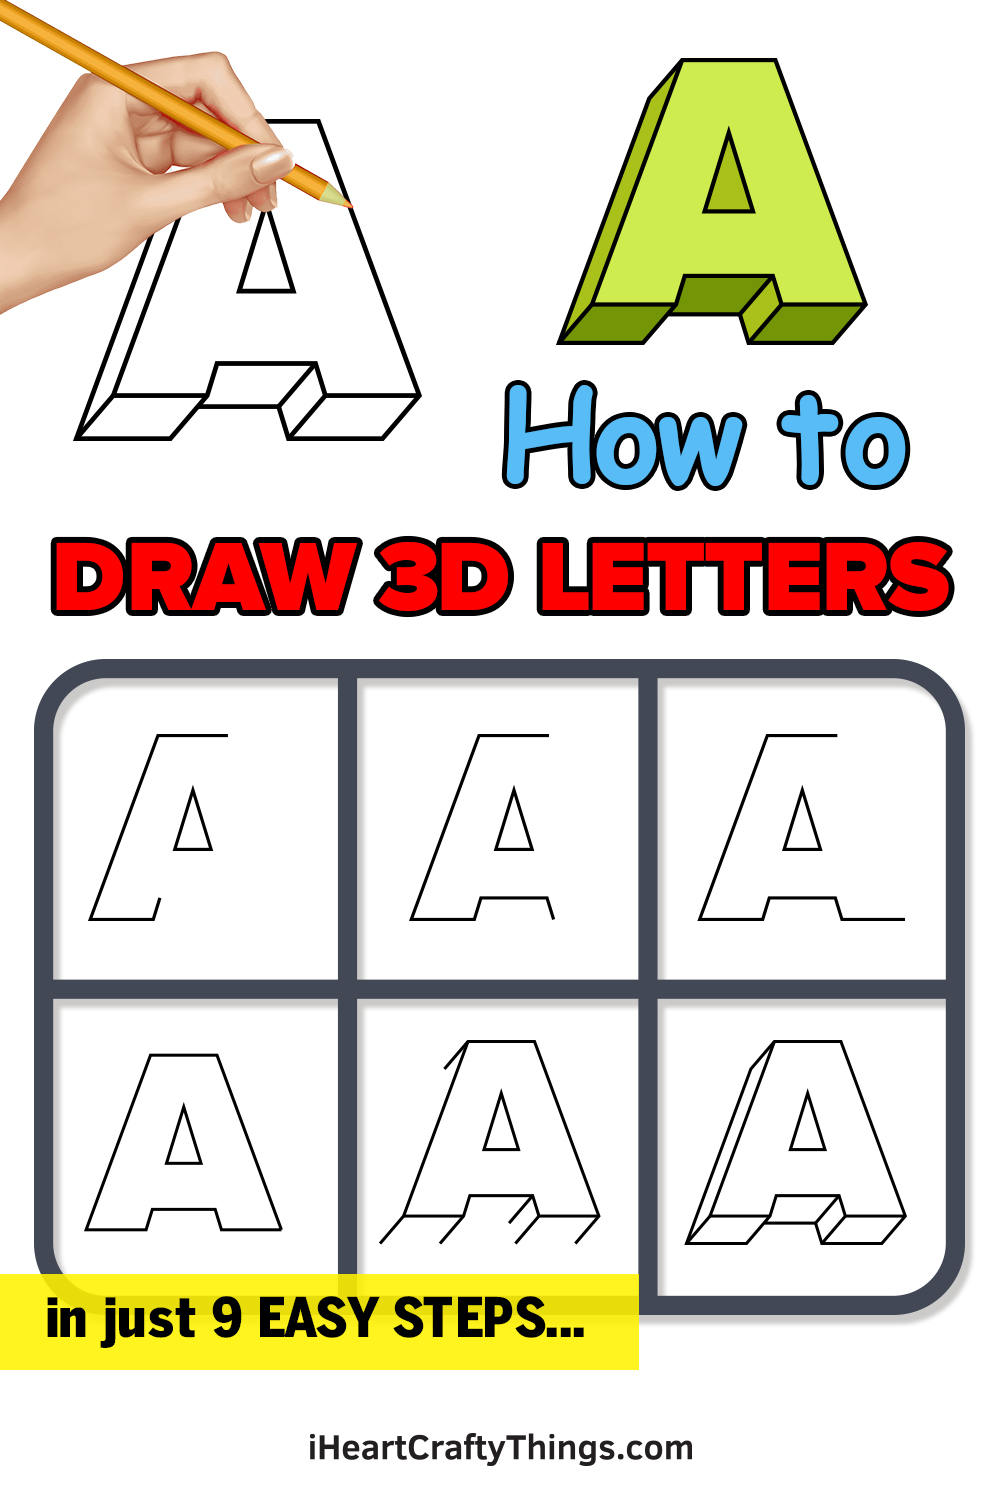
Bonus: Draw Some Other Letters In This Style
In this guide on how to draw 3D letters, we focused on the first letter of the alphabet: A. Of course, there are many more letters and numbers that you can depict in this step.
You can probably tell where this is going, we think it would be cool to draw some other letters and numbers. But, how can that be done if we didn’t cover them in the guide?
It can be easier than you think, and you can actually still use the guide to draw these letters. Basically, go through all the steps but adapt them to your chosen letter.
We would recommend choosing your letter, number or punctuation and then using a pencil to draw it out normally first. This will also allow you to prepare for the size you would like it to be.
Once you have this letter drawn out normally, you can then start building the bubble version around it, and finally add the 3D effect as you did for the letter A.
It will be a bit different for some letters, as round letters like O will require a different approach to more angular letters. Just try to imagine that it’s a physical object and then try to depict that as you did for this first letter.
You could do this with any letters or symbols you wanted to, and it might just take a bit of practice. Remember that you can sketch out the design with a pencil first to get a feel for it.
If you really start getting the hang of it, you could even start drawing letters in different fonts and styles while keeping this 3D look! What other letters, numbers or symbols would you like to draw in this style?