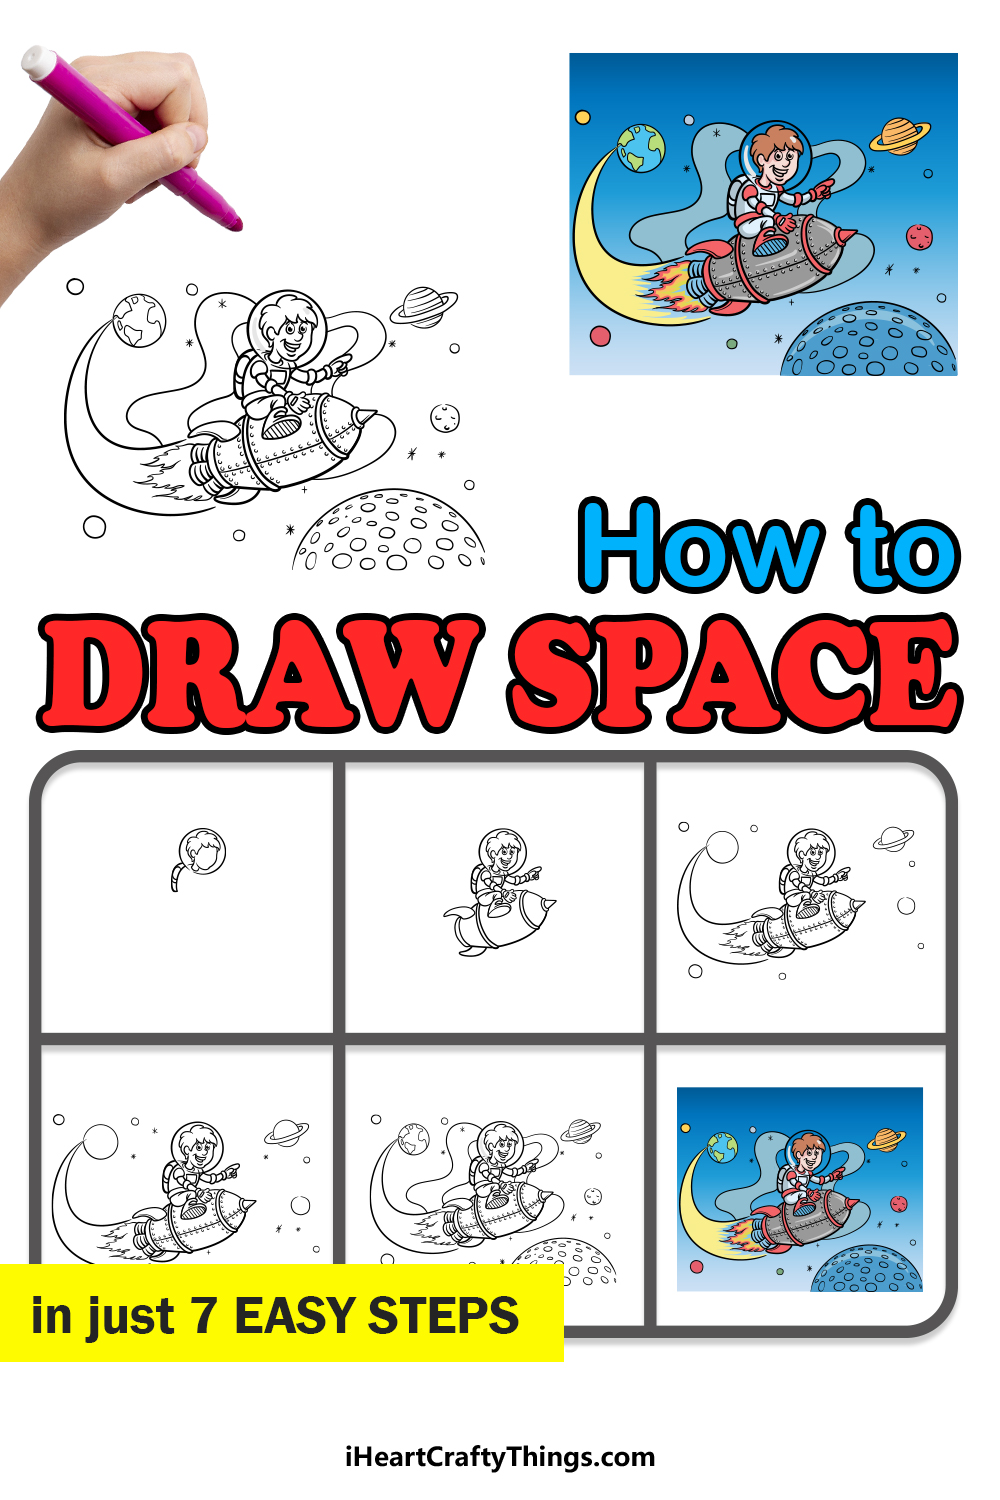
Few things are as awe-inspiring and captivating as the infinite reaches of space.
We’ve been exploring and observing space for centuries, yet our knowledge about what’s out there is still minute compared to the vastness of space.
It can be fun to imagine what may be out there, and to portray it, it can be helpful to learn how to draw space.
This guide you’re about to go through will give you everything you need to create your own space adventure.
Get ready for an interstellar journey with this step-by-step guide on how to draw space in just 7 easy steps!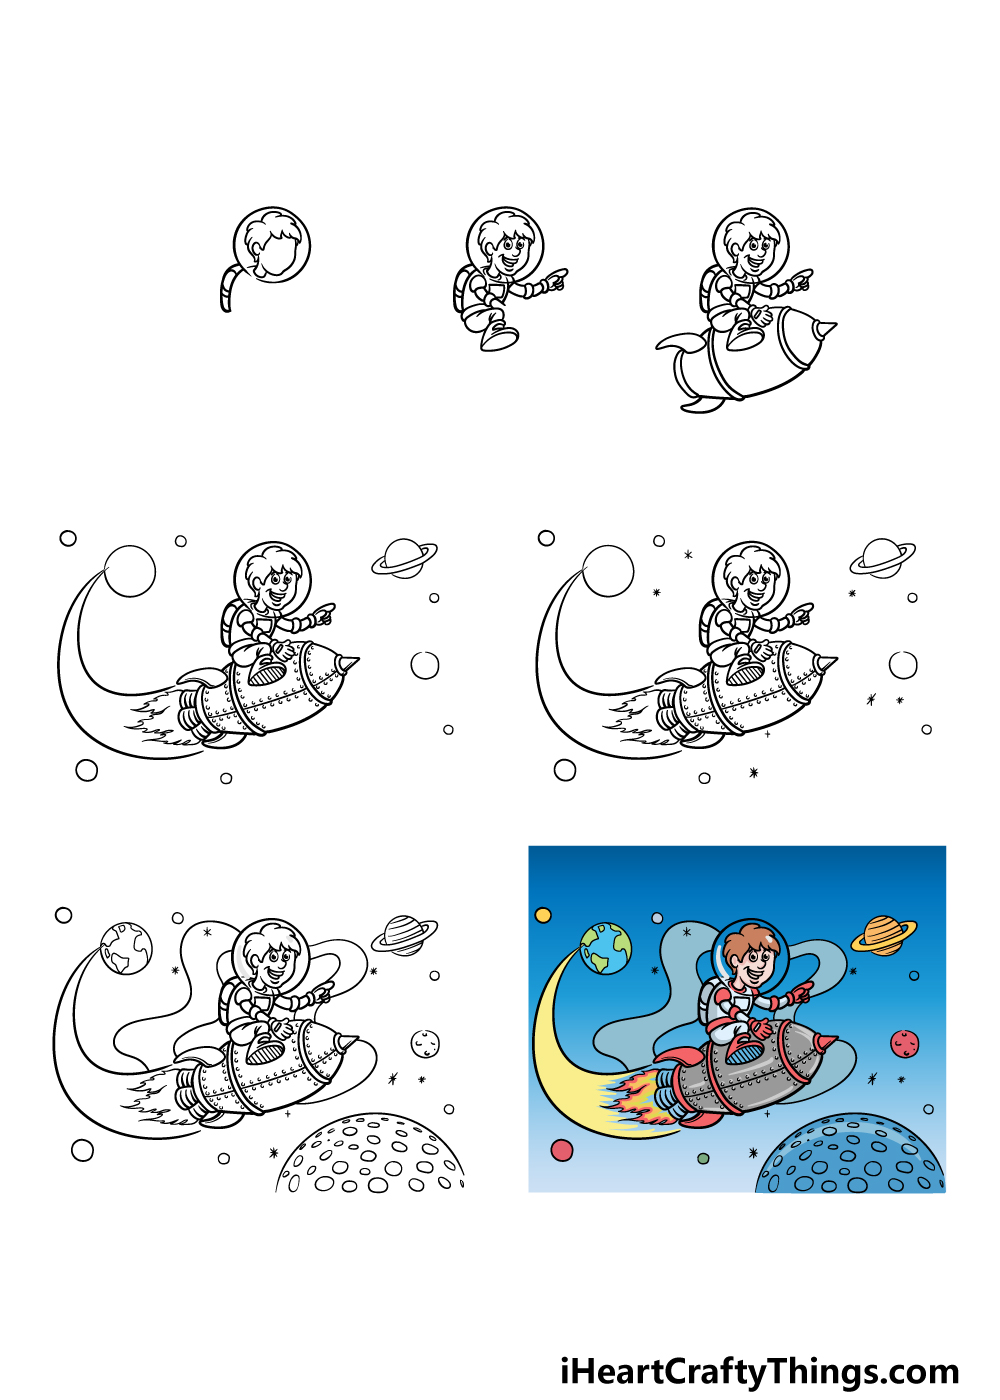
How to Draw Space – Let’s get Started!
Step 1

For this guide on how to draw space, we will be drawing an astronaut character riding a rocket through the expanse of space.
This creative picture really captures the allure of space exploration in a fun way! We will be drawing a young boy as the astronaut, but you could also change up the design of the character if you would like! To do this, you can start by drawing a circle shape for the helmet.
Then, you can draw the head and hair outlines inside of that. Then, draw a small tube coming down from the helmet. That will finish off this step, and you’re ready for the next one!
Step 2 – Draw the rest of the astronaut
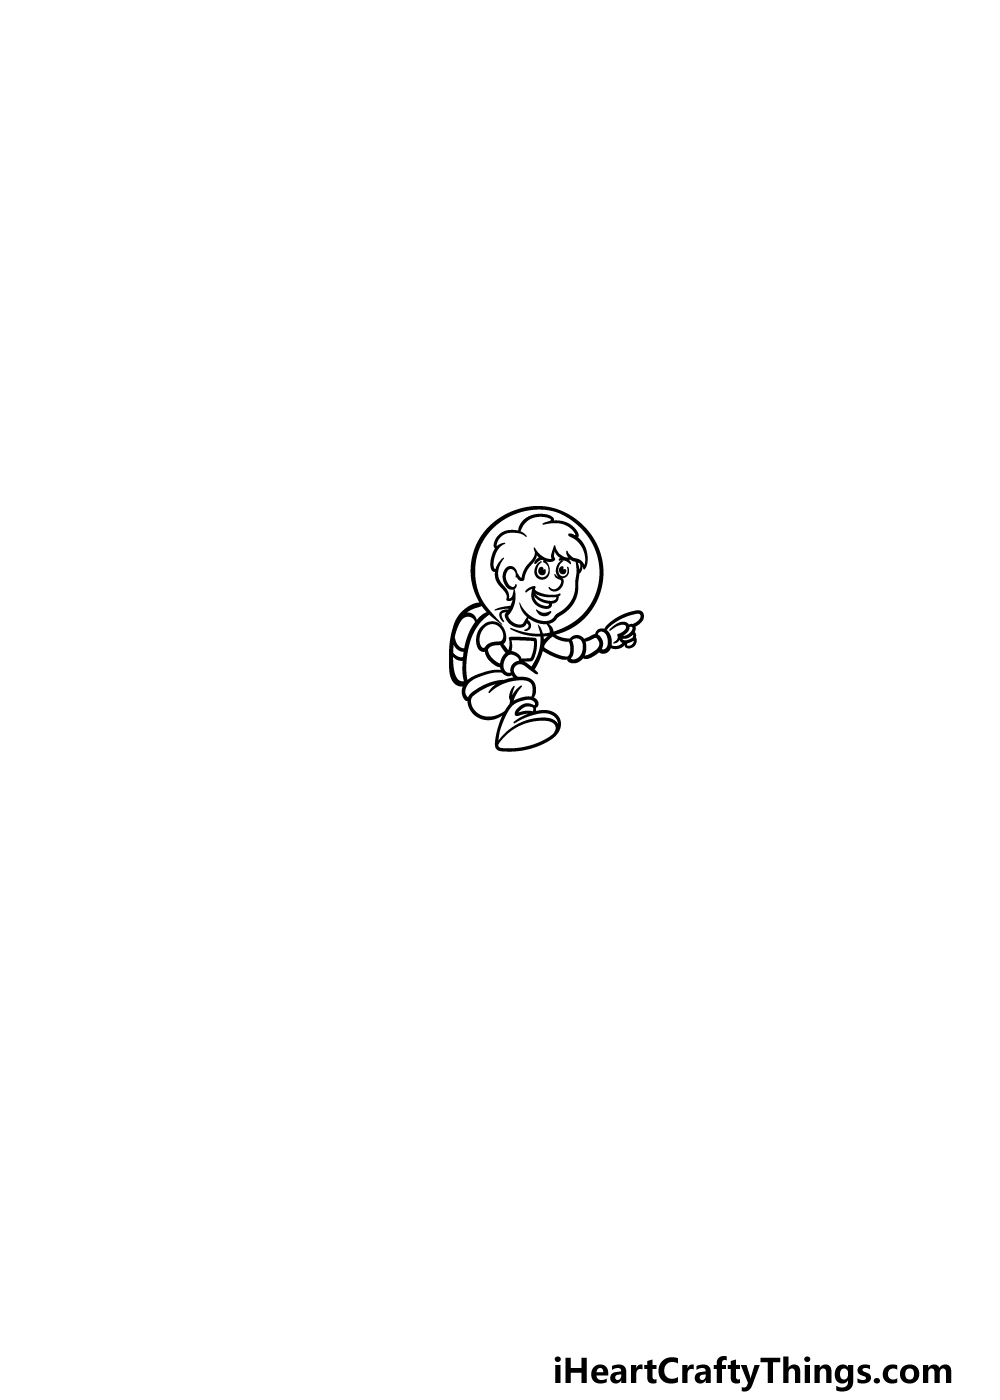
We will be finishing off the astronaut character in this part of your space drawing. Simply draw the rest of the facial features, and then you can use various curved lines and shapes for the rest of his body.
As we mentioned earlier, you could also change some of the details to change the look of the character.
Step 3 – Next, draw the rocket that he is flying on
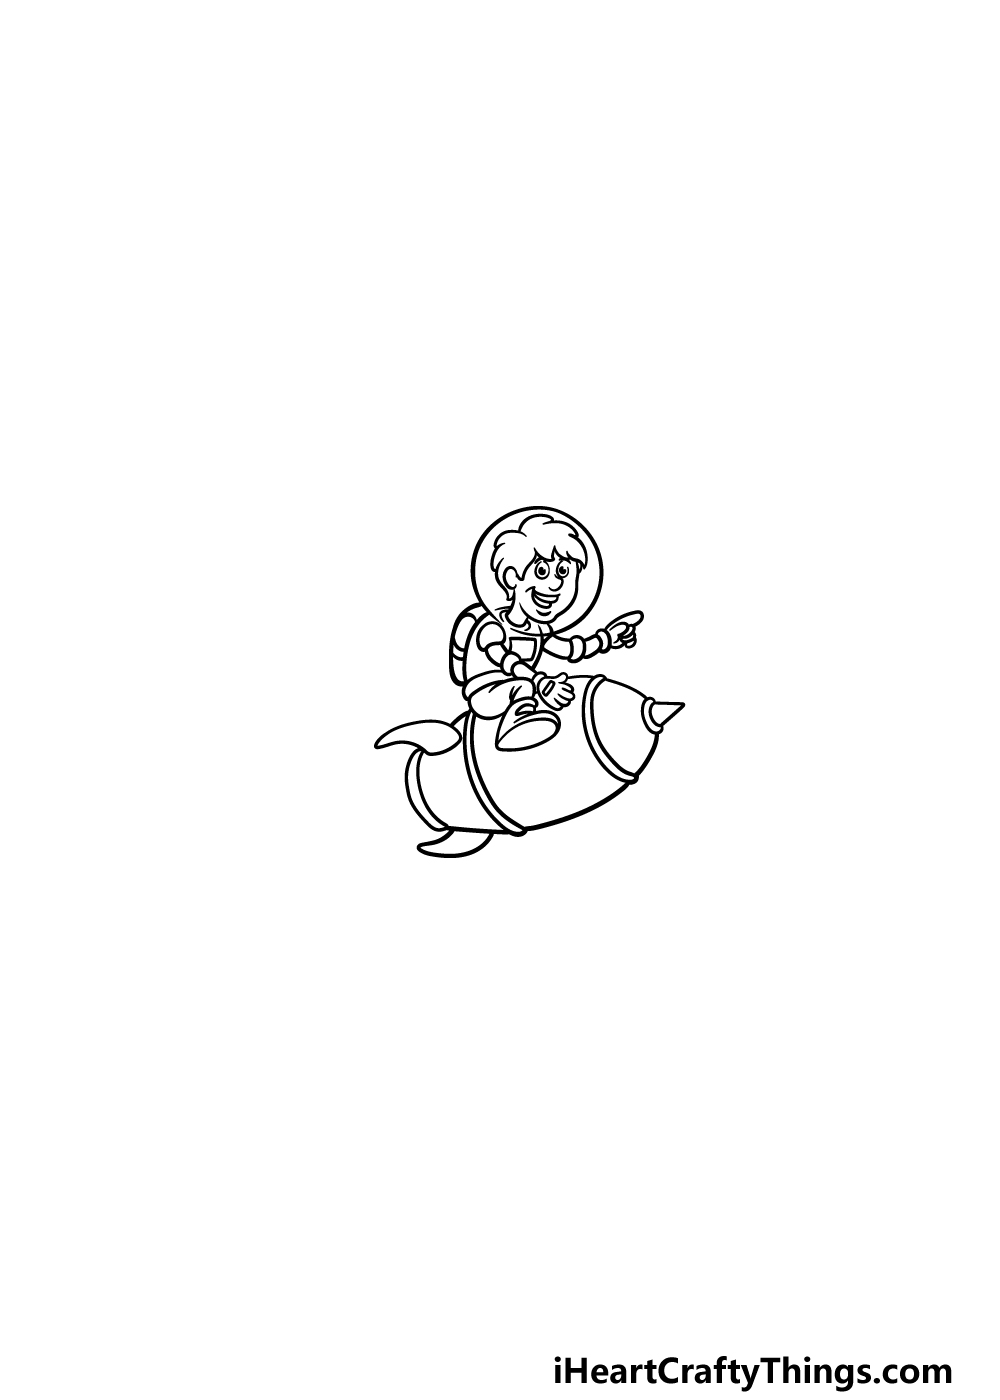
Now that you have finished drawing the astronaut, you can add the rocket he is sitting on in this step of our guide on how to draw space.
To draw this, we will be using some curved lines to make the body of the rocket. It will also be separated into three different segments.
There will also be some curved fins at the back of the rocket, and then you can finish off this step by adding a sharp point to the front of the rocket.
We will add some more details to the rocket in the next step, so let’s continue!
Step 4 – Now draw some details for the rocket and start drawing space
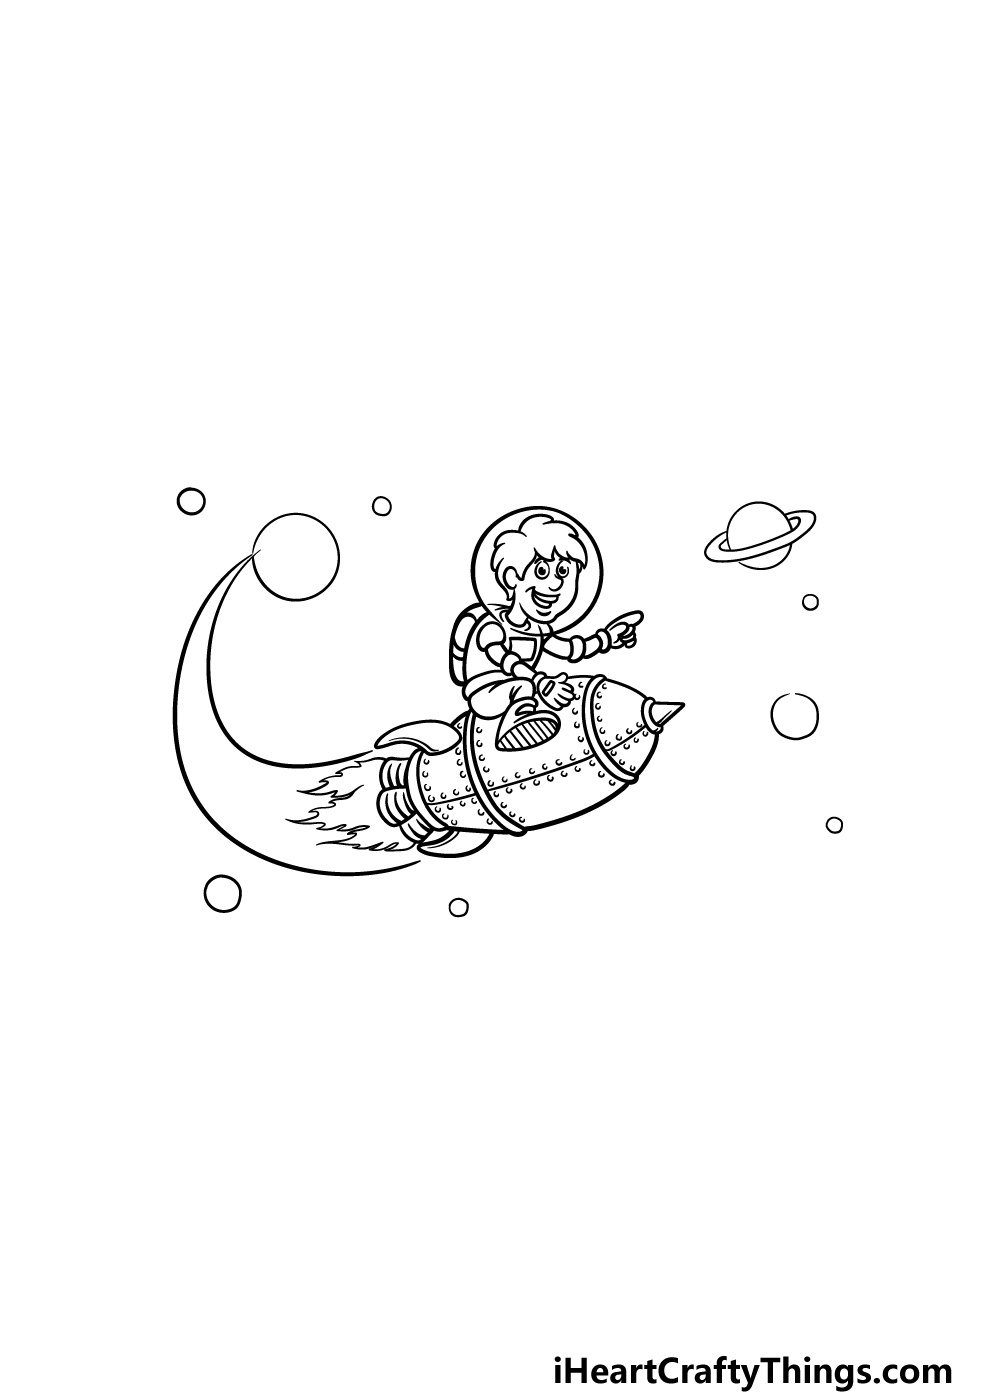
As promised, we will add some details to the rocket as part of this space drawing. Mainly for these details, we will be drawing some rivets onto the rocket.
These will be drawn as small round shapes along the lines of the rocket.
Then, you can use some curved lines extending from the back of the rocket to show the trajectory it has been flying in. You can then finish off the rocket by drawing some flames coming from the back of it.
Then you’re ready to start drawing space itself! You can do this by adding some circles for the various planets in the background.
Step 5 – Draw some stars for the background
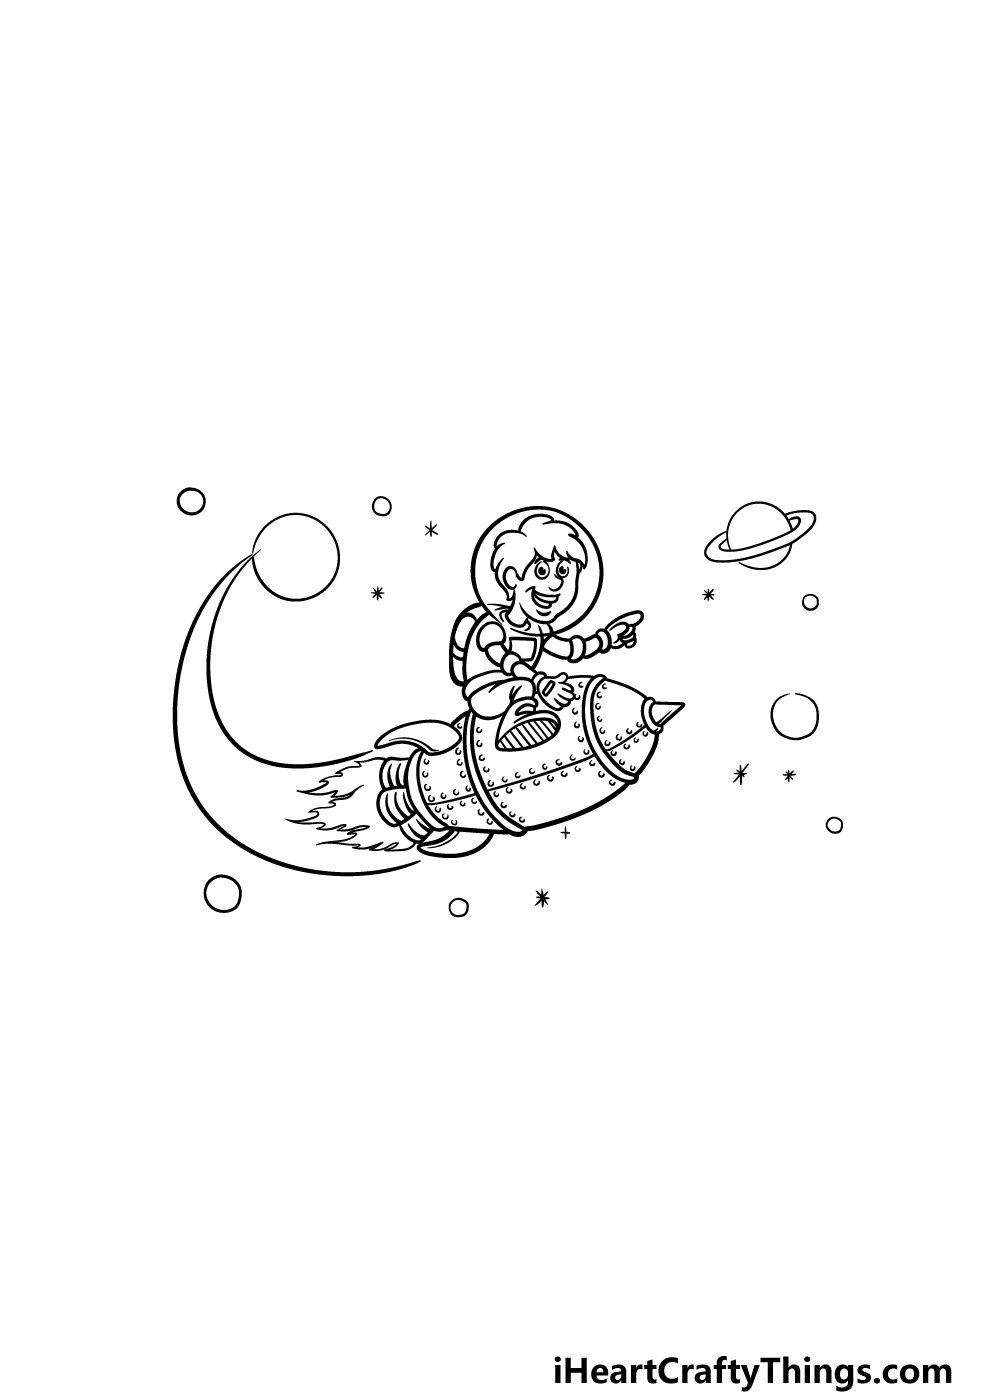
We will continue to add some details to the background in this step of our guide on how to draw space.
These details will be quite simple, as for now we will simply be drawing some stars for the background.
You can draw these stars by drawing some shapes made up of lots of small lines intersecting with one another, as shown in the reference image.
You could also draw more or fewer stars to suit your preference for this picture. Then we just have a few final details to add in the next step before you start to color in your drawing.
Step 6 – Now, add the rest of the final details
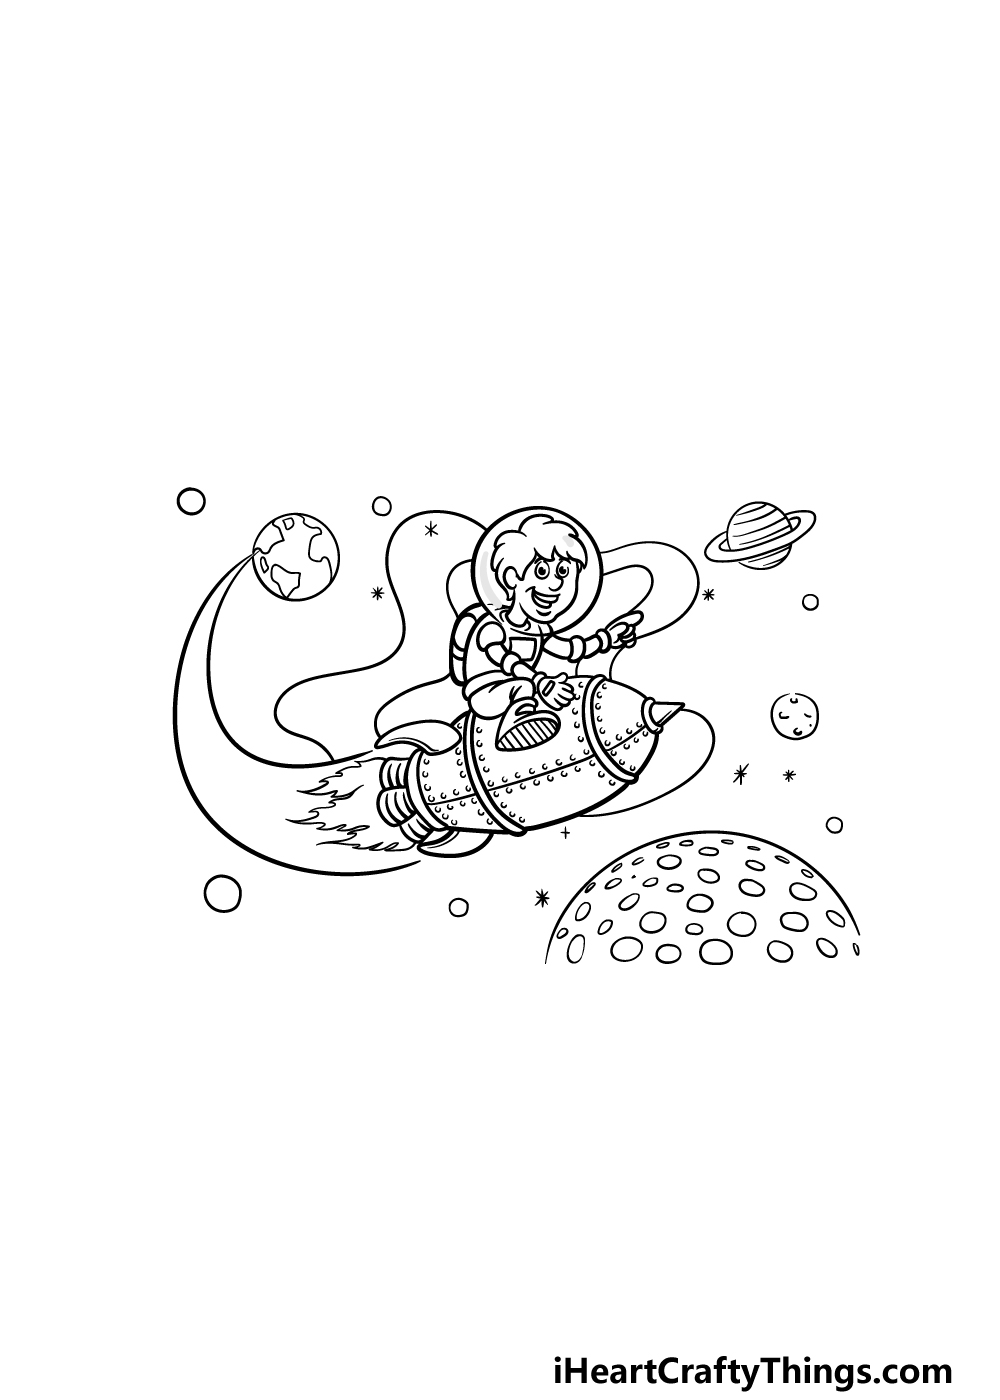
This sixth step of your space drawing will see you finishing off the final details to have you ready for the last step.
This is a step where you can also get creative with it and add some details of your own! We added a lot of different elements such as curved lines in the background and some details on the planets that you drew earlier.
We also added a much larger planet at the bottom of the picture. These details will finish off the final touches of this guide, but what else can you think of for this picture?
You could draw some more creative planets or even add a cool alien spaceship flying alongside the astronaut. These are just a few ideas out of many you could go for, so we can’t wait to see what you go for!
Step 7 – Finish off your space drawing with some color

All of the steps in this guide have led you to this final part where you get to have some out-of-this-world fun coloring in your amazing picture!
We showed you how we would color in this picture, and if you like how it looks then you could use it as a guide as you color in your own picture.
This is also a step where you can really let your creativity run wild and show us what you think this space scene should look like!
Space is full of many incredible sights and colors, so there are no limits to how you can color in your artwork.
You can also experiment with your favorite art tools and mediums, so how will you finish off your space drawing with your colors?
Do this to take your space drawing to the next level
Blast off for drawing fun as we show you how to make your space sketch soar!
This space drawing includes lots of different details in the background, but there is room for many more! Space is filled with all sorts of amazing wonders, and you could create an even cooler scene.
There could be some more planets, stars or spacecraft for a few ideas. You could also add something like the milky way or even a black hole.
What are some additions that would go well with this scene? This is your chance to chart your own space adventure!
Whether you add more objects or not, you can also enhance this drawing of space by adding some smaller details. For one fun idea, you could change the facial design of the cartoon character.
If you were to do this, you could make it look like you’re riding the rocket! Or, you could change the details on the rocket, planets or any other aspects you want to put your own spin on.
Small details are great for customizing a picture to represent yourself a bit better!
You have so many different art tools and mediums at your disposal for this space sketch. We would recommend getting really experimental with it as you achieve the colors and effects you want!
Of course, paint, crayons, colored pencils or markers are all great for some amazing colors. But, you should also feel free to experiment with some fun crafts.
For instance, you could use some glow-in-the-dark paints for the planets and stars. Or, you could use some glitter glue to make the stars really sparkle!
Building on our previous tip, we also think you should let your creativity flow when it comes to the colors you will choose. As we mentioned, space is filled with many colorful wonders, so you could really make the image come alive.
If you use some creative colors along with some interesting art mediums, we know you will have an incredible drawing to show off!
Your Space Drawing is Complete!
You have reached the end of this guide on how to draw space! We created this guide to make sure that this drawing would be fun and easy for you to do.
We also wanted to leave it open enough that you could add your own spin onto it as well, so be sure to get creative and see what kinds of awesome space scenes you can make!
Once you have finished your artistic space travels, you can find more guides on our website! We upload new ones all the time, so be sure to visit us often.
We would love to see your space drawing when it’s done, so please be sure to share it on our Facebook and Pinterest pages!