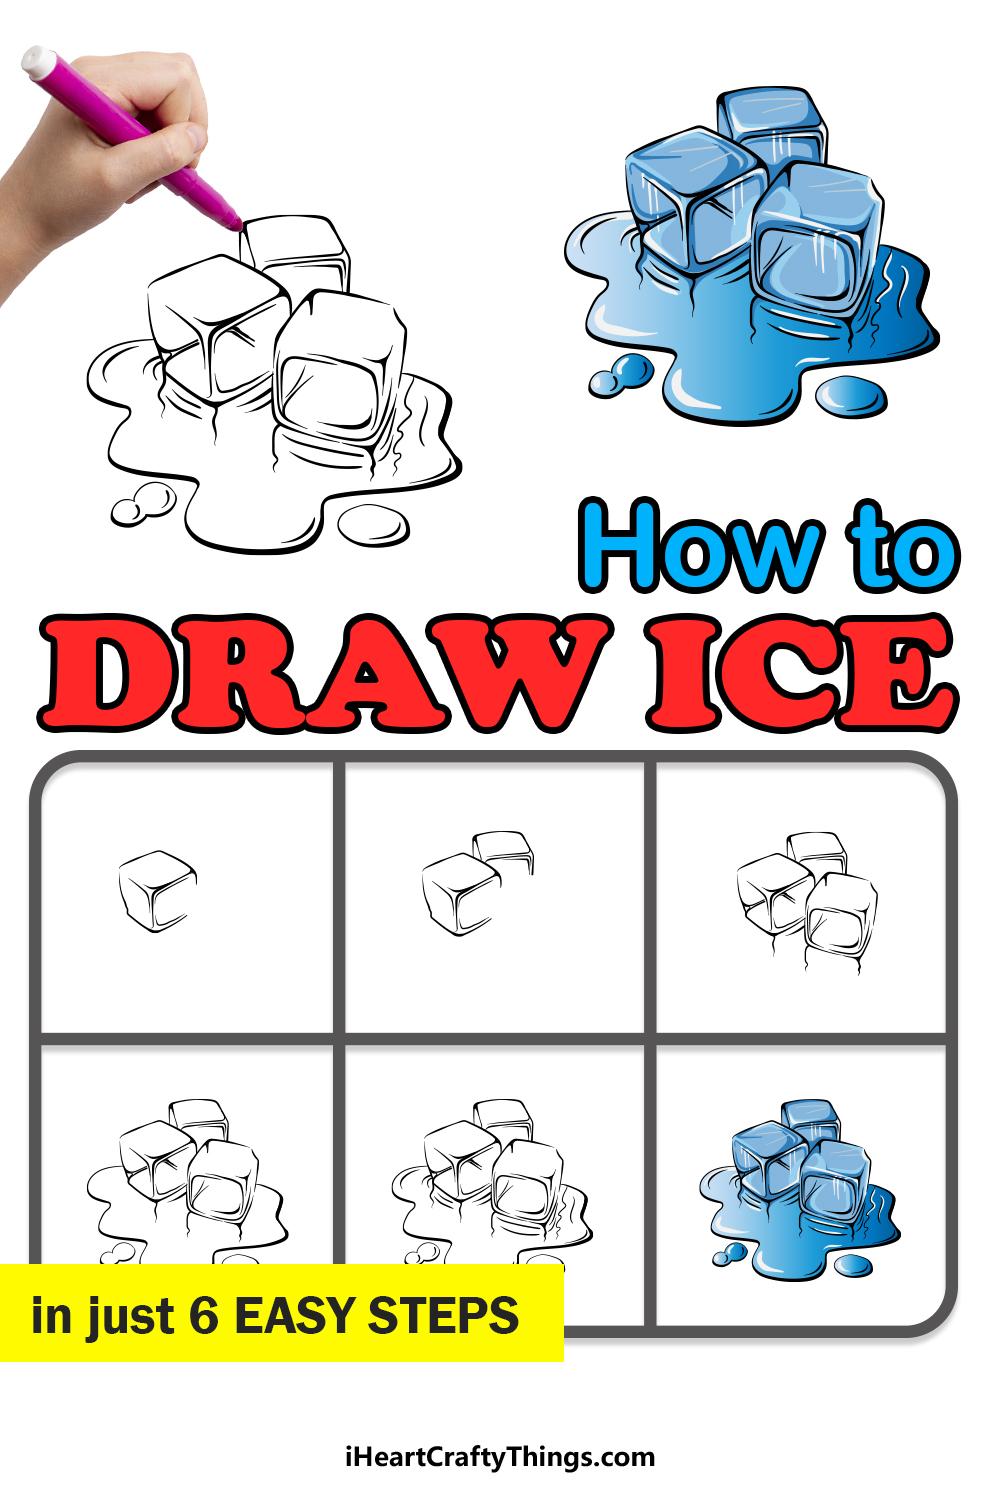
Ice can take many different forms and come in many different shapes and sizes. It can make up gigantic glaciers in the ocean or be small enough to cool a glass of soda.
We will be focusing on the second example here, as it can be a little tricky to draw convincing ice blocks, making a guide on how to draw ice very useful for this endeavor!
You happen to have that very guide in front of you, so let’s get started!
Grab your favorite beverage and enjoy this step-by-step guide on how to draw ice in just 6 steps.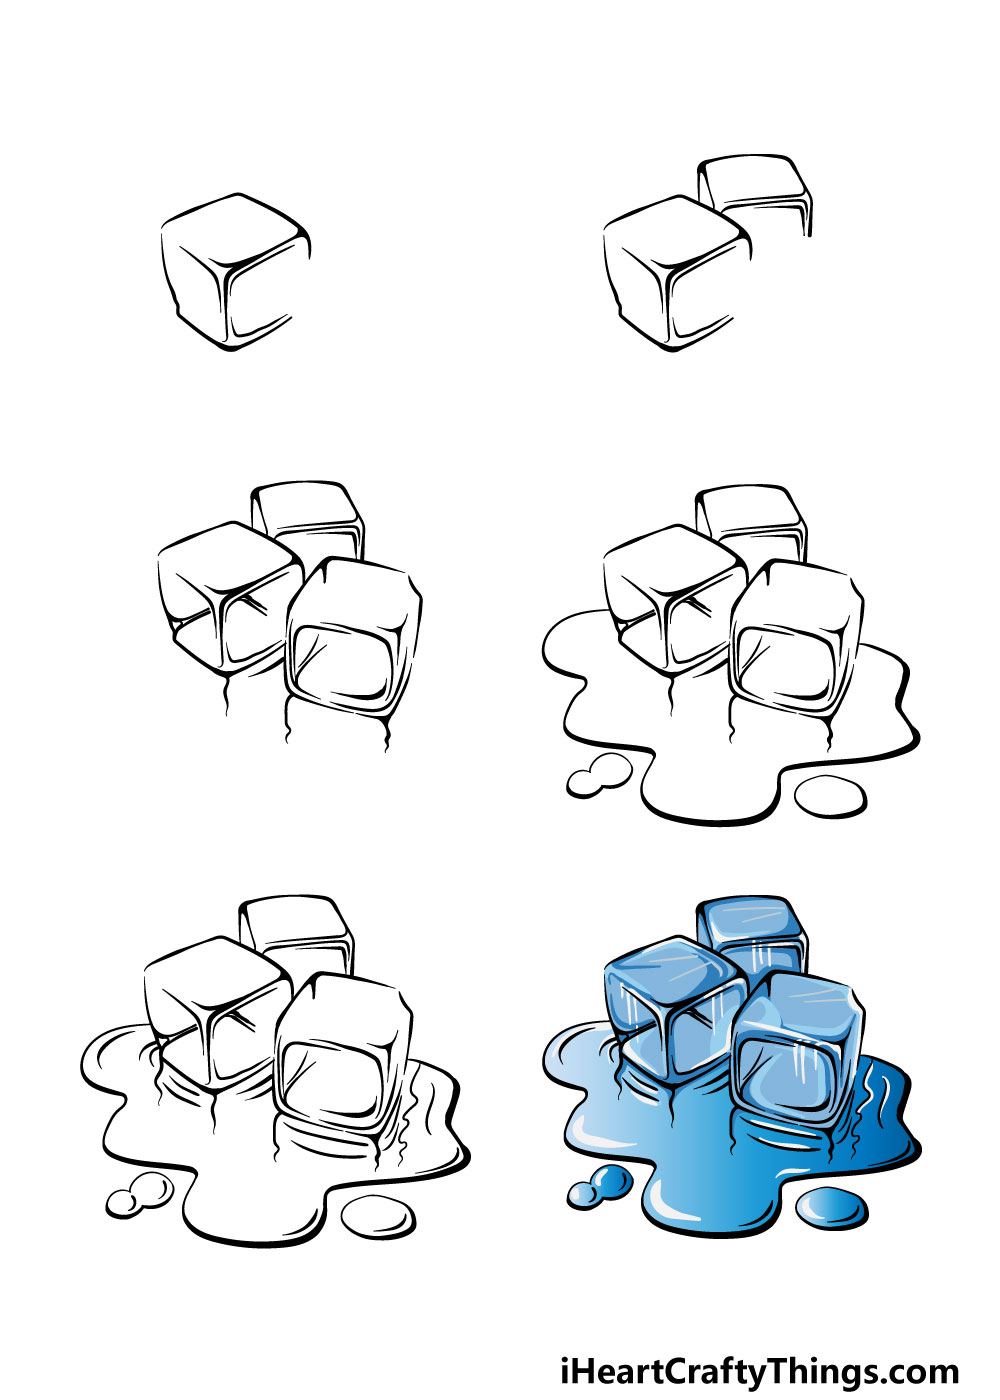
How to Draw Ice – Let’s Get Started!
Step 1
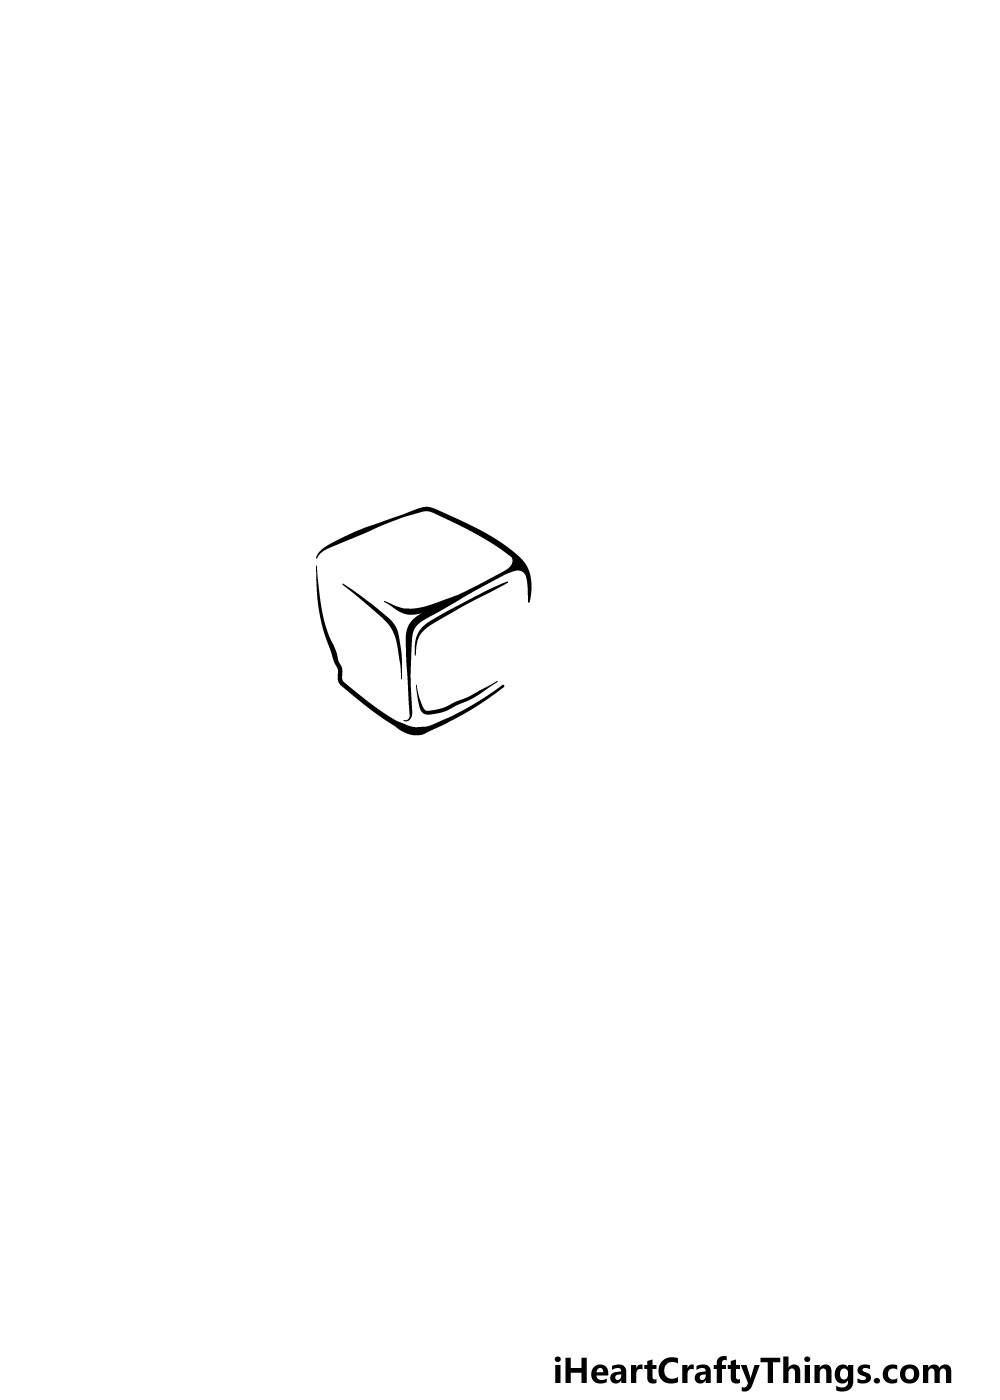
You may think that learning to draw ice should be a breeze. It’s just some cubes, right?
There are a few aspects to ice that makes it trickier than expected, however, the two main examples of this are that it is transparent and also constantly melting. We will be reflecting both of these aspects in this guide, though!
To make things easier for this first ice block, you could use a pencil to draw a rough cube shape. Then, you can use a pen to add some details to it.
As you can see in the reference image, we will be using lines of various thicknesses for the edges of the cube. Some of the edges will also have lines not connecting to anything.
It may sound a bit confusing, but the reference image will show you what we mean! There will also be a gap on the lower right-hand corner of the ice. We will be putting another block there soon, so let’s move on!
Step 2 – Draw a second ice block

We will be adding another block in this step of your ice drawing. Seeing as you have already drawn one ice block, this one should be easier as it will look quite similar to the first one.
It will of course be smaller and at a different angle, however. There will still be a space left open on the lower right-hand side, but we will fill that soon.
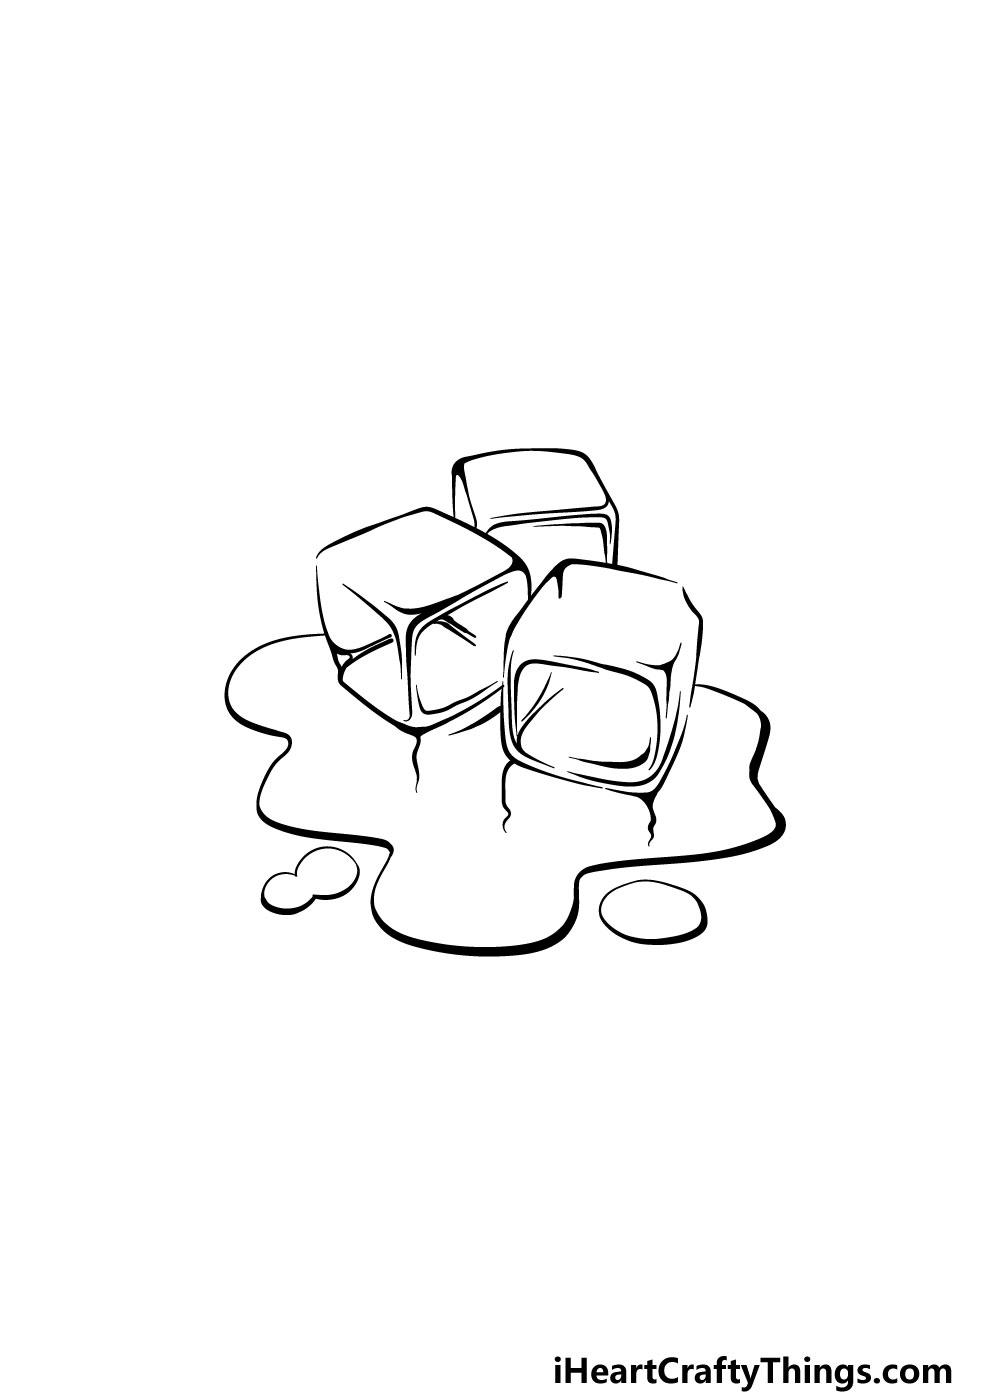
Step 3 – Next, draw the final ice cube
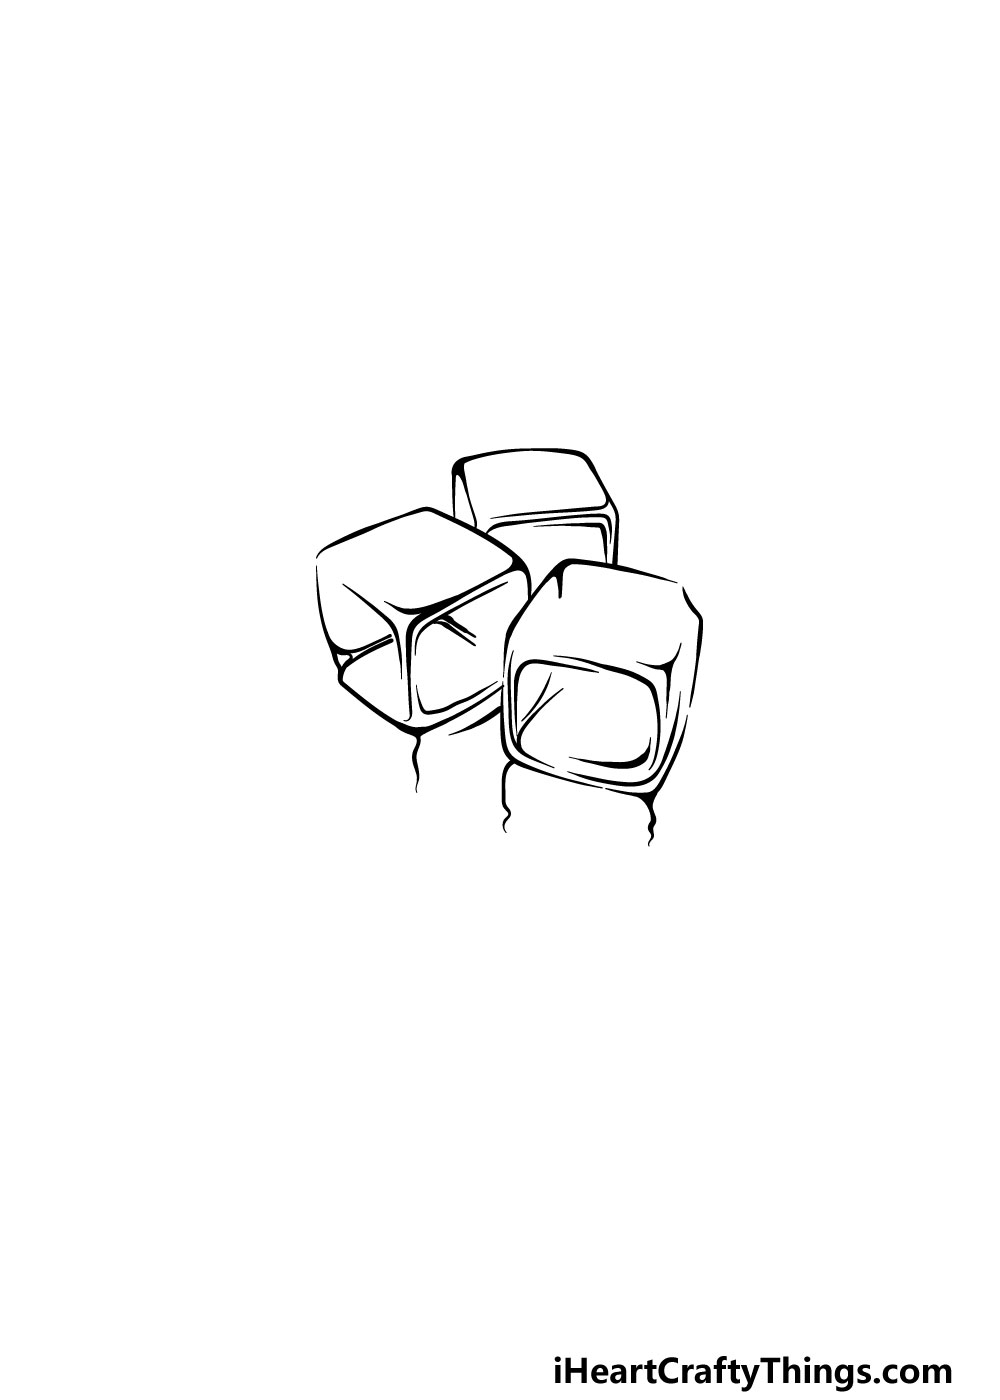
You’re doing a great job drawing these ice cubes in this guide on how to draw ice! We keep talking about how we will fill in the space on the right-hand side, so it’s about time that we do that!
You will be drawing one more ice cube, and it will look very similar to the first two that you did.
You can also draw some wavy lines down from the cubes as the start of their reflections in the puddle these cubes will be sitting in.
Step 4 – Now, draw the puddle of water these ice cubes are sitting in
Earlier in the guide, we mentioned how ice is usually melting, so we will portray that in this part of your ice drawing.
All you need to do for this is use another curvy line surrounding the ice cubes to show how they’re slowly melting.
Then, you can draw some rounded shapes separate but close to the puddle to add some irregularity to the water spill.
Then, once you have this puddle drawn we just have a few final details to add in the next part, and then you can color in your ice drawing!
Step 5 – Now, you can add some final details to your ice drawing
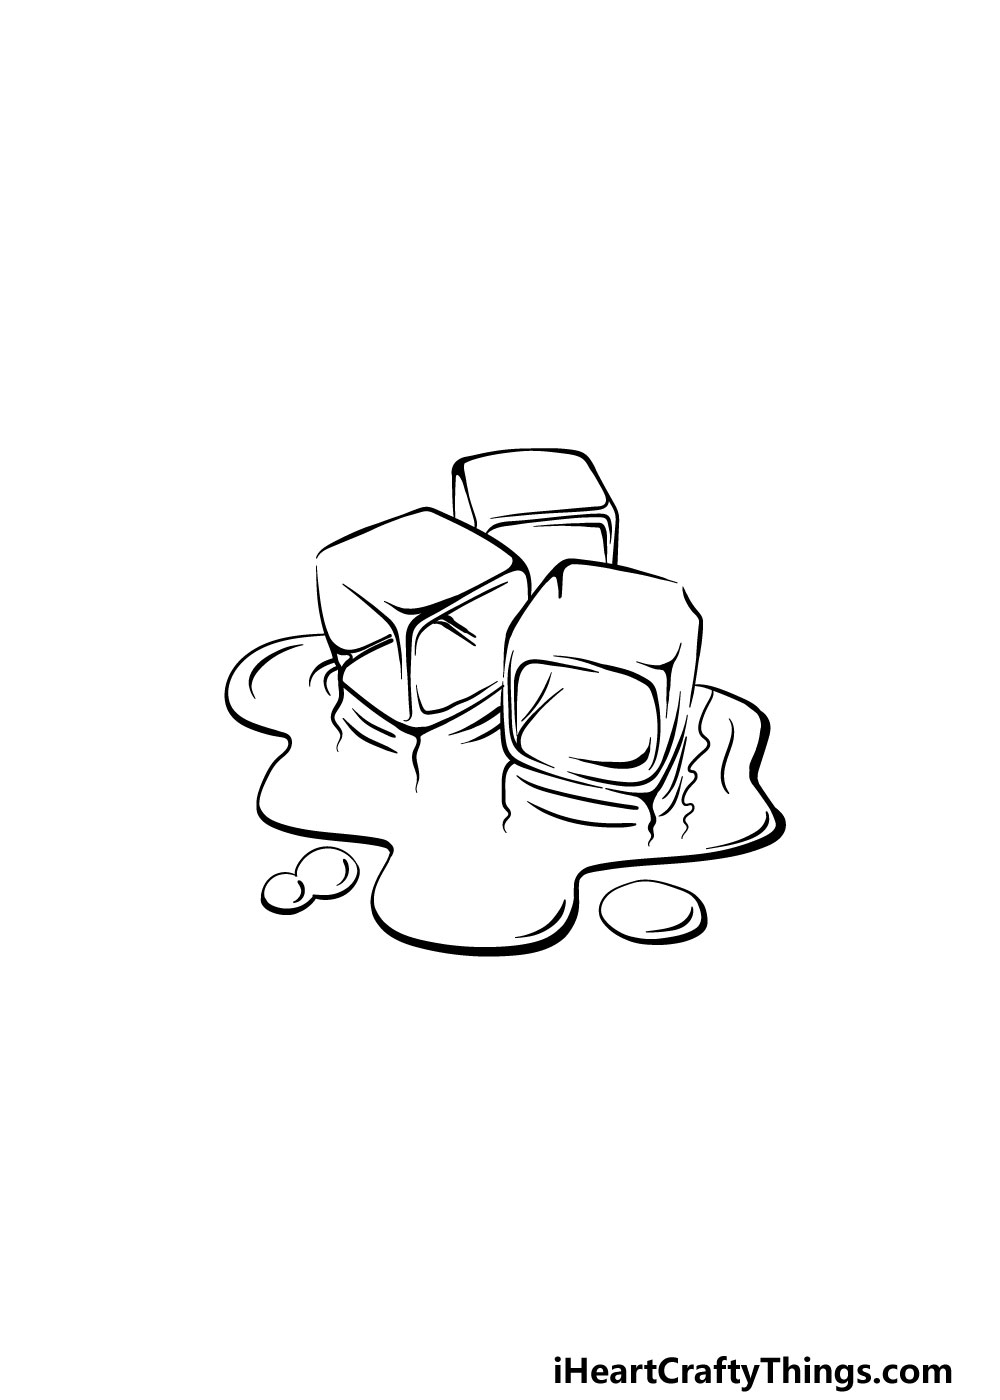
Before you color in your cool drawing, (no pun intended,) we have a few final details to add in this step of our guide on how to draw ice.
These details will be mostly contained within the puddle that you started in the previous step.
By drawing some lines in the puddle at the base of the cubes, you can make it look as if they are reflected in the puddle. That will do it for our details, and you’re ready to move on!
Before you do, you could also add some details of your own as well. Perhaps you could draw a background by showing what kind of beverage you would like to have these ice cubes inside.
Or you could draw some shapes in the background for a more stylistic image. What can you think of to finish off this drawing before the final step?
Step 6 – Finish off your ice drawing with some color
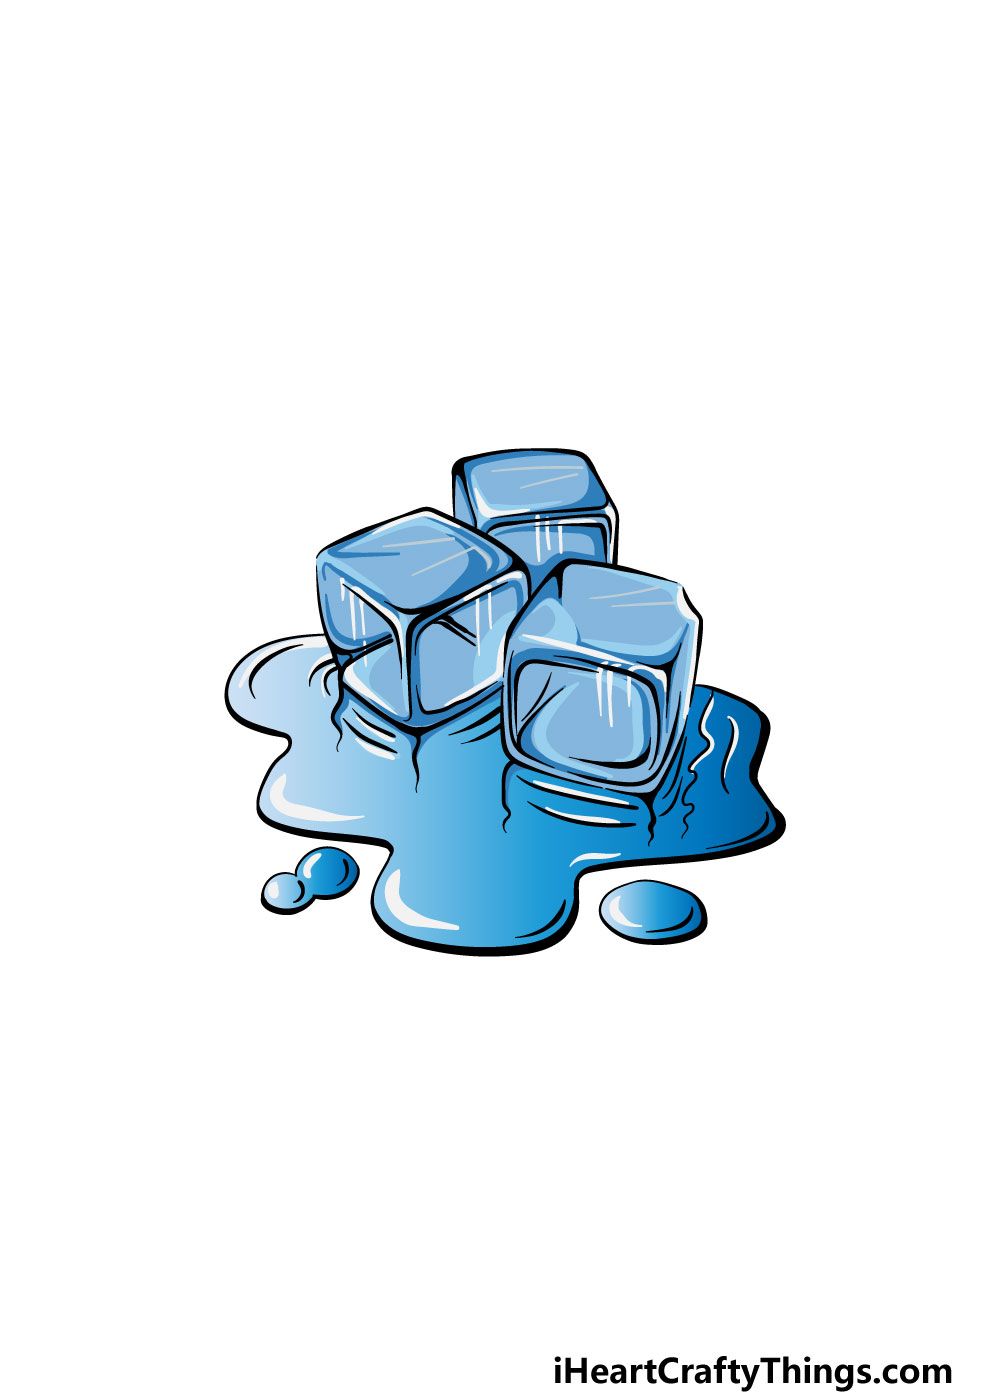
That brings you to the final step of your ice drawing! You’ve done a great job with this drawing, and now you get to have fun as you bring some color to it.
We used some nice shades of blue for our example image, but you shouldn’t feel limited by that! Water can be colored and then turned into ice, so that means that you could use any colors that you love for this picture.
You could really create some cool effects if you did that, as you could show how the colors reflect into the puddle. Don’t forget that you can also color in any background details or extra elements you may have added as well!
Once you know which colors you would like, you can also pick which art mediums you will use to bring this image to life! Watercolors and colored pencils would be great for a softer image, whereas acrylic and colored pens would be awesome for a brighter look.
These are just a few options, so what colors and art mediums will you use for this image?
4 More Ways To Make Your Ice Drawing Unique
Create a super cool artwork as we show you how to make your ice sketch even better!
Ice blocks are most commonly used to make cool drinks even colder on a hot day. That represents a great addition you could make to this ice drawing!
You could show us what kind of drink you would place these ice blocks into by drawing a glass of your favorite beverage next to them. This could be a cup of soda or maybe some refreshing fruit juice.
What kind of drink do you think you would like to add to this scene?
Leading on from the previous step, if you add a drink then you could also build on the scene even more. For instance, you could have some fruit or maybe ice cream beside the ice blocks.
Even if you didn’t add a drink, you could still make all kinds of interesting scenes out of this ice sketch. What kind of setting would you like to place these ice cubes into?
When making these ice blocks, they will most often be in a cube shape. That may be what is most common, but you can find ice trays that create some interesting shapes.
That would be a fun change to make for this drawing of ice! You could show what your very own design for a unique ice block would look like.
For a few examples, they could be circular or maybe in some shapes such as stars or hearts. These are a few ideas, but what other shapes can you think of?
There are many ways that you can use colors and art mediums to make this ice sketch more realistic. Ice is transparent, and there are some ways you can create the illusion of transparency for these blocks.
Using a softer medium like watercolor paints would be best. Then, you would want to make sure you use the lightest colors you can.
You could even add an object behind the blocks that we can vaguely see through them!
Your Ice Drawing is Complete!
You have successfully reached the end of this guide on how to draw ice! As we mentioned, this subject can be trickier than expected, so we hope that this guide helped to make it easy and fun for you to do.
Now that you have done such a great job with this drawing, you can take it further with your own details and elements. Whether you draw a background, add more objects or get creative with your colors, we can’t wait to see what you do!
When you’re ready for more fun, head on over to our website! We have tons of amazing guides for you and we upload new ones often.
We would also love to see your ice drawing, so the best way to show us is by sharing it on our Facebook and Pinterest pages. We can’t wait to see it!