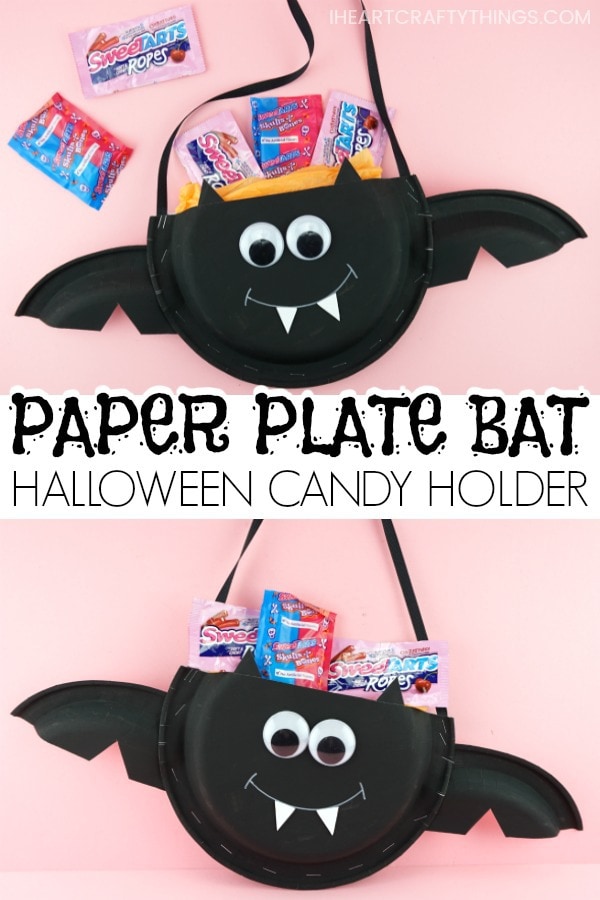
I love helping in my daughter’s classroom every year for Halloween. This year I am in charge of helping the students create a Halloween kids craft and I could not be more excited about making this adorable paper plate Halloween candy holder with my daughter’s classmates. The Halloween candy holders are a great craft for kids to make at a Halloween party or get together. After making them, kids can store any candy, treats or goodies they receive while playing fun party games.
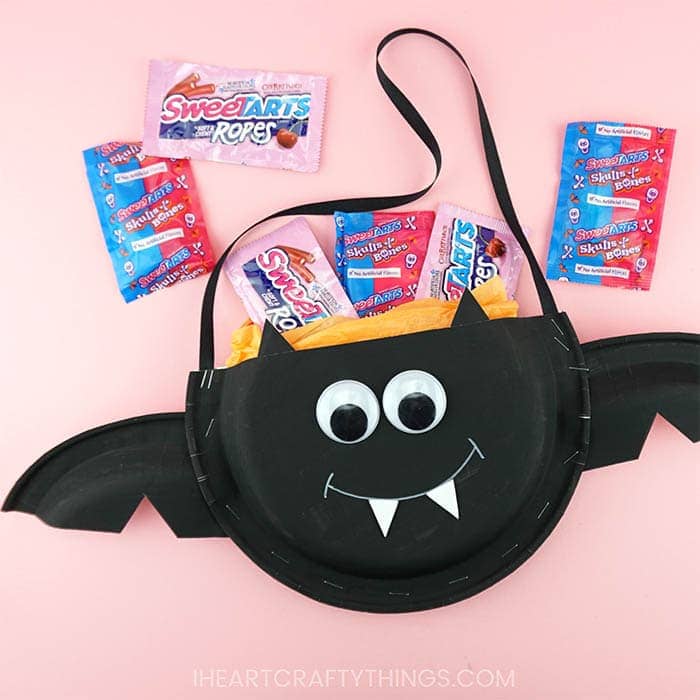
Using paper plates to make this Halloween candy holder makes this kids craft super simple to create. The bat character is perfect for a Halloween theme too. Go grab your supplies and some of your favorite Halloween candy and get ready for a fun time making this cute candy holder.
Supplies:
- your favourite candies or gummies
- paper plates
- black paint
- paintbrush
- black ribbon
- large googly eyes
- white chalk marker
- white adhesive foam sheet
- scissors
- stapler
- orange tissue paper (optional)
Instructions:
1. Paint the bottom of plates
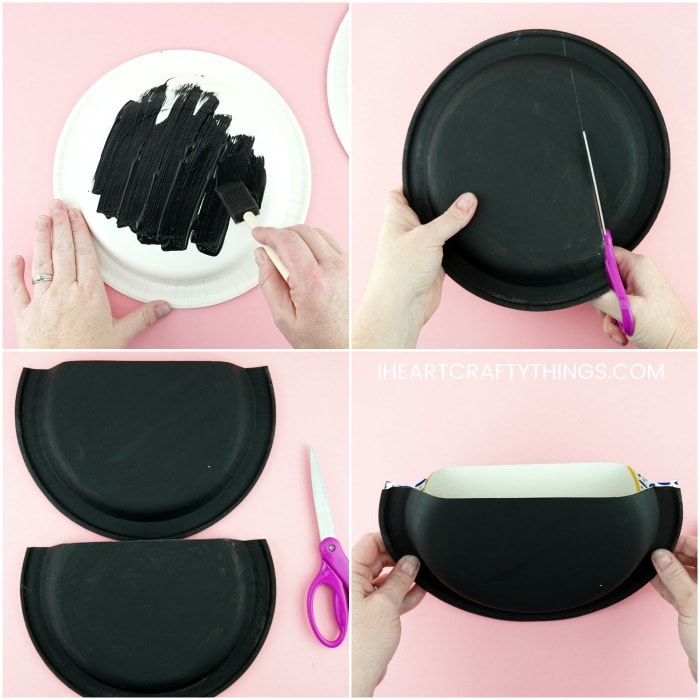
Begin by painting the bottom of two heavy duty paper plates with black paint. Let the paint dry completely.
2. Cut off one-quarter of paper plates
When the black paint is finished drying, stack the two plates together and cut off the top one-quarter section of the paper plates. Set aside the pieces you cut off the paper plates.
3. Create bat wings and ears
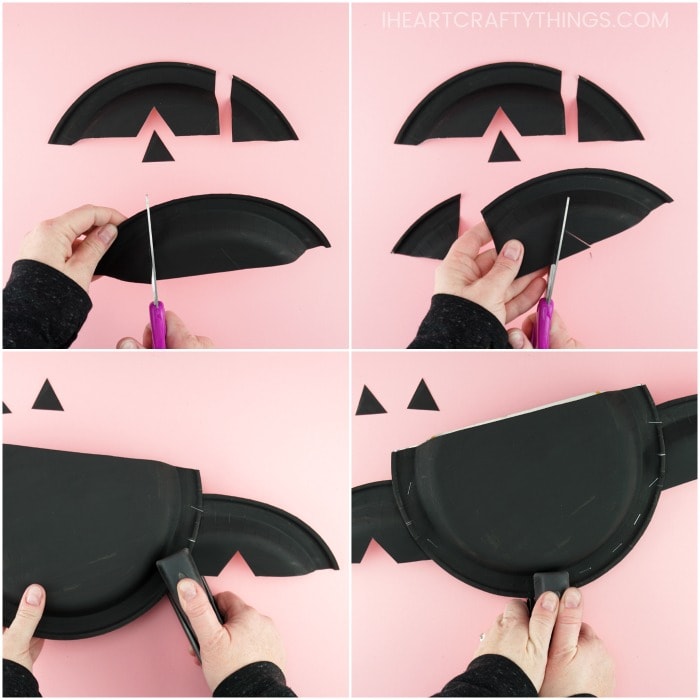
Take the two sections you set aside to create the bat wings. Cut off a small section from the end of each piece. Then cut out a triangle along the straight edge of the piece. Save the triangle pieces to use for bat ears.
4. Staple two paper plates together with wing in between them
Place the two paper plates together with the black painted sections facing out. Place one of the wings in between the two paper plates. Add a staple at the top and bottom of the wing along the rim of the paper plates.
5. Staple second wing and plates along the rim to seal holder together
Staple the second bat wing onto the opposite side of the paper plates. Now place a staple every 1-2 inches along the rim of the paper plates to seal the Halloween candy holder together. Leave the sections above the wings unstapled.
6. Add bat ears
Glue the two triangles you set aside onto the front of the Halloween candy holder for bat ears.
7. Attach black ribbon
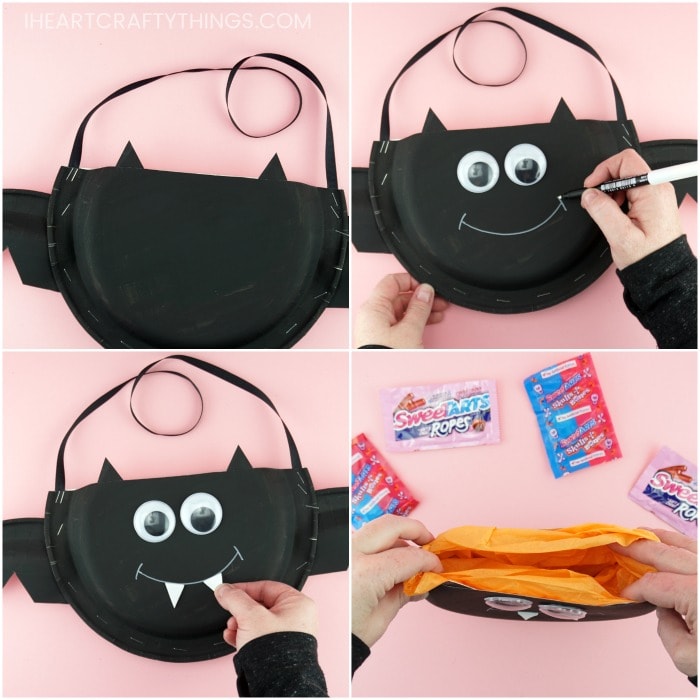
Cut a piece of black ribbon about 24-inches long. Place one end of the ribbon in between the paper plates above the bat wing. Add staples on the rim of the paper plate over the ribbon to secure it to the Halloween candy holder. Repeat this step with the opposite end of the ribbon and paper plates.
8. Add eyes and draw smile
Glue large googly eyes onto your paper plate bat candy holder. Now use a white chalk marker (or crayon) to draw a smile on your bat.
9. Add teeth
Cut out two triangle teeth from a white adhesive foam sheet. Peel off the sticker backing from the teeth and place them onto the bat mouth.
10. Add tissue paper inside the holder(optional)
Fold a piece of orange tissue paper and place it inside the Halloween candy holder.

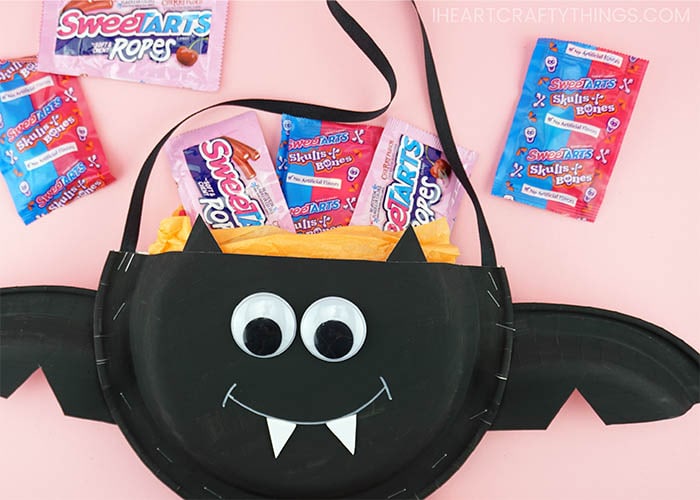
Your paper plate Halloween candy holder is complete! Now it’s time to fill your cute bat with your favourite candies.
