{This post contains affiliate links, read our Disclosure Policy for more information.}
Supplies needed:
- plastic cups
- an oven
- baking sheet
- parchment paper
- metal spatula
- hole punch
- green pipe cleaner
- brown paper
- scissors
- hot glue gun
- Items for embellishments (black marker, glow in the dark glitter glue)
Tutorial:
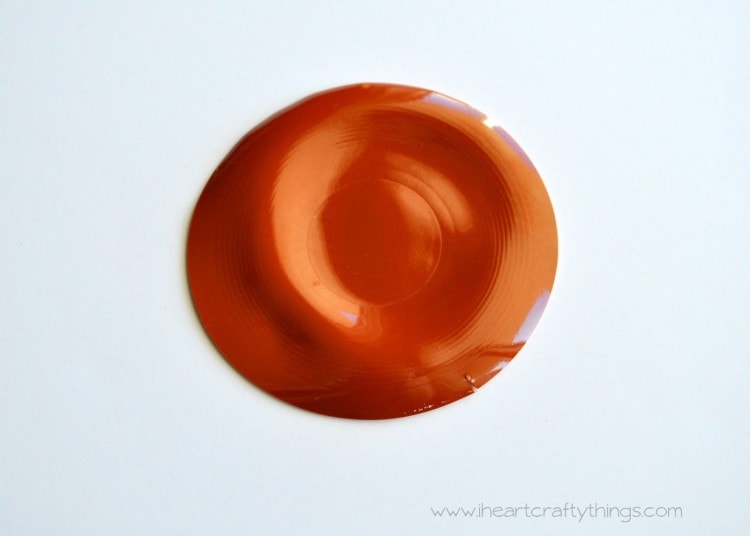
1. Remove rim of plastic cup
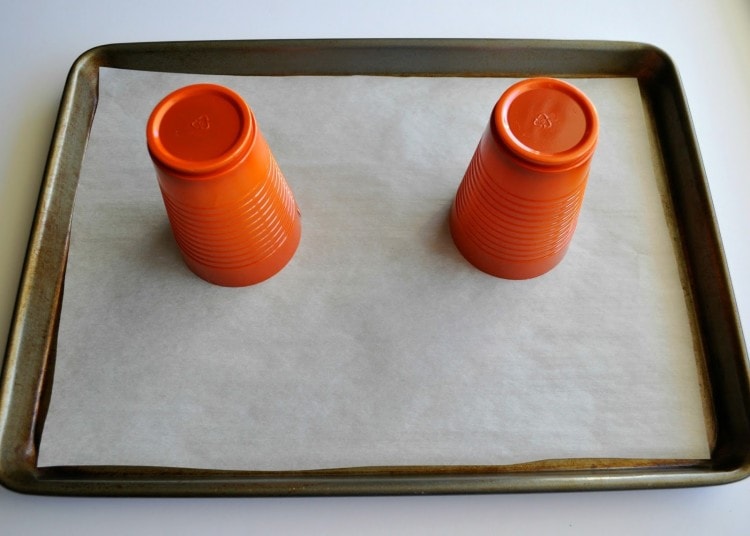
2. Cook your cups
Heat your oven to 350 degrees Fahrenheit. Place your baking sheet in the oven. (Make sure your kids are looking through the window of your oven at this awesome part) You will have to watch them closely because they melt very fast. I cooked mine for 90 seconds, but depending on your oven they may need to cook for 1-2 minutes. Once the cups have melted flat remove them out of the oven. Some of mine curled slightly so as soon as I removed them from the oven I used my metal spatula to press on them lightly to uncurl them and flatten them out as best as I could. You only have a window of about 10 seconds to do this so you must work fast! You can see in my picture below that they aren’t perfectly flat, they have a little bit of curvature to them, but they still resemble a pumpkin shape.
3. Punch a hole
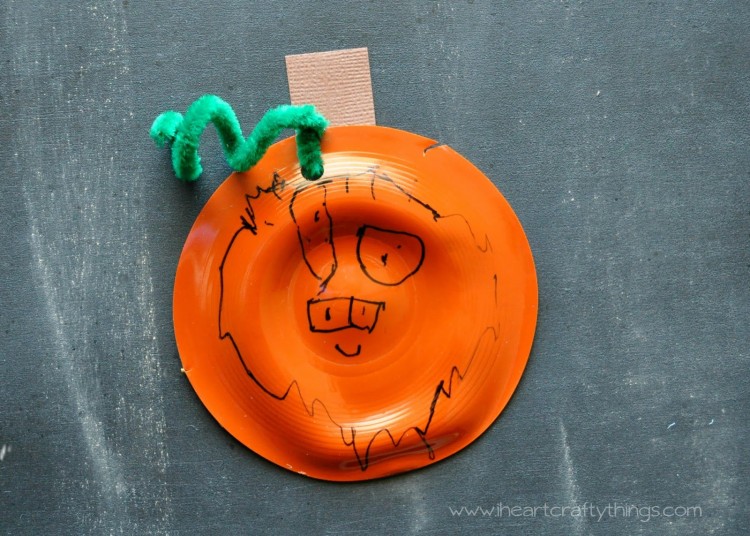
At this point I used a hole punch to punch a hole in the pumpkin. We cut our green pipe cleaner in half, poked it through the front of the pumpkin and twisted it around itself to attach it to the pumpkin. Curl the remaining strand around your finger to make a vine.
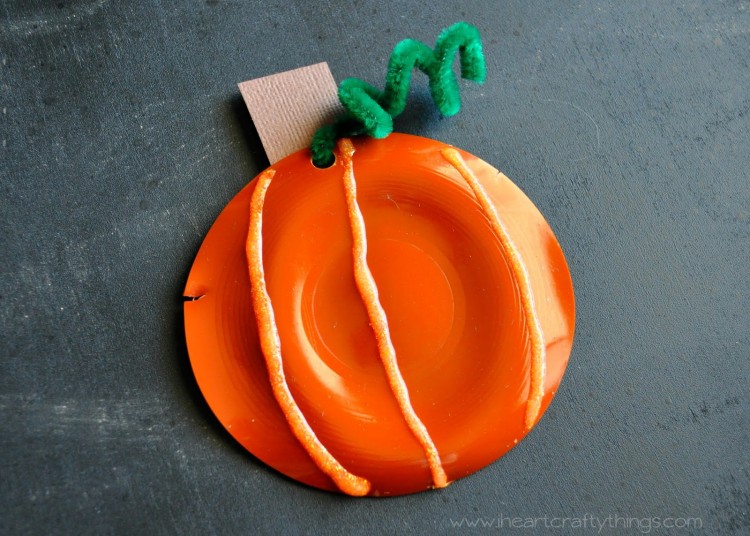
4. Glue stem on pumpkin
Also, glue a brown stem to the back of your pumpkin. We used a glue dot because we had them on hand, but you could also use a hot glue gun (requires adult assistance) or tacky glue.
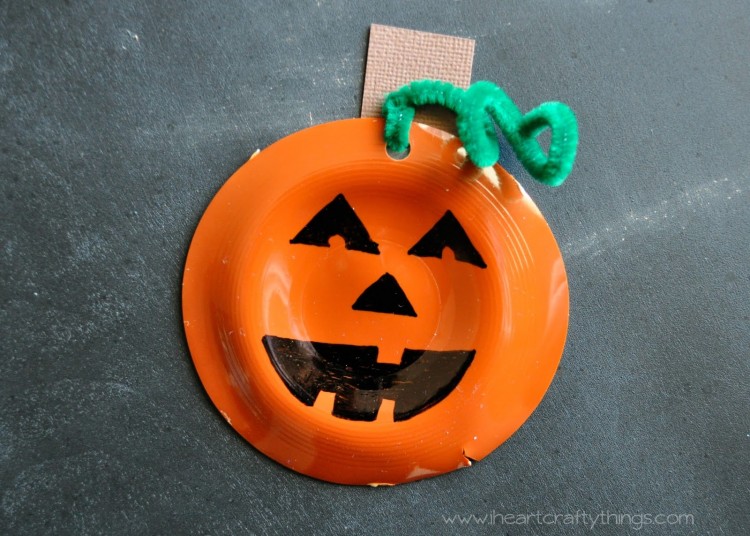
5. Decorate pumpkin
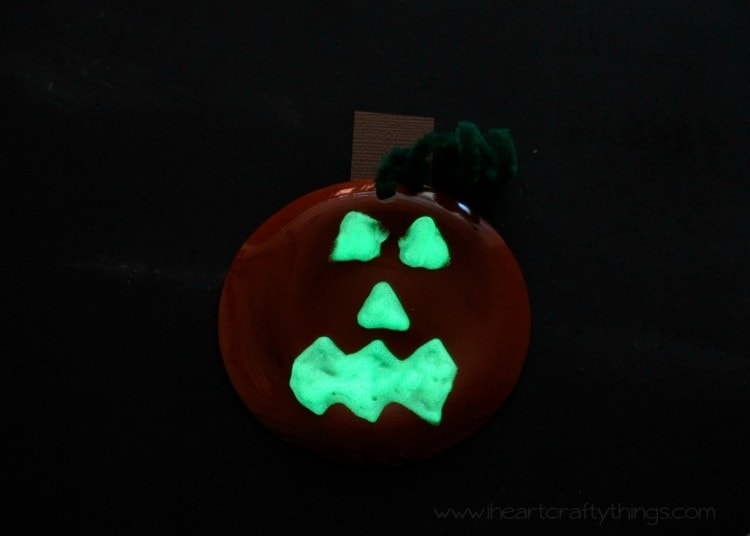
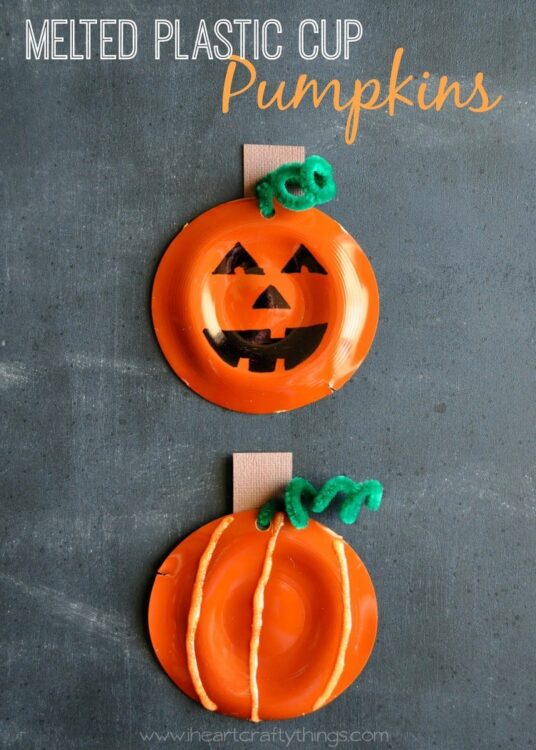
Now it’s time to embellish your pumpkin however your choose. Some things we used were a black marker, neon glitter glue, and glow in the dark glitter glue. The glow in the dark glitter glue turned out pretty fun. Here’s a peek at our pumpkin glowing in the dark.