


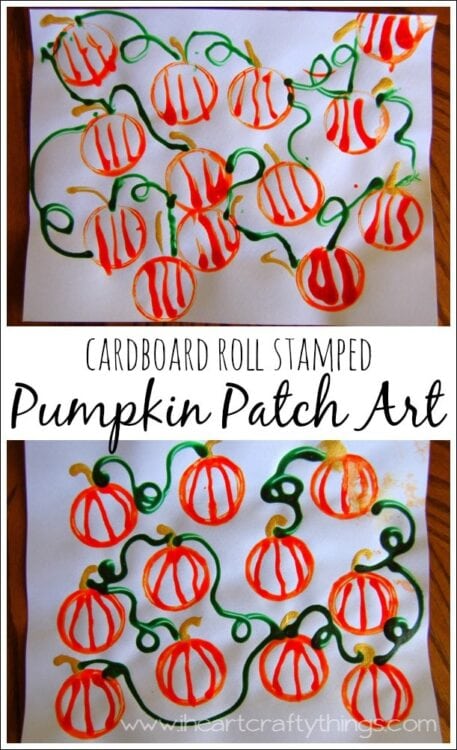
To go along with our recent trip to the pumpkin patch we made some fun pumpkin patch art using a toilet paper roll to stamp on our pumpkins. I have been really excited about this art project, especially to see how unique everyone’s picture turned out. My boys really enjoyed it because we used some new painting techniques we haven’t used before.
To make this project we used our trusty tempera paint we received from our friends at Craft Project Ideas. You can pick some up at your local Wal-Mart. You will definitely want to use tempera paint for this project instead of acrylic because it is more water based and thinner.
Supplies needed:
- white sheet of cardstock paper
- an empty cardboard toilet paper roll
- some orange and brown or gold paint
- small paper plate
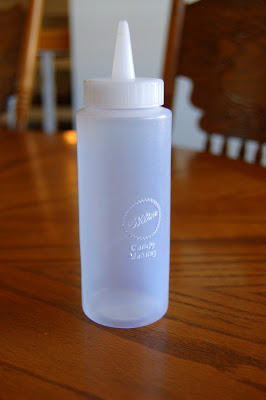
- plastic squeeze bottles
Tutorial:
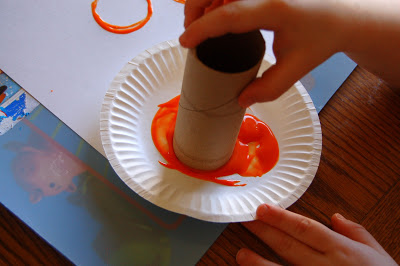
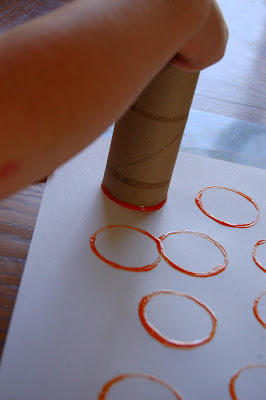
1. Paint circles using paper roll
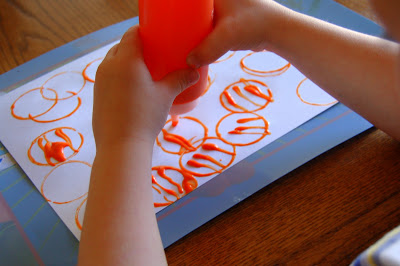
Start by pouring some orange paint onto your small paper plate. Dip the end of your toilet paper roll in the orange paint and then onto your white piece of cardstock paper. Add as many pumpkins as you’d like all over the page.
2. Make lines using bottle with paint
Fill your candy making bottle with some orange paint and use it to make the lines in your pumpkins. When you are finished, squeeze any leftover orange paint back into the original orange paint container and then thoroughly rinse out the candy making bottle.
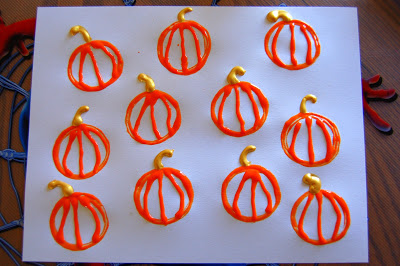
3. Draw a stems
Next add your gold or brown paint into the candy making bottle to paint on our stems. After painting on the stems, let your picture dry completely.
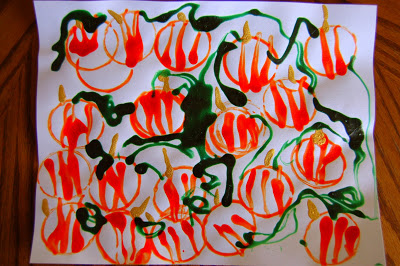
4. Finish with painting vines
When the pumpkins are completely dry, add green paint to your candy making bottle and paint on the pumpkin vines. Then you are done!
I thought this project was really great for a preschooler to learn how to have control over squeezing the paint out of the bottle. You can see how a couple times my preschooler gobbed a little too much, but over all, he really learned how to control that bottle. I was proud of him!