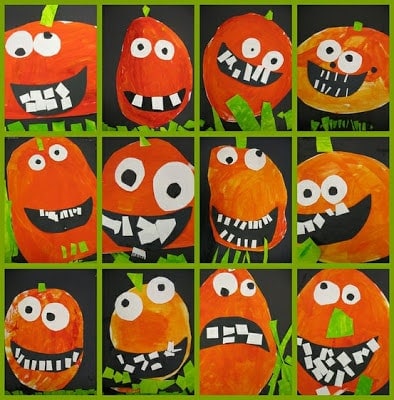
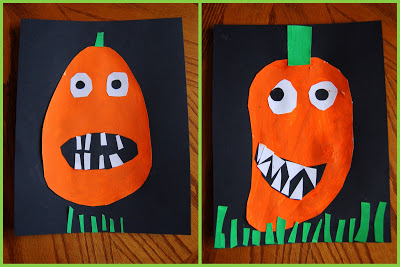
Aren’t these goofy pumpkin faces the cutest? I’ve saw this idea few weeks ago and had to recreate it. So this morning the boys sat down and made their very own, unique pumpkin faces.
Supplies needed:
- black and white cardstock paper
- orange and green paint
- scissors
- glue stick
Tutorial:
1. Draw pumpkin shape
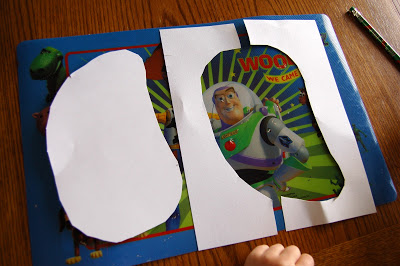
Have your child cut out a large pumpkin shape out of the white sheet of construction paper. My boys actually used a pencil to draw their pumpkin first and then cut it out. Don’t throw away the scraps because you are going to use them.
2. Paint your pumpkin
Paint the pumpkin orange. (Ok, as a sidenote, after completing this project I thought it would have been more fun to have given each child yellow and red paint to mix together to make their own orange color. Not only does it teach about combining different colors, but I’m certain each child would have come out with a different shade of orange making each project more unique. This can also be applied to the green paint, giving each child blue and yellow and having them make their own.)
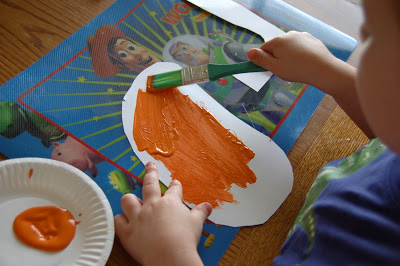
You can already see how different my boys are just by looking at their painted pumpkins. My oldest paints a thin, smooth layer. My youngest paints everything thick and dark.
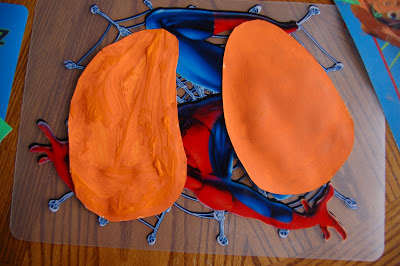
3. Paint scraps green
Take one of the left over white scraps and paint it green. Let the pumpkin and green scrap dry completely.
4. Cut out face details
Use a piece of black card stock paper to cut out a mouth and pupils for the pumpkin, and use the other white scrap paper to cut out 2 eyeballs and teeth for the pumpkin.
5. Glue pumpkin to the paper
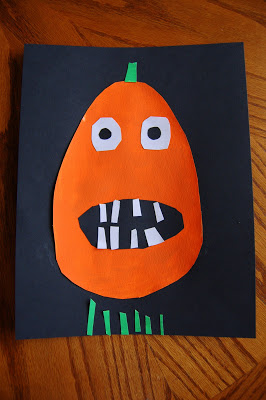
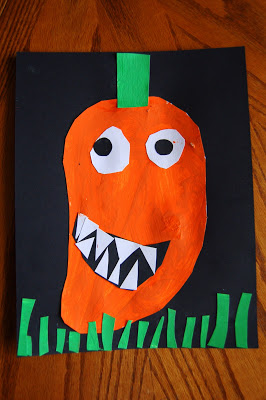
When the pumpkin is dry, glue it to the 2nd piece of black cardstock paper. Then glue on the mouth, teeth, eyeballs and pupils.
6. Add stem and grass
When the green scrap paper is dry, cut out a pumpkin stem and some grass for the bottom of the paper. Then glue them on your page.
I have about 15 different pumpkin crafts I’d love to get done this week…Wish we’d be able to get to all of them, but I know we won’t.
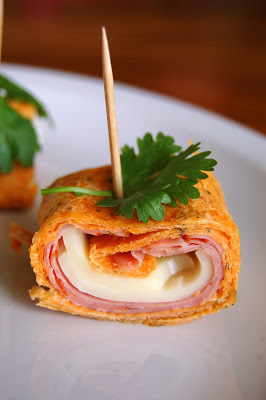
To go along with our pumpkin theme this week we also had a very fun lunch. I made ham & cheese pumpkin wraps.
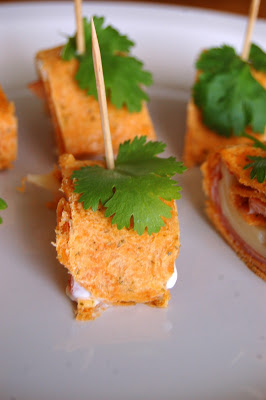
To make the wraps, I simply used some sun dried tomato and basil wraps and put mayo, ham & swiss cheese inside before rolling it up. After it was rolled up, I cut the ends off and made 6 sections out of each wrap. I put a piece of cilantro on each section and poked a toothpick through the entire section to hold it together nicely. They turned out so cute, looking like little pumpkins.
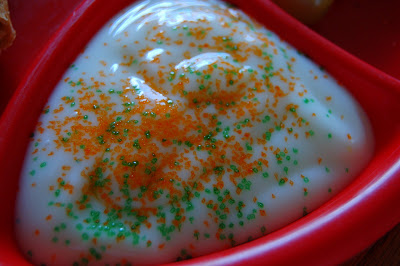
The kids also had some grapes and vanilla yogurt with orange and green sprinkles just to spice it up a bit. 🙂
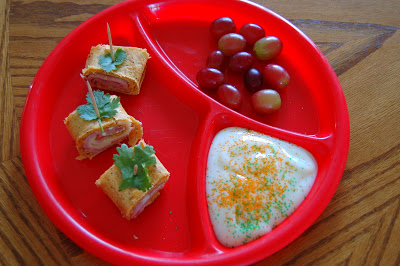
They gobbled it all up and one of my son’s exclaimed, “I wish we would have this every day for lunch!” Me too! I love eating fun food!


