I think I want to have a custom shirt created that says I {HEART} Birds. It seems only fitting given the fact that I have such a plethora of bird crafts here on my website. What do you think? Would you wear a shirt like that?
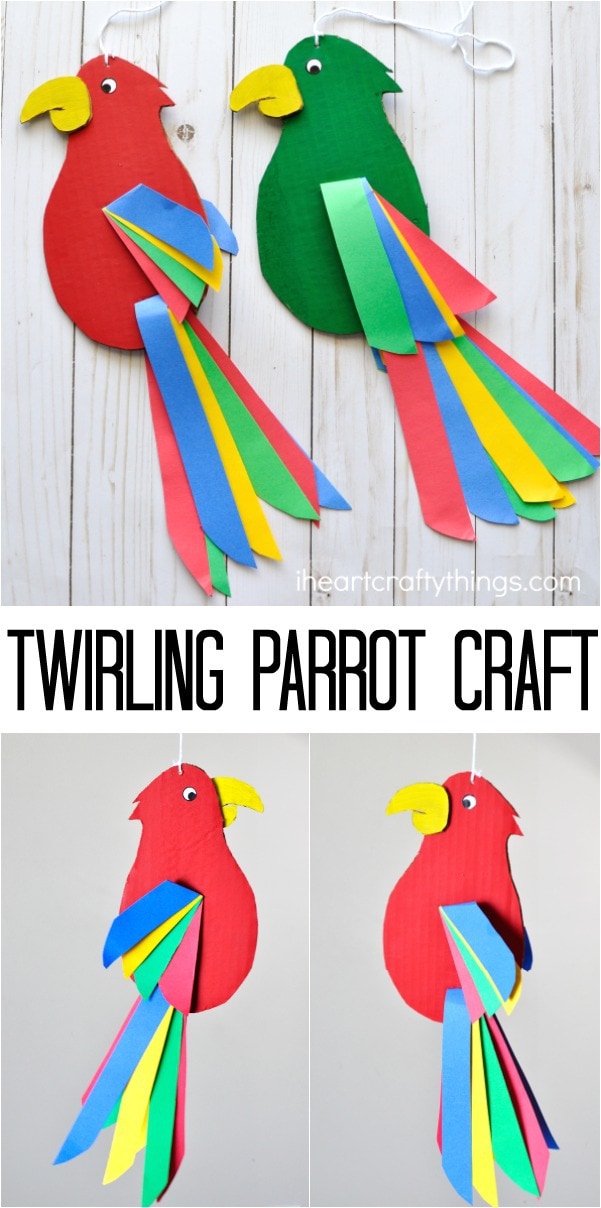
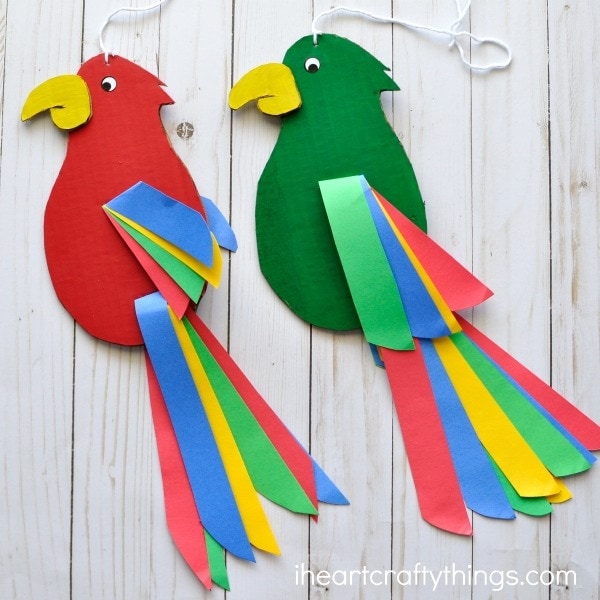
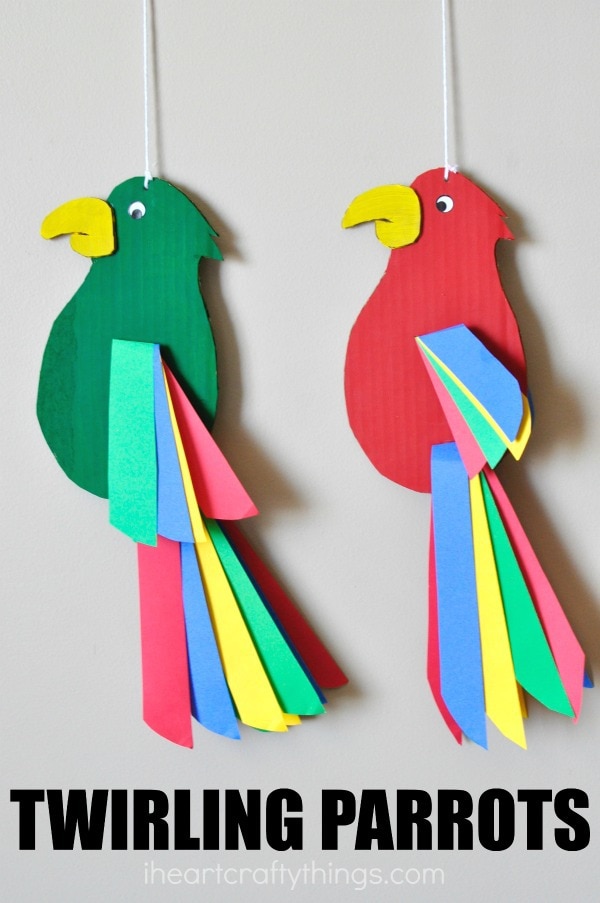
We are adding to our bird craft collection today with this fun twirling parrot craft. We’ve had these cute parrots hanging down from a chandelier this past week and they have been a bright and fun addition to the decor.
Your kids will love having them hanging around your house too!
This post contains affiliate links to the products mentioned. Read our disclosure policy for more information.
Supplies Needed:
- Parrot pattern
- cardboard
- cardstock paper (12″ x 18″ size)
- paint (yellow and whatever color you want to paint your parrot)
- paintbrush
- googly eye
- white string
- craft knife (for adult use only!)
- scissors
- glue
Tutorial:
1. Cut out parrot body
Begin by cutting out a parrot body and beak out of your cardboard. We used the parrot pattern from a previous craft as a guide for making this one. We rounded the body out a bit more and it worked great!
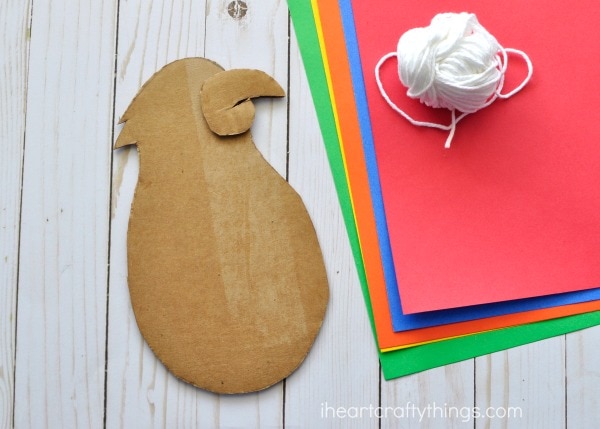
2. Paint the bird parts
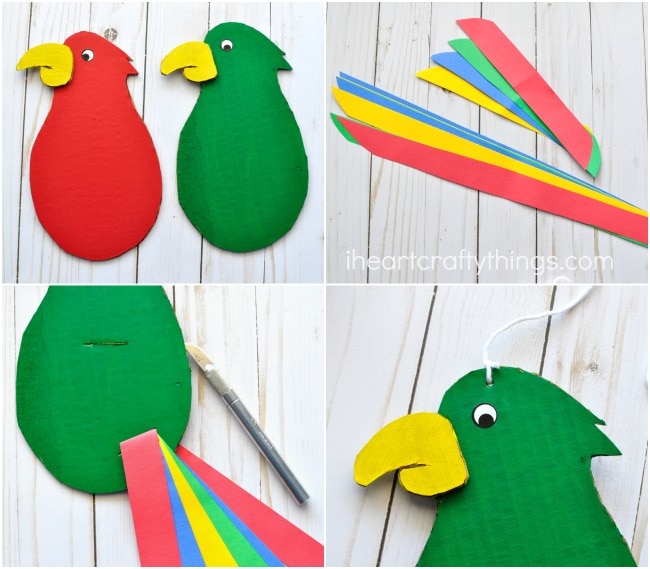
Choose which color you want to paint your parrot and paint your parrot body that color. Also paint your beak with yellow paint. Set them aside to dry completely.
3. Cut strips for feathers
While your paint is drying, cut out several strips of colored construction paper for your feathers. For the tail feathers cut 1-inch strips along the longest side of the construction paper. For the wings, cut 1-inch strips along the shortest side of the construction paper. Cut the ends of the strips to give them a curved shape.
4. Pull feathers thru parrot body
When your parrot is finished drying, have an adult cut a 1-inch strip in the center of the the parrot body for the wing feathers and a 1-inch strip at the rear of the parrot for the tail feathers. Hold your strips of tail feathers together tightly and carefully pull them through the slit in the bird. Pull them halfway through and then bend the feathers down for the tail feathers. Do this step again for the wings of the bird.
5. Glue beak & eyes
Glue the yellow beak onto your parrot. Then add a googly eyes stickers onto your parrot.
6. Add white string
Finish your twirling parrot craft by poking a hole in the top of it’s head and tying on a piece of white string.
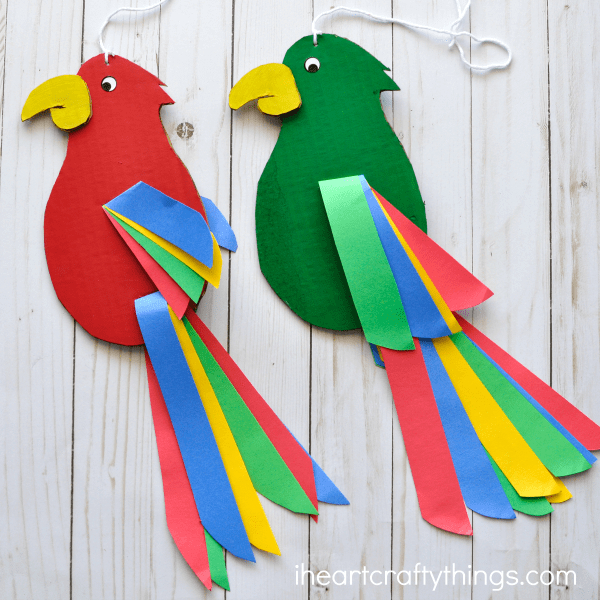
Now your parrots are ready to twirl!
Simply hang them up from the ceiling or on a hook and watch as they hang down. They tend to twirl naturally a bit because of their weight but you could also give them a little spin.
Looking for more fun bird jungle bird crafts? You’ll love our awesome toucan craft or this fun way to make a parrot out of cupcake liners!
