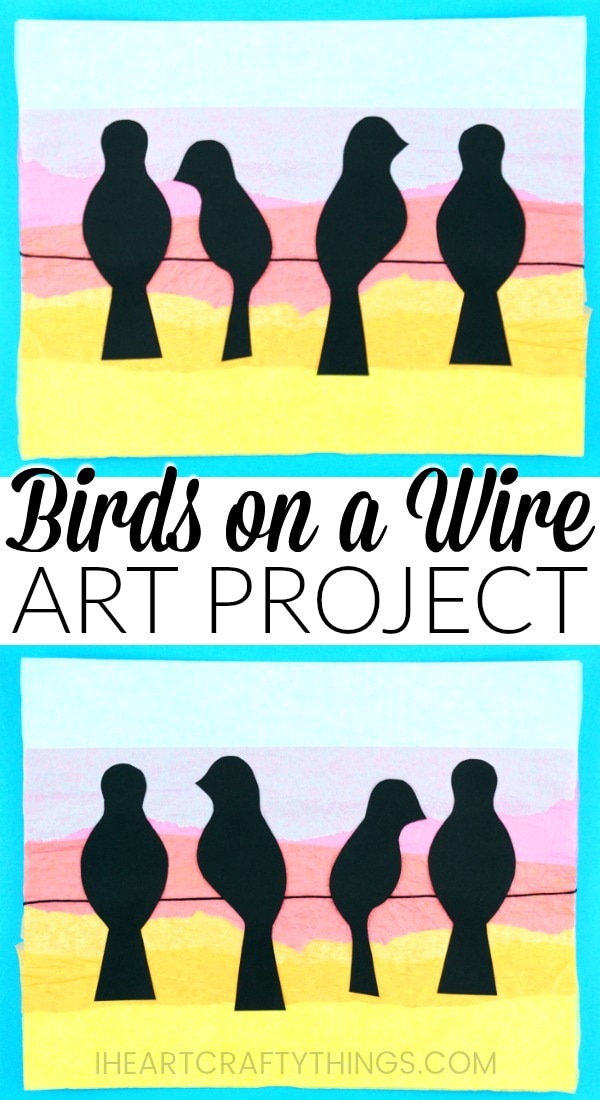
We currently have a pair of finches in our backyard who have made a nest for the second year in a row. Every time I walk into my backyard the male finch proudly perches on top of our house or shed and loudly chirps at me to let me know I’m in his territory. In his world it’s like he’s yelling at me but to me it’s the beautiful sounds of a bird chirping and I never get enough of it. If you love to sit and observe birds in nature you are going to love learning how to make this birds on a wire art project.
In our art project we layer yellow, orange, pink and blue tissue paper to achieve a sunset background. The addition of the black bird silhouette’s help the sunset colors pop off the page.
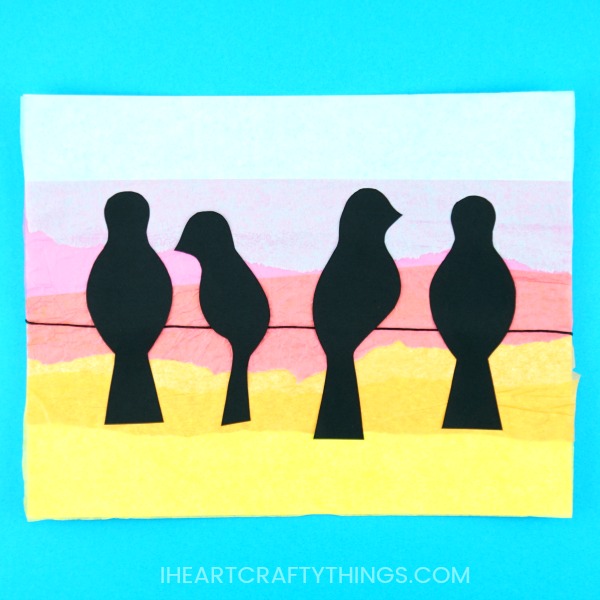
Supplies needed for this art project:
- birds template (optional) <—- Purchase in our shop
- black, white, yellow, orange, pink and light blue cardstock
- black braiding cord
- scissors
- glue stick
- tape
Video Tutorial: How to Make a Birds on a Wire Art Project
Before you get started, watch the video below to be guided through each step of our bird art project. Find more birds crafts and easy kids arts and crafts ideas by browsing the categories at the top menu bar of our website.
Instructions for Birds on a Wire Art Project:
1. Print out template and cut out four birds
Purchase the bird template in our shop and print it out. Use the template to cut out the four birds on black cardstock paper. Note: If you do not wish to purchase our template, you can cut out your own birds from black cardstock.
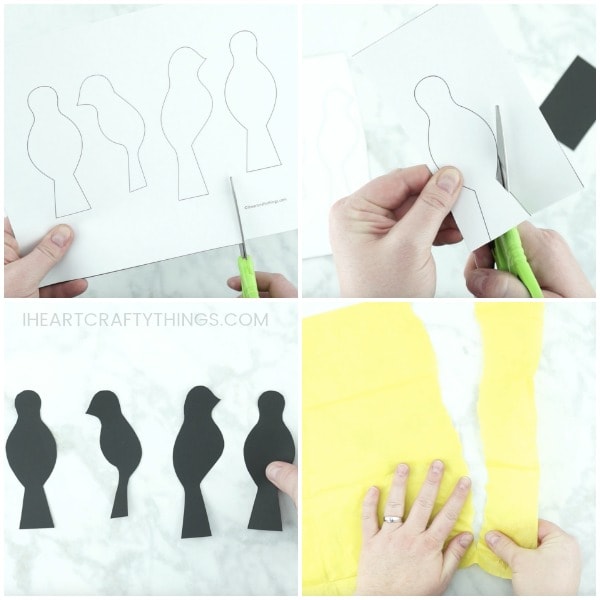
2. Tear off tissue paper strips
Tear off a strip of yellow, orange, pink and light blue tissue paper the length of your white cardstock paper and about 3-inches wide.
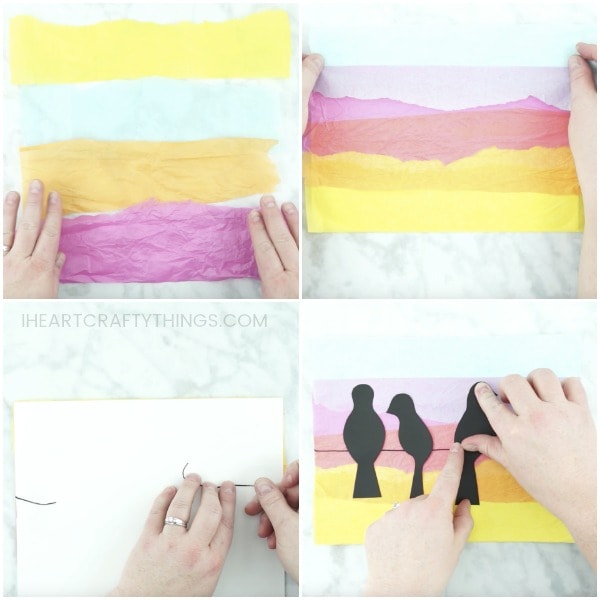
3. Glue strips on a white cardstock paper
Add glue to the bottom of your white cardstock and glue your yellow tissue paper strip at the bottom of your paper. Add more glue above the yellow tissue paper and at the top of the tissue paper and glue the orange tissue paper onto your paper, overlapping the yellow a bit.
4. Cut off any excess tissue paper
Continue adding glue and layering the pink and blue tissue paper onto your white cardstock. Cut off any excess tissue paper hanging off the ends of the paper.
5. Cut a piece of black cord and attach it to the center of cardstock paper
Cut a piece of black braiding cord about 14-inch long. Tape one end of the cording on the back of your cardstock paper in the center of the paper. Stretch the cording so it is taut and tape the other end of the cording on the back of the cardstock in the center of the paper.
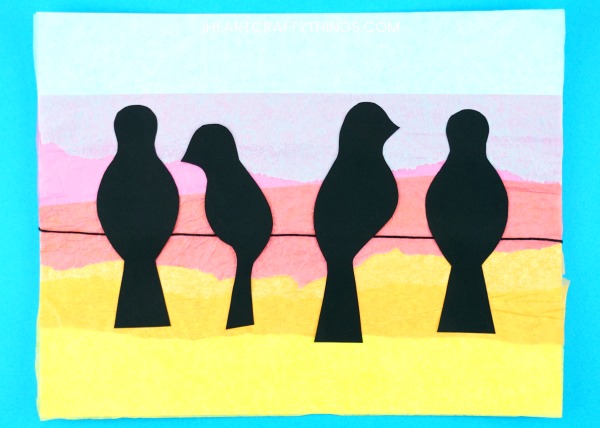
6. Glue birds
Glue each of your black bids on top of the black bird wire.
