{This post contains affiliate links for your convenience. Read our Disclosure Policy for more information.}
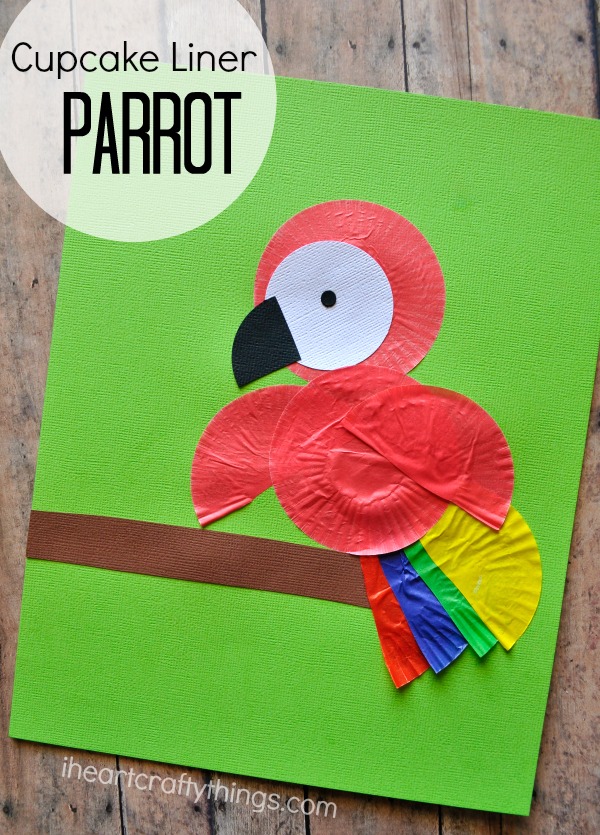
Our idea for making this fun parrot craft came from internet, except we switched it up and used cupcake liners instead of cardstock paper. Unfortunately the website is no longer working from where it came from for me to give proper credit.
Supplies you will need:
- red, orange, blue, green and yellow mini cupcake liners
- black, white and brown cardstock paper
- scissors
- 2-inch circle punch (optional)
- hole punch
- glue stick
Tutorial:
1. Prepare your supplies
Start by getting all of your pieces ready for your Parrot. You can see them laid out in the picture below. Cut one of your red cupcake liners in half for the wings. Also cut your blue, orange, yellow and green cupcake liner in half. You will only need one half piece for all of those colors. You’ll also need a 2-inch black and white circle, Cut one-quarter of the black circle out for the beak and use your hole punch to make the eye. Lastly, you’ll need a brown strip for the branch.

2. Start gluing your pieces
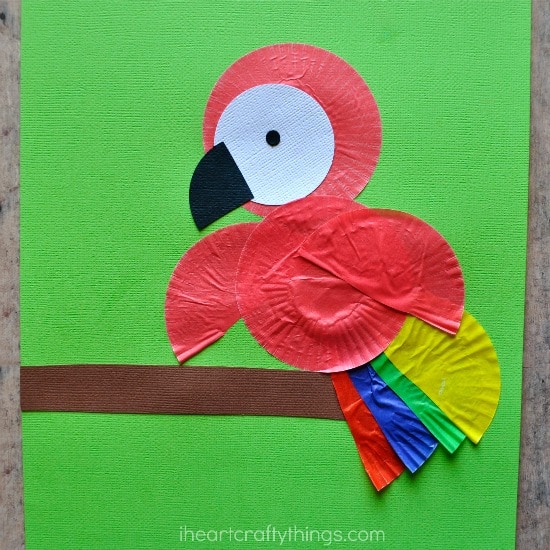
Once you have your pieces ready, you simple glue and assemble your parrot onto your cardstock paper. Started by gluing your brown branch onto your paper and then glue and layer your two red cupcake liners to make the parrot head and body.
3. Add peak and eye
Glue your white 2-inch circle onto the face along with the black beak and eye.
4. Glue feathers & wings
Finish your parrot by overlapping and gluing the colorful tail feathers on and the two red wings.
We glued ours onto a bright green sheet of cardstock paper so the the colors of the bird would really pop. It turned out so colorful and fun! What other types of birds can you make with cupcake liners?