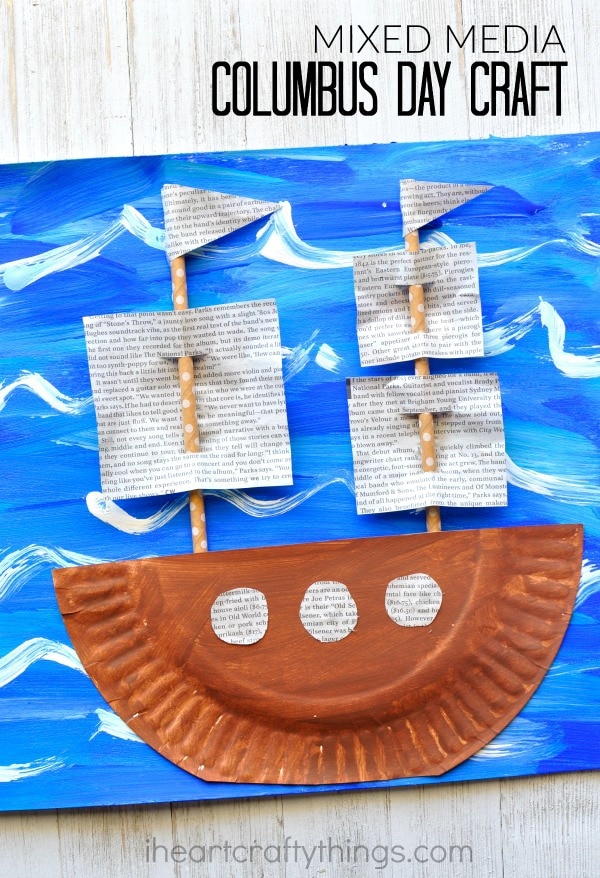
Columbus Day is coming up in a few short weeks and that makes it perfect timing to learn more about early explorers and American History. Spend an evening together as a family at the library, read through some books and challenge everyone to find out something new they didn’t know before about Christopher Columbus and other early explorers.
Then bring the fun back home by finishing the evening making this beautiful mixed media Columbus Day craft.
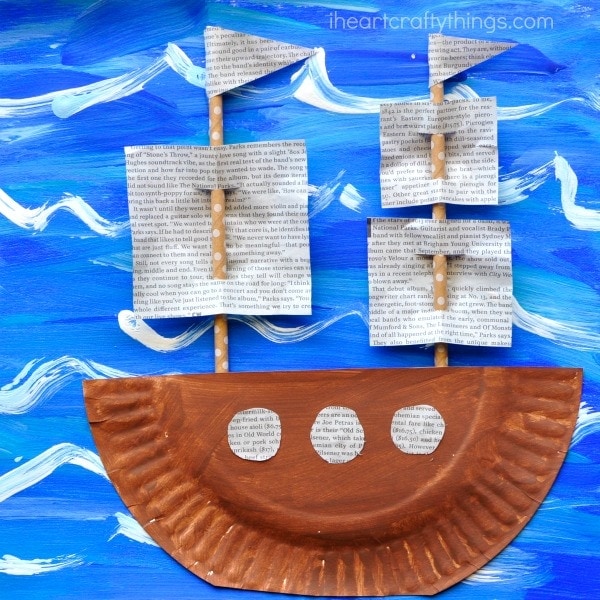
Mixed media is one of my favorite types of projects because the mixtures of different elements creates such amazing color and texture. Your kids will love the entire process of making this Columbus Day art project and the finished craft is beautiful and definitely frame worthy!
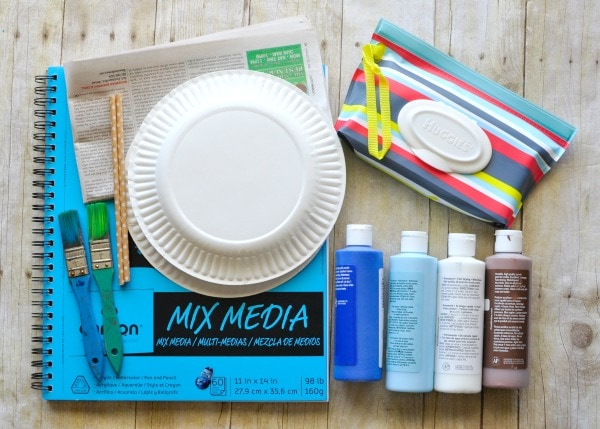
Supplies Needed to Make this Columbus Day Craft
- mix media paper
- paper plates
- brown paper straws
- newspaper
- white, brown and blue paint (we used a few different shades of blue)
- paintbrush
- wet wipes
- scissors
- glue
Directions for Columbus Day Mixed Media Craft
1. Draw the ocean
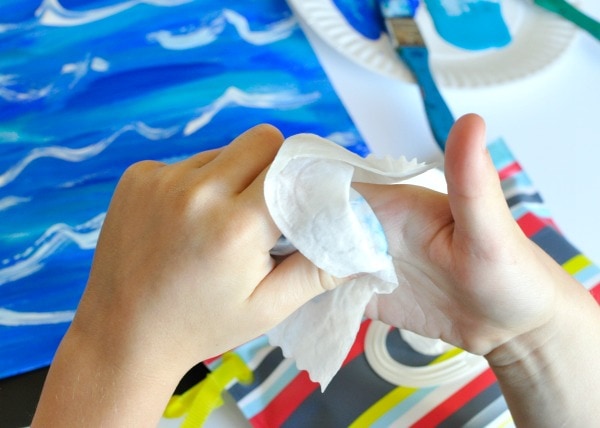
Gather all of your supplies. Start by pouring several different shades of blue paint and some white paint onto a paper plate. Using your paintbrush, paint your x-large mix media paper with your blue paint. Mixing together different shades of blue makes this a creative process for kids. The different shades add so much texture and color to your painted ocean. After you are finished covering your paper with blue paint, use your white paint to paint squiggly ocean waves all over your paper. Set your painted paper aside to dry.
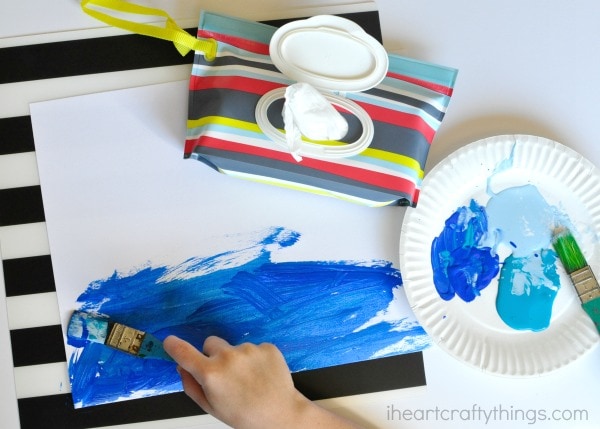
Any time we have paint out for a craft we always make sure to have wipes close by, open and ready to tackle any messes. Even when we use a paintbrush we always have paint that somehow ends up on fingers, hands and faces. Instead of taking the risk of having my kids walk across the house with paint on their hands and accidentally touching things on their way to the sink, I love the convenience of having wet wipes right at the table ready to conquer the mess.
2. Paint your paper plate boat
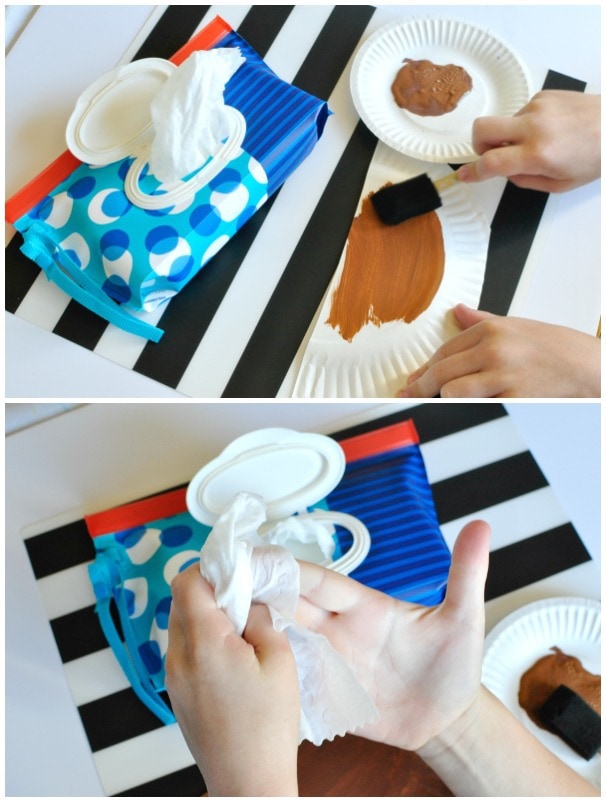
Next cut a paper plate in half. You’ll use one of the halves for your boat. Cut a small strip off of the curved side of your paper plate half so it is flat and your boat is all ready for painting. Pour a small amount of brown paint onto another paper plate and paint your paper plate boat. Make sure to have wipes out, open and ready for any more paint messes.
3. Create boat sails
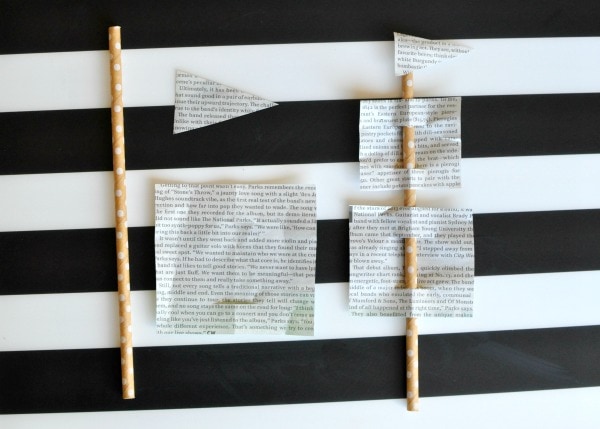
While your paint is drying, grab your newspaper and cut out boat sails from it. Kids can get as creative as they want with the size and amount of sails they choose. Fold your rectangle sails in half and make a slit towards the top and bottom so that your brown paper straws can slide through the sails. Younger kids can skip this step and simply glue the sails over their straws.
4. Assemble your craft
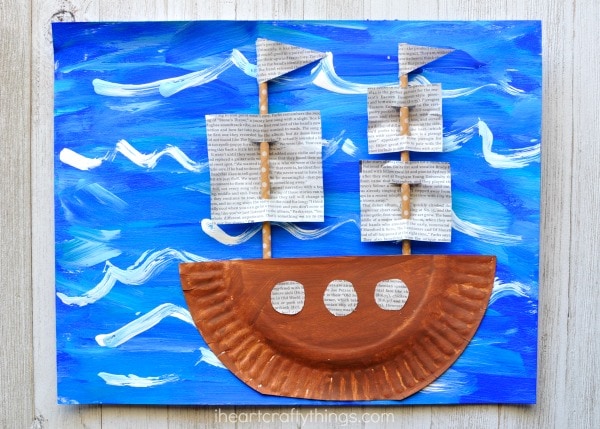
When your paint is finished drying, it’s time to assemble your Columbus Day craft together. Add glue around the outside edge of your boat and glue it onto the bottom of your blue painted paper. After threading your sails through your straws, add a line of glue onto the back of each straw and glue them onto your paper with the bottom sitting down inside the top of your boat. If you have any triangle sails, glue them onto the top of your straws.
5. Add boat windows
Finish your craft by cutting out circle windows from your newspaper and glue them onto your boat.
